

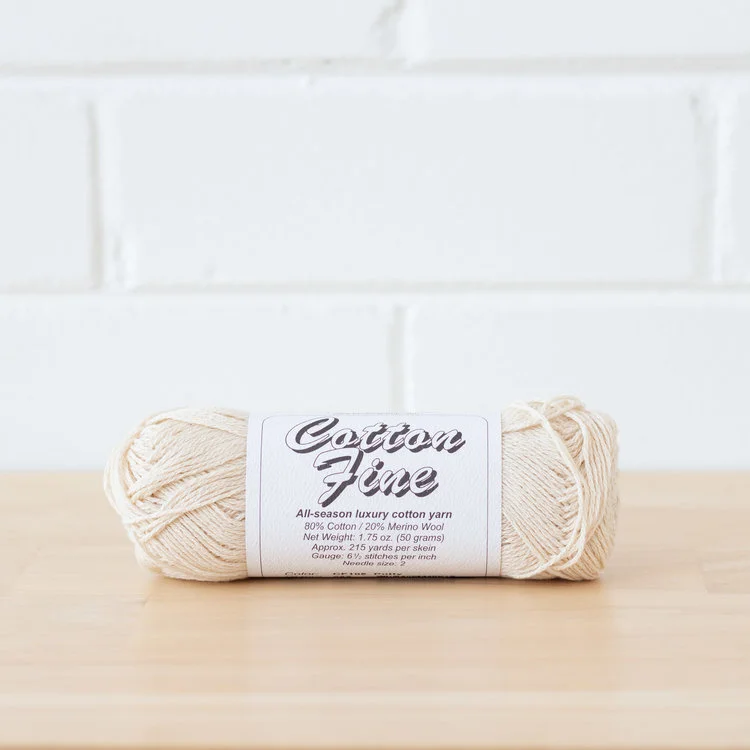
I took so long to get this piece online the colourway Honey Butter is now discontinued, sorry!
None the less, Nasreen is still a cute graphic tee for the coming spring/summer season.
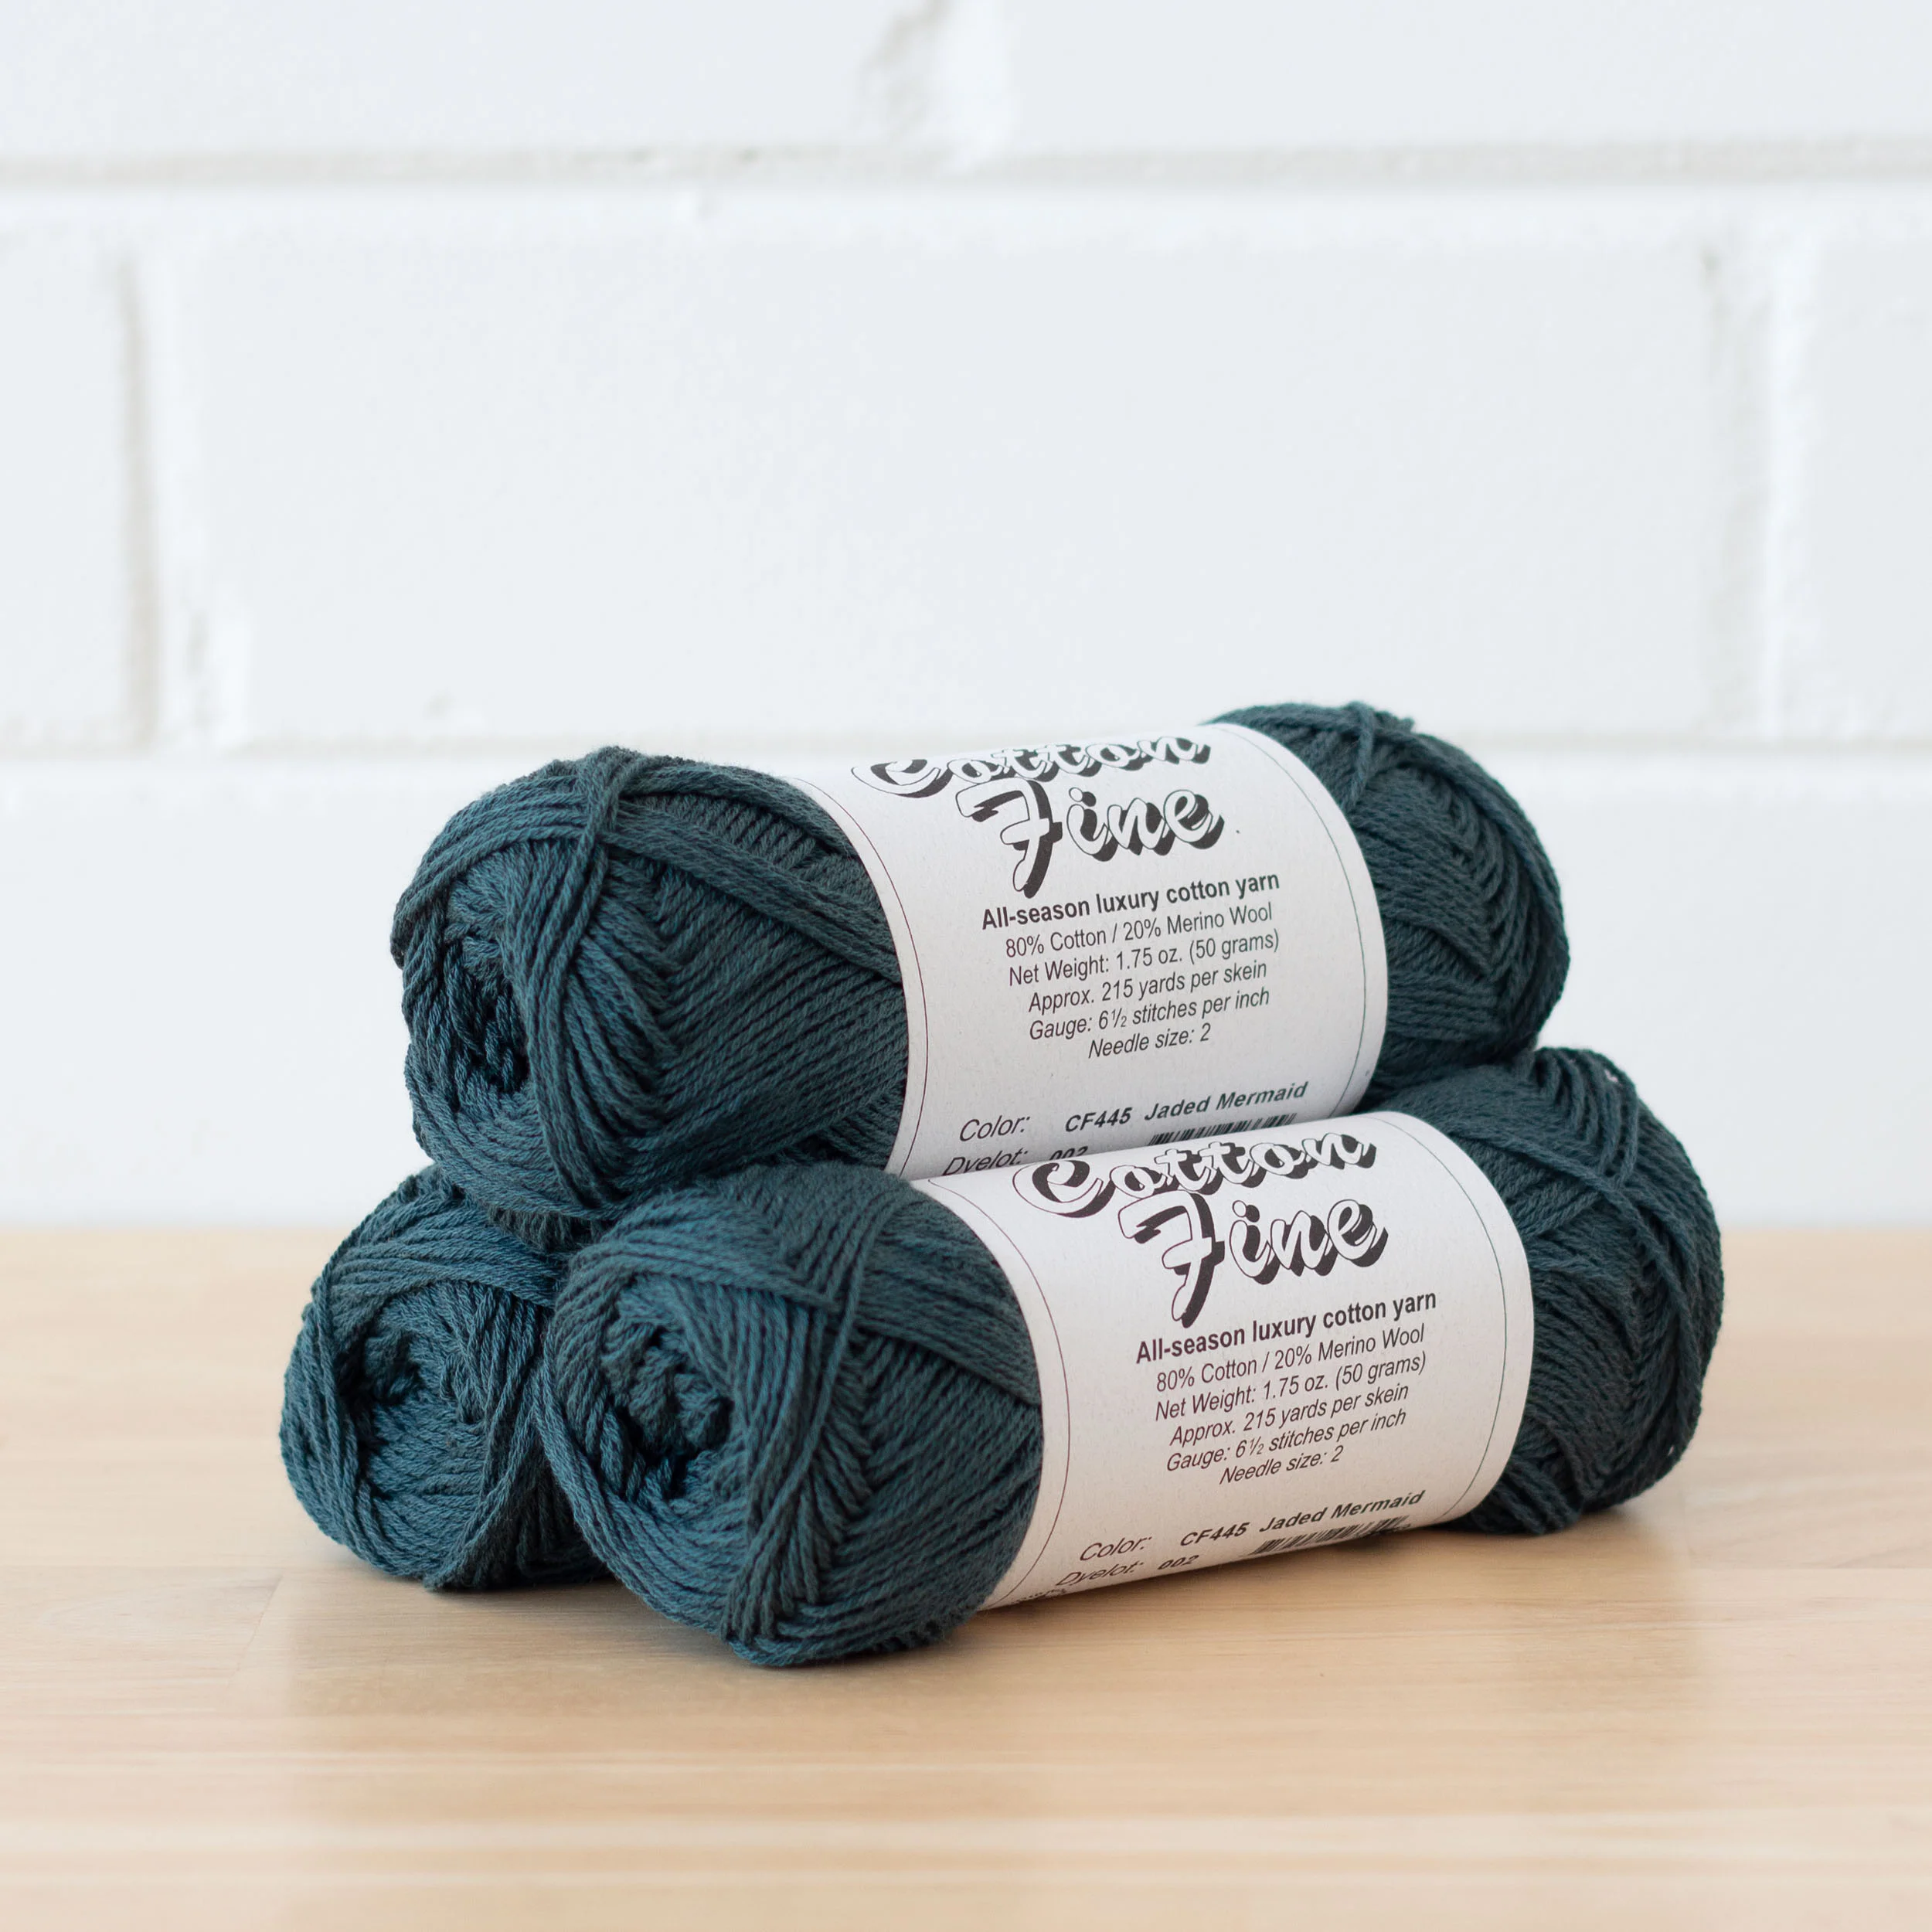
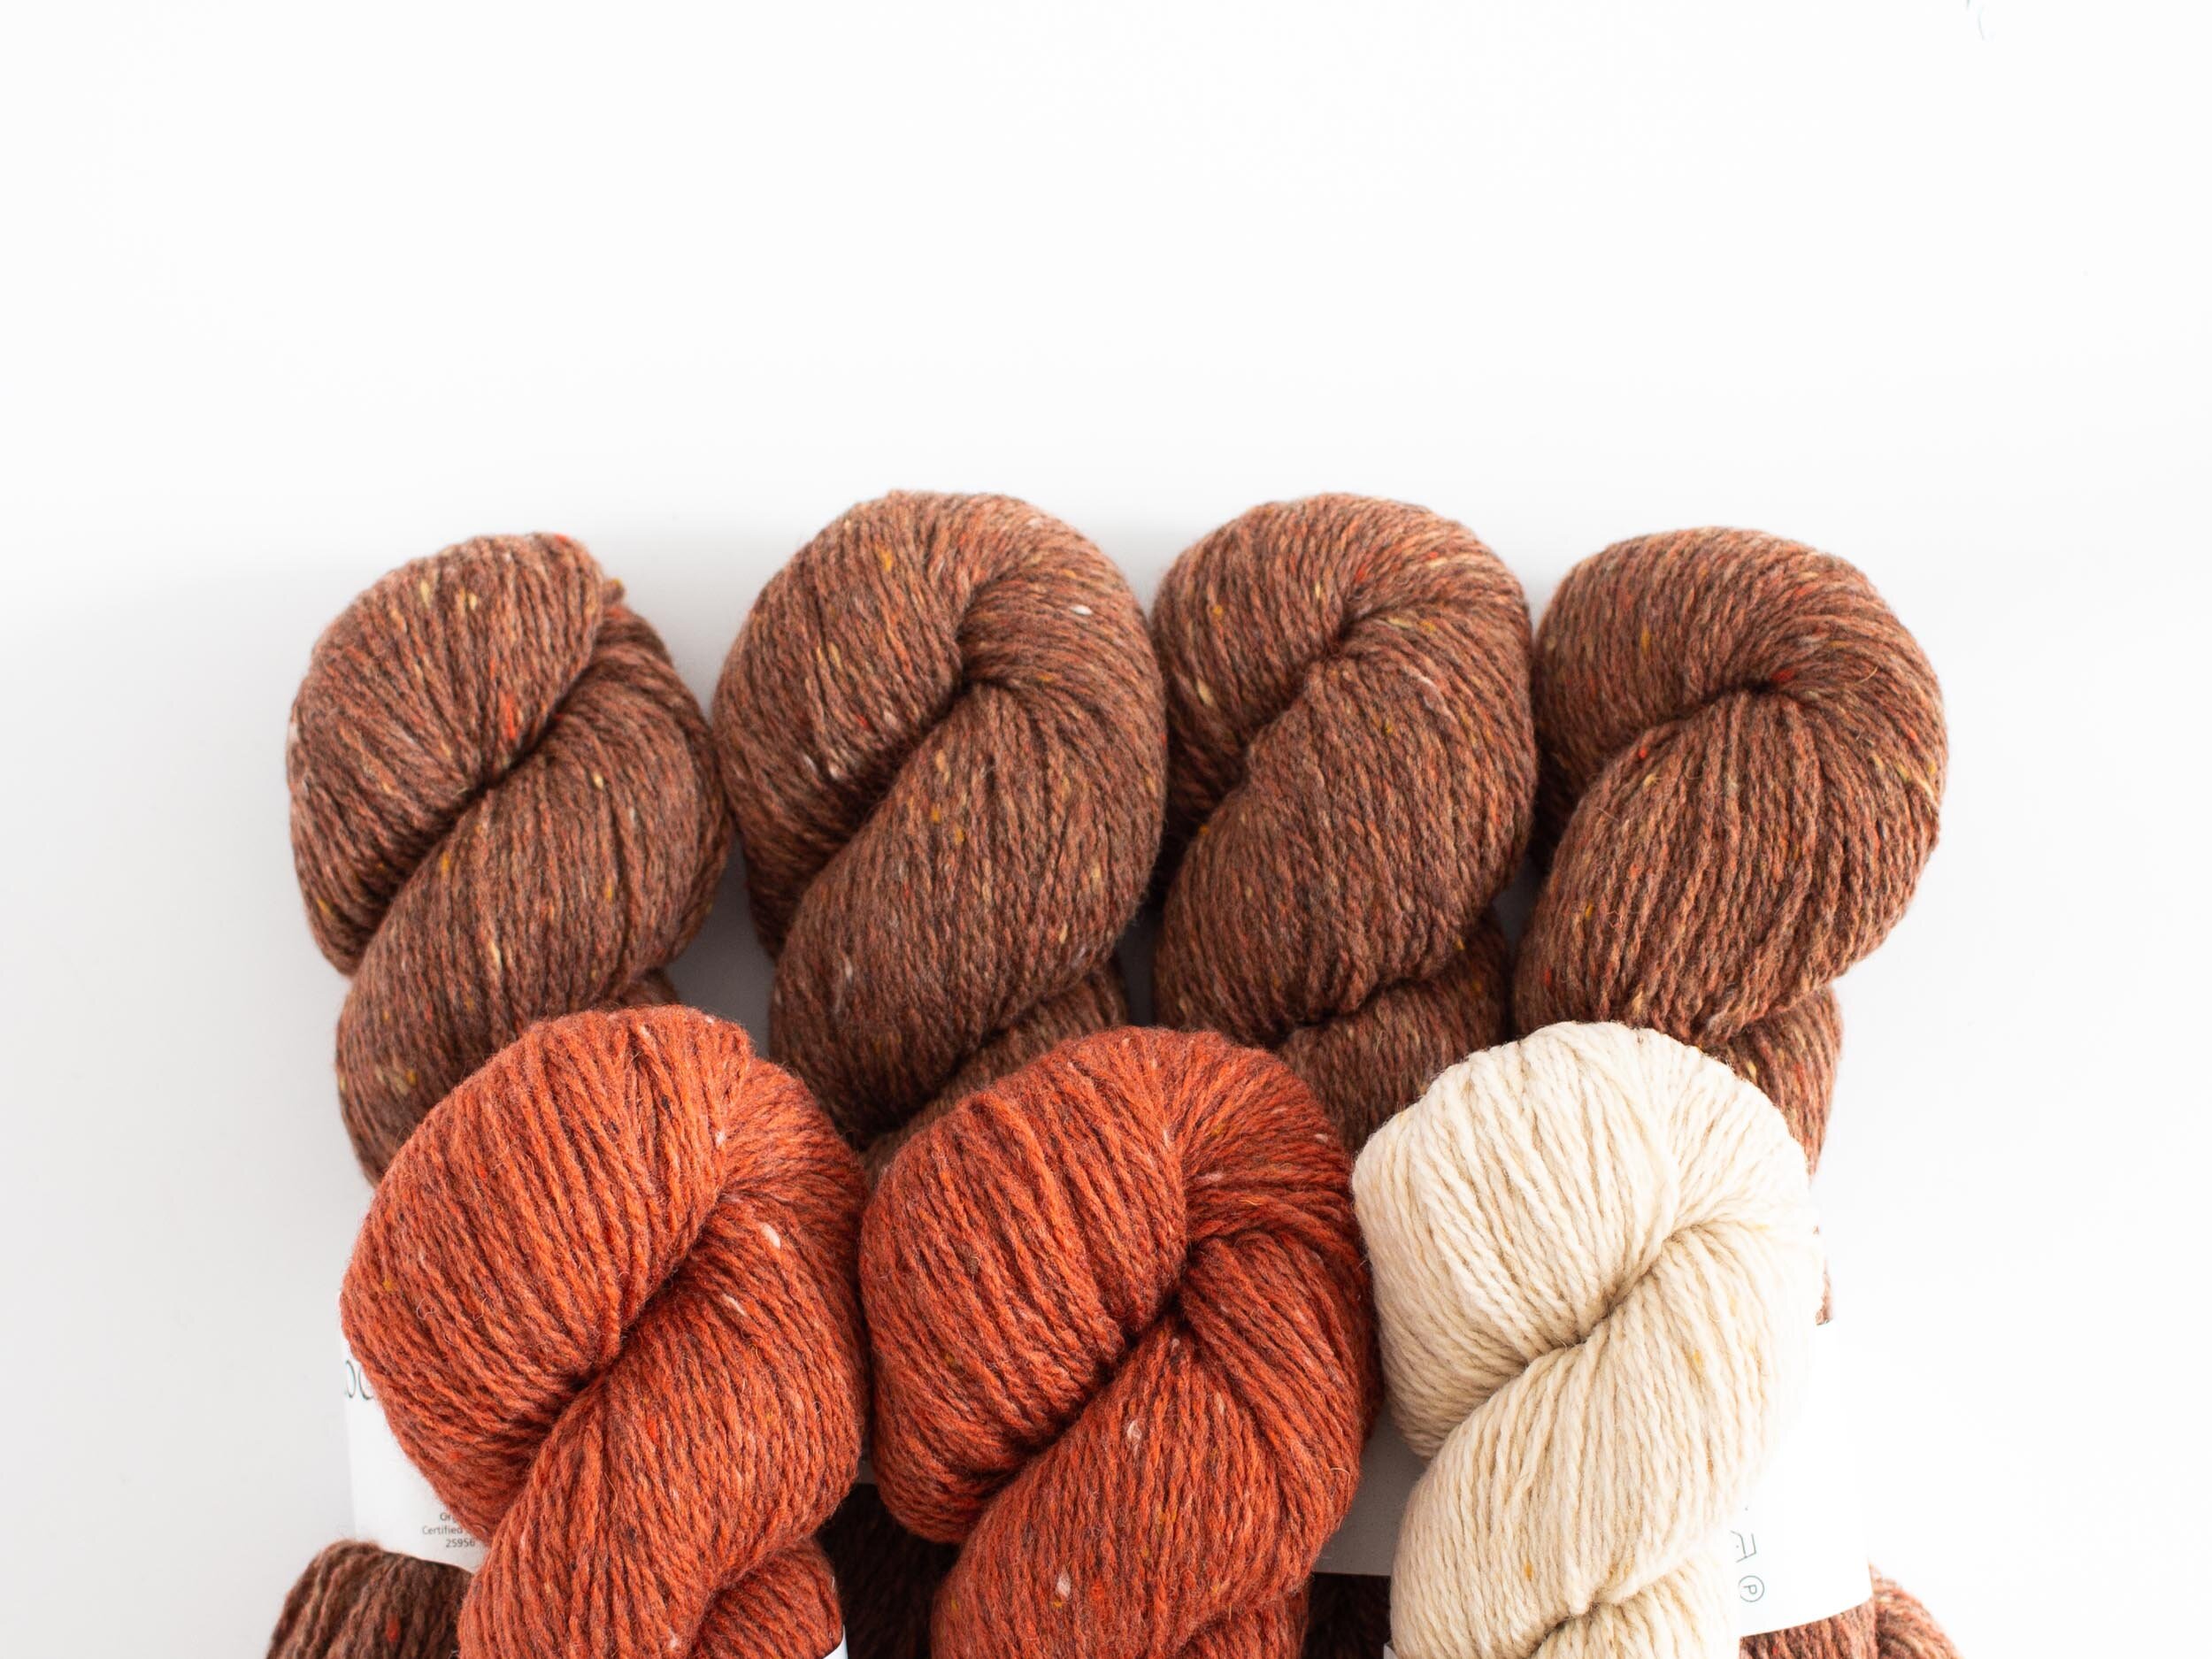
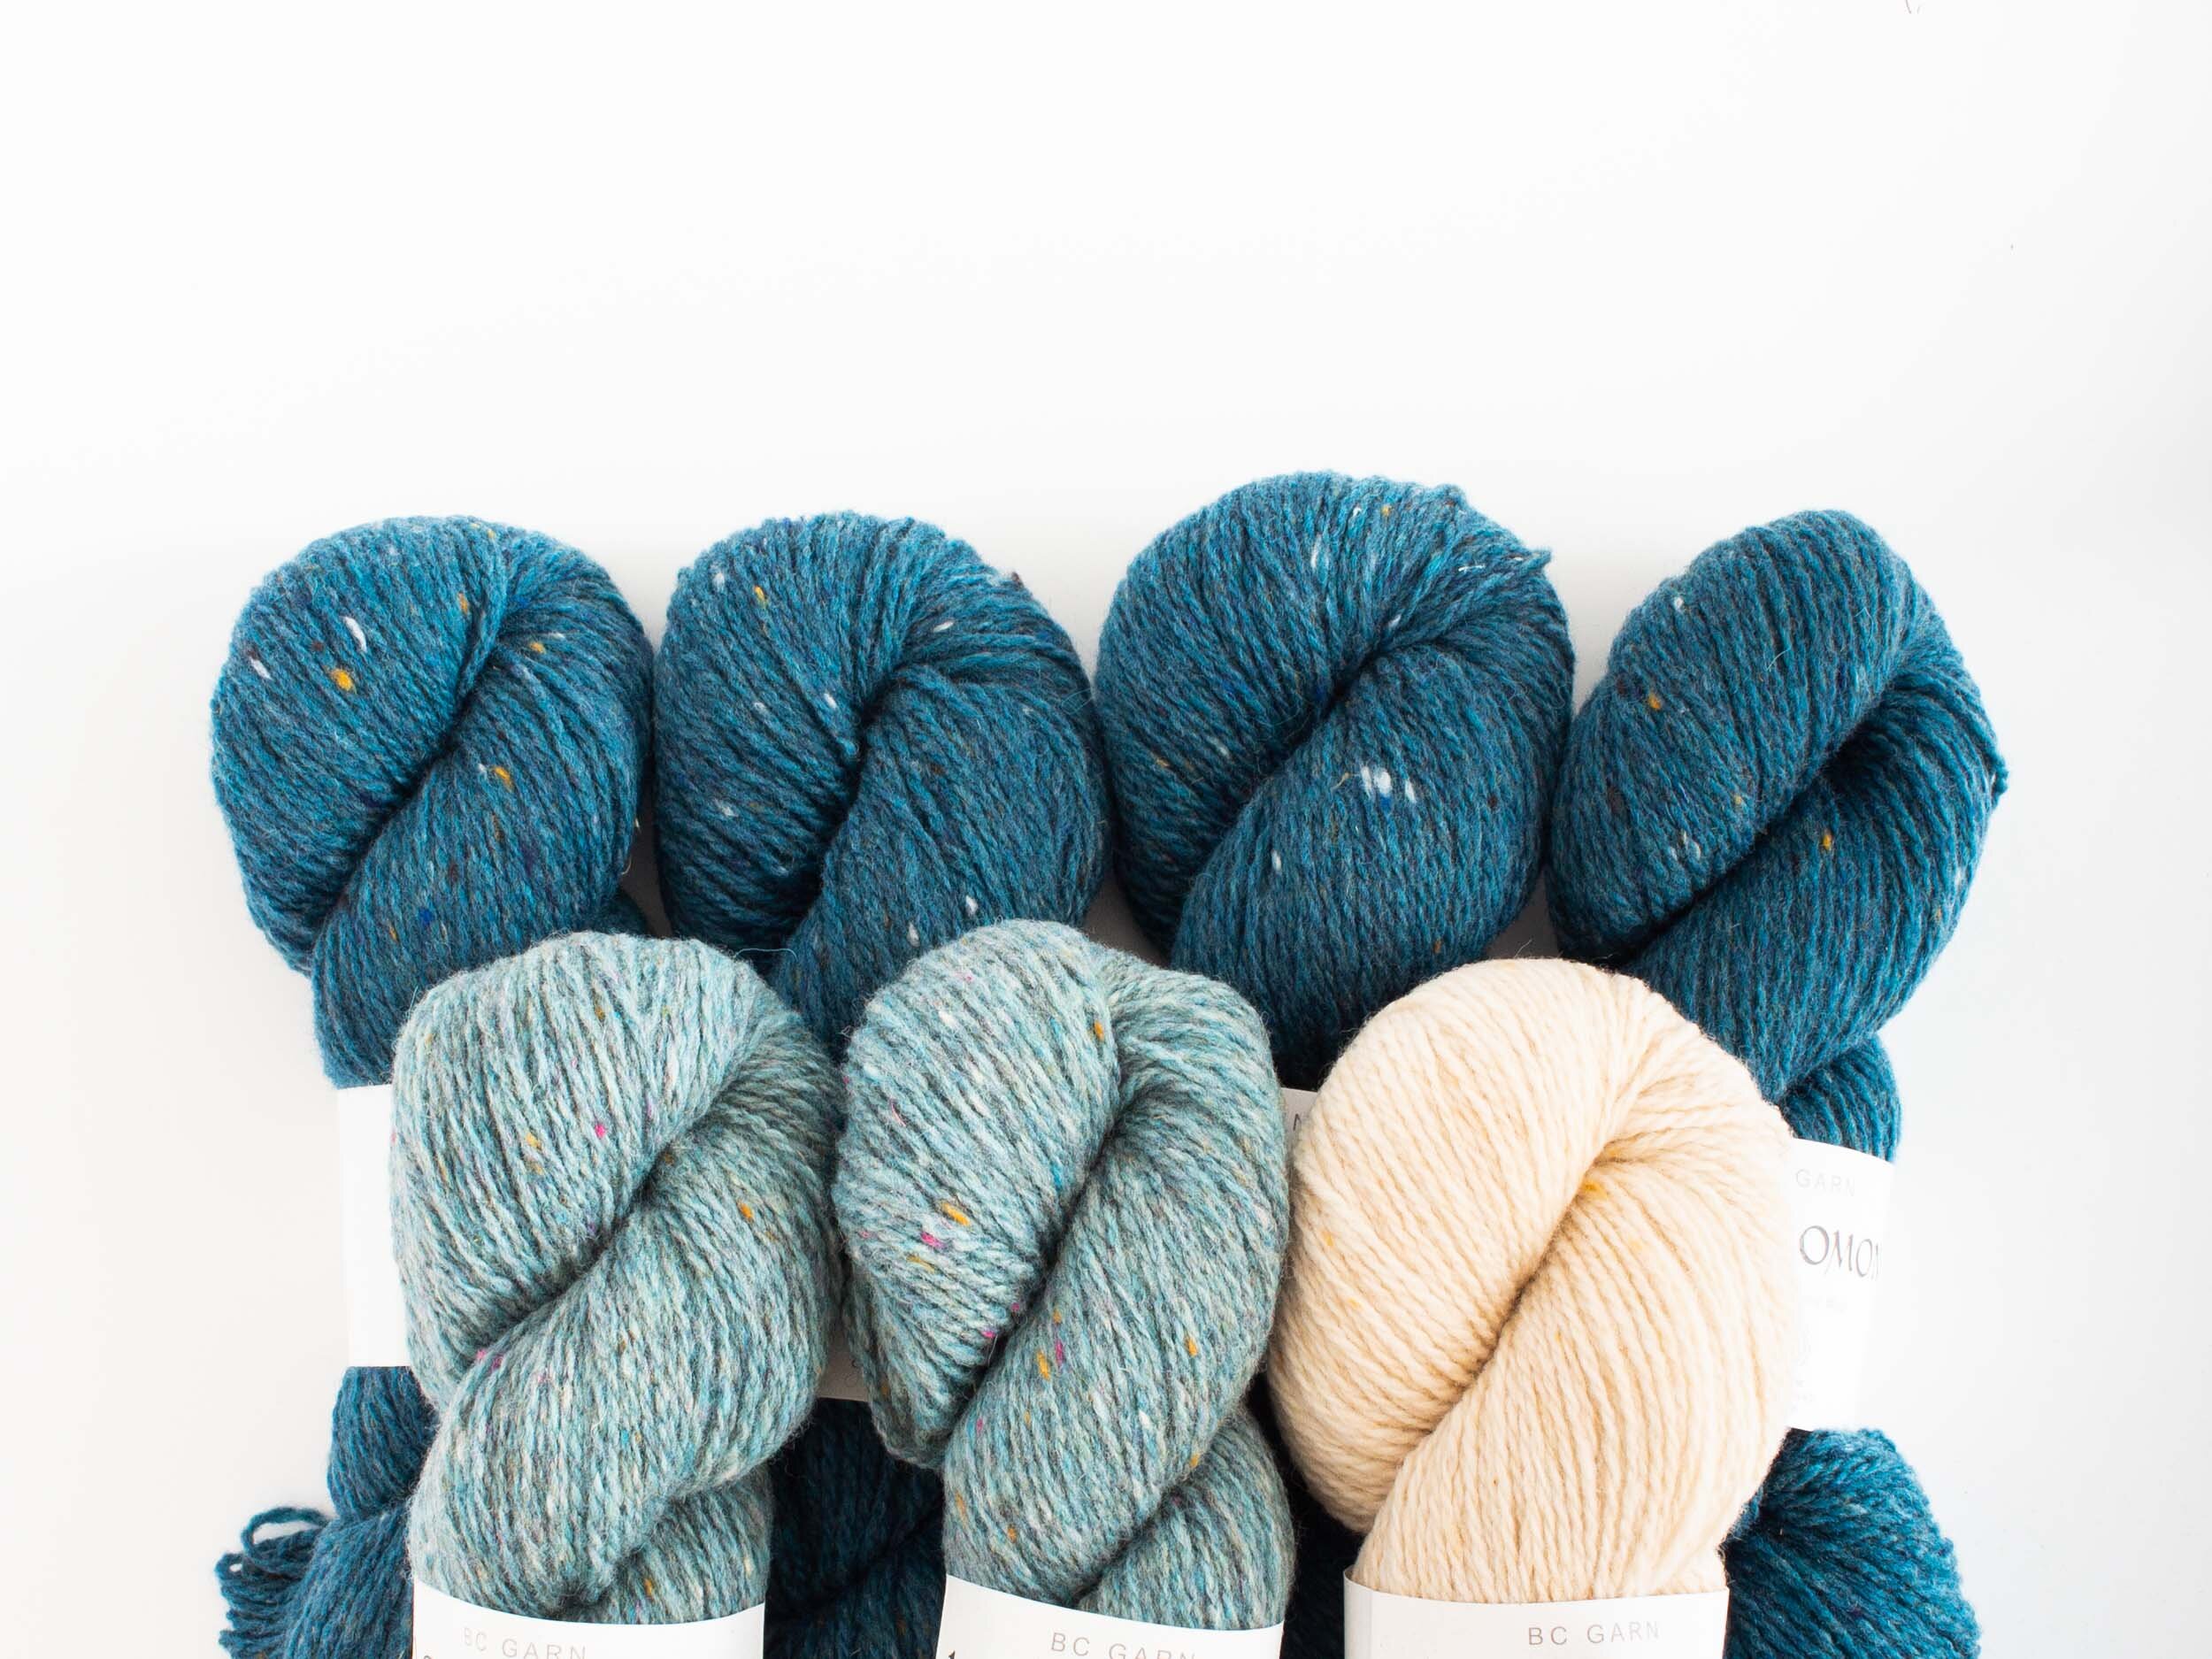
I’m sure you’ll be able to find an acceptable palette from the current Cotton Fine range.
Enjoy!
Andrea - Loom + Spindle
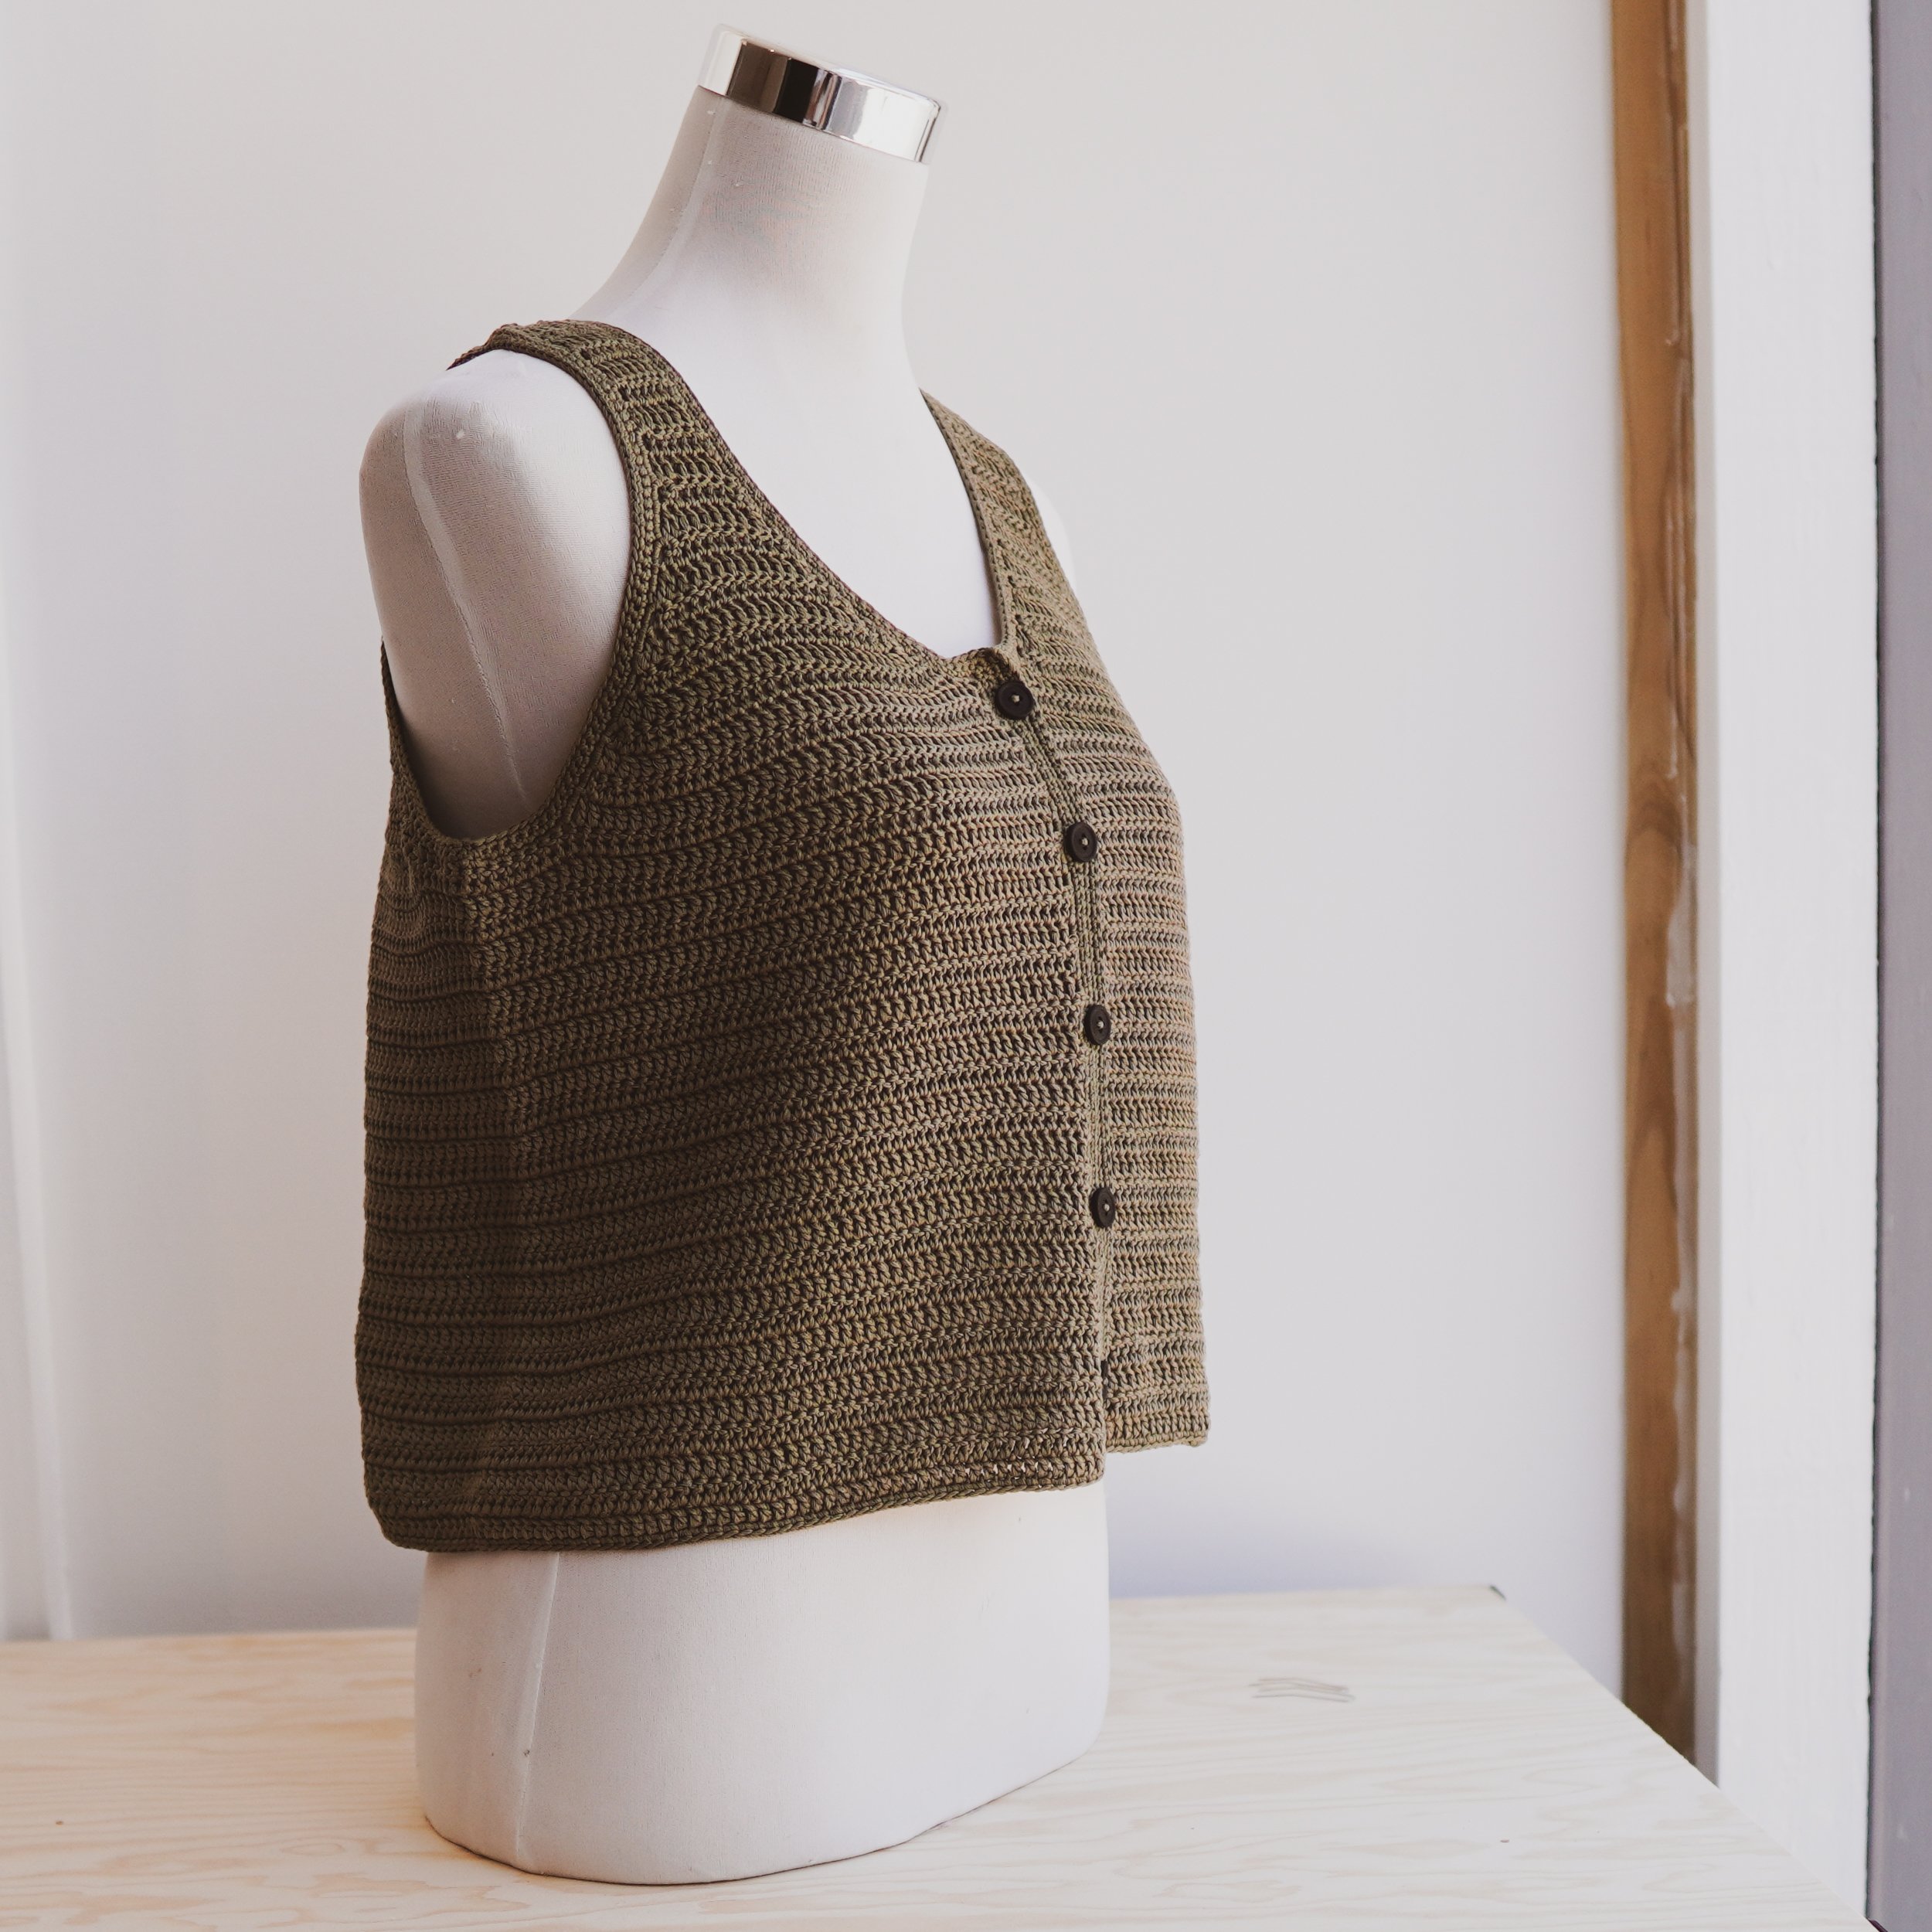
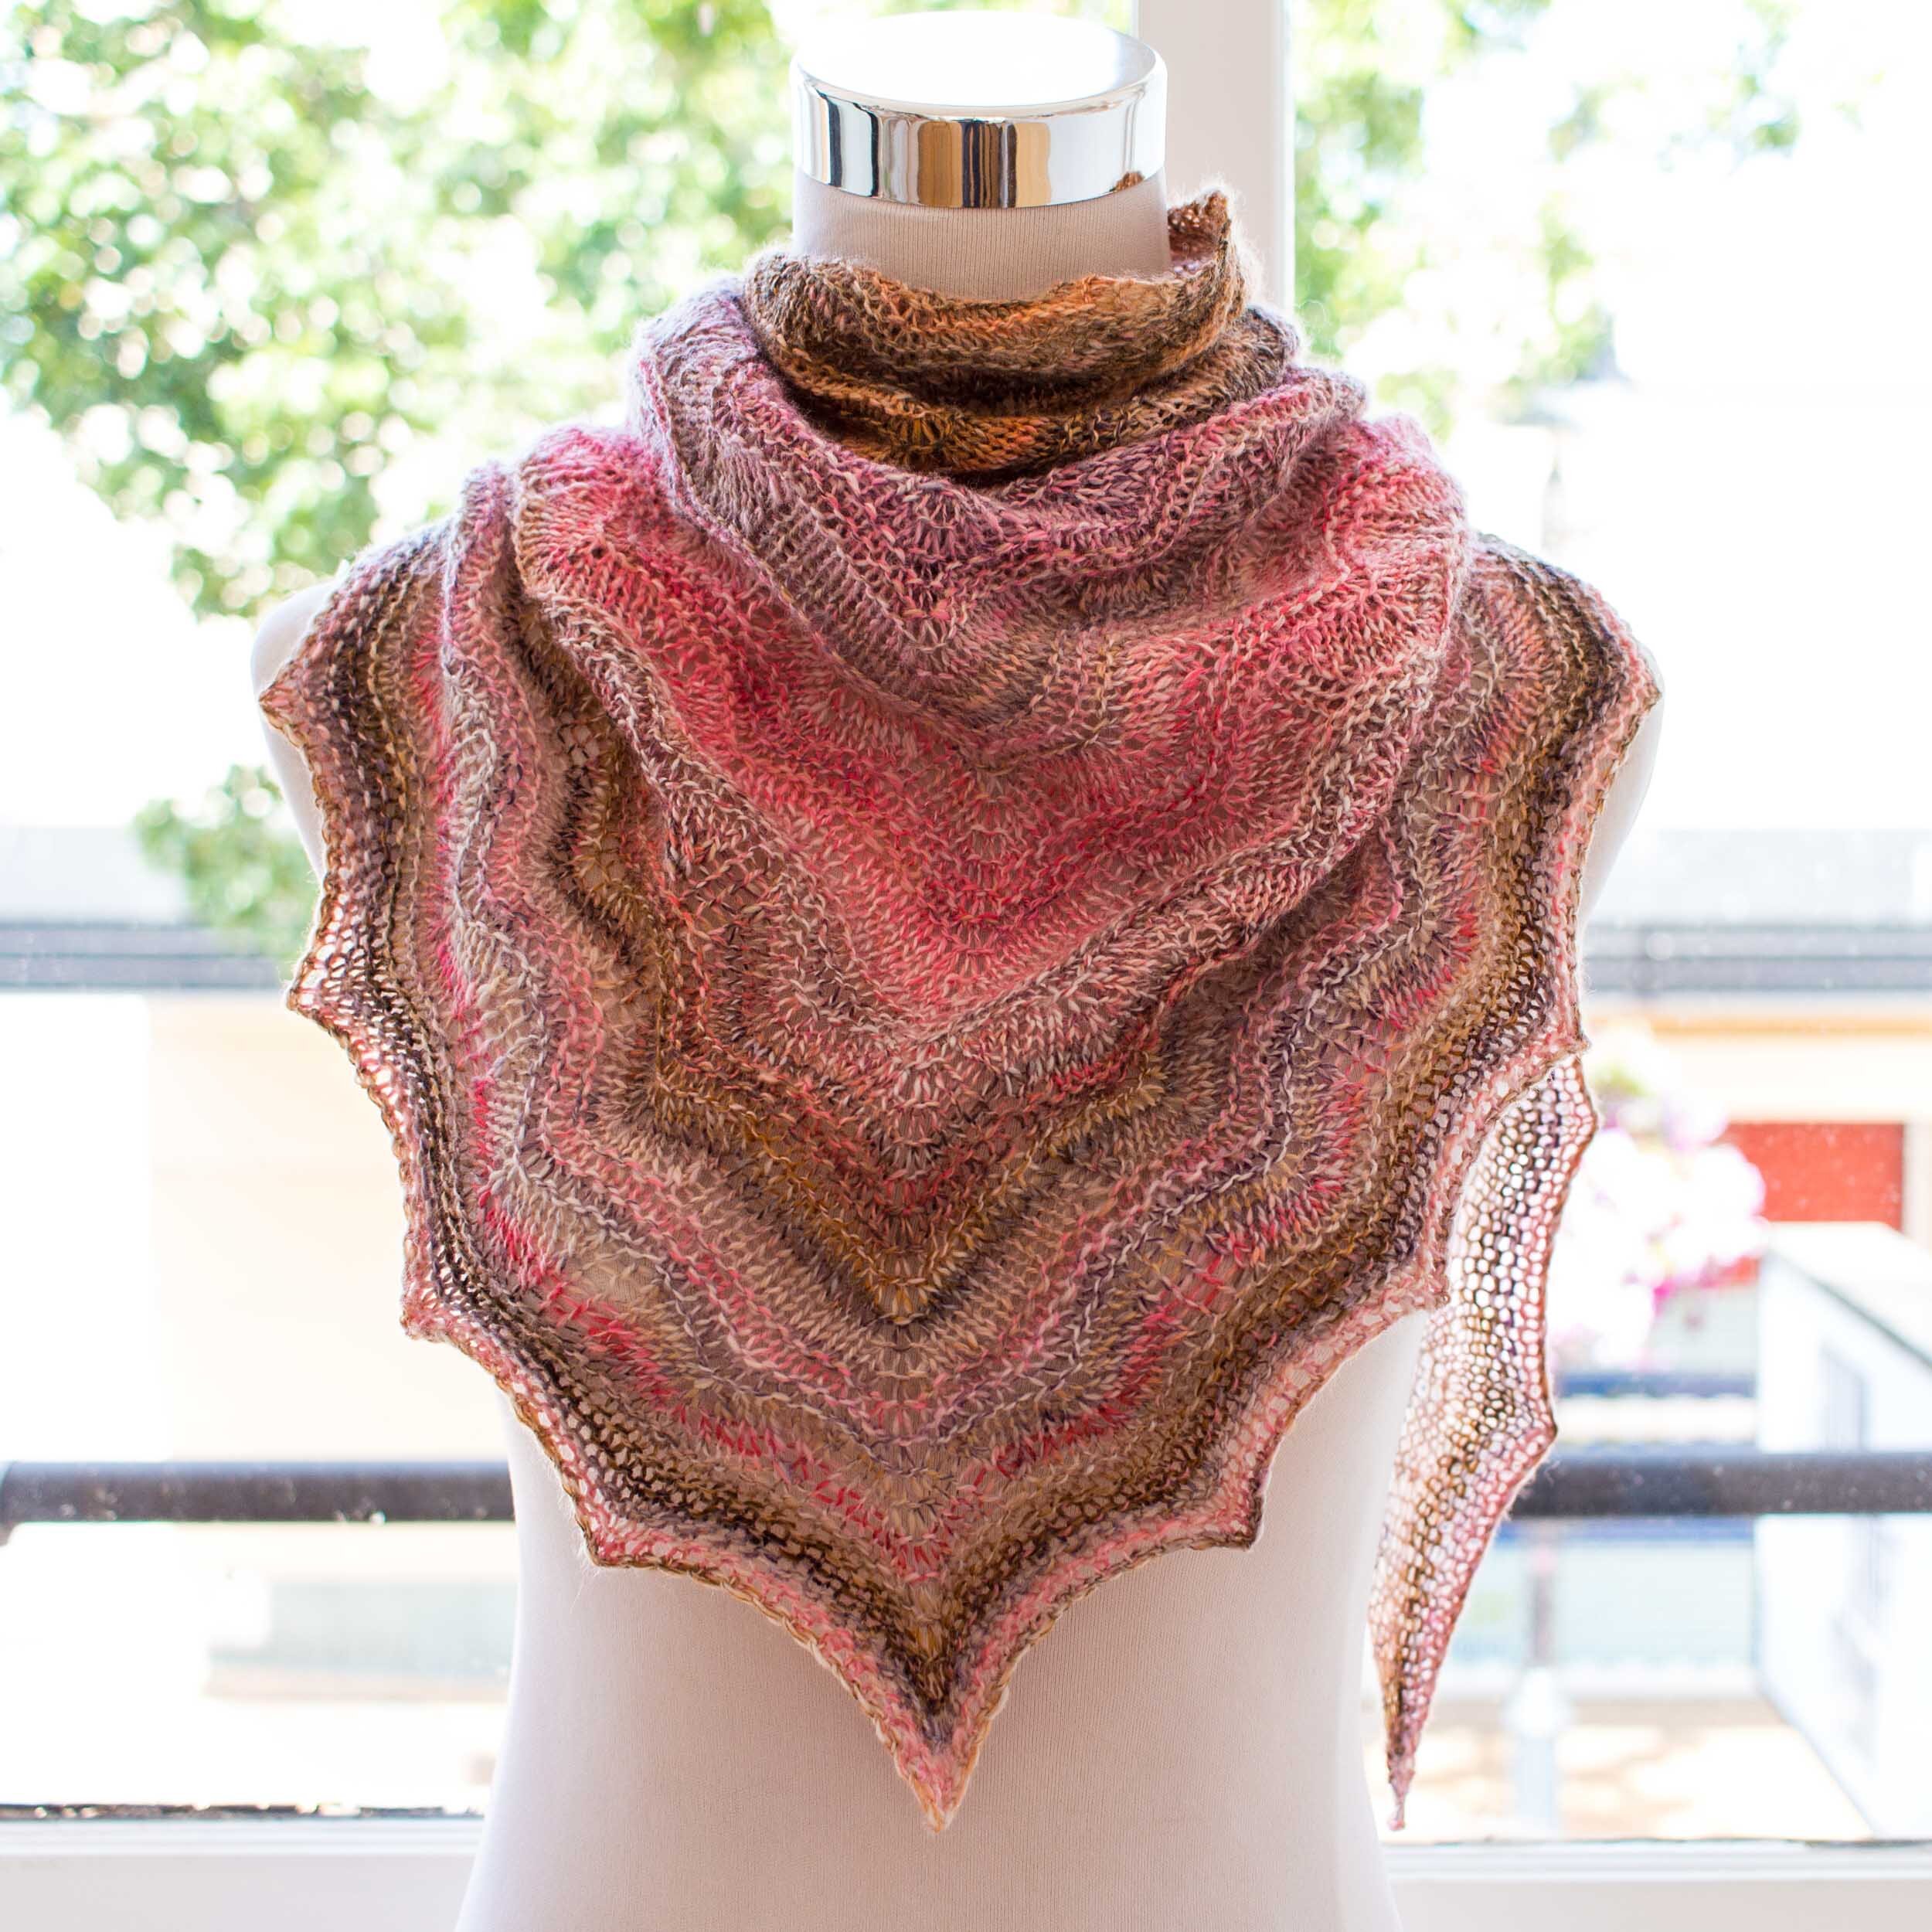
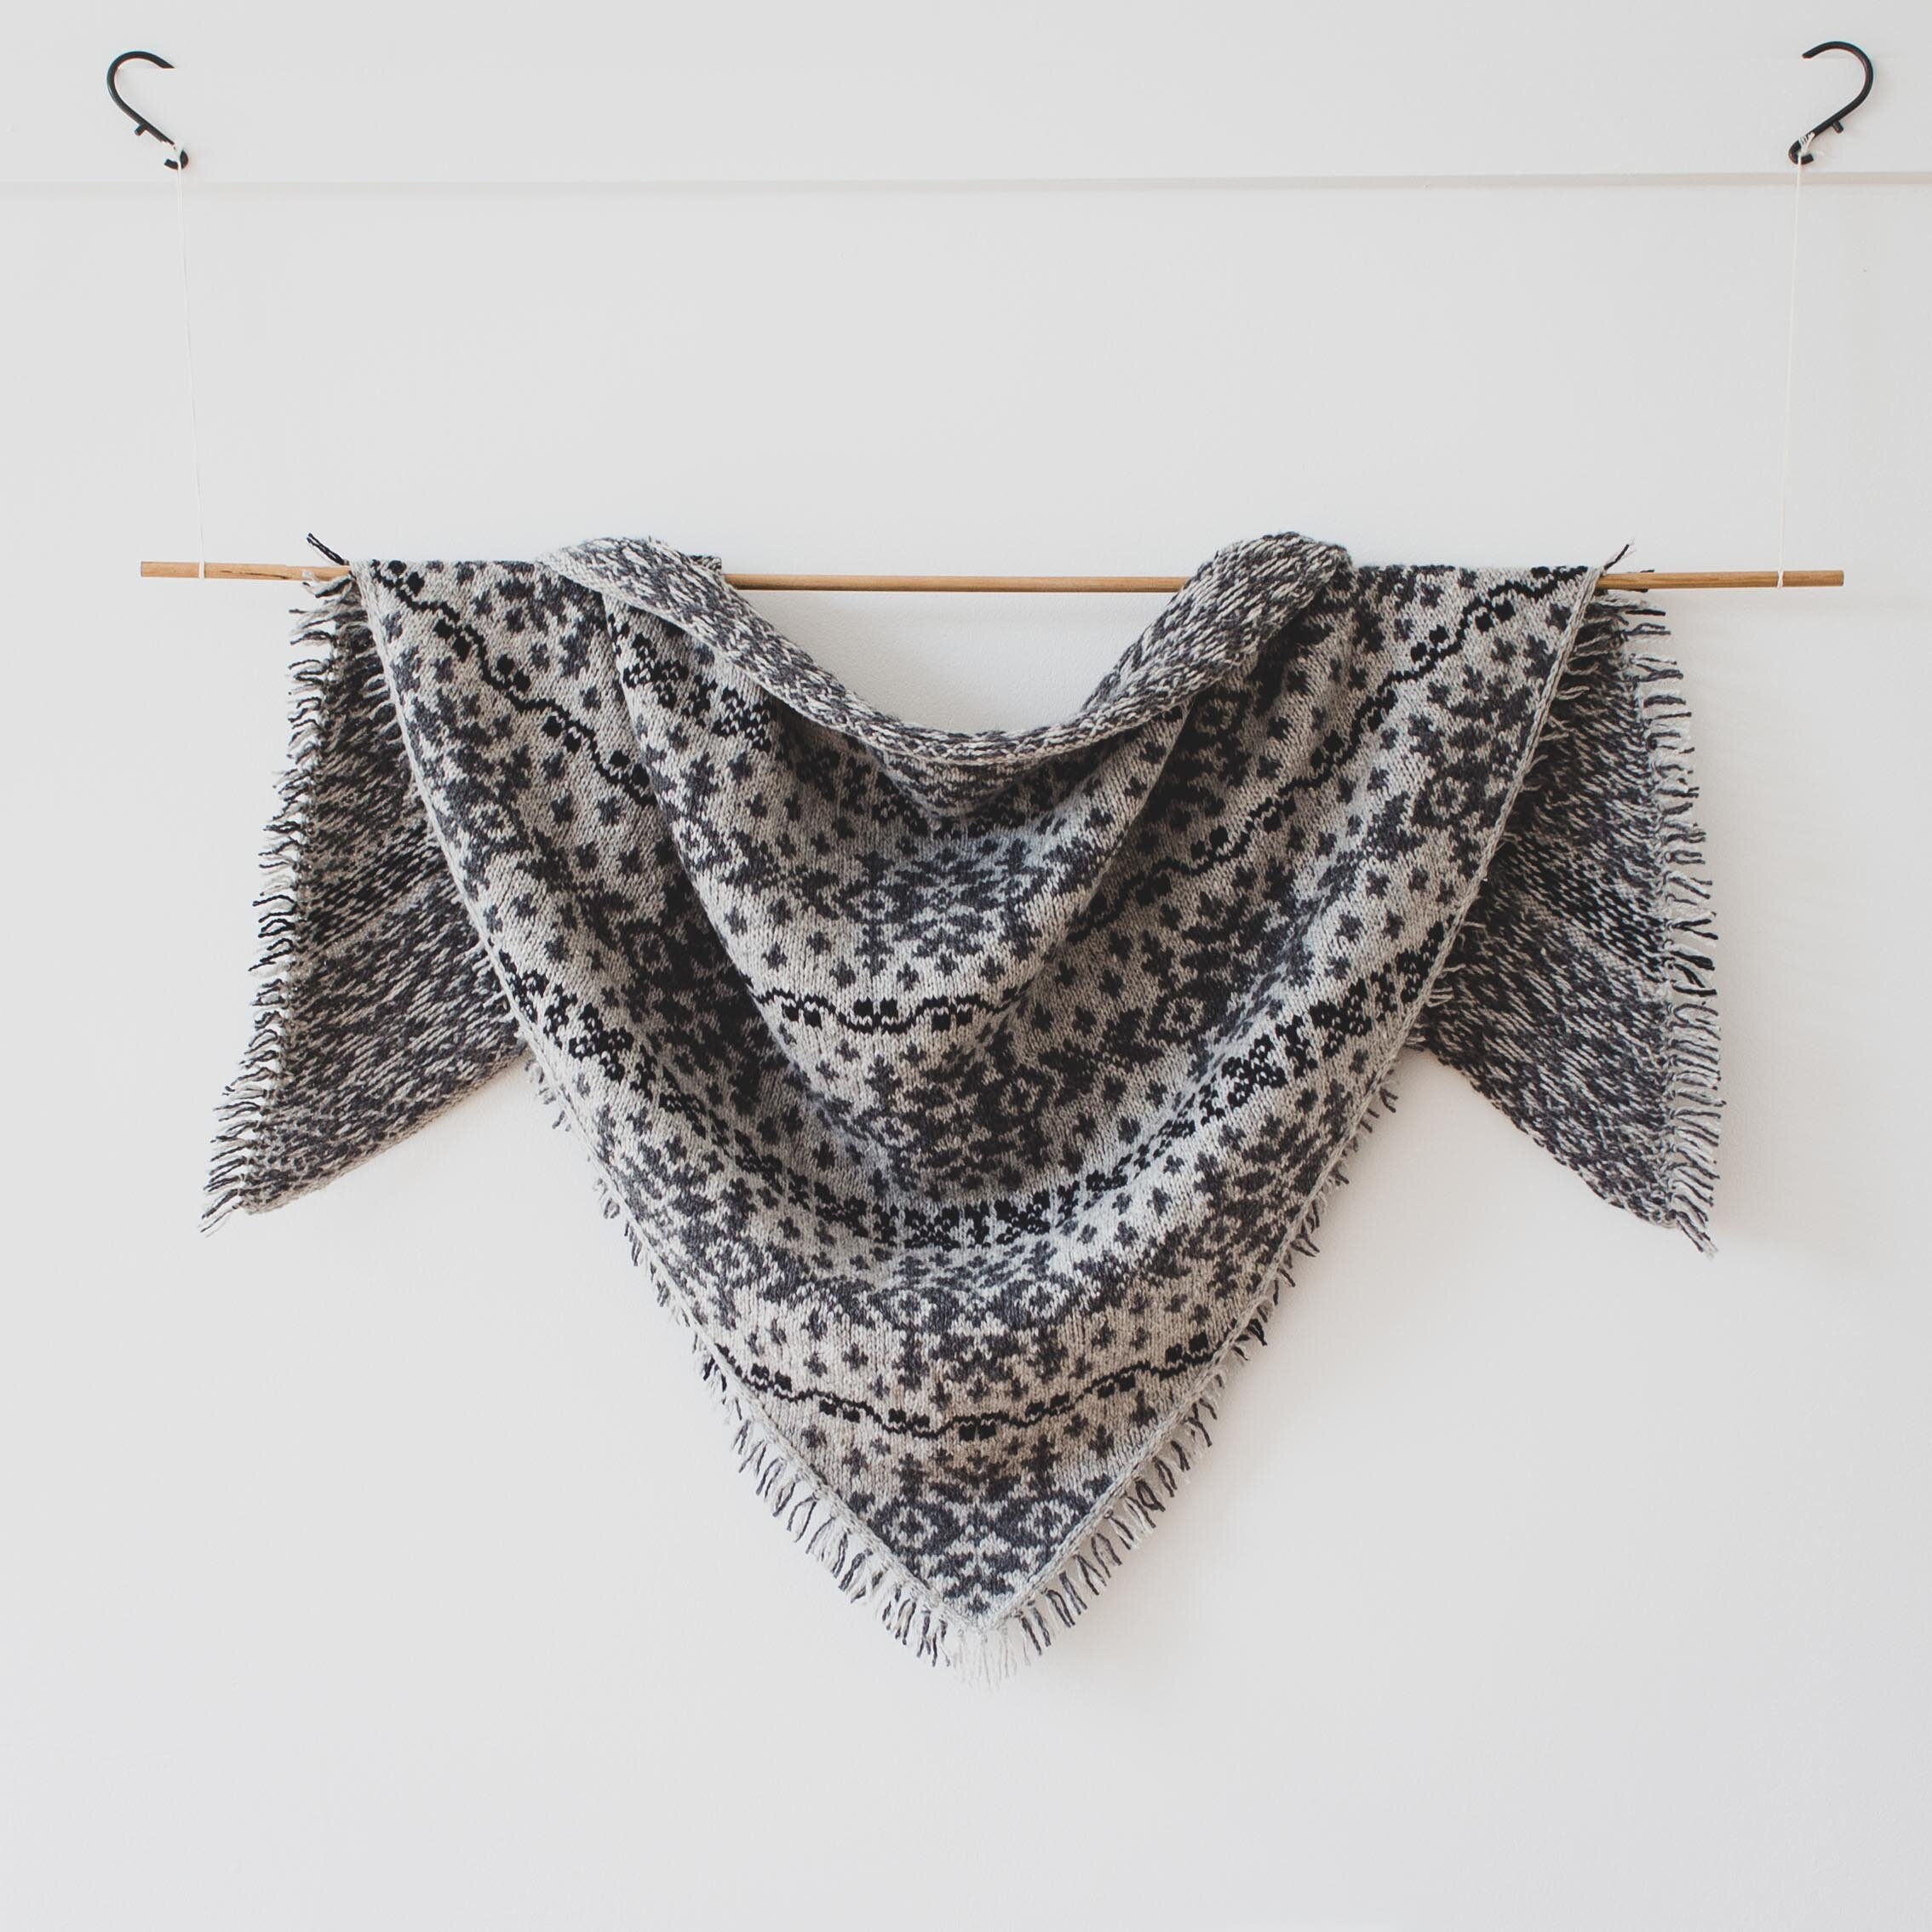
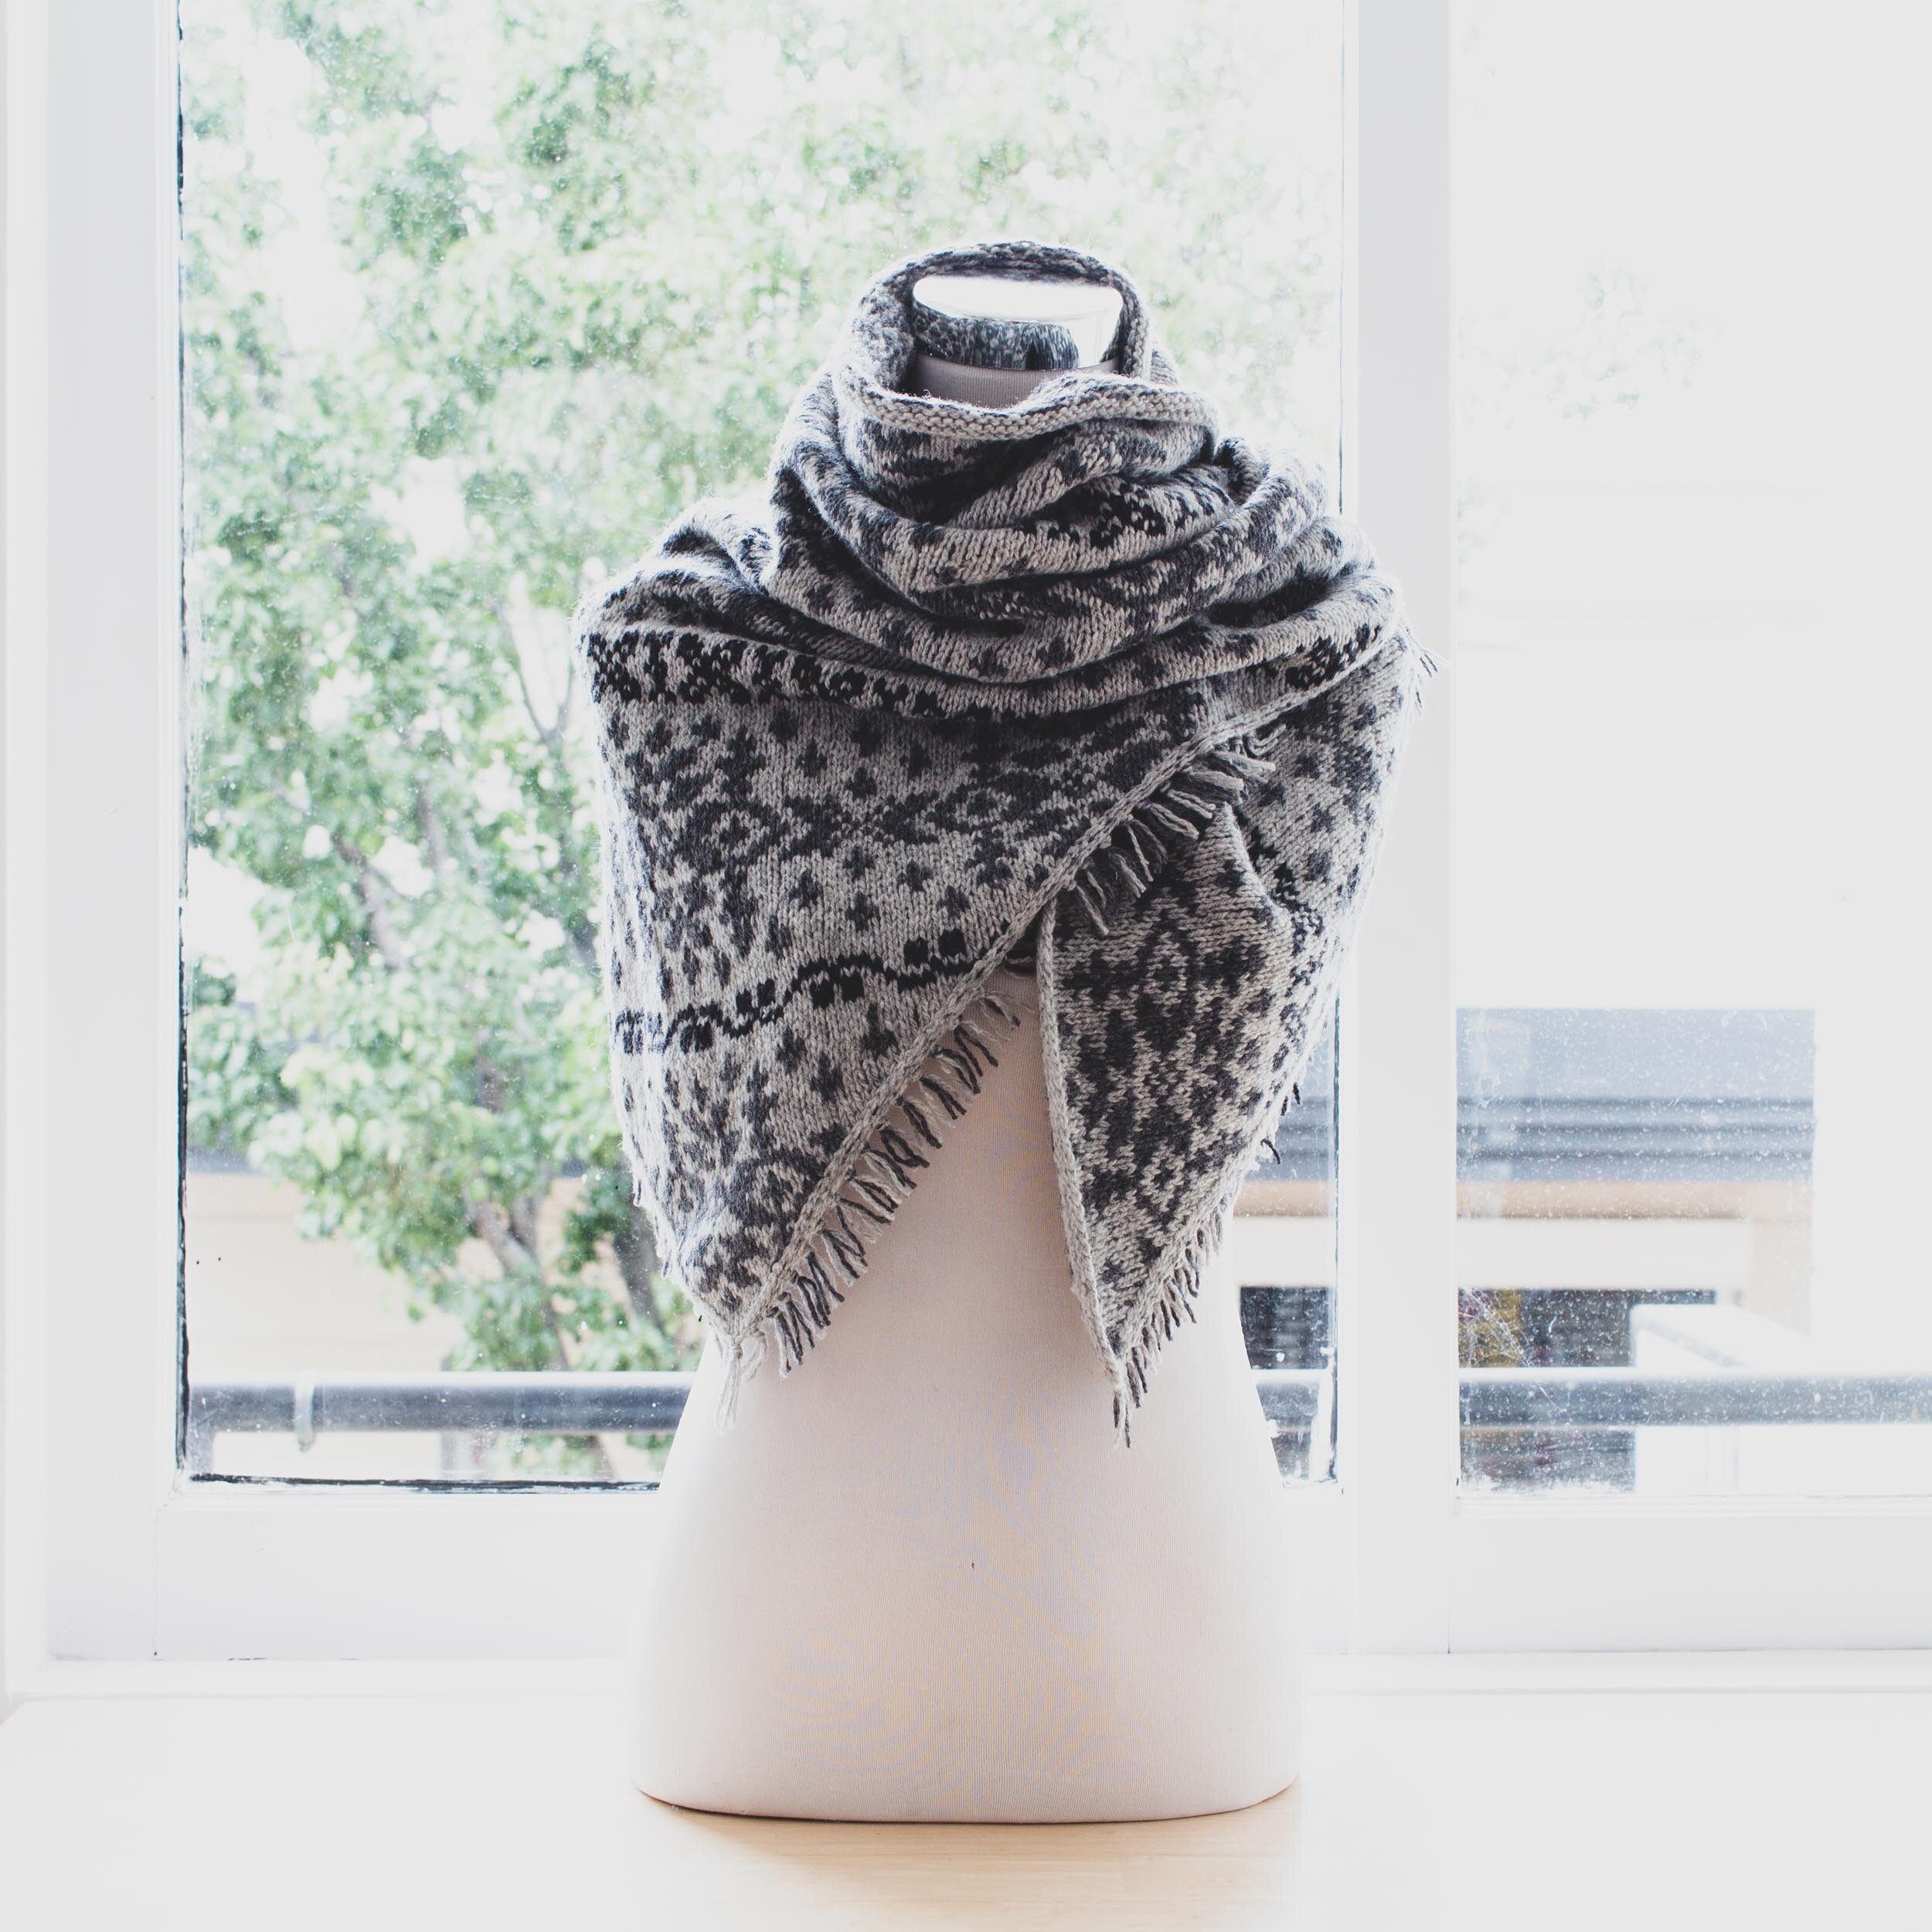
STUDIO PROJECT | NASREEN
INTENTION
Knit Nasreen and explore:
Working with Cotton Fine
Working a garment flat and in pieces
DESIGN
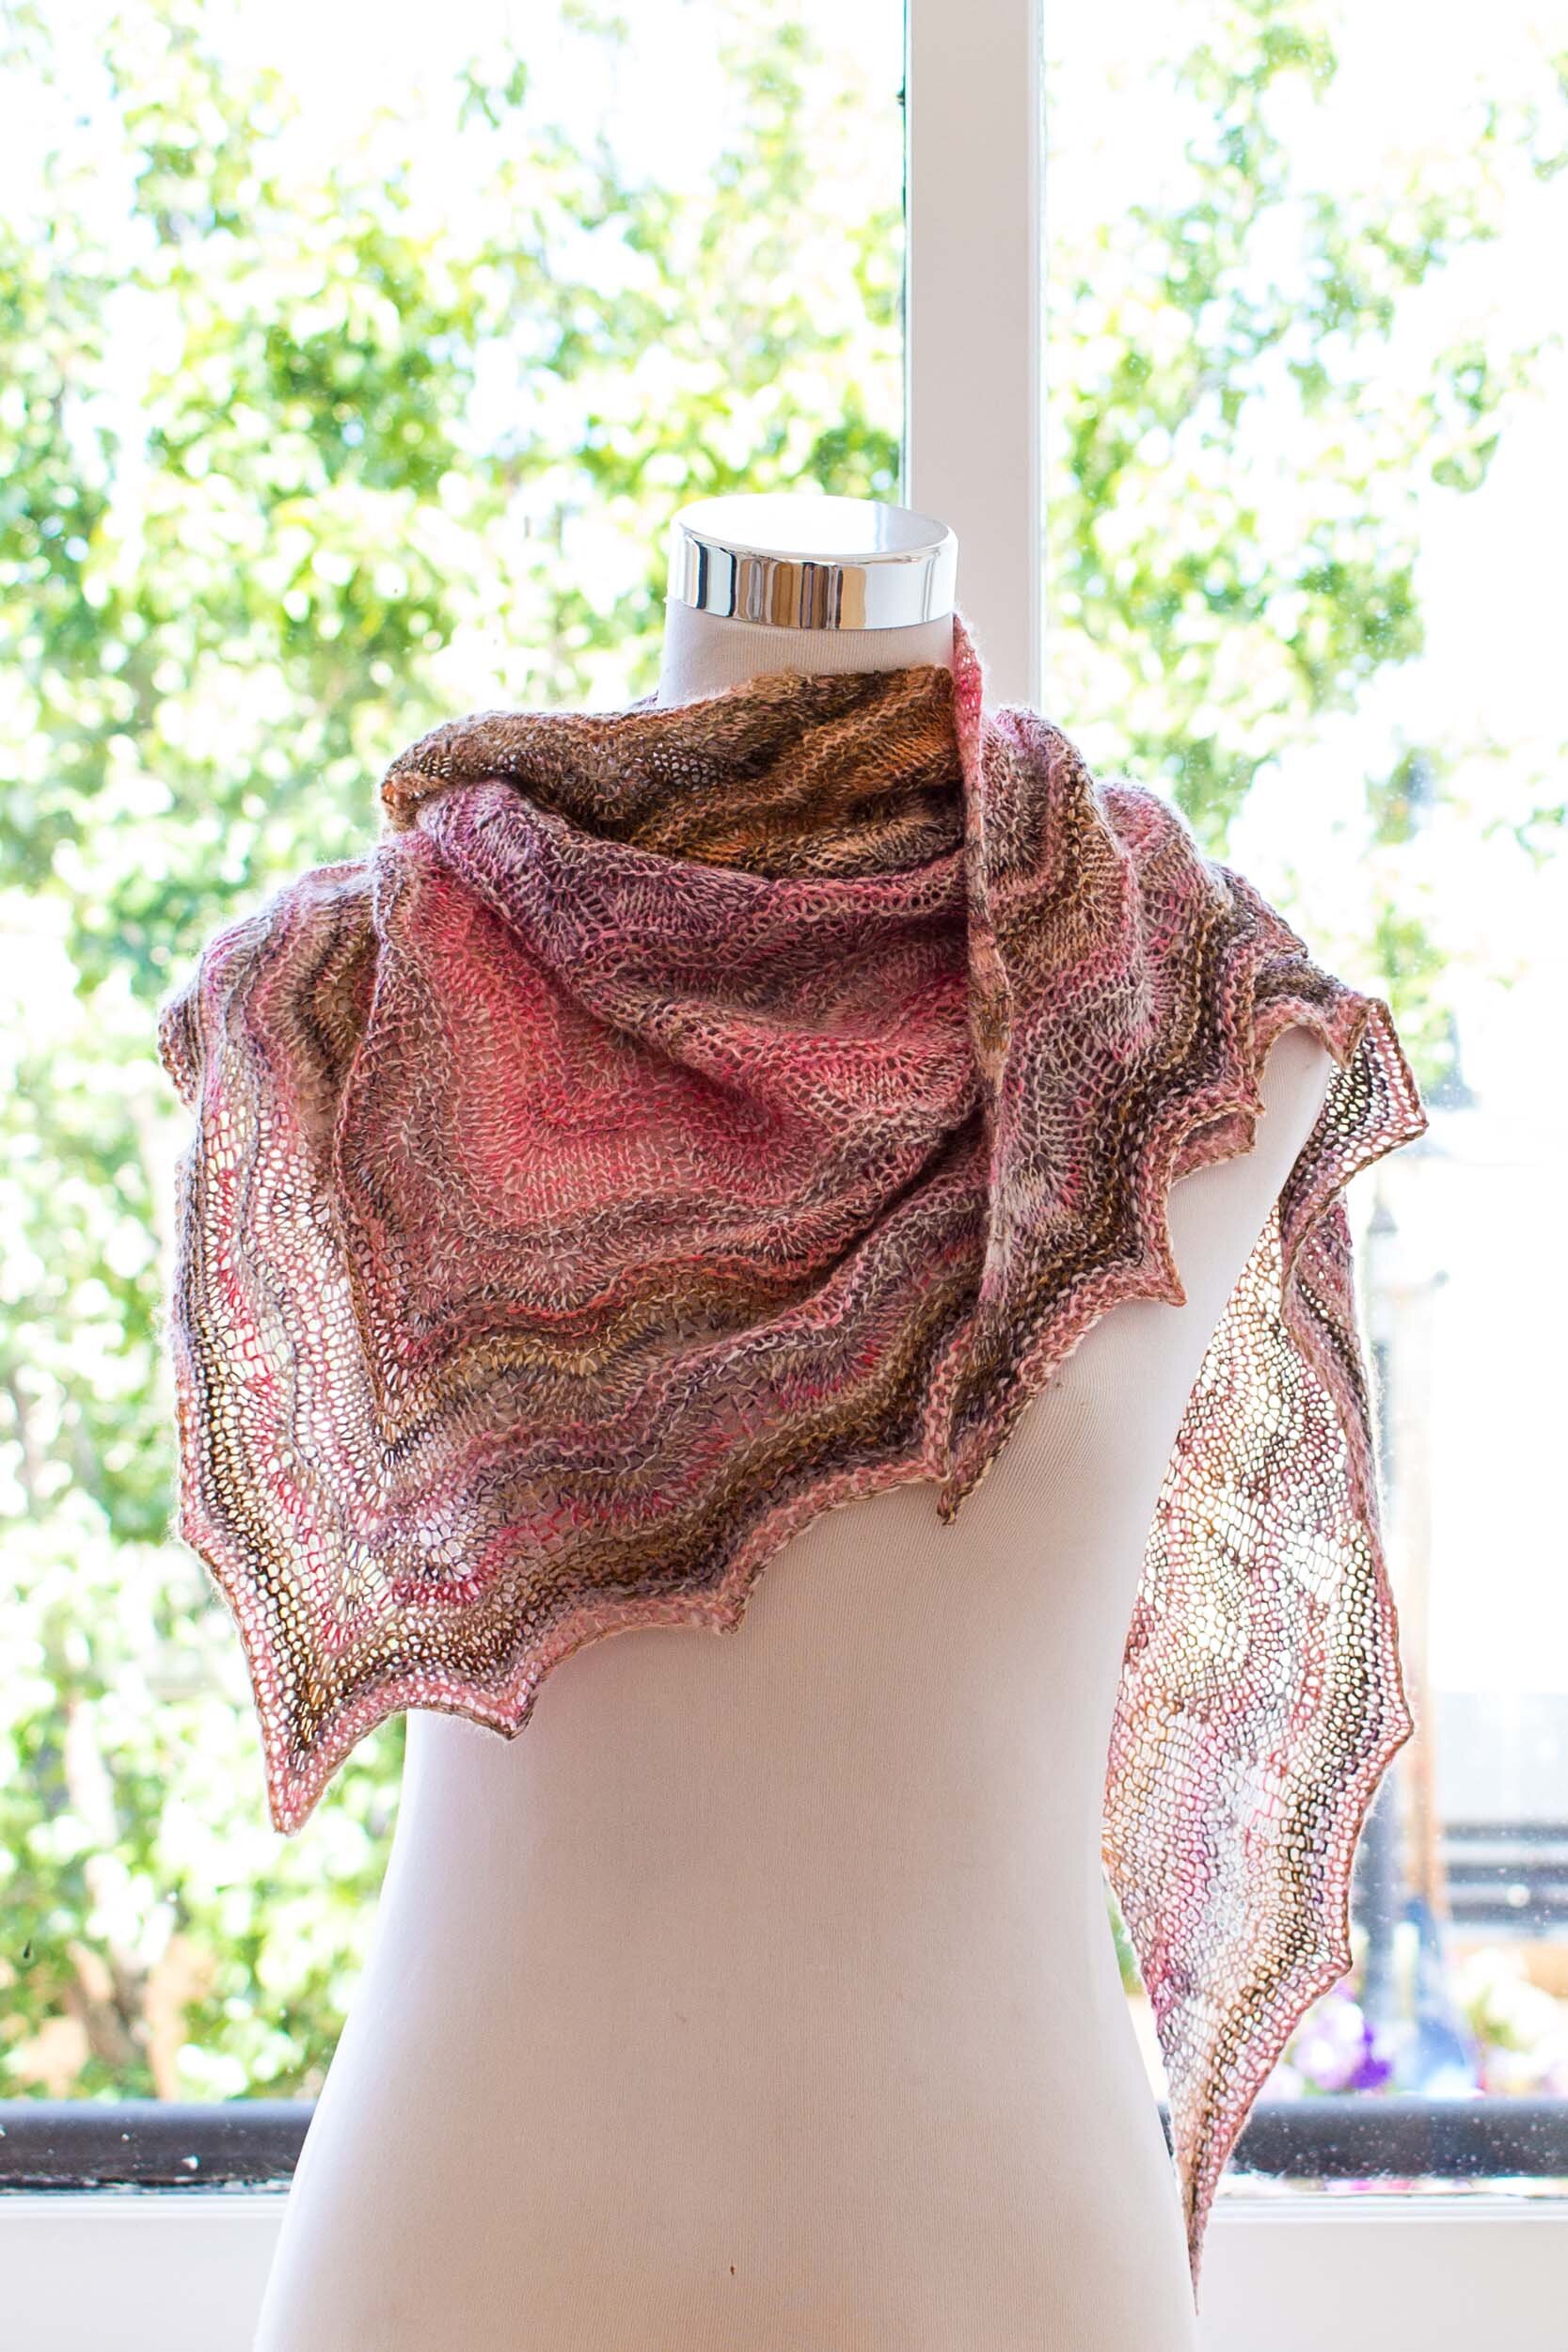
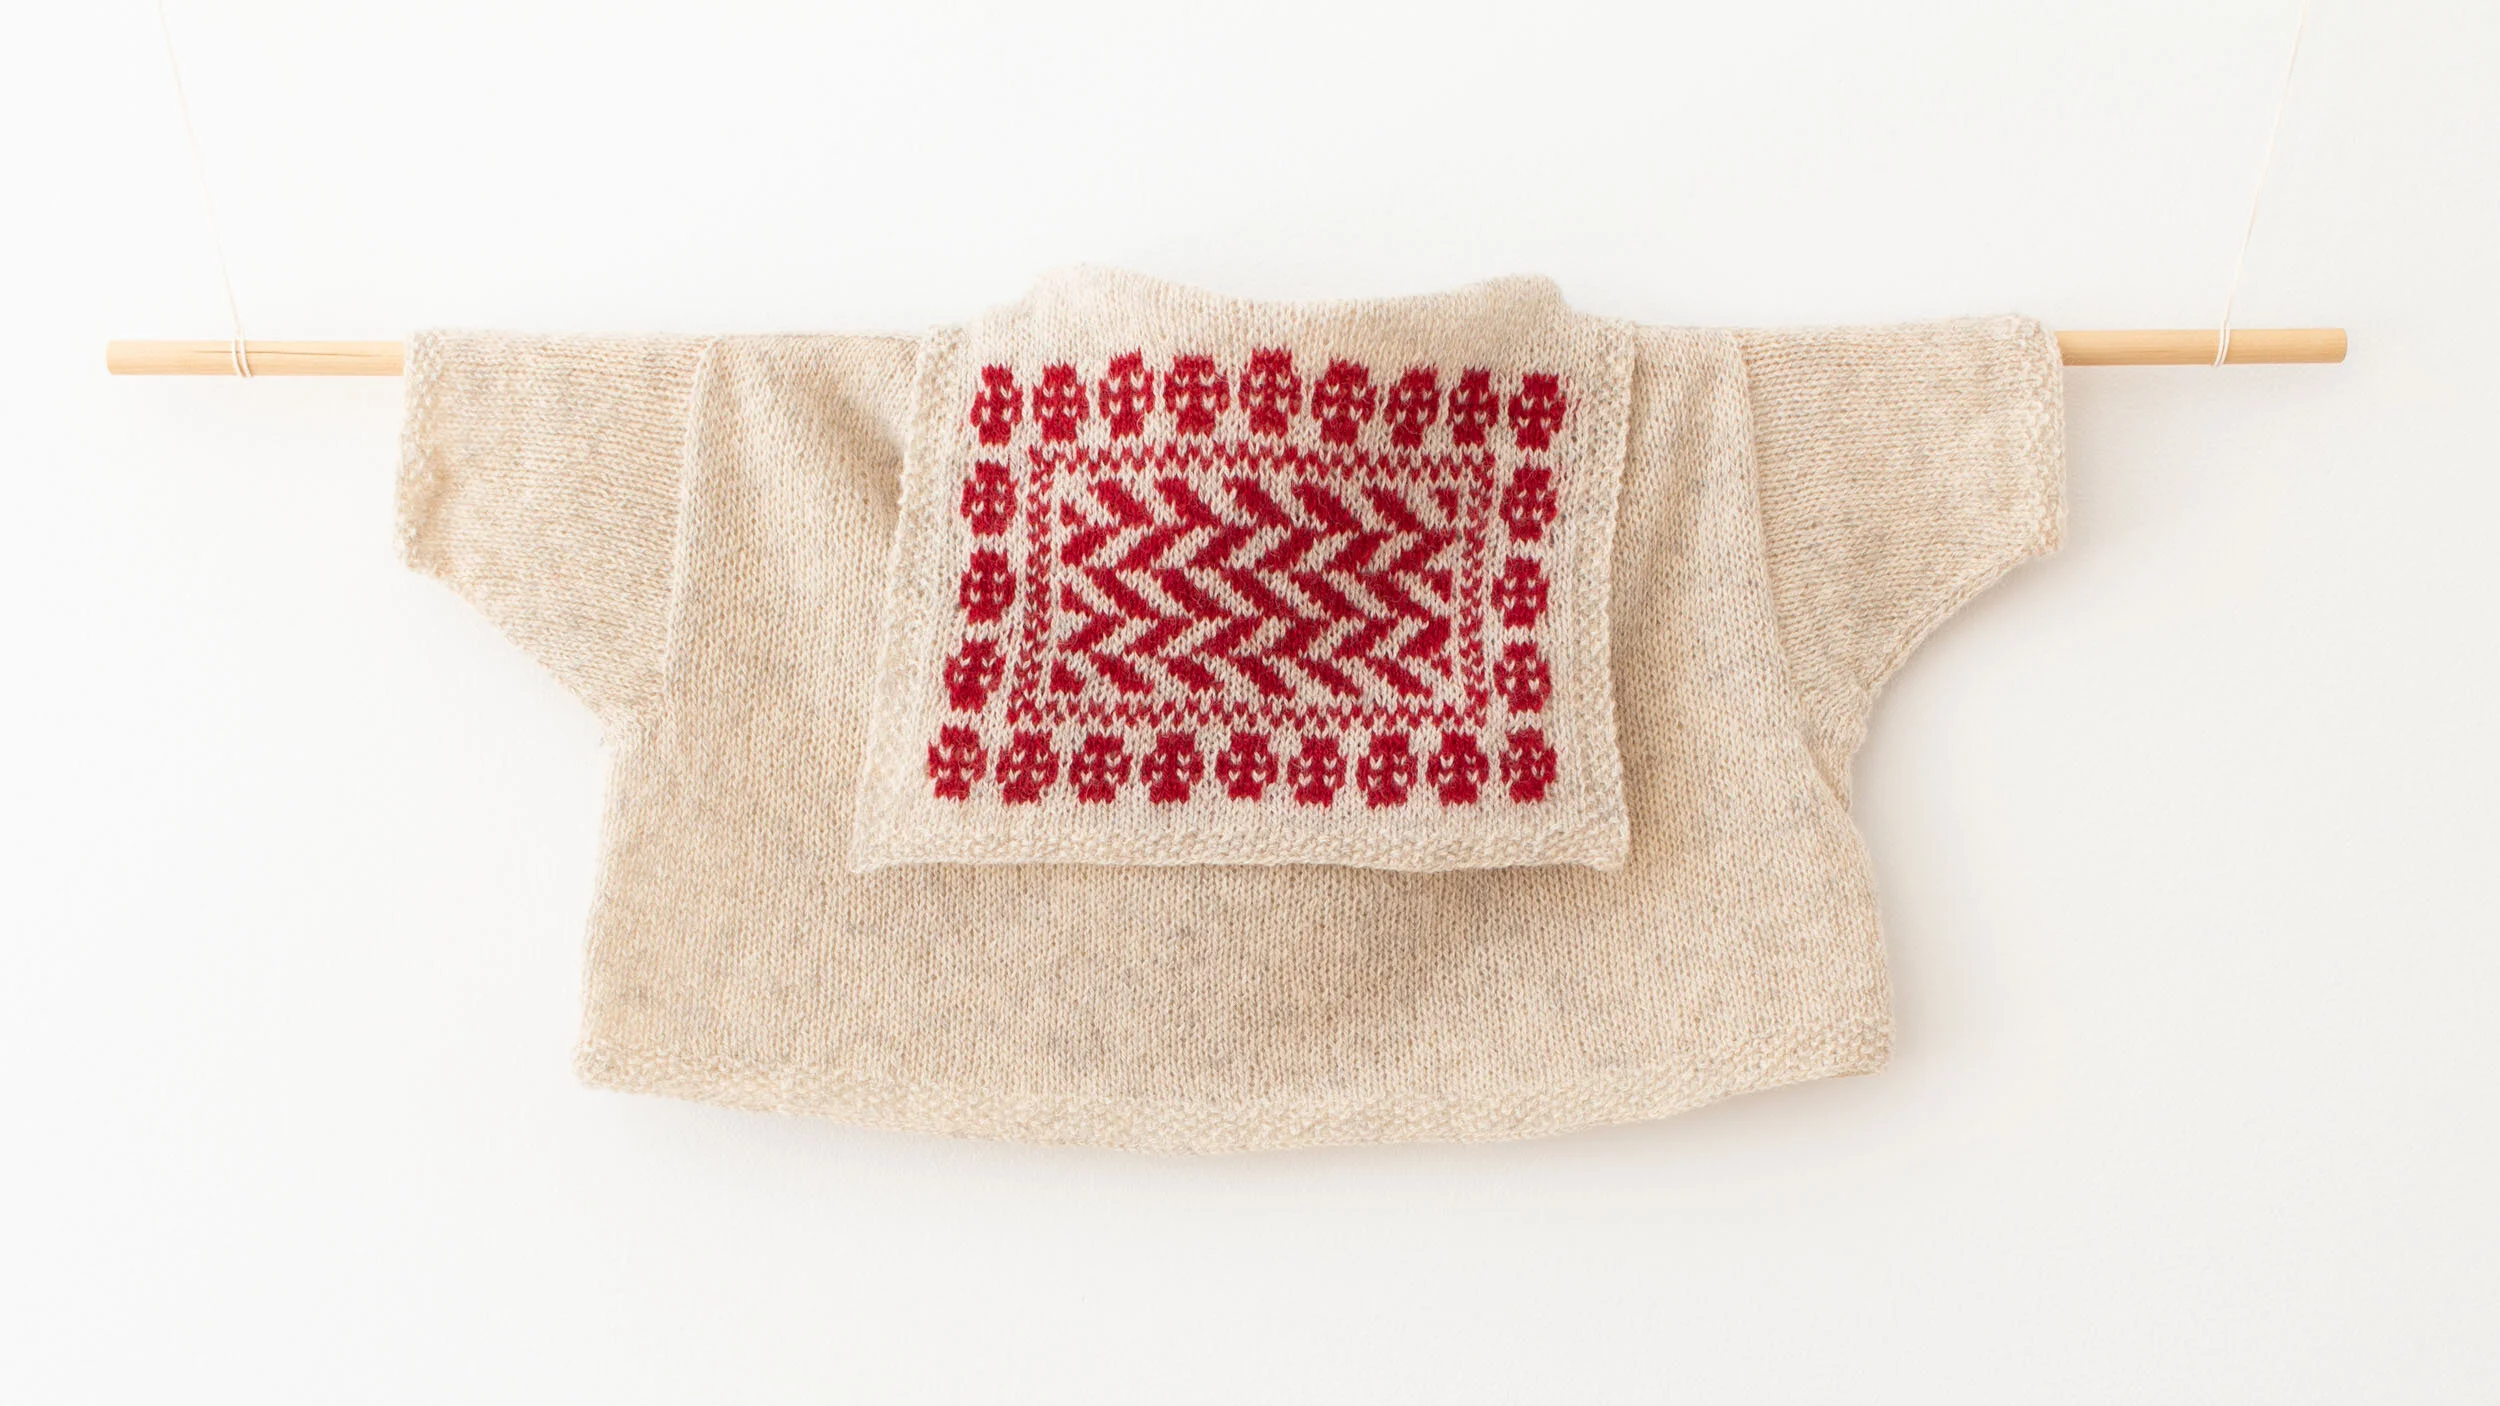
Nasreen was designed by Lana Jois and first published in Pom Pom Quarterly issue Summer 2018. It’s currently available to purchase as a digital download from Ravelry.com.
The pattern is available in 6 sizes with finished bust circumferences of 92.5cm to 141cm (36½'' to 55½''), and has both a long and cropped length version.
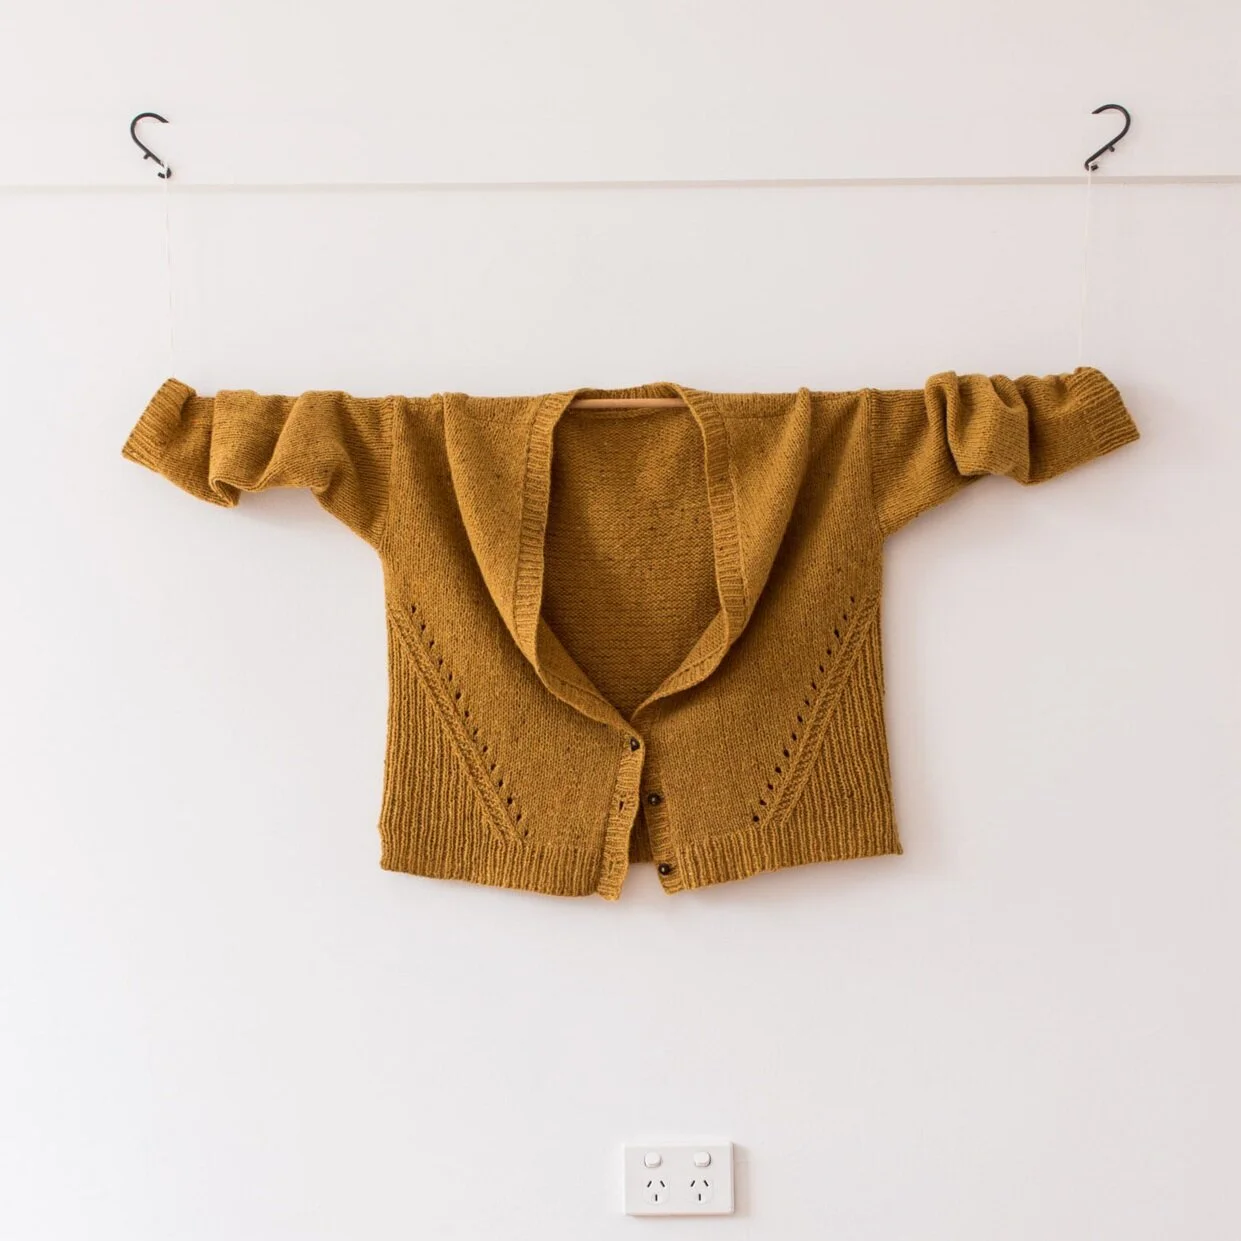
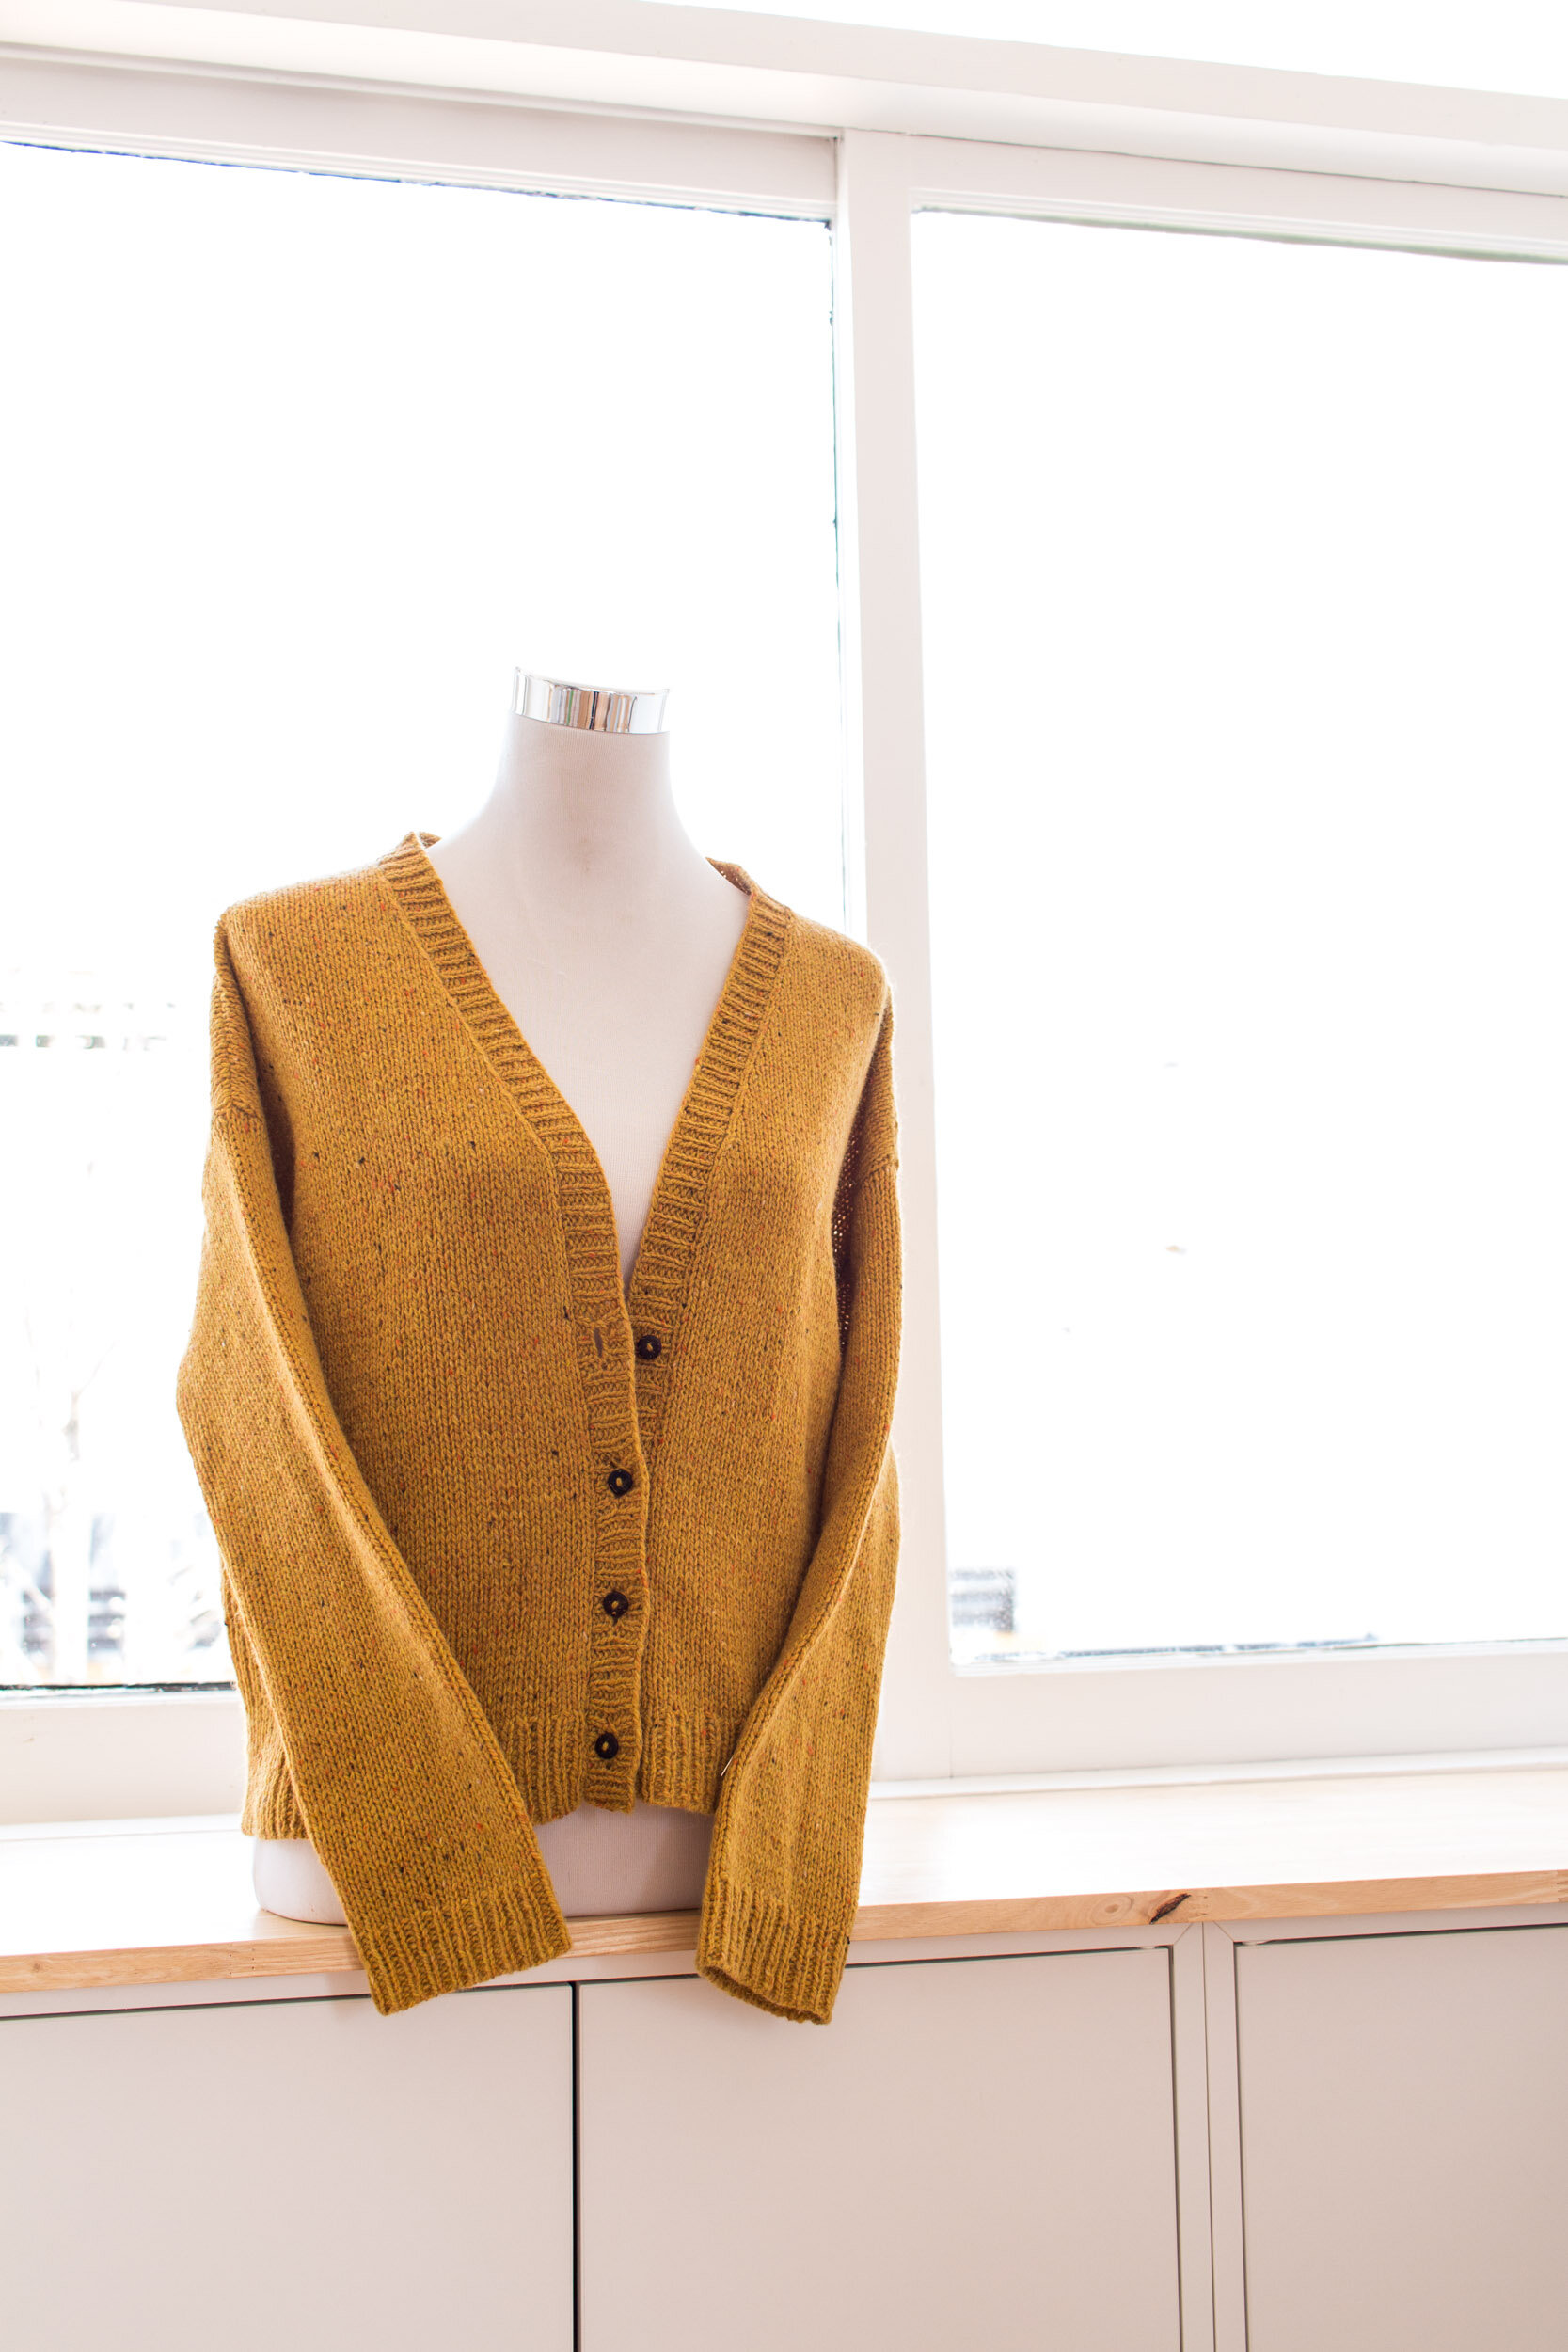
I knit size 3 with a finished bust circumference of 111.5cm (44'') in a cropped length.

SKILLS
Knitting flat
Decreasing
Picking up stitches
Seaming
TOOLS
2.75mm (US 2) straight knitting needles and one size smaller for ribbing.
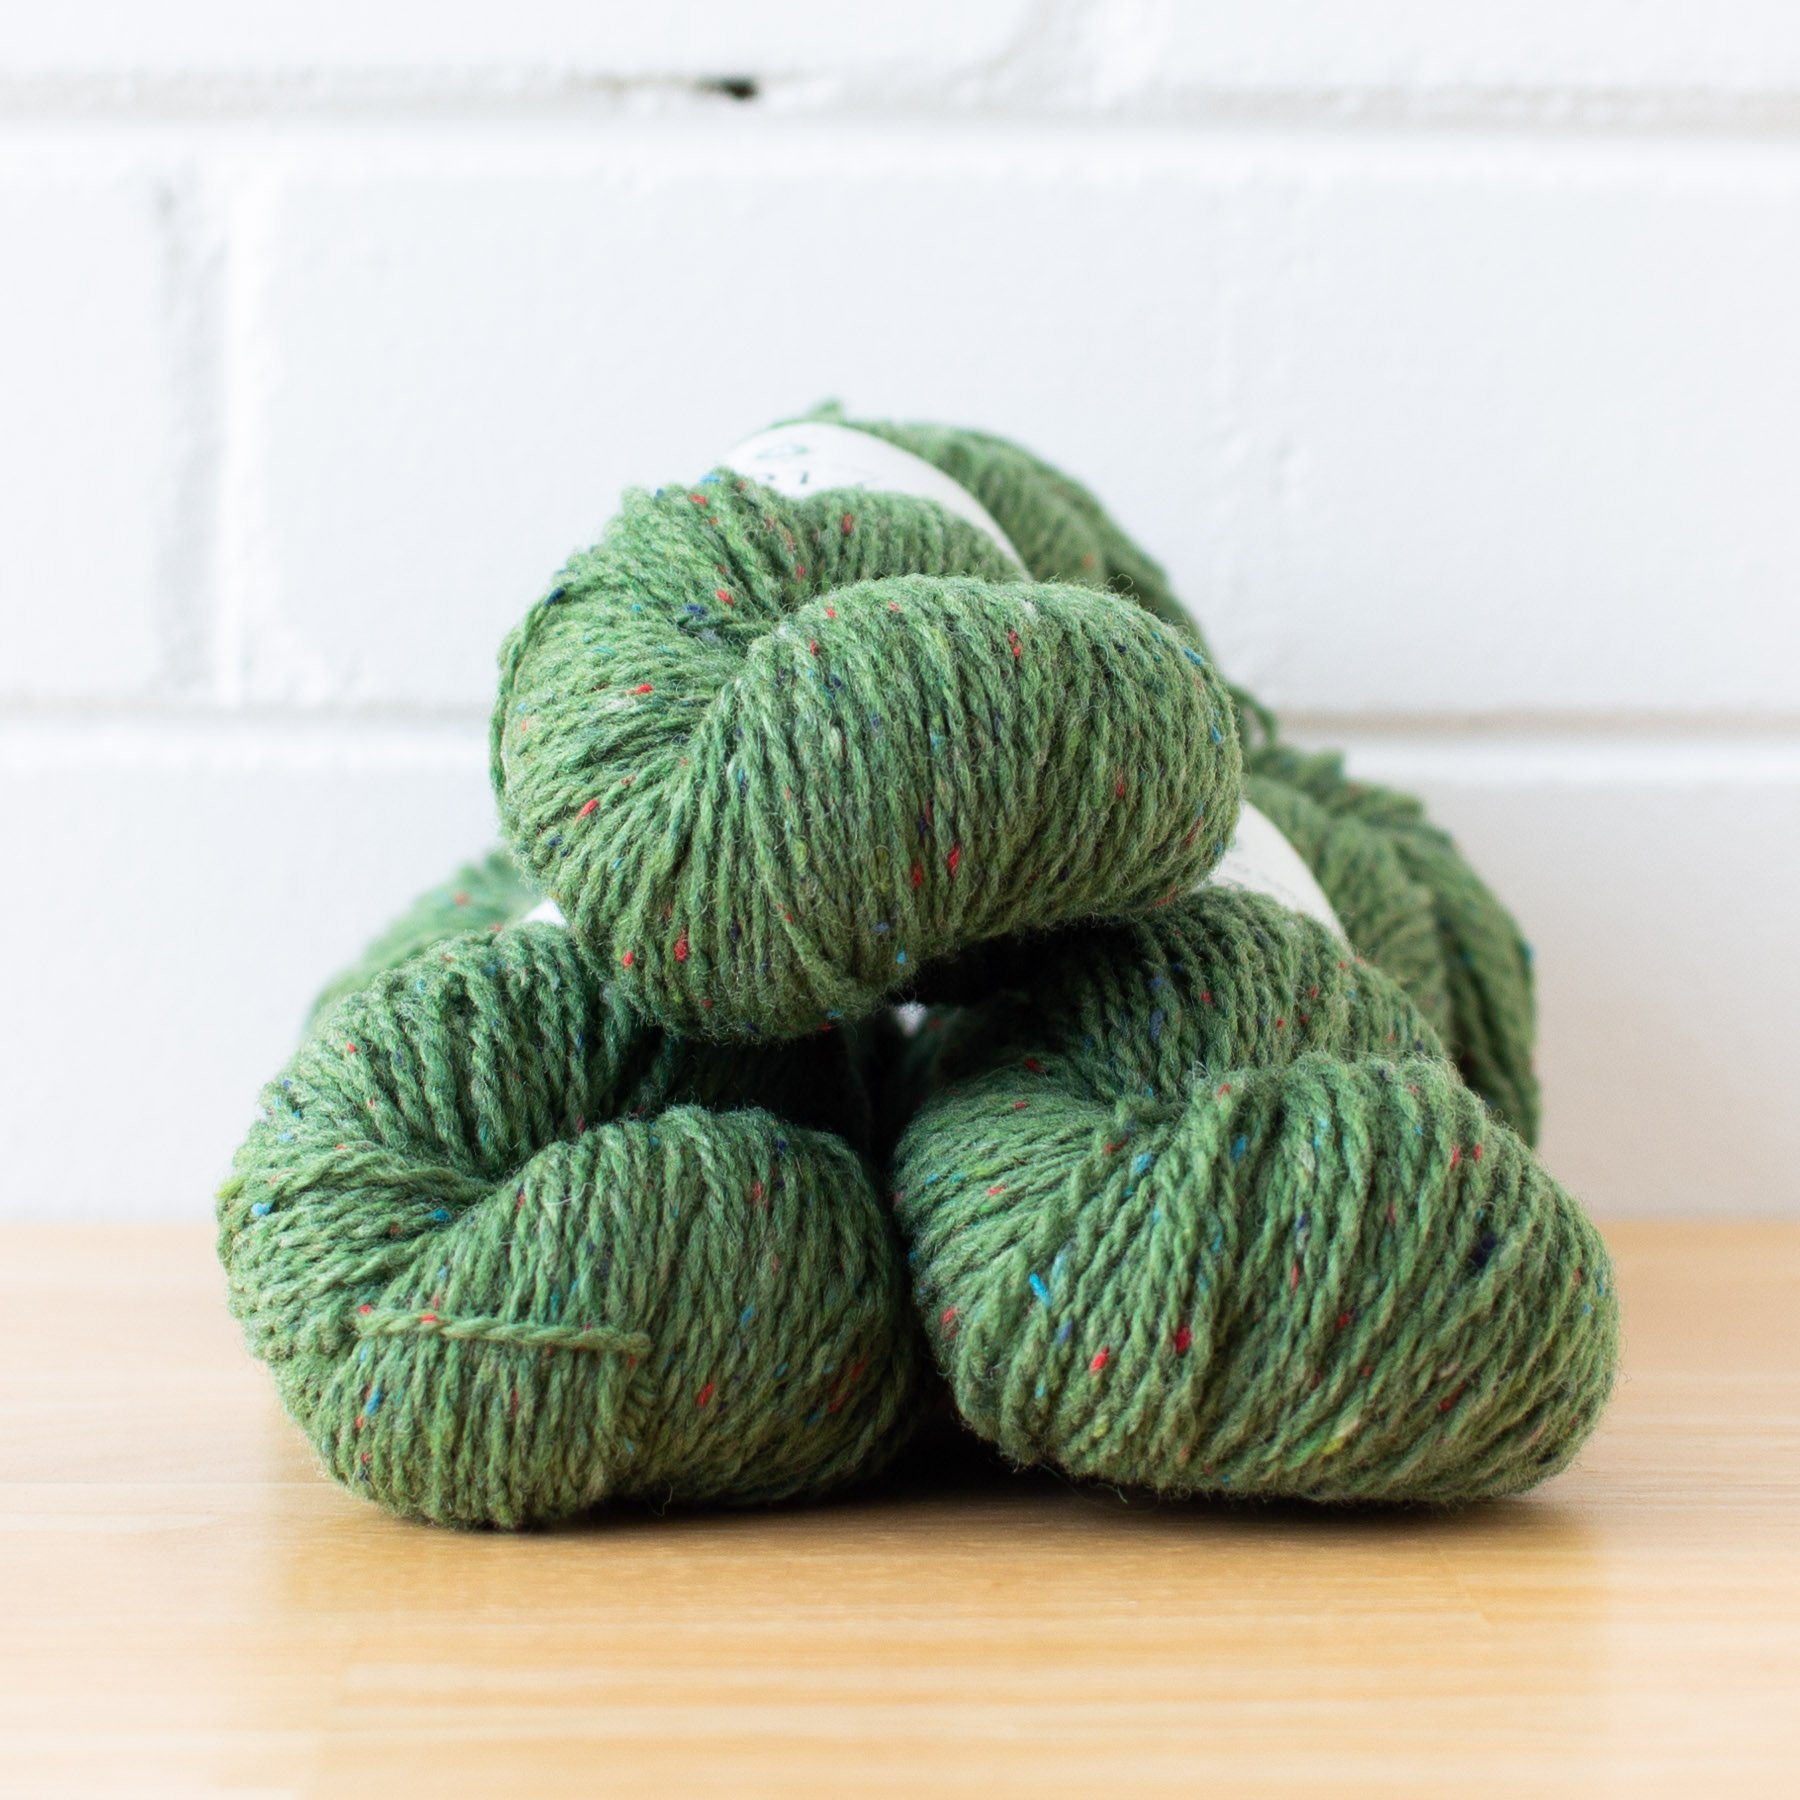
MATERIALS

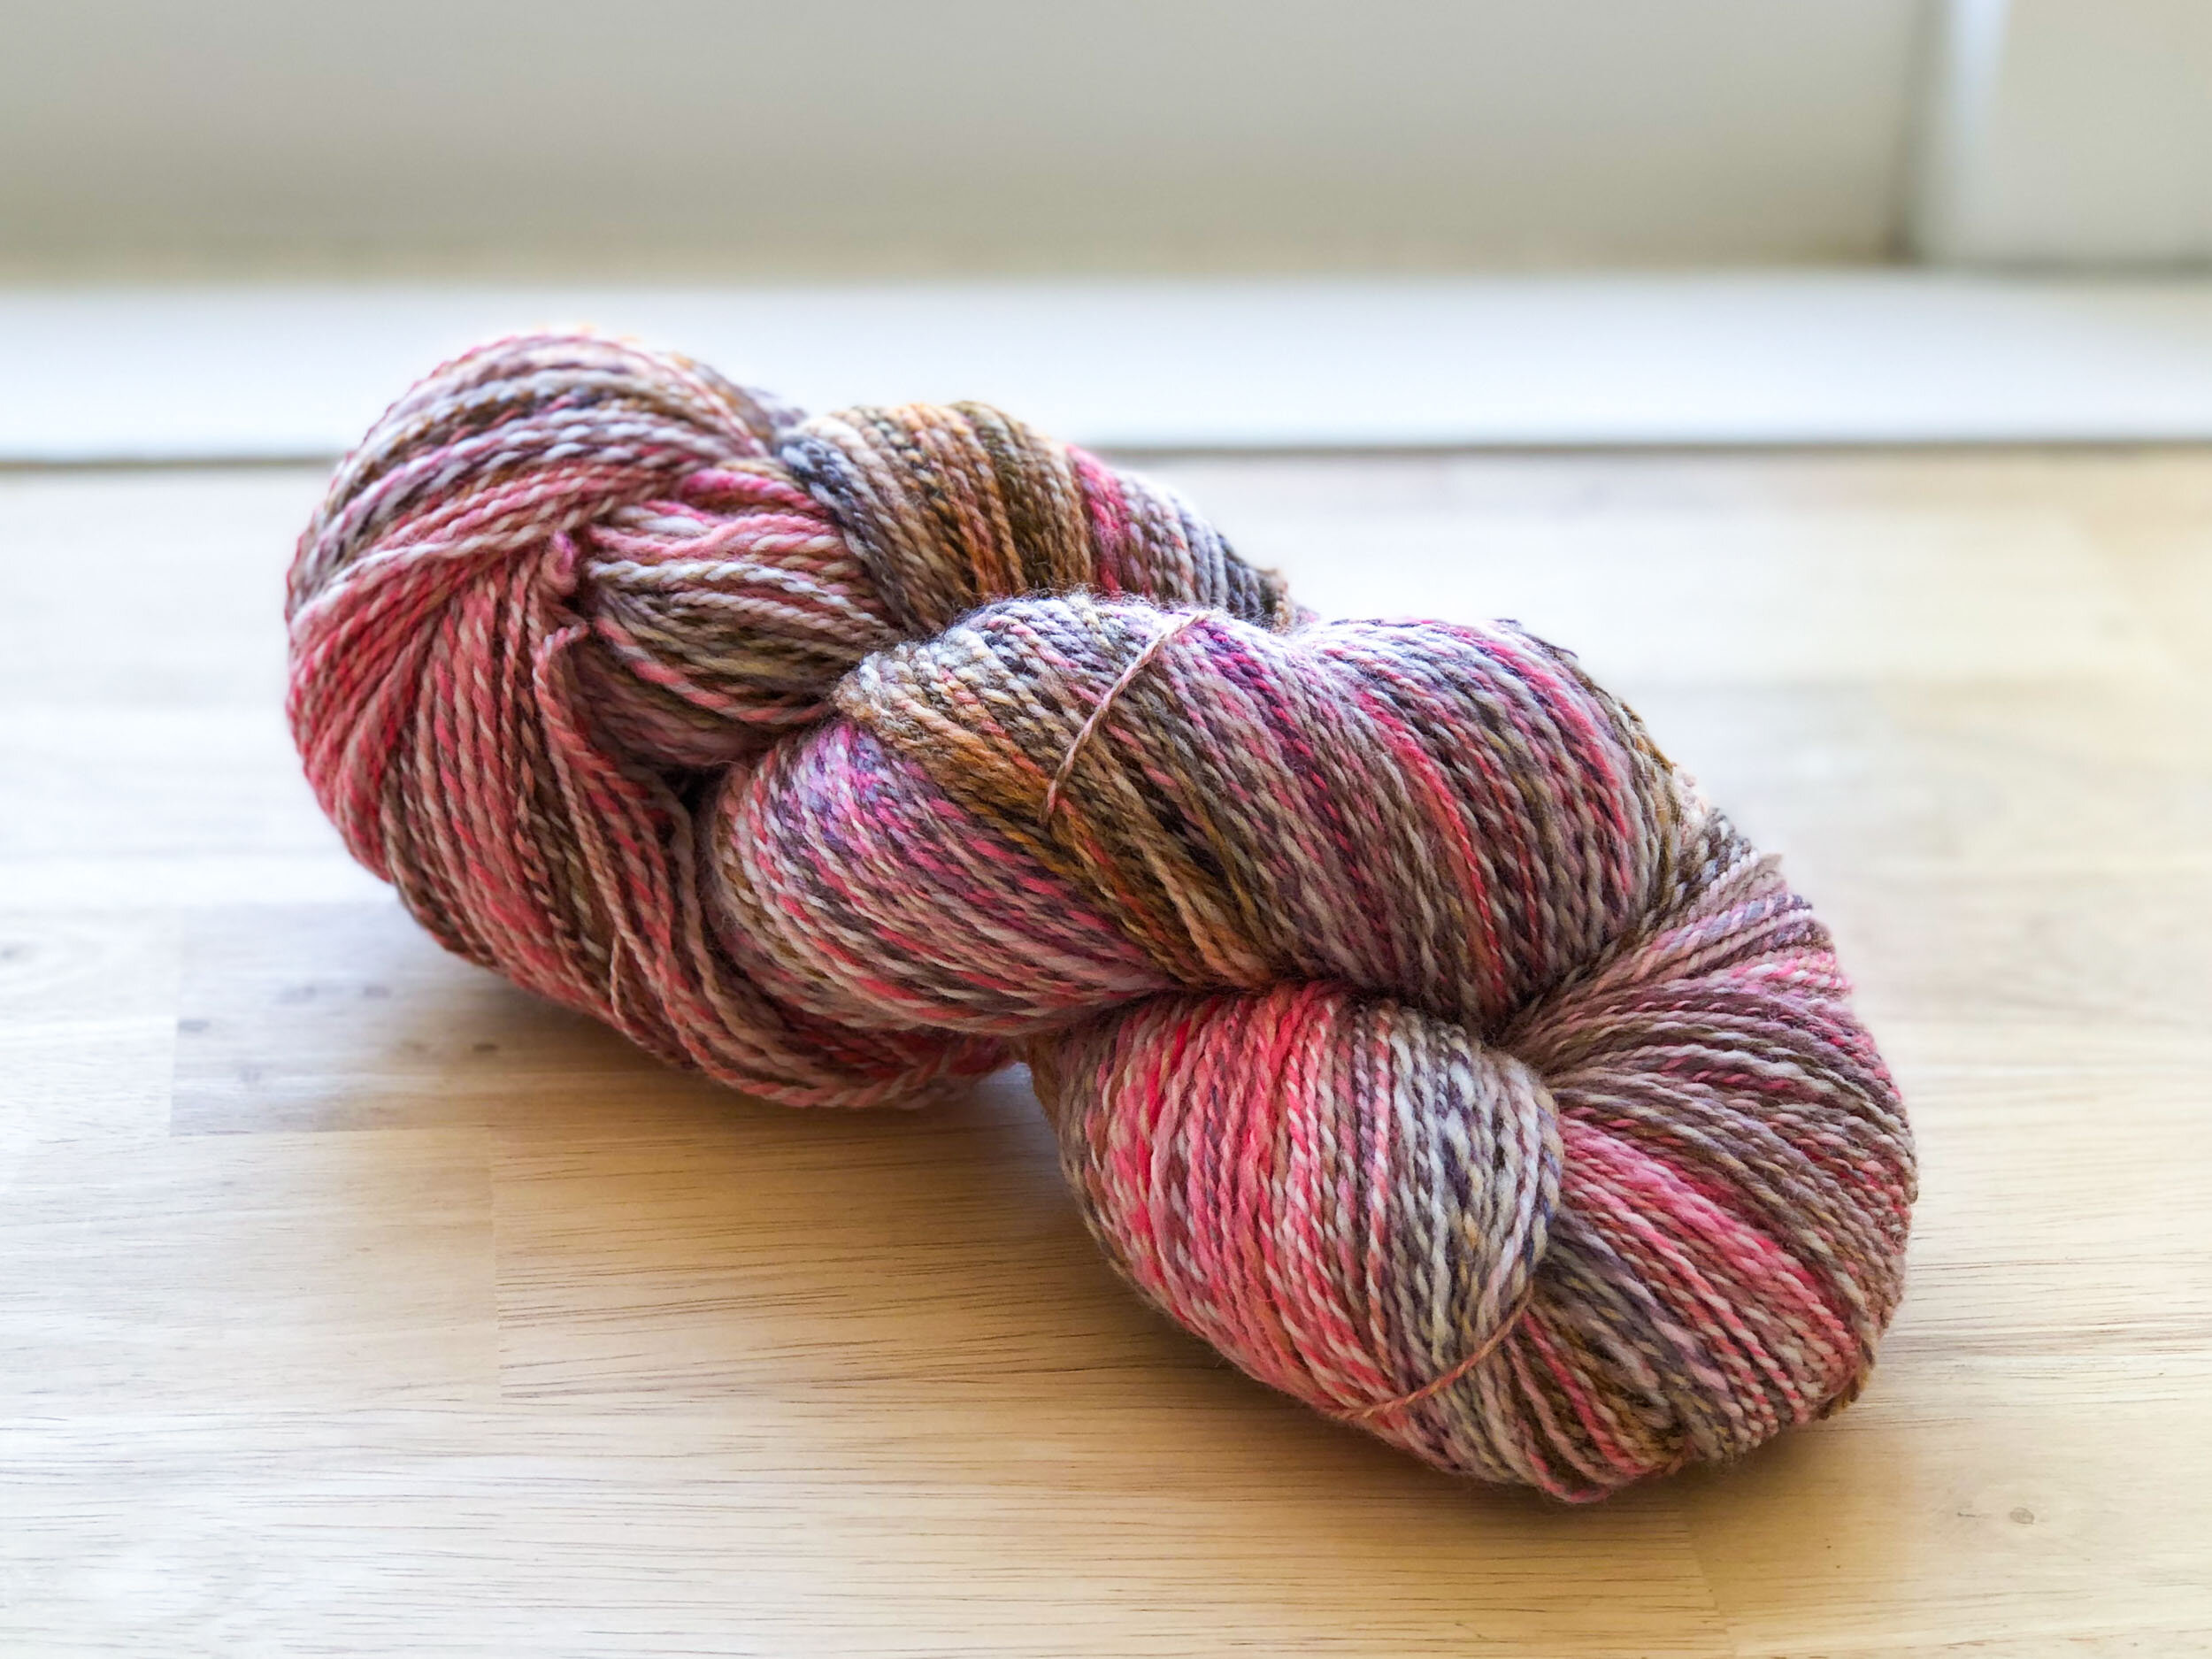
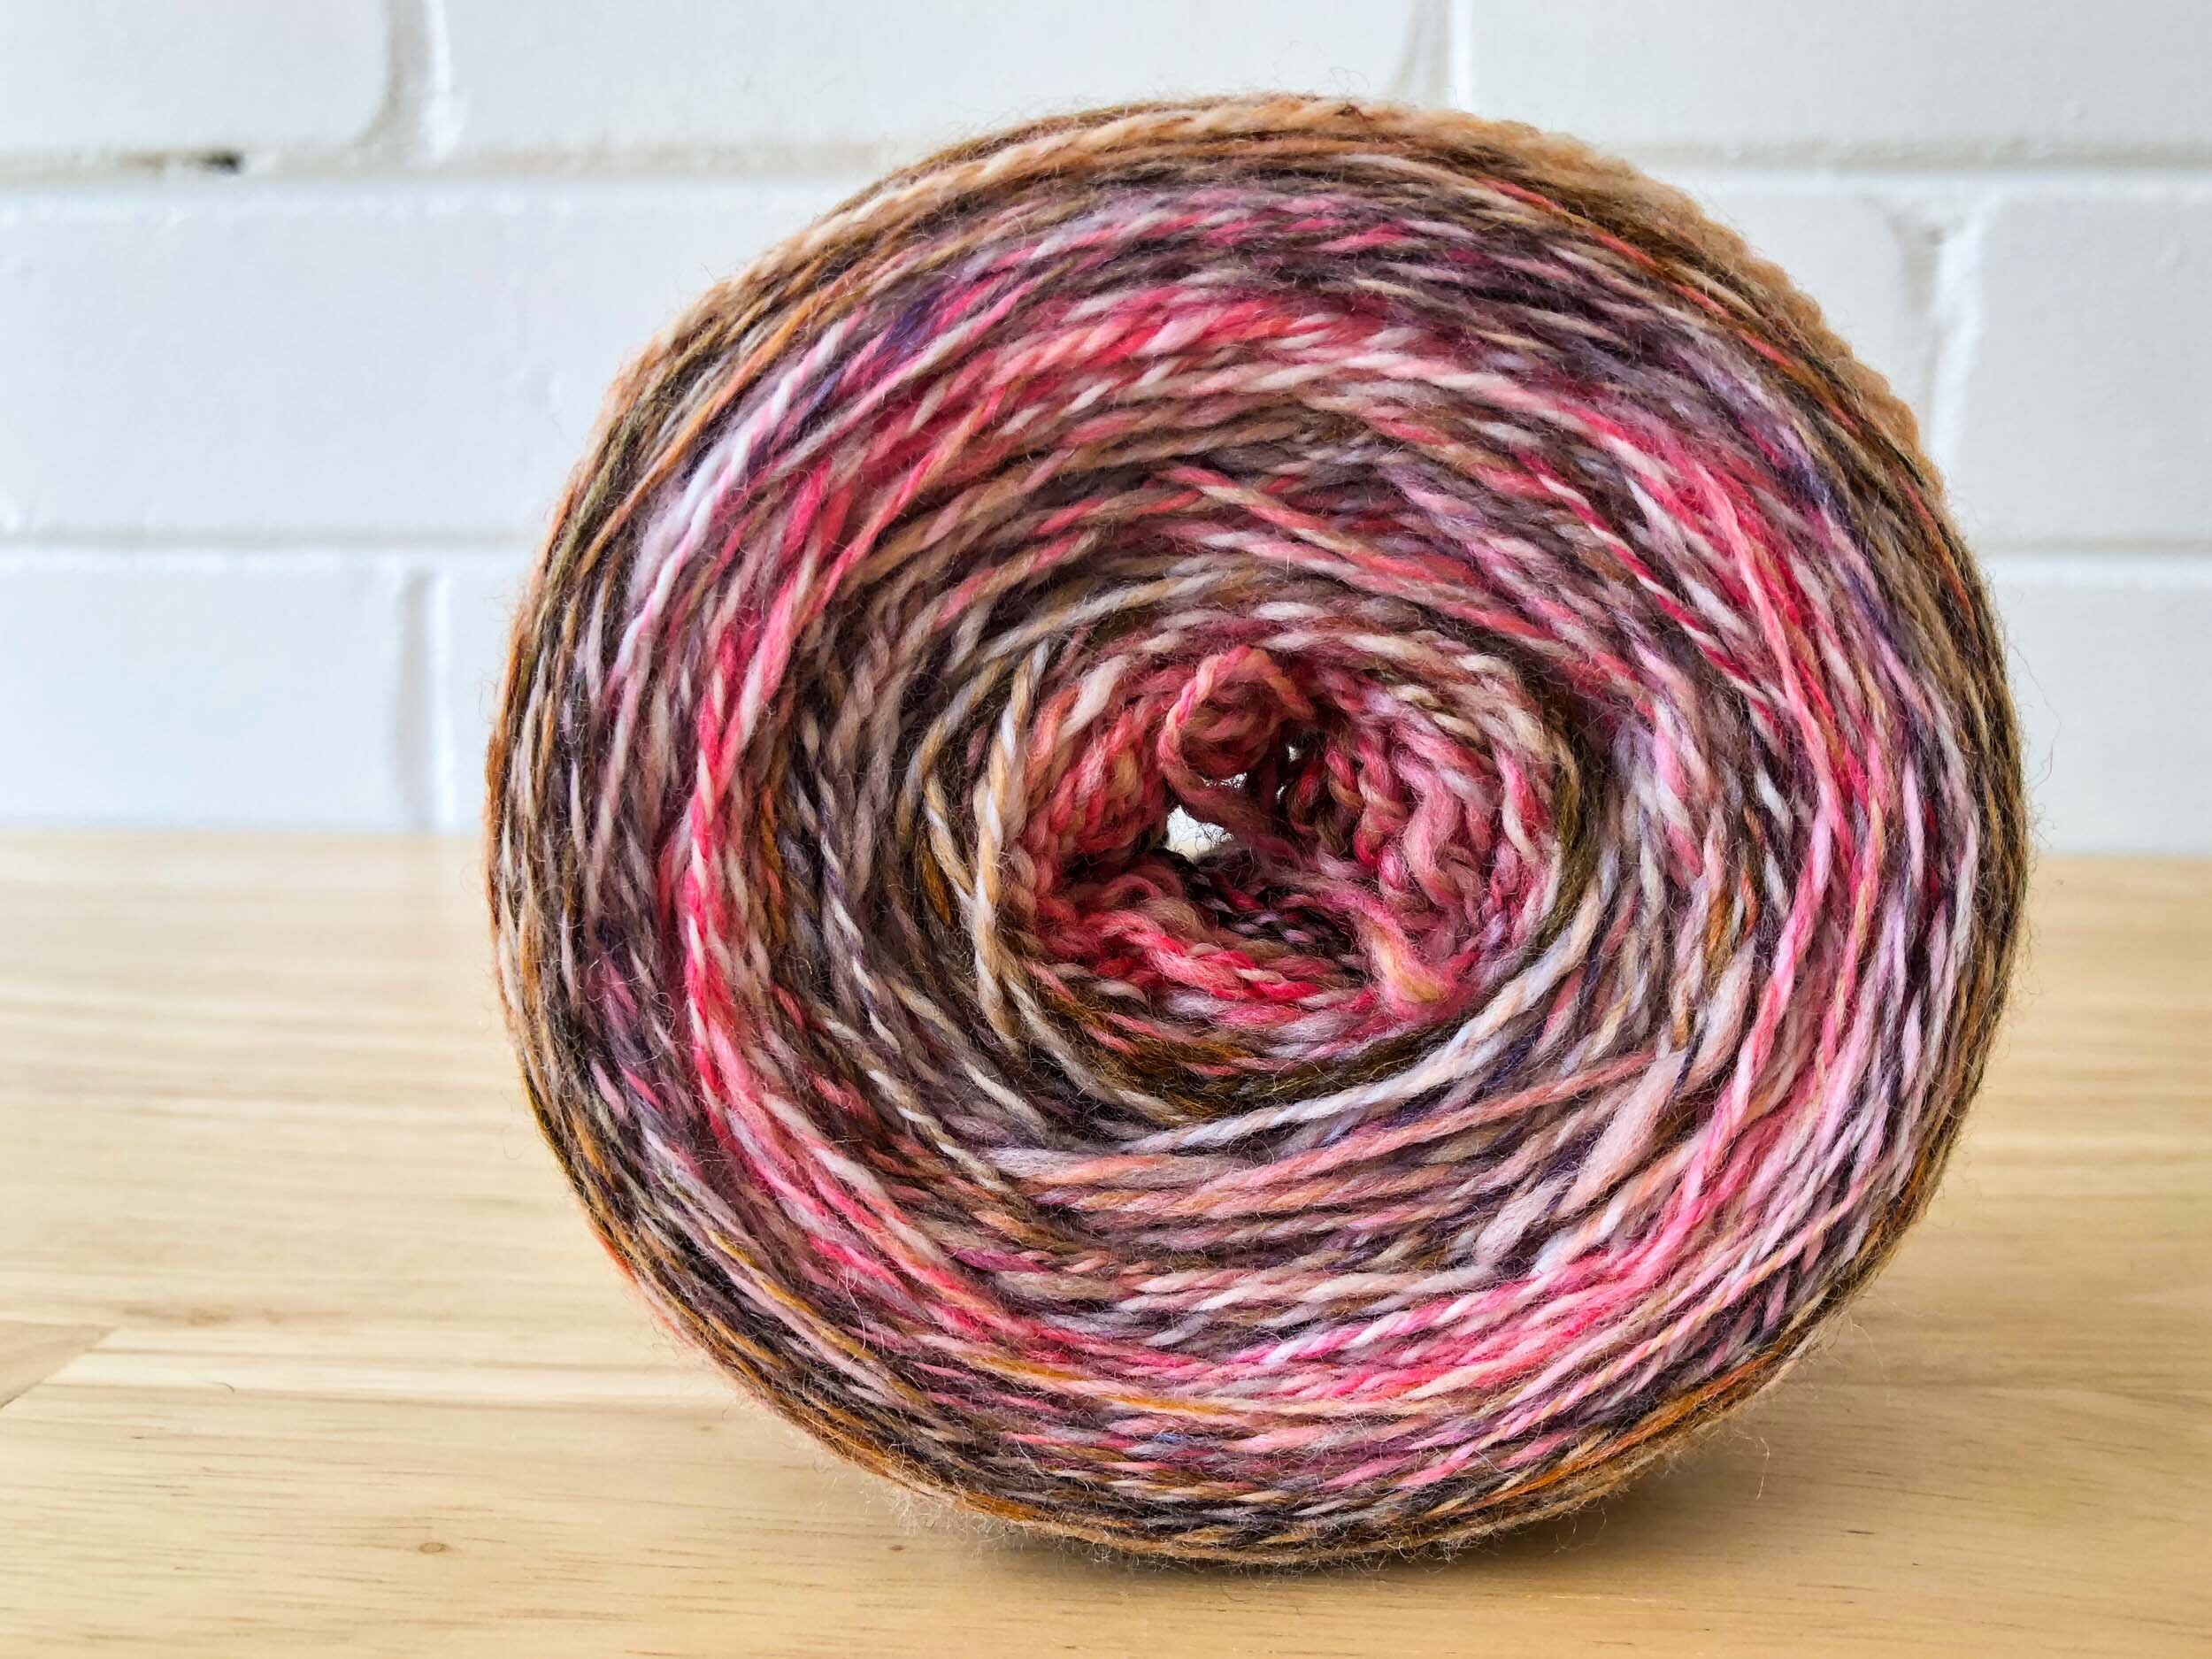
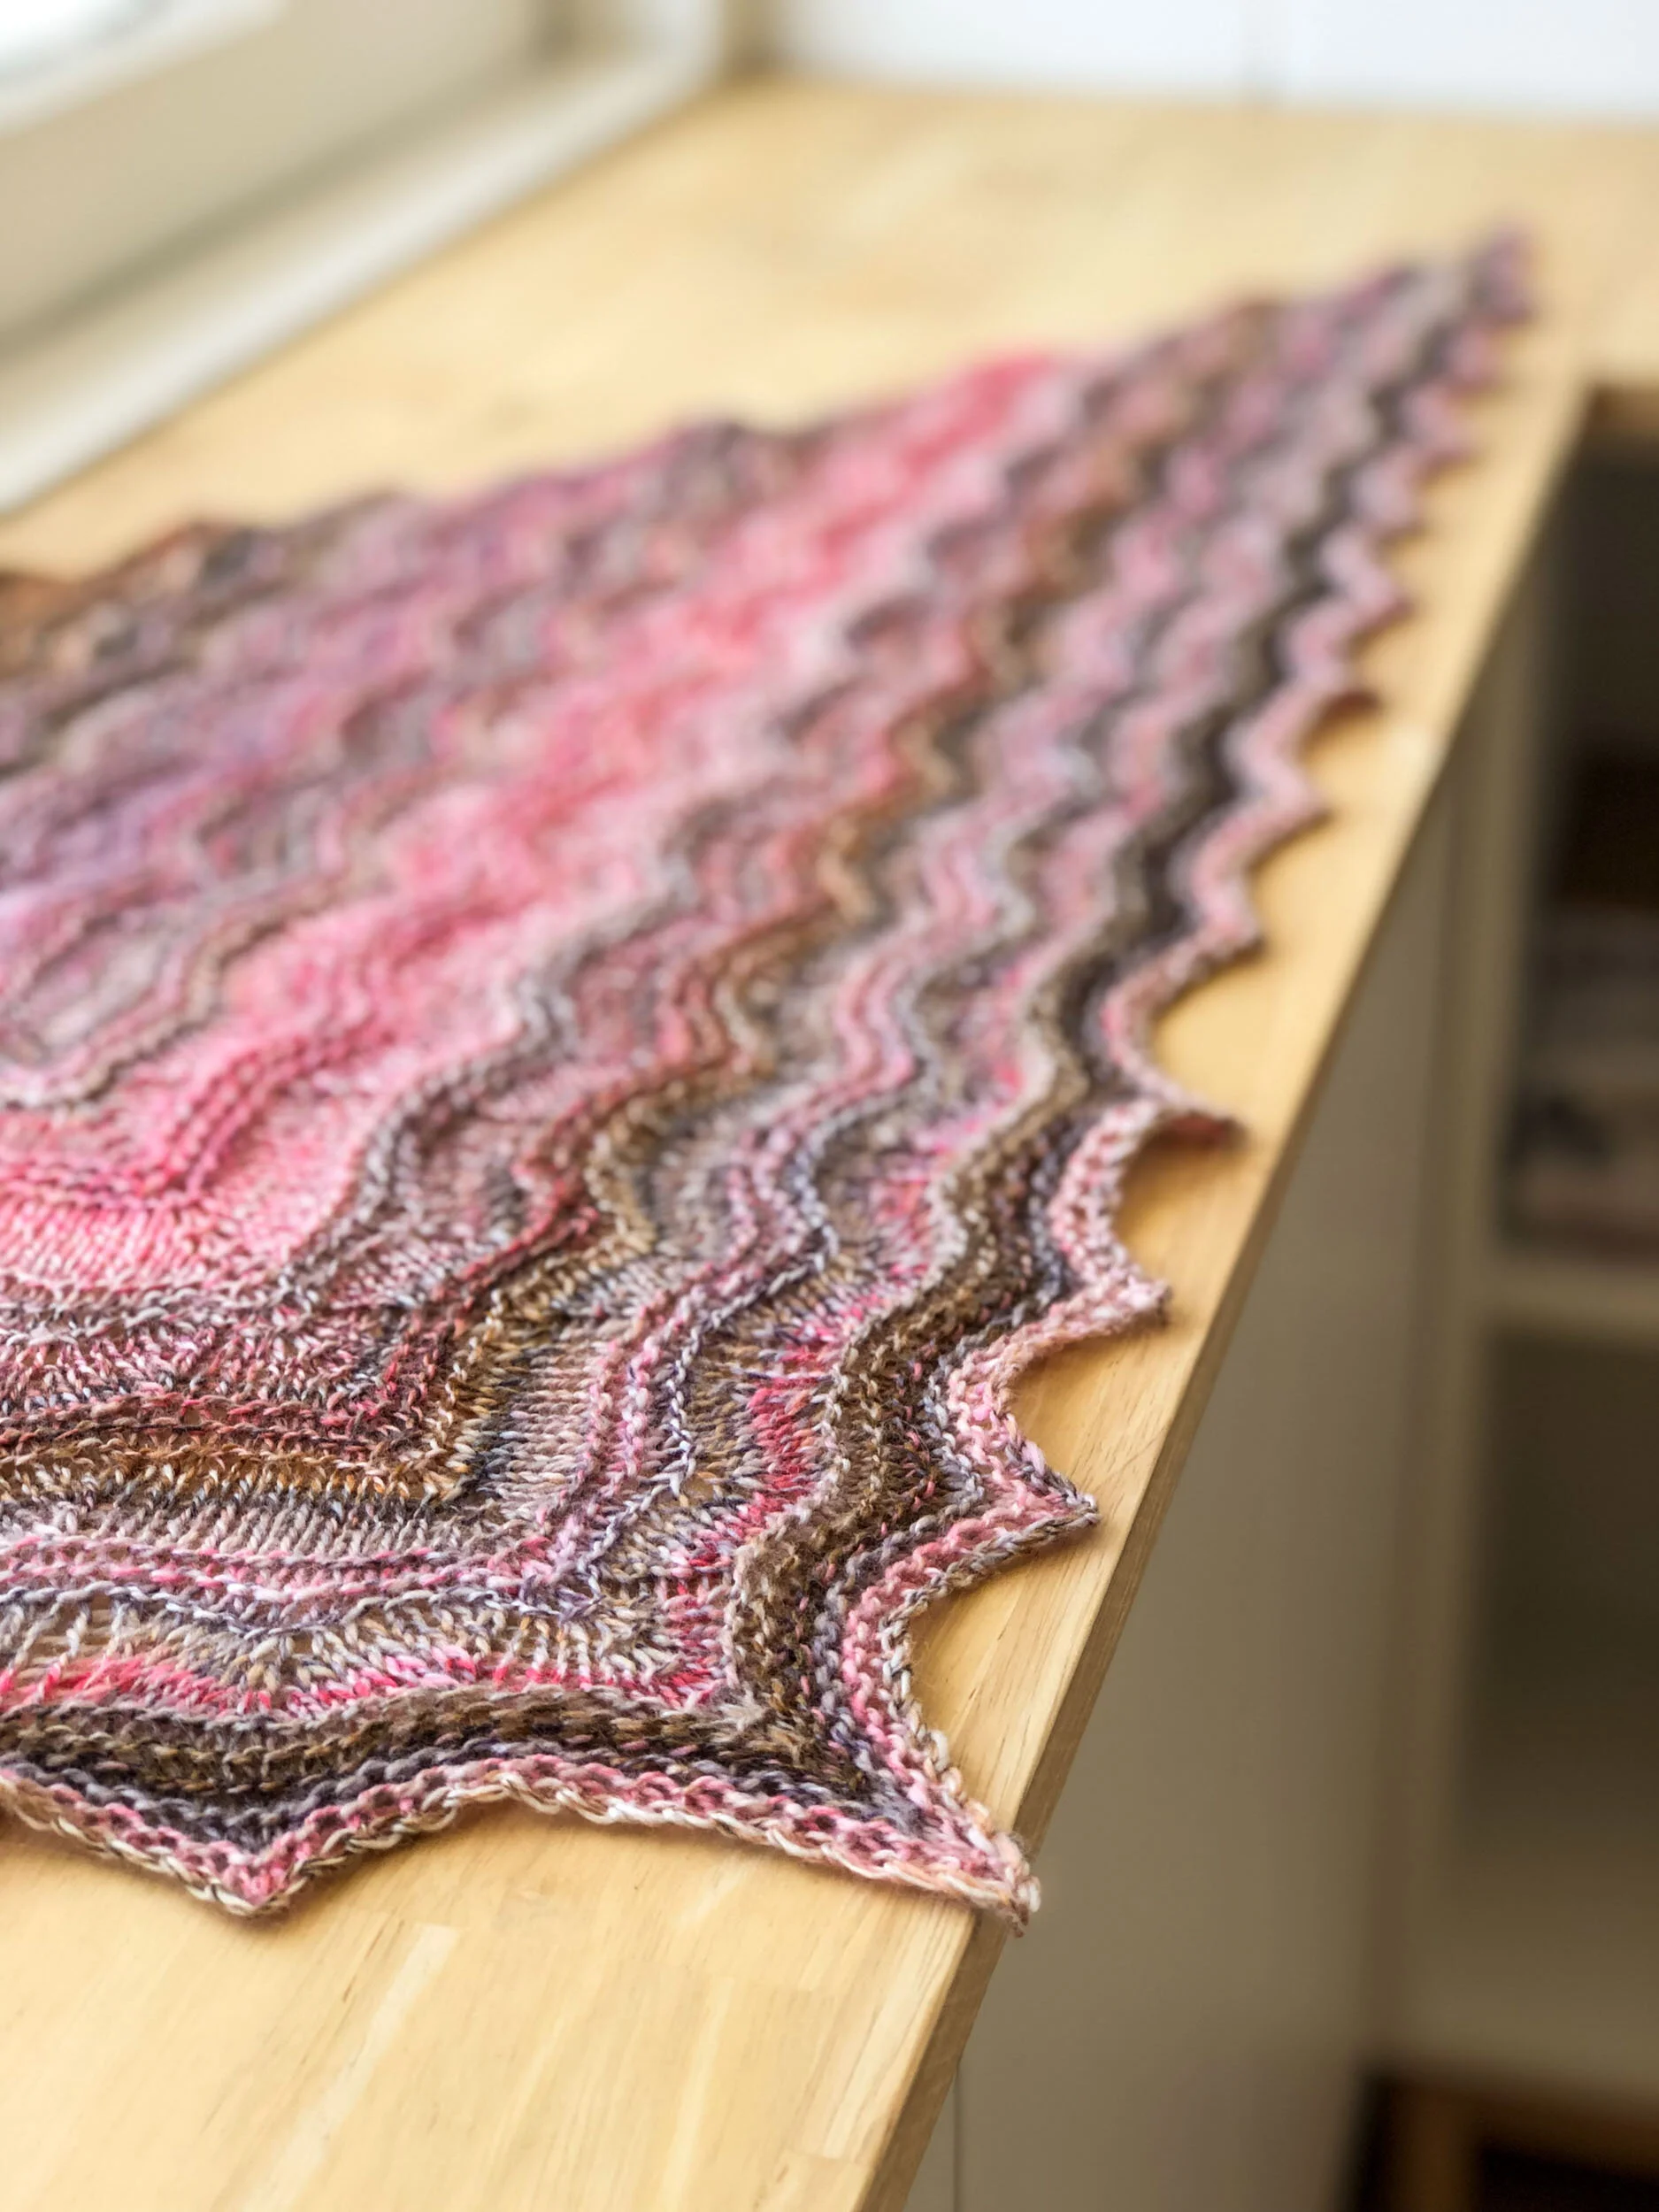
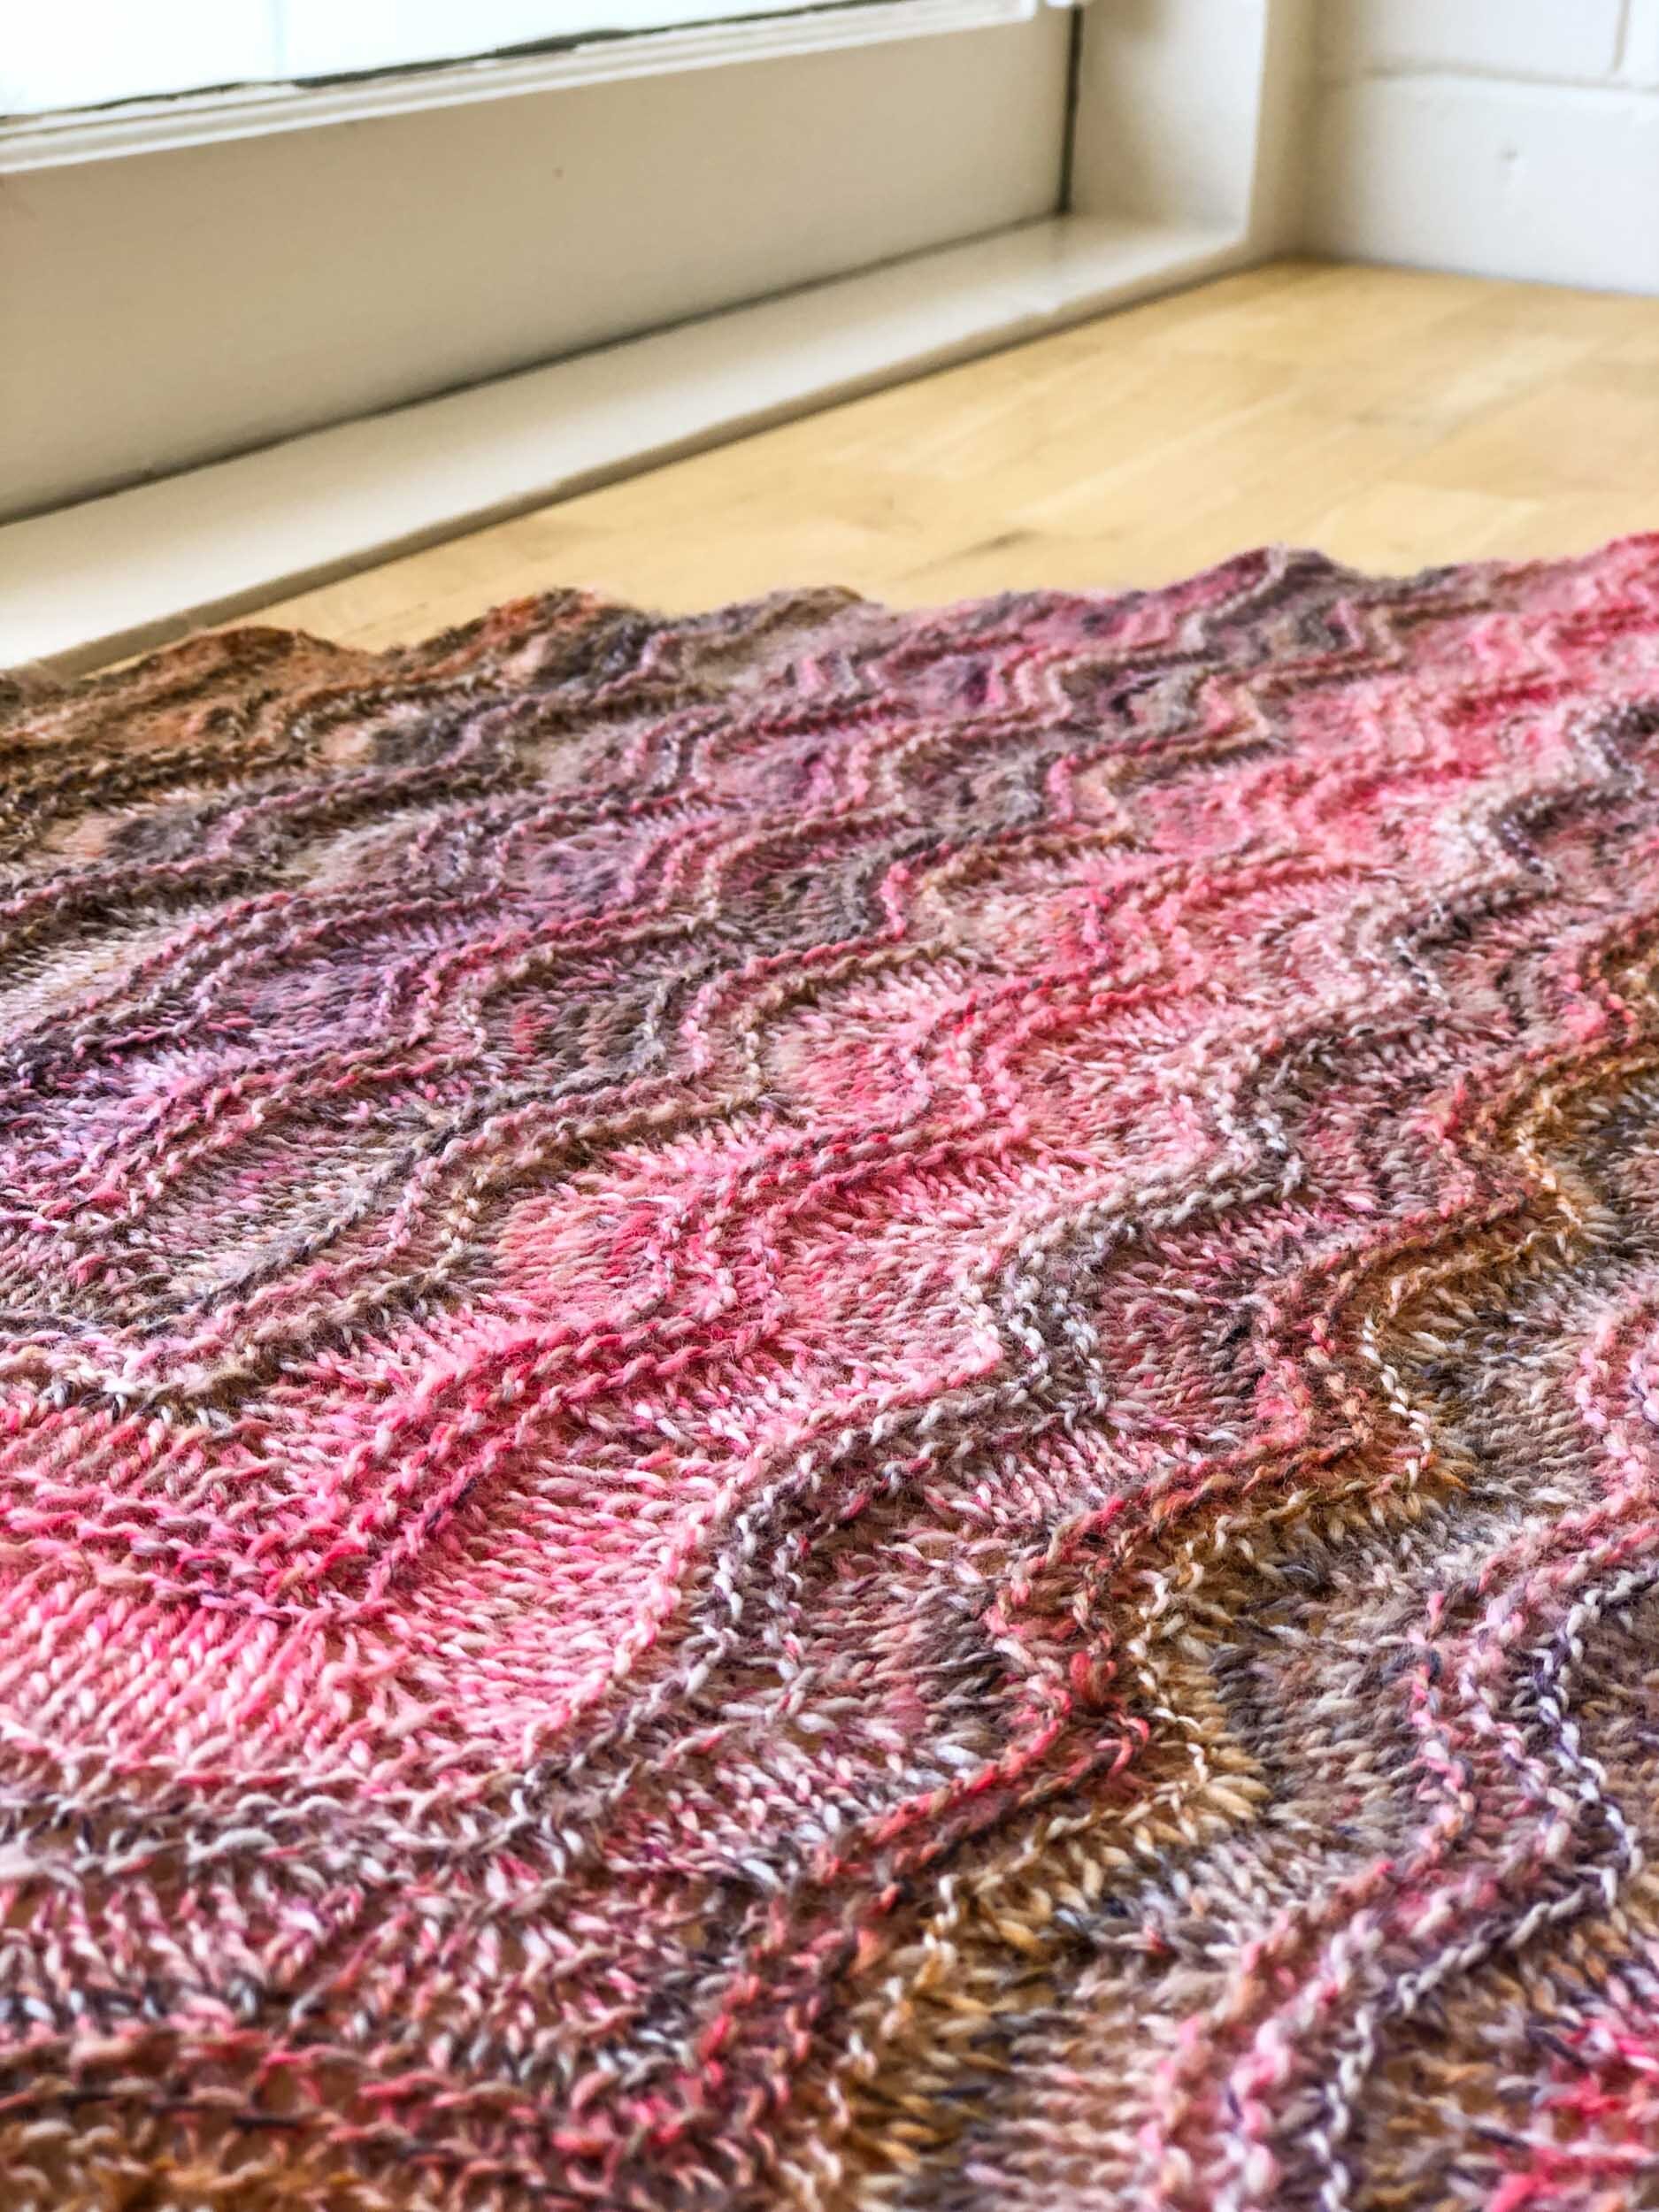
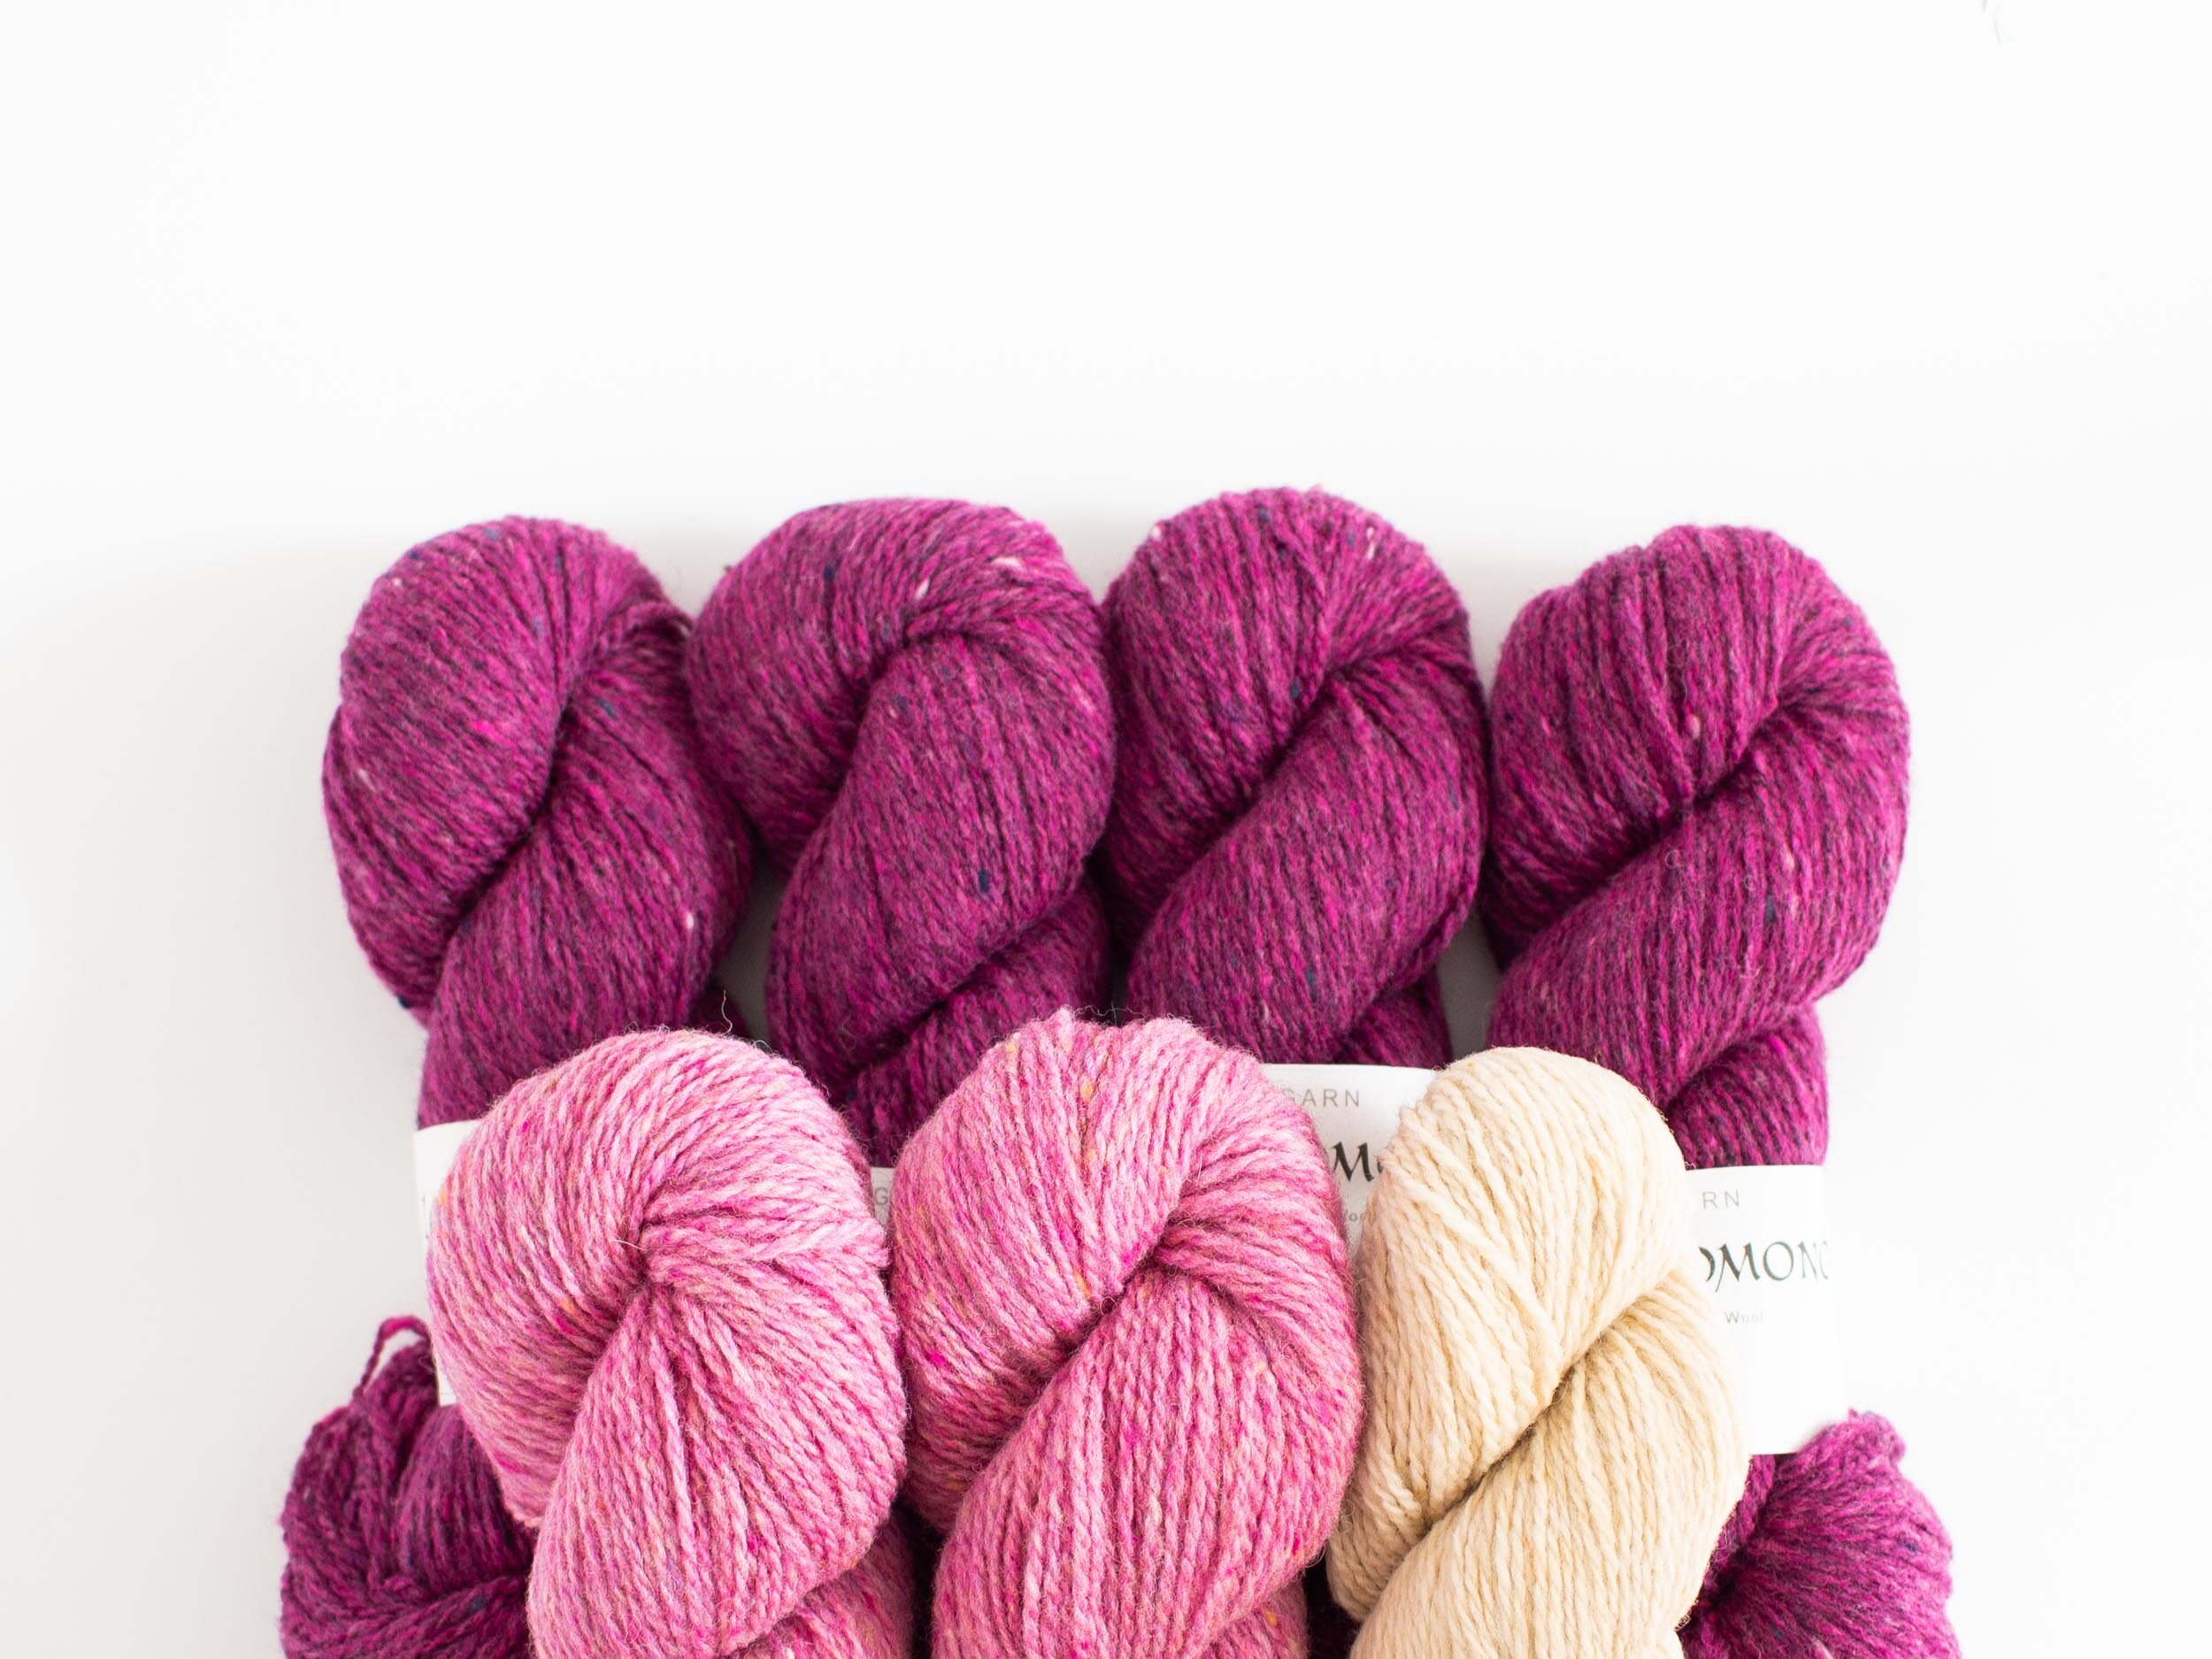
Colour A: Cotton Fine | Honey Butter
Colour B: Cotton Fine | Putty
PROCESS
YARN SELECTION
I went with Cotton Fine as it seemed to have the perfect palette for recreating this look.
CONSTRUCTION
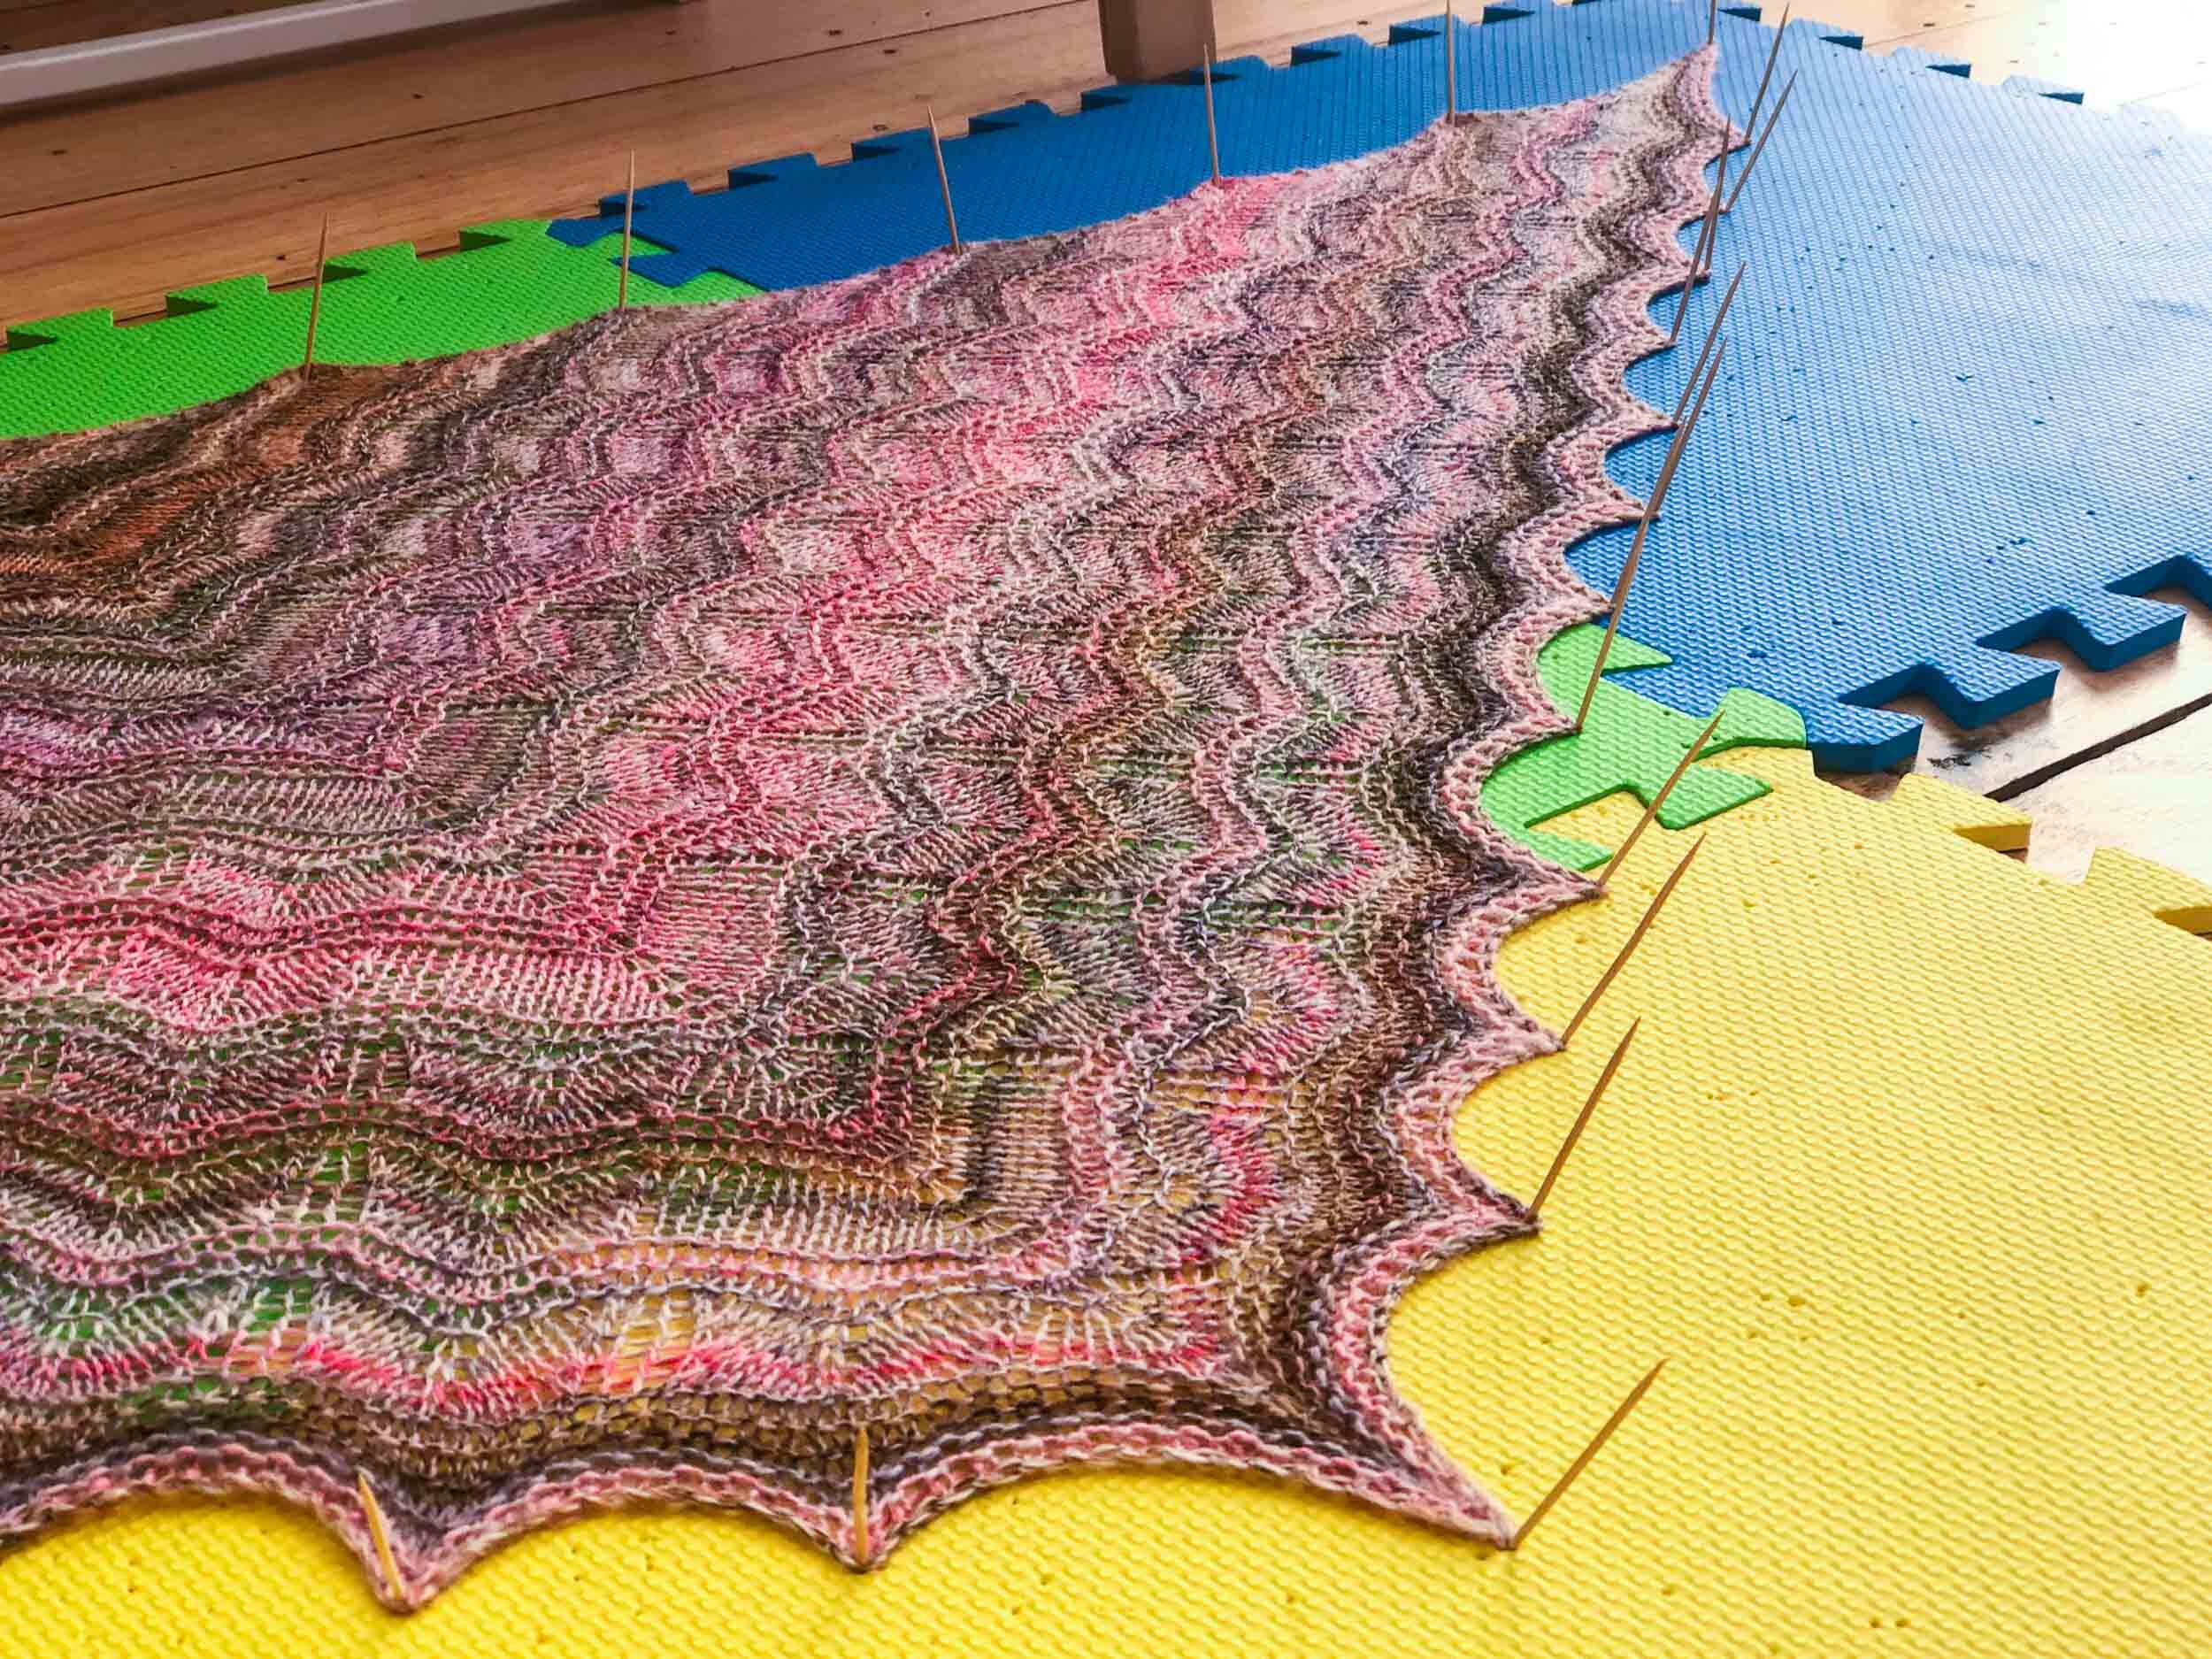
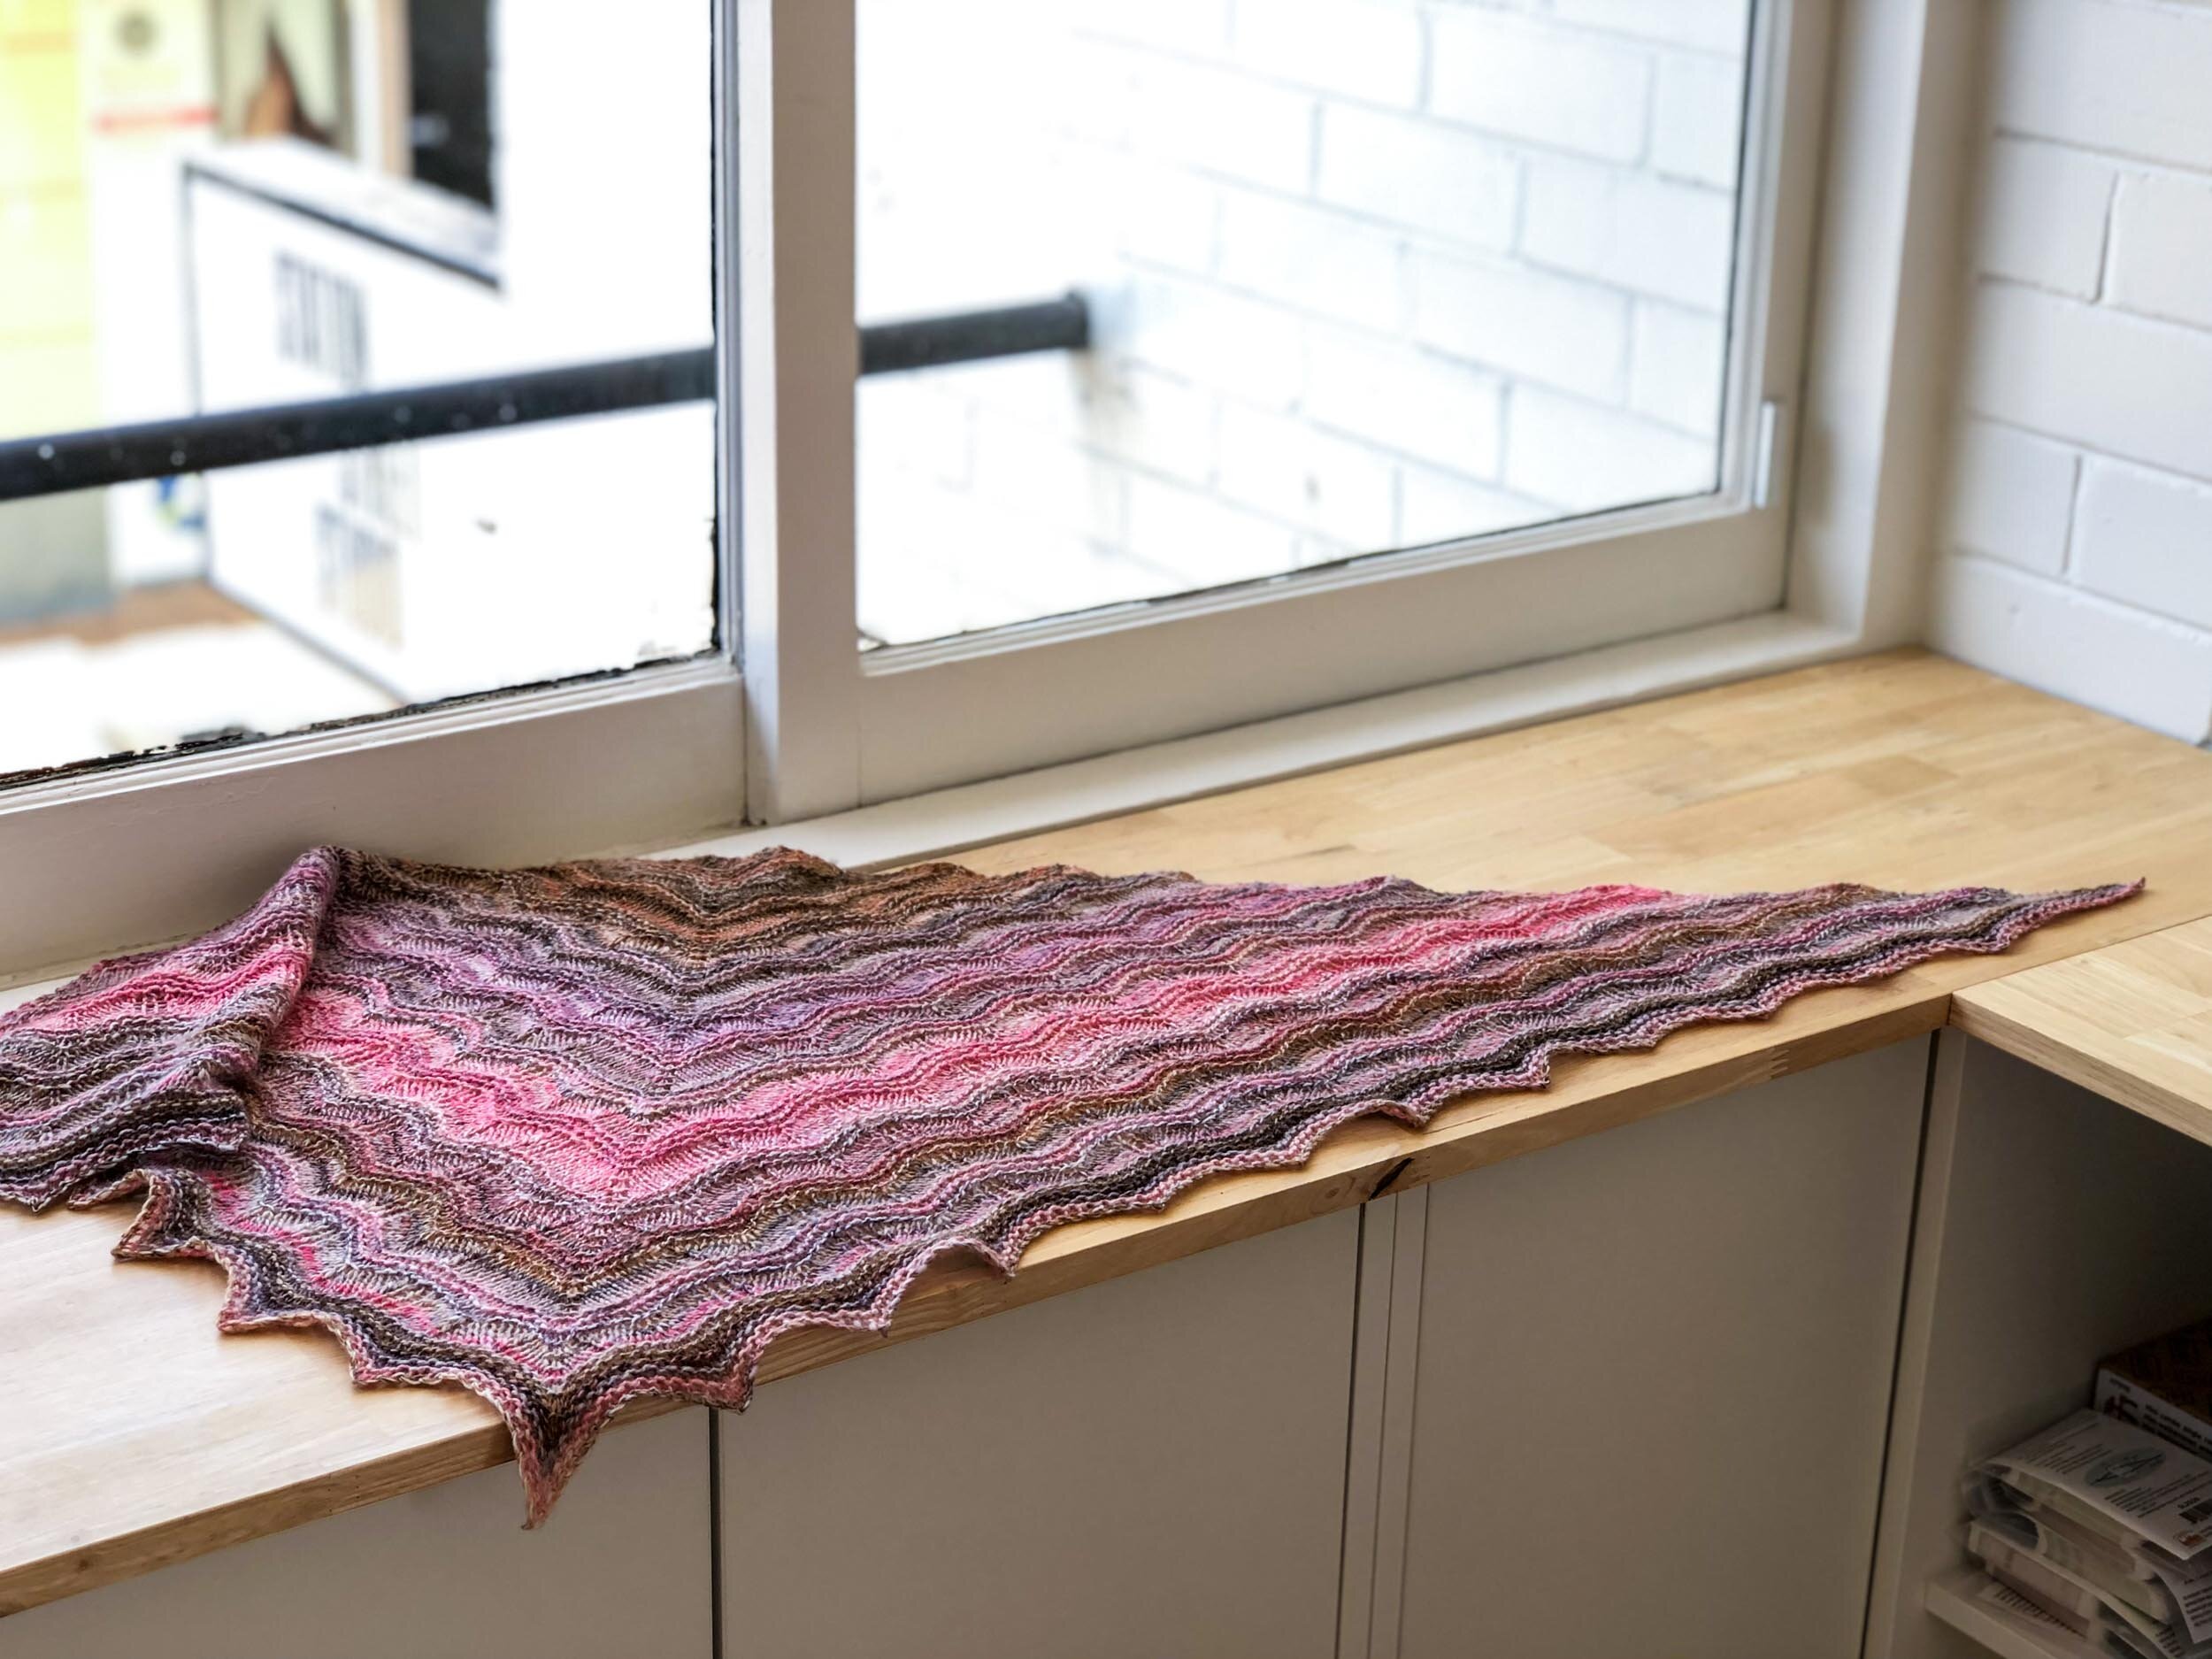
The garment was knit flat in pieces.
The combination of garter stitch and the decreasing edge stitches ensured the project flew off the needles.
On picking up stitches - I’ve always found it a bit challenging. I did a bit of research on how to neatly and evenly pick up stitches before tackling this aspect of the design. I came across a method that I’ve used ever since without fail. It simply requires picking up as many stitches as there are holes in the pickup edge. Then, on the following row make enough decrease stitches evenly across the row to meet the stitch count specified in the pattern. Super easy, nice and neat, no holes!

FINISHING
I blocked all pieces before seaming, taking care to match the seam lengths to the pattern and stretch everything out to the correct shape and size.
I used a baste stitch to hold and align the pieces for seaming. This kept everything in place while using back stitch to seam the selvages.


INSIGHTS AND OPPORTUNITIES
YARN
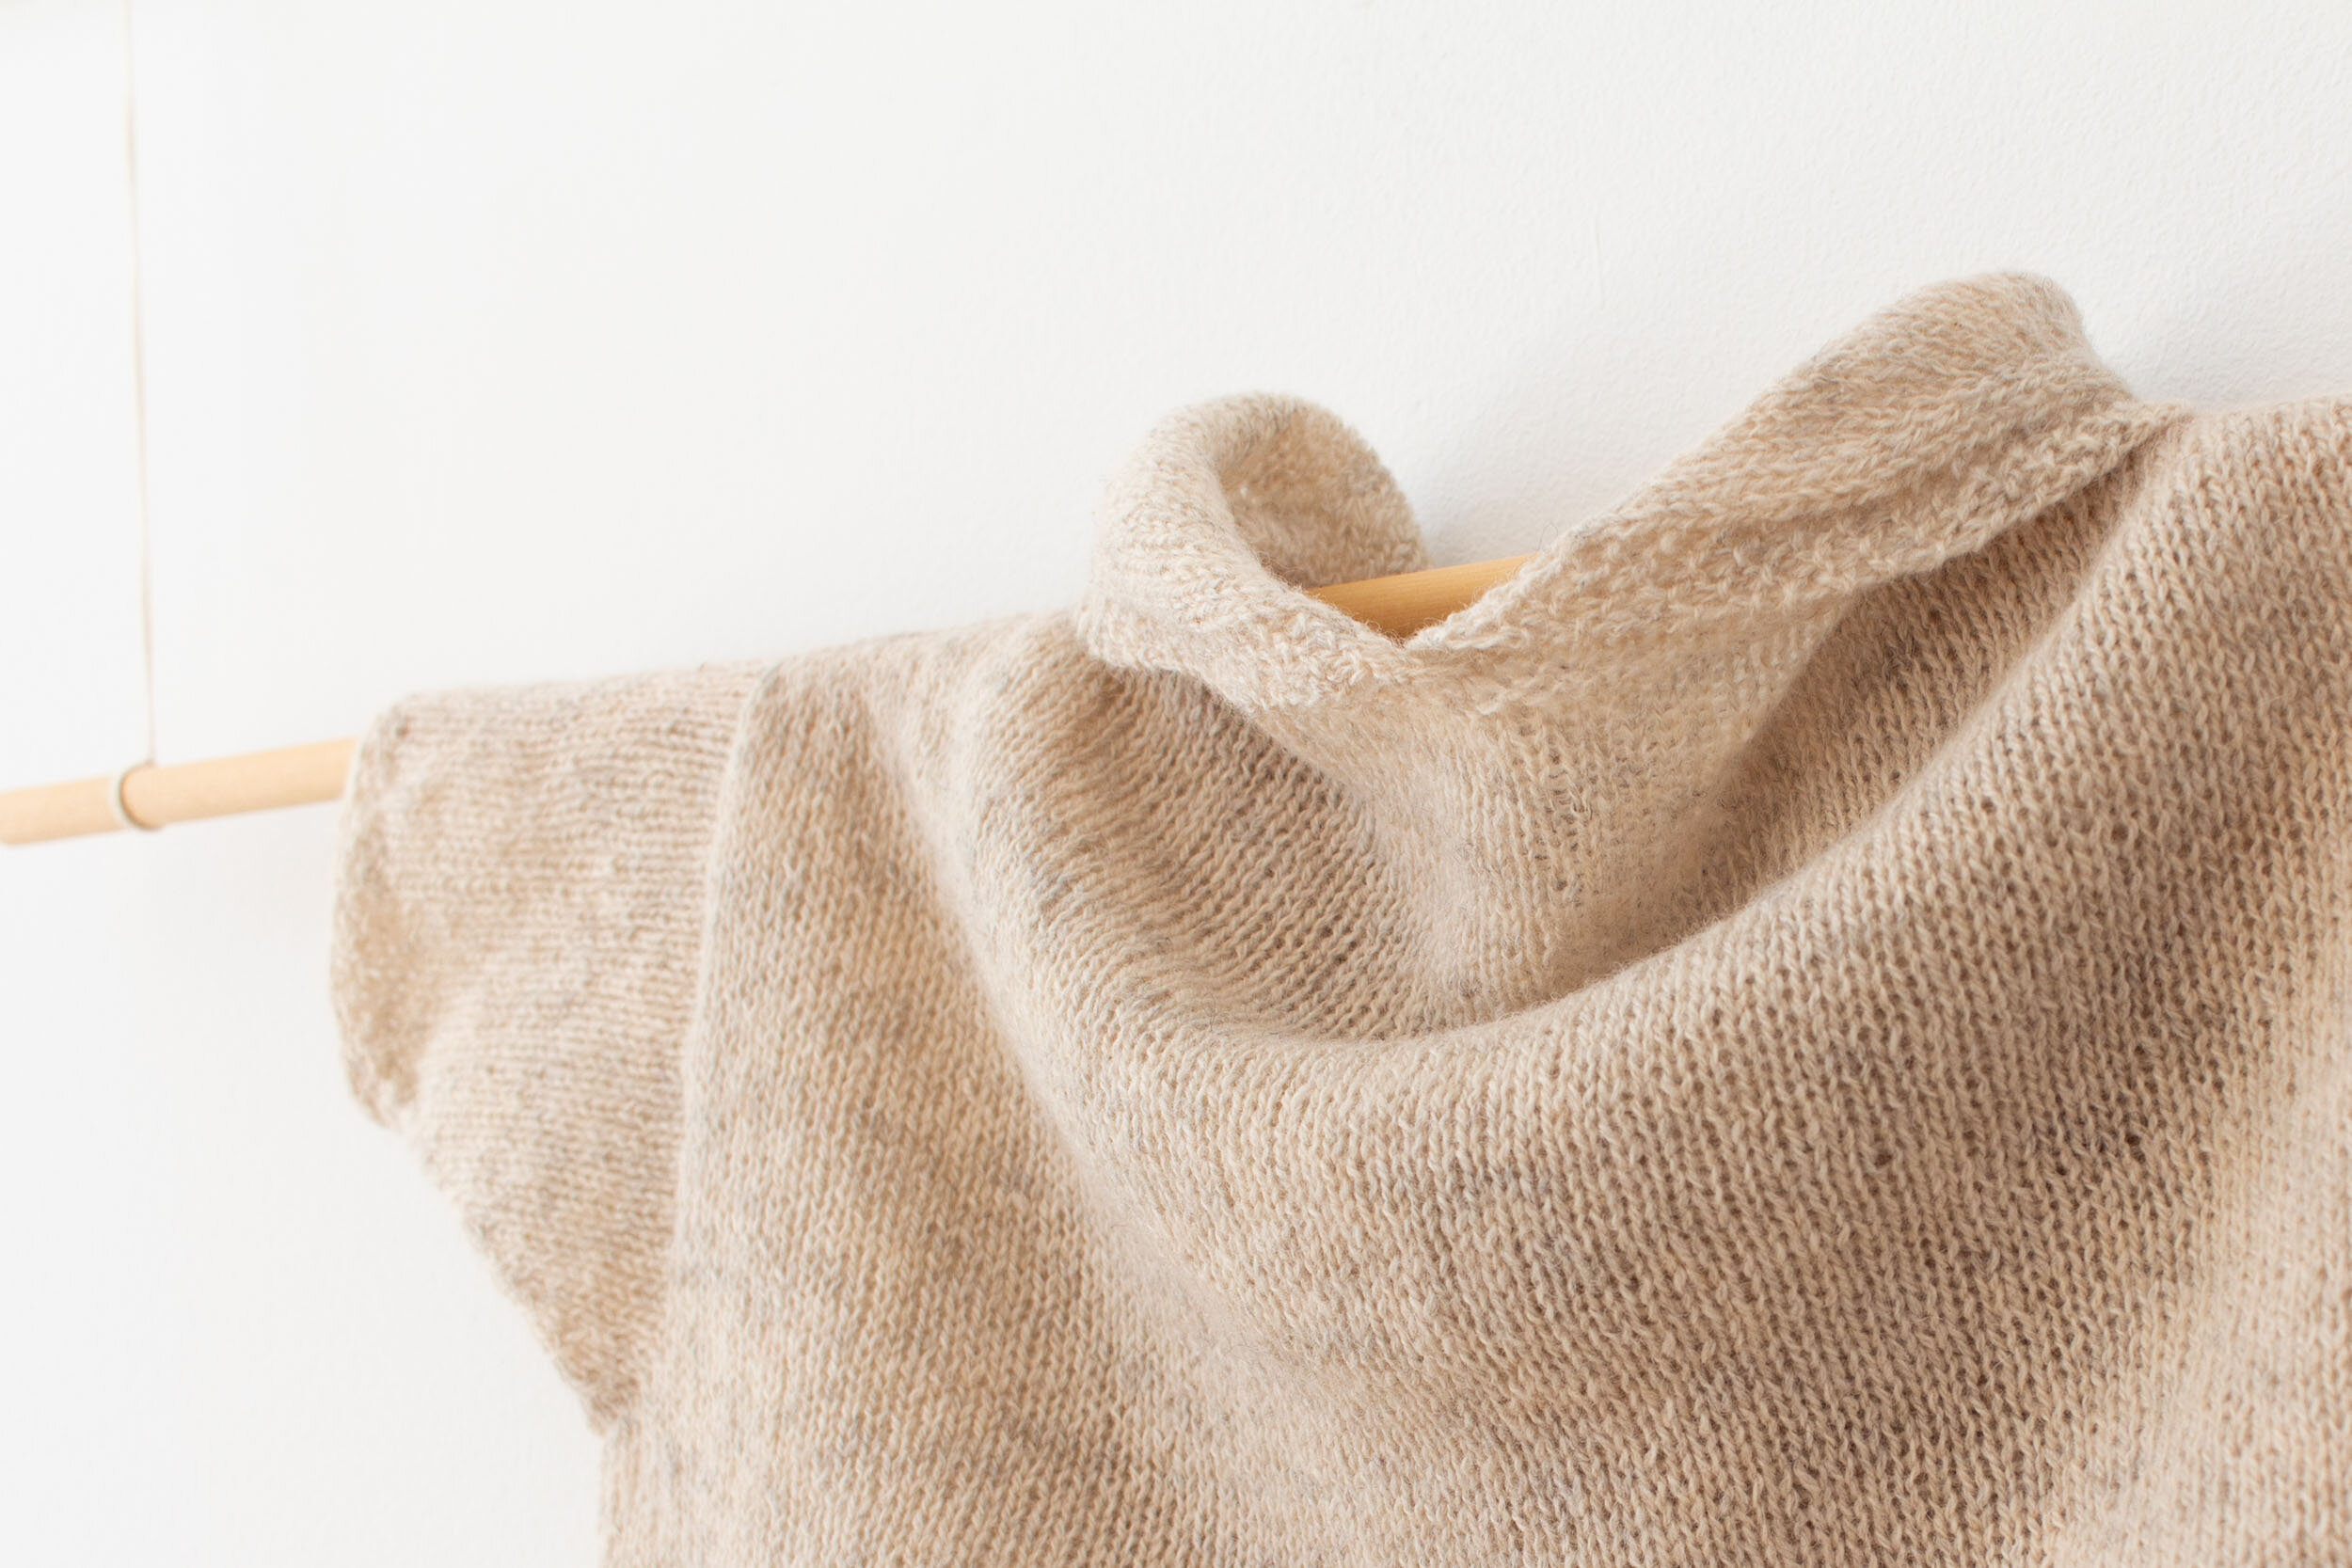
Cotton Fine creates a wonderfully smooth and drapey fabric. The wool component ensures a bit of elasticity while the cotton keeps the fabric light and cool.
CONSTRUCTION + FINISHING
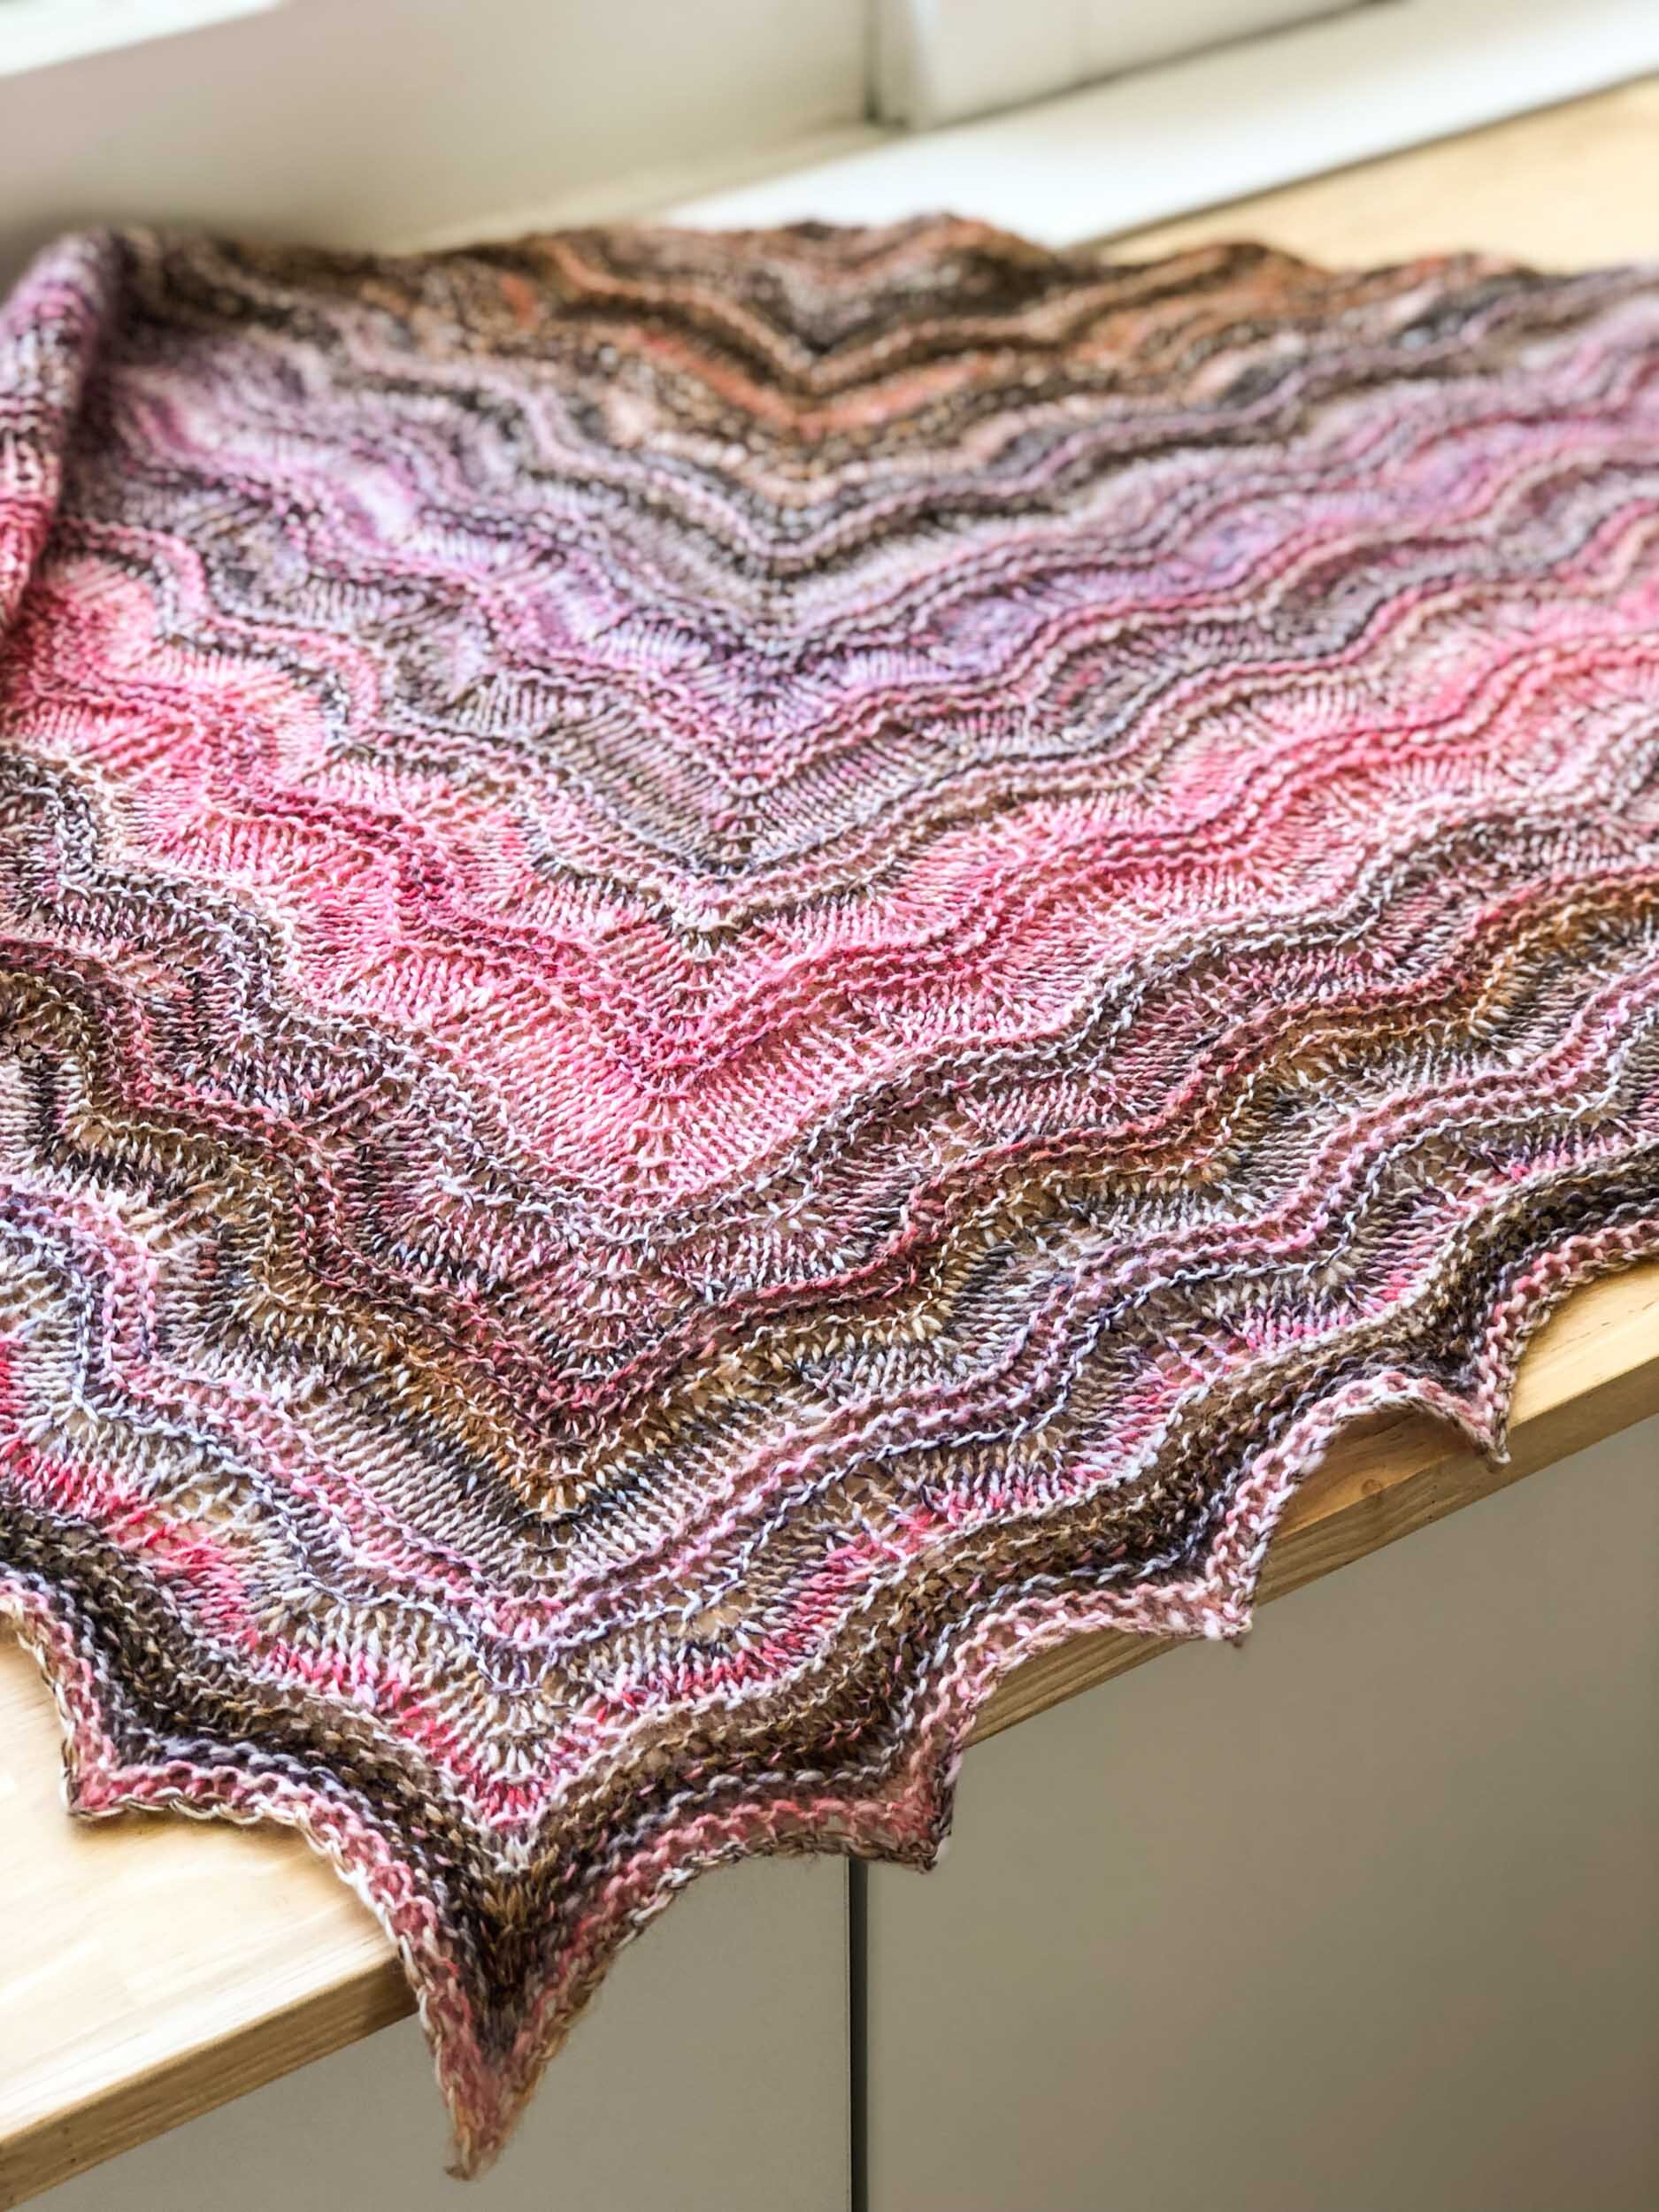
I particularly like the finished edges on the armholes and side vents, they really give this piece a professional finish. I highly recommend blocking the individual pieces before attempting to seam the garment.
FINAL THOUGHTS
Nasreen is a great spring/summer knit. Good to finally master picking up stitches without the anxiety. Cotton Fine knit-up feels durable and should last many seasons to come.
If you would you like to save this project for later add it to your Ravelry favourites HERE.

Knitting Nasreen in Cotton Fine?
Here’s what you’ll need for the cropped version in sizes 1-6:
Yarn A | Dark colour 3 (3, 3, 3, 4, 4) skeins
Yarn B | Light colour 2 (3, 3, 3, 3, 4) skeins
THANK YOU FOR READING!
GET 10% OFF YOUR NEXT COTTON FINE PURCHASE.
Simply join or confirm your subscription to the Loom & Spindle email newsletter to get your discount code.