Posts tagged Shawl
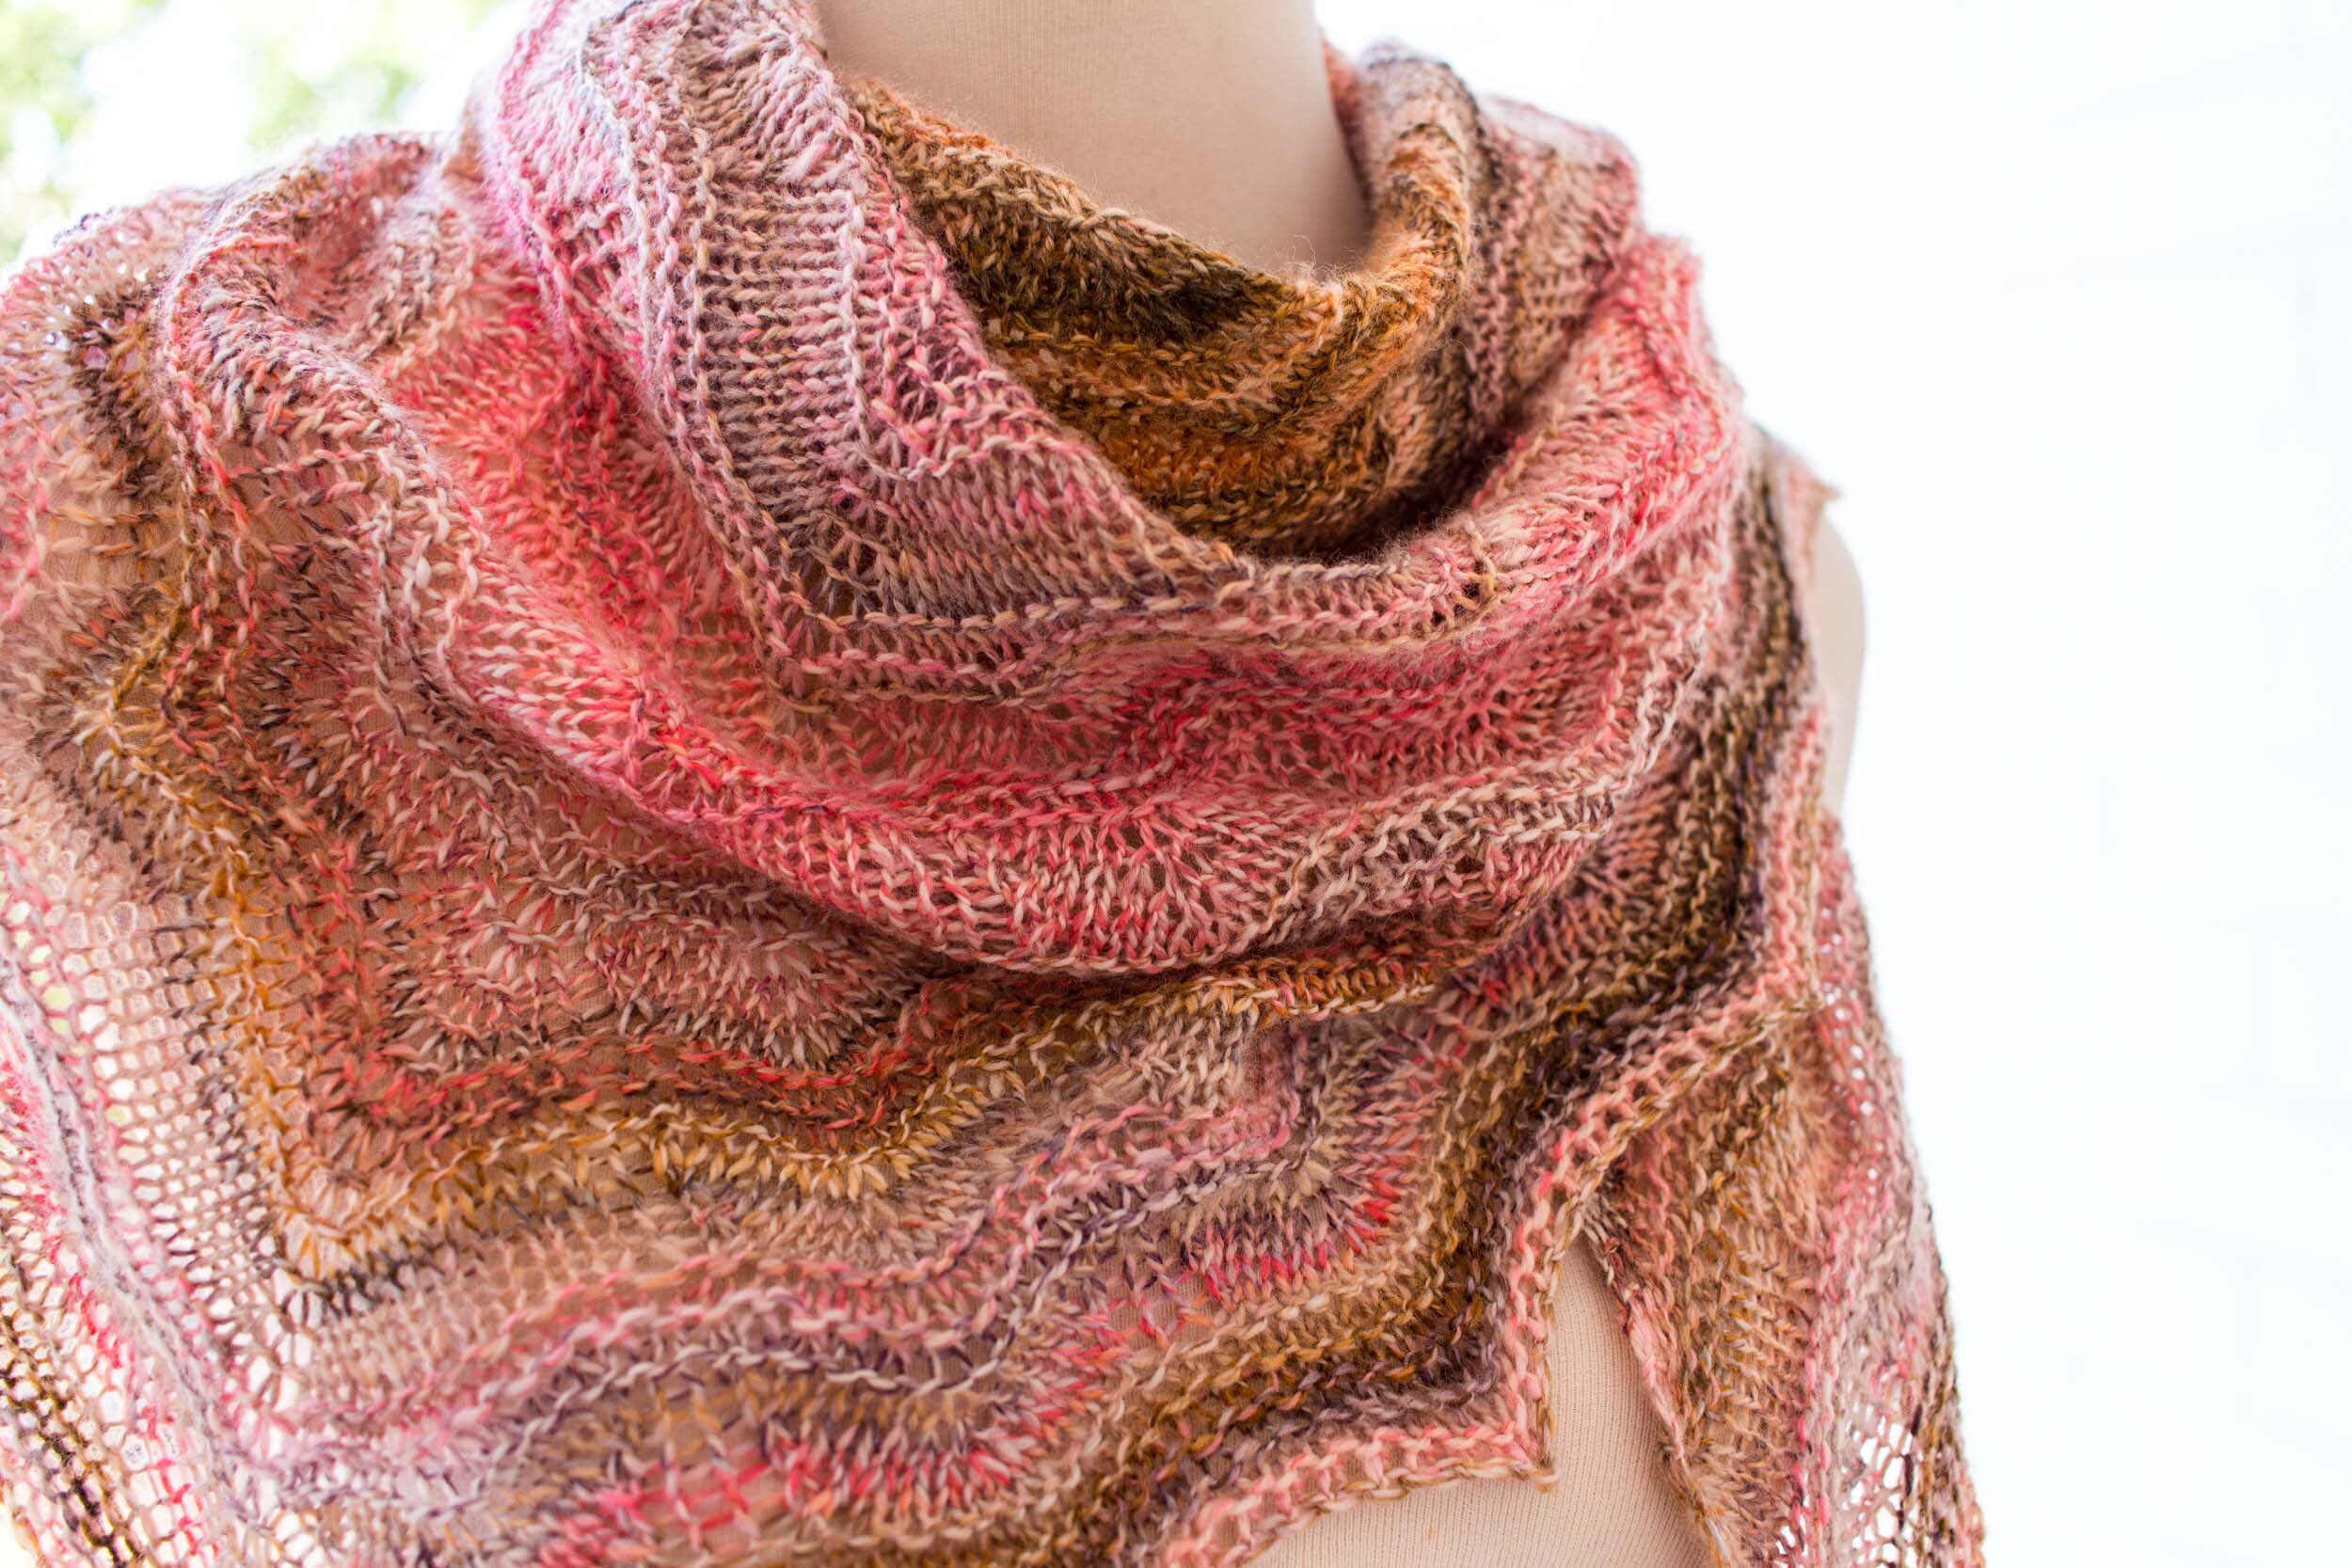
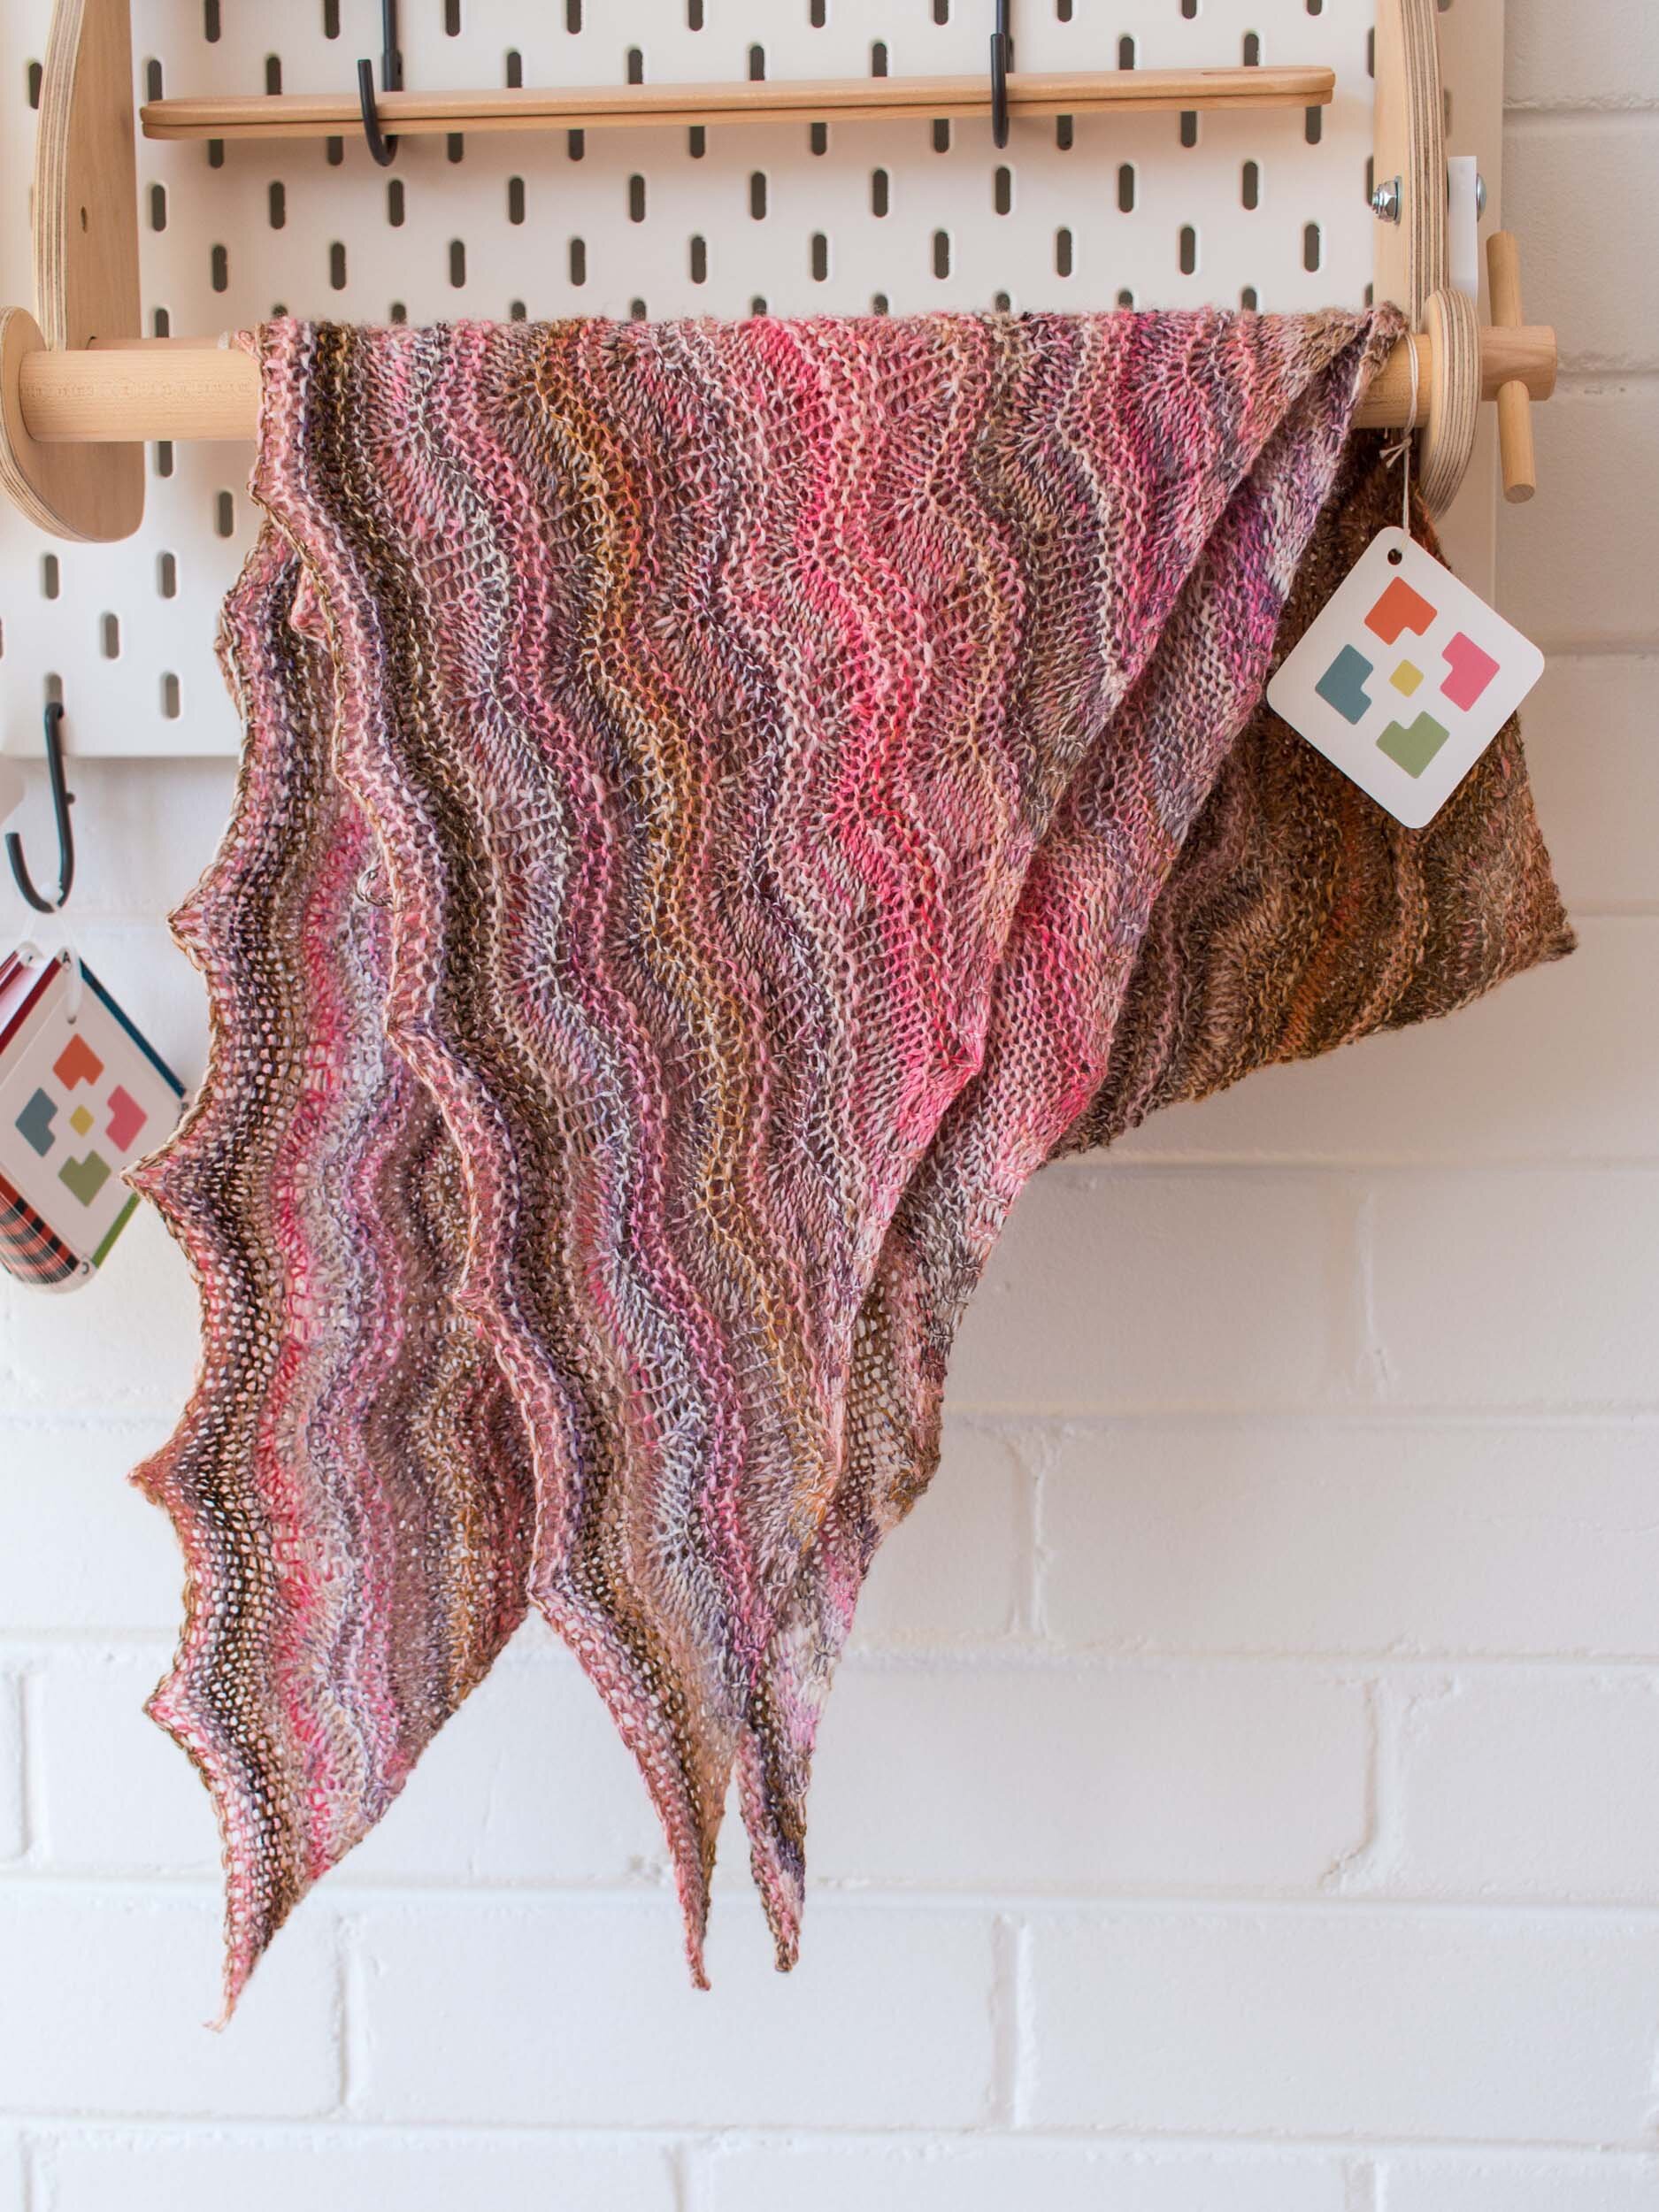
Spin a Yarn, Knit the Yarn: Grateful Moments Shawl
Grateful Moments Shawl - Journal - Loom & Spindle-16.jpg

Some time ago I was in the mood for a bit of a ‘de-stress’ spin.

To just spin and let a project evolve organically.

I didn’t want to think too hard about all the variables that often stop a new project in its tracks. Things like fibre prep, colour distribution and what the final project might be.

I just wanted to spin a yarn, then knit the yarn.

With this ethos I made my start. Along the way there were some key decisions that helped shape the direction of the project. I’ve detailed this journey below.

Andrea - Loom & Spindle


STUDIO PROJECT: Grateful Moments Shawl

Grateful Moments Shawl - Journal - Loom & Spindle-18.jpg

INTENTION

  • Spin a yarn.

  • Knit the yarn.

SKILLS

HAND SPINNING

  • Fibre preparation

  • Spinning singles

  • Plying

  • Finishing hand spun yarns

KNITTING

  • Casting on/off

  • Knitting flat

  • Increasing and decreasing

  • Reading charts for lacework

TOOLS

HAND SPINNING

KNITTING

  • 3.5 mm (US 4) 80cm circular needles (I used Chiaogoo Spin Bamboo Interchangables)

MATERIALS

100g x Wren & Ollie Superwash Merino/Nylon Spinning Fibre | Colourway, Salt and Pepper

Grateful Moments Shawl - Journal - Loom & Spindle-1.jpg

PATTERN

The Grateful Moments shawl pattern was designed by Sylvia McFadden, first published in September 2015. It is available to purchase as a digital download at Ravelry.com.

PROCESS

THE SPIN

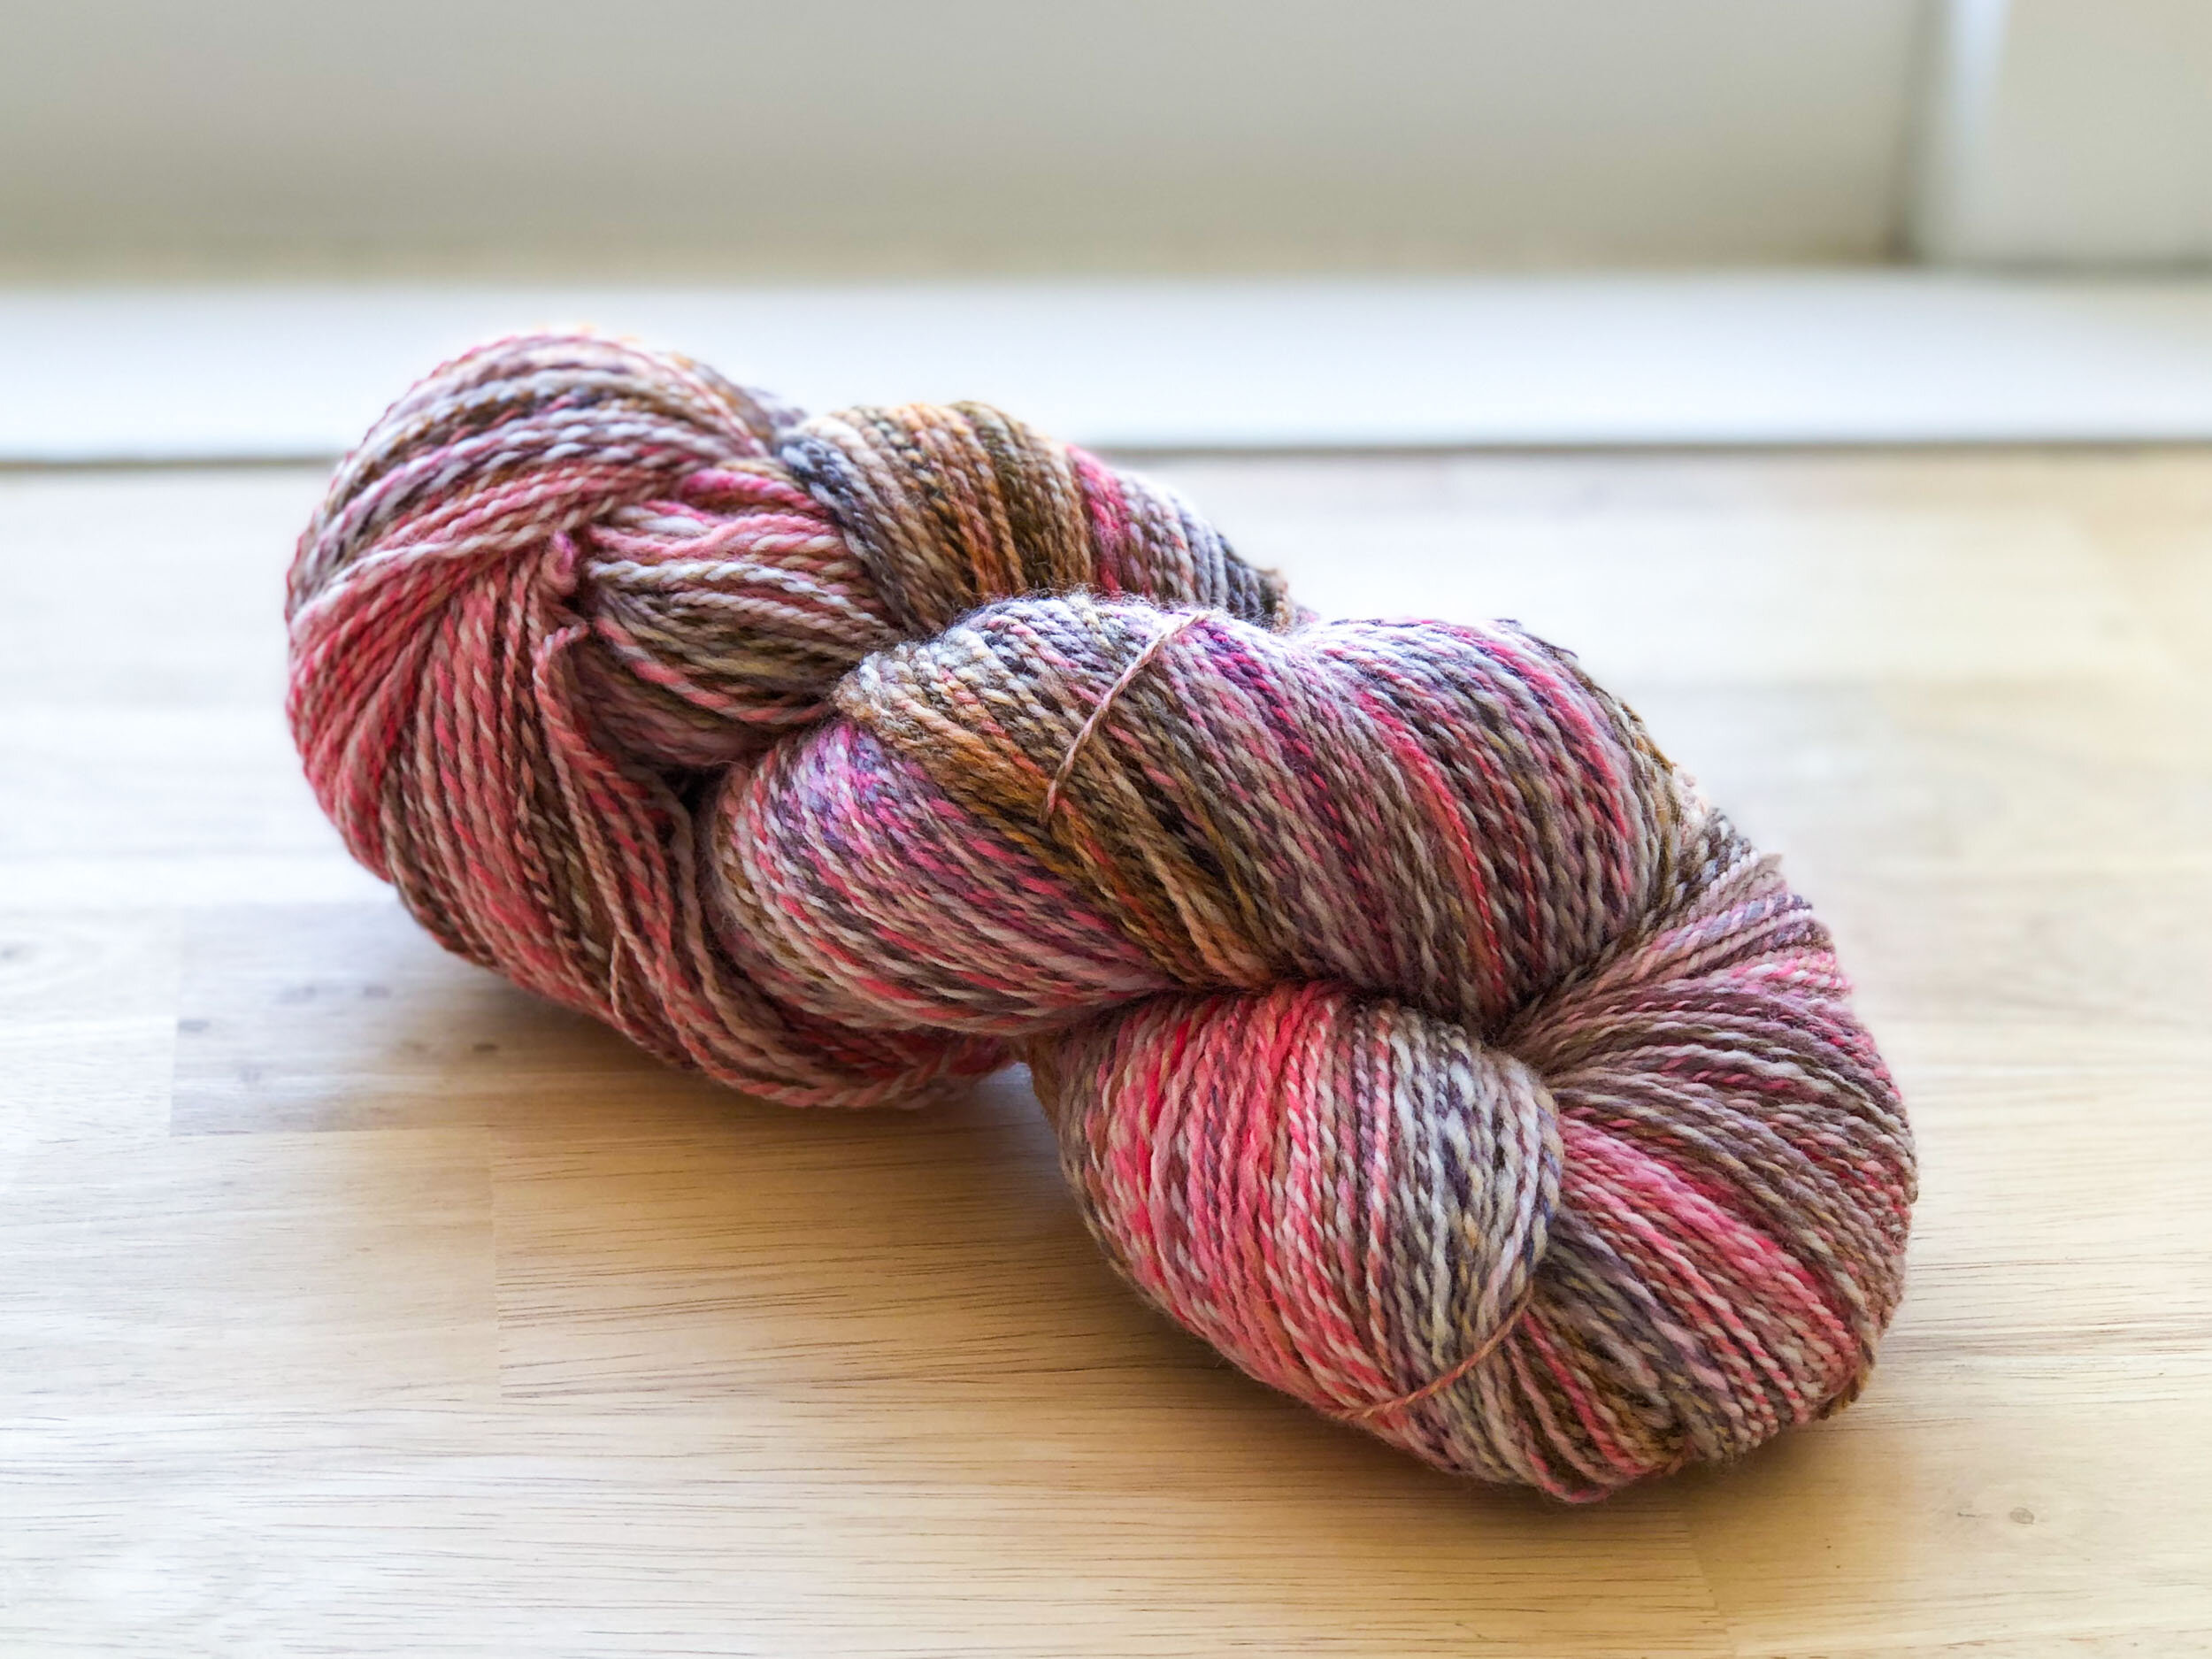
  • On fibre selection - I really just let the fibre choose me. I had a braid of Wren & Ollie Superwash Merino/Nylon spinning fibre that I’d recently acquired. I was drawn to its saturated splashes of pink and attention-grabbing speckles.

Grateful Moments Shawl - Journal - Loom & Spindle-2.jpg
  • Loosening the braid, I made a quick assessment of the dye placement and the hand-feel of the fibres. My notes here - the fibres were next to skin soft with a seemingly unfussy distribution of colour.

  • Determining the spin parameters, I stuck to my ethos of keeping it simple. I opted for a 2-ply construction with a plan to spin the singles at my comfort grist – usually around 30 wraps per inch resulting in a fingering/4ply weight yarn when two singles are plied.

  • Prepping the fibre, I split the tops in two, lengthwise. I set one length aside for the first single and then split the remaining half lengthwise again for the second single. This would hopefully maintain some of the original colour placement but also distribute the colours throughout to produce a variegated and self-striping yarn.

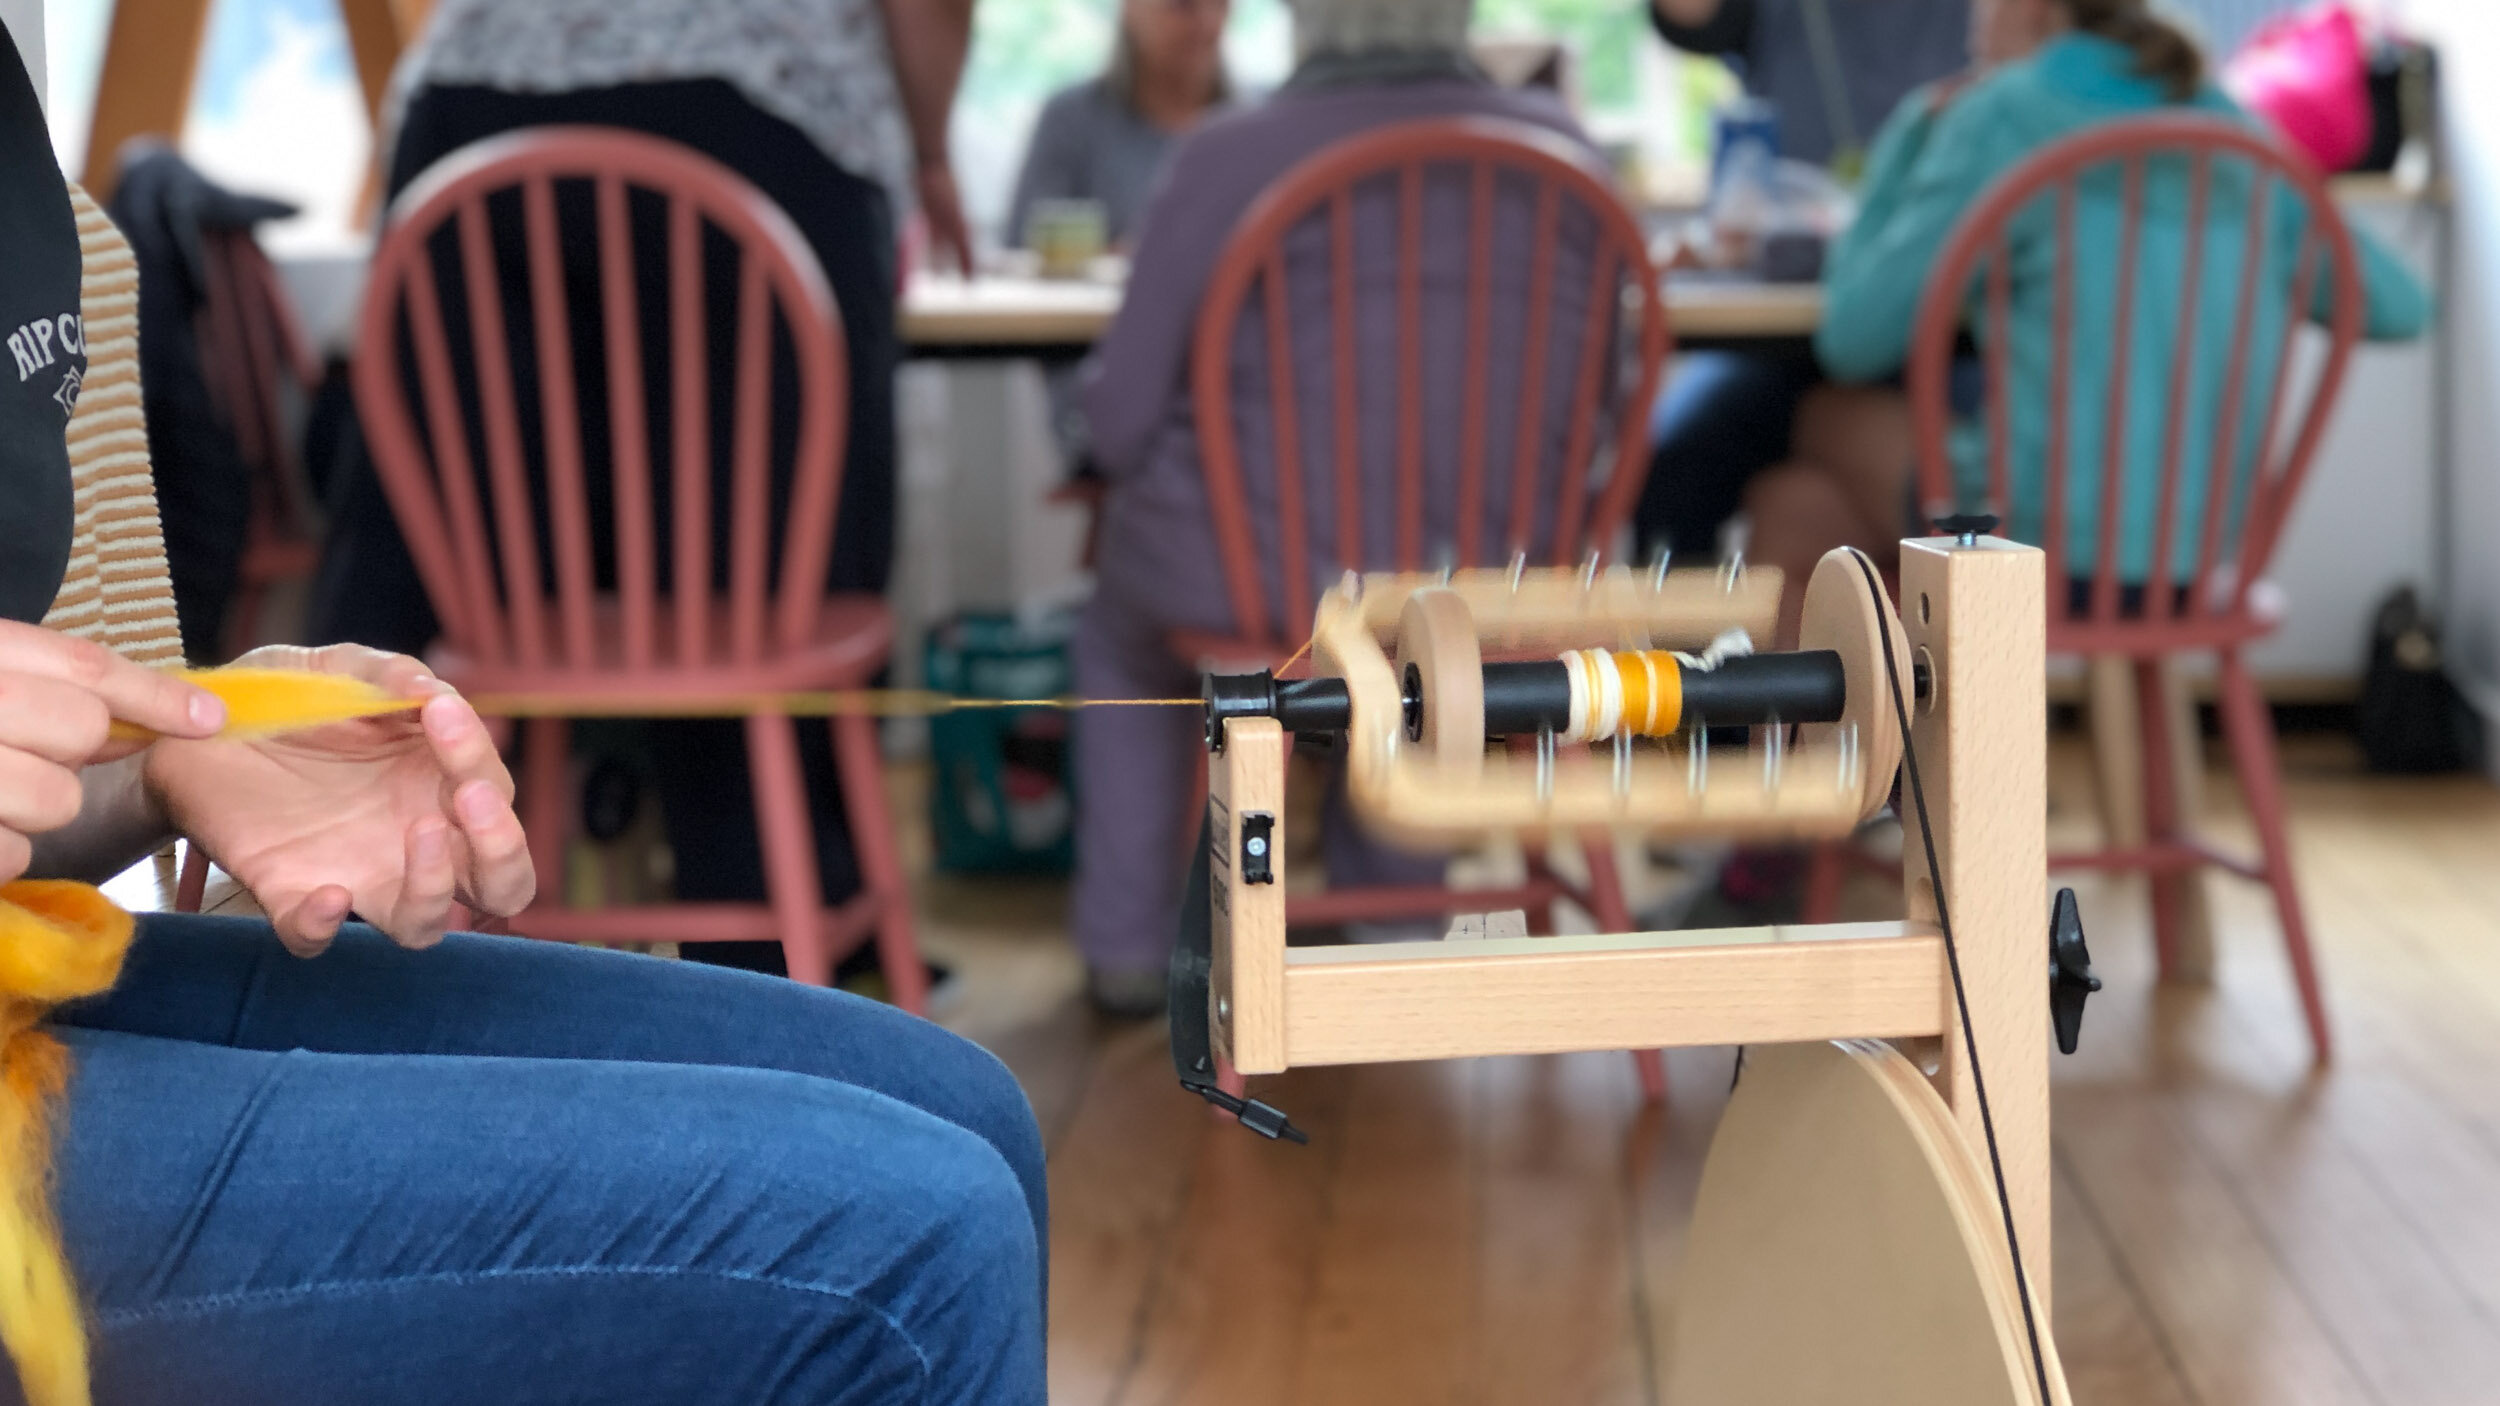
  • I spun both singles on a Louët S17 spinning wheel. I used a yarn gauge to track my WPI and maintain some uniformity between the singles.

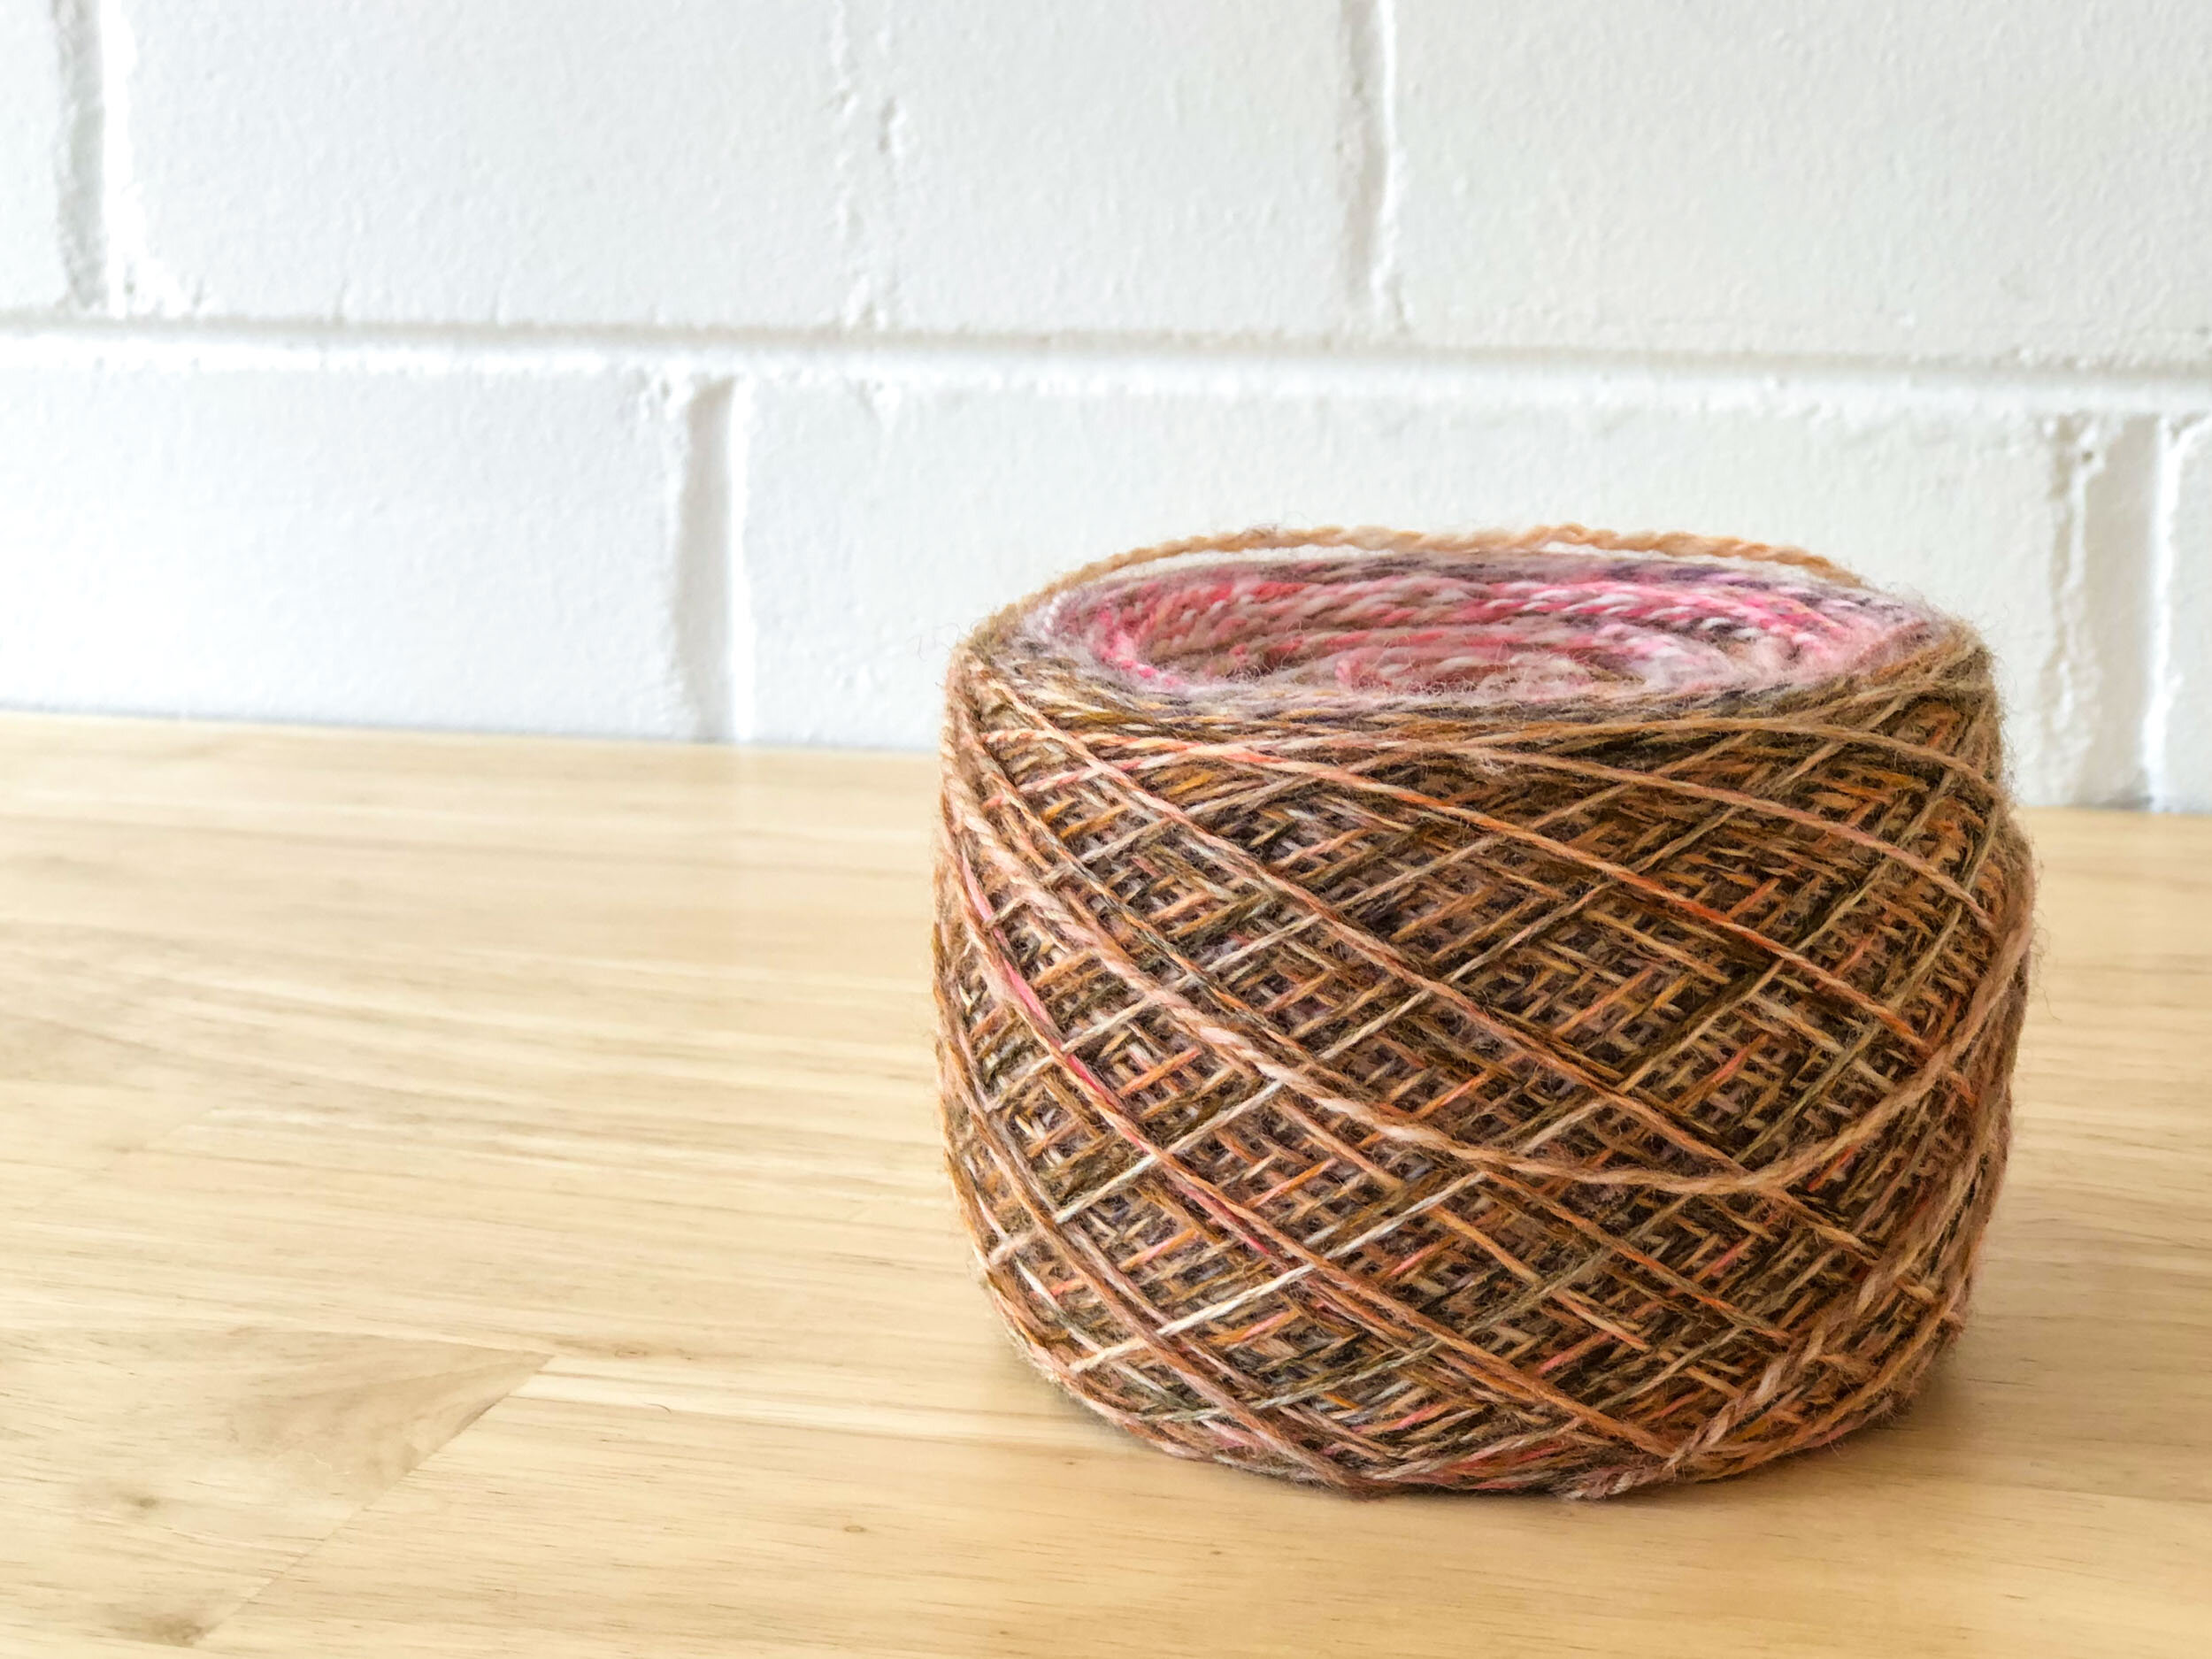
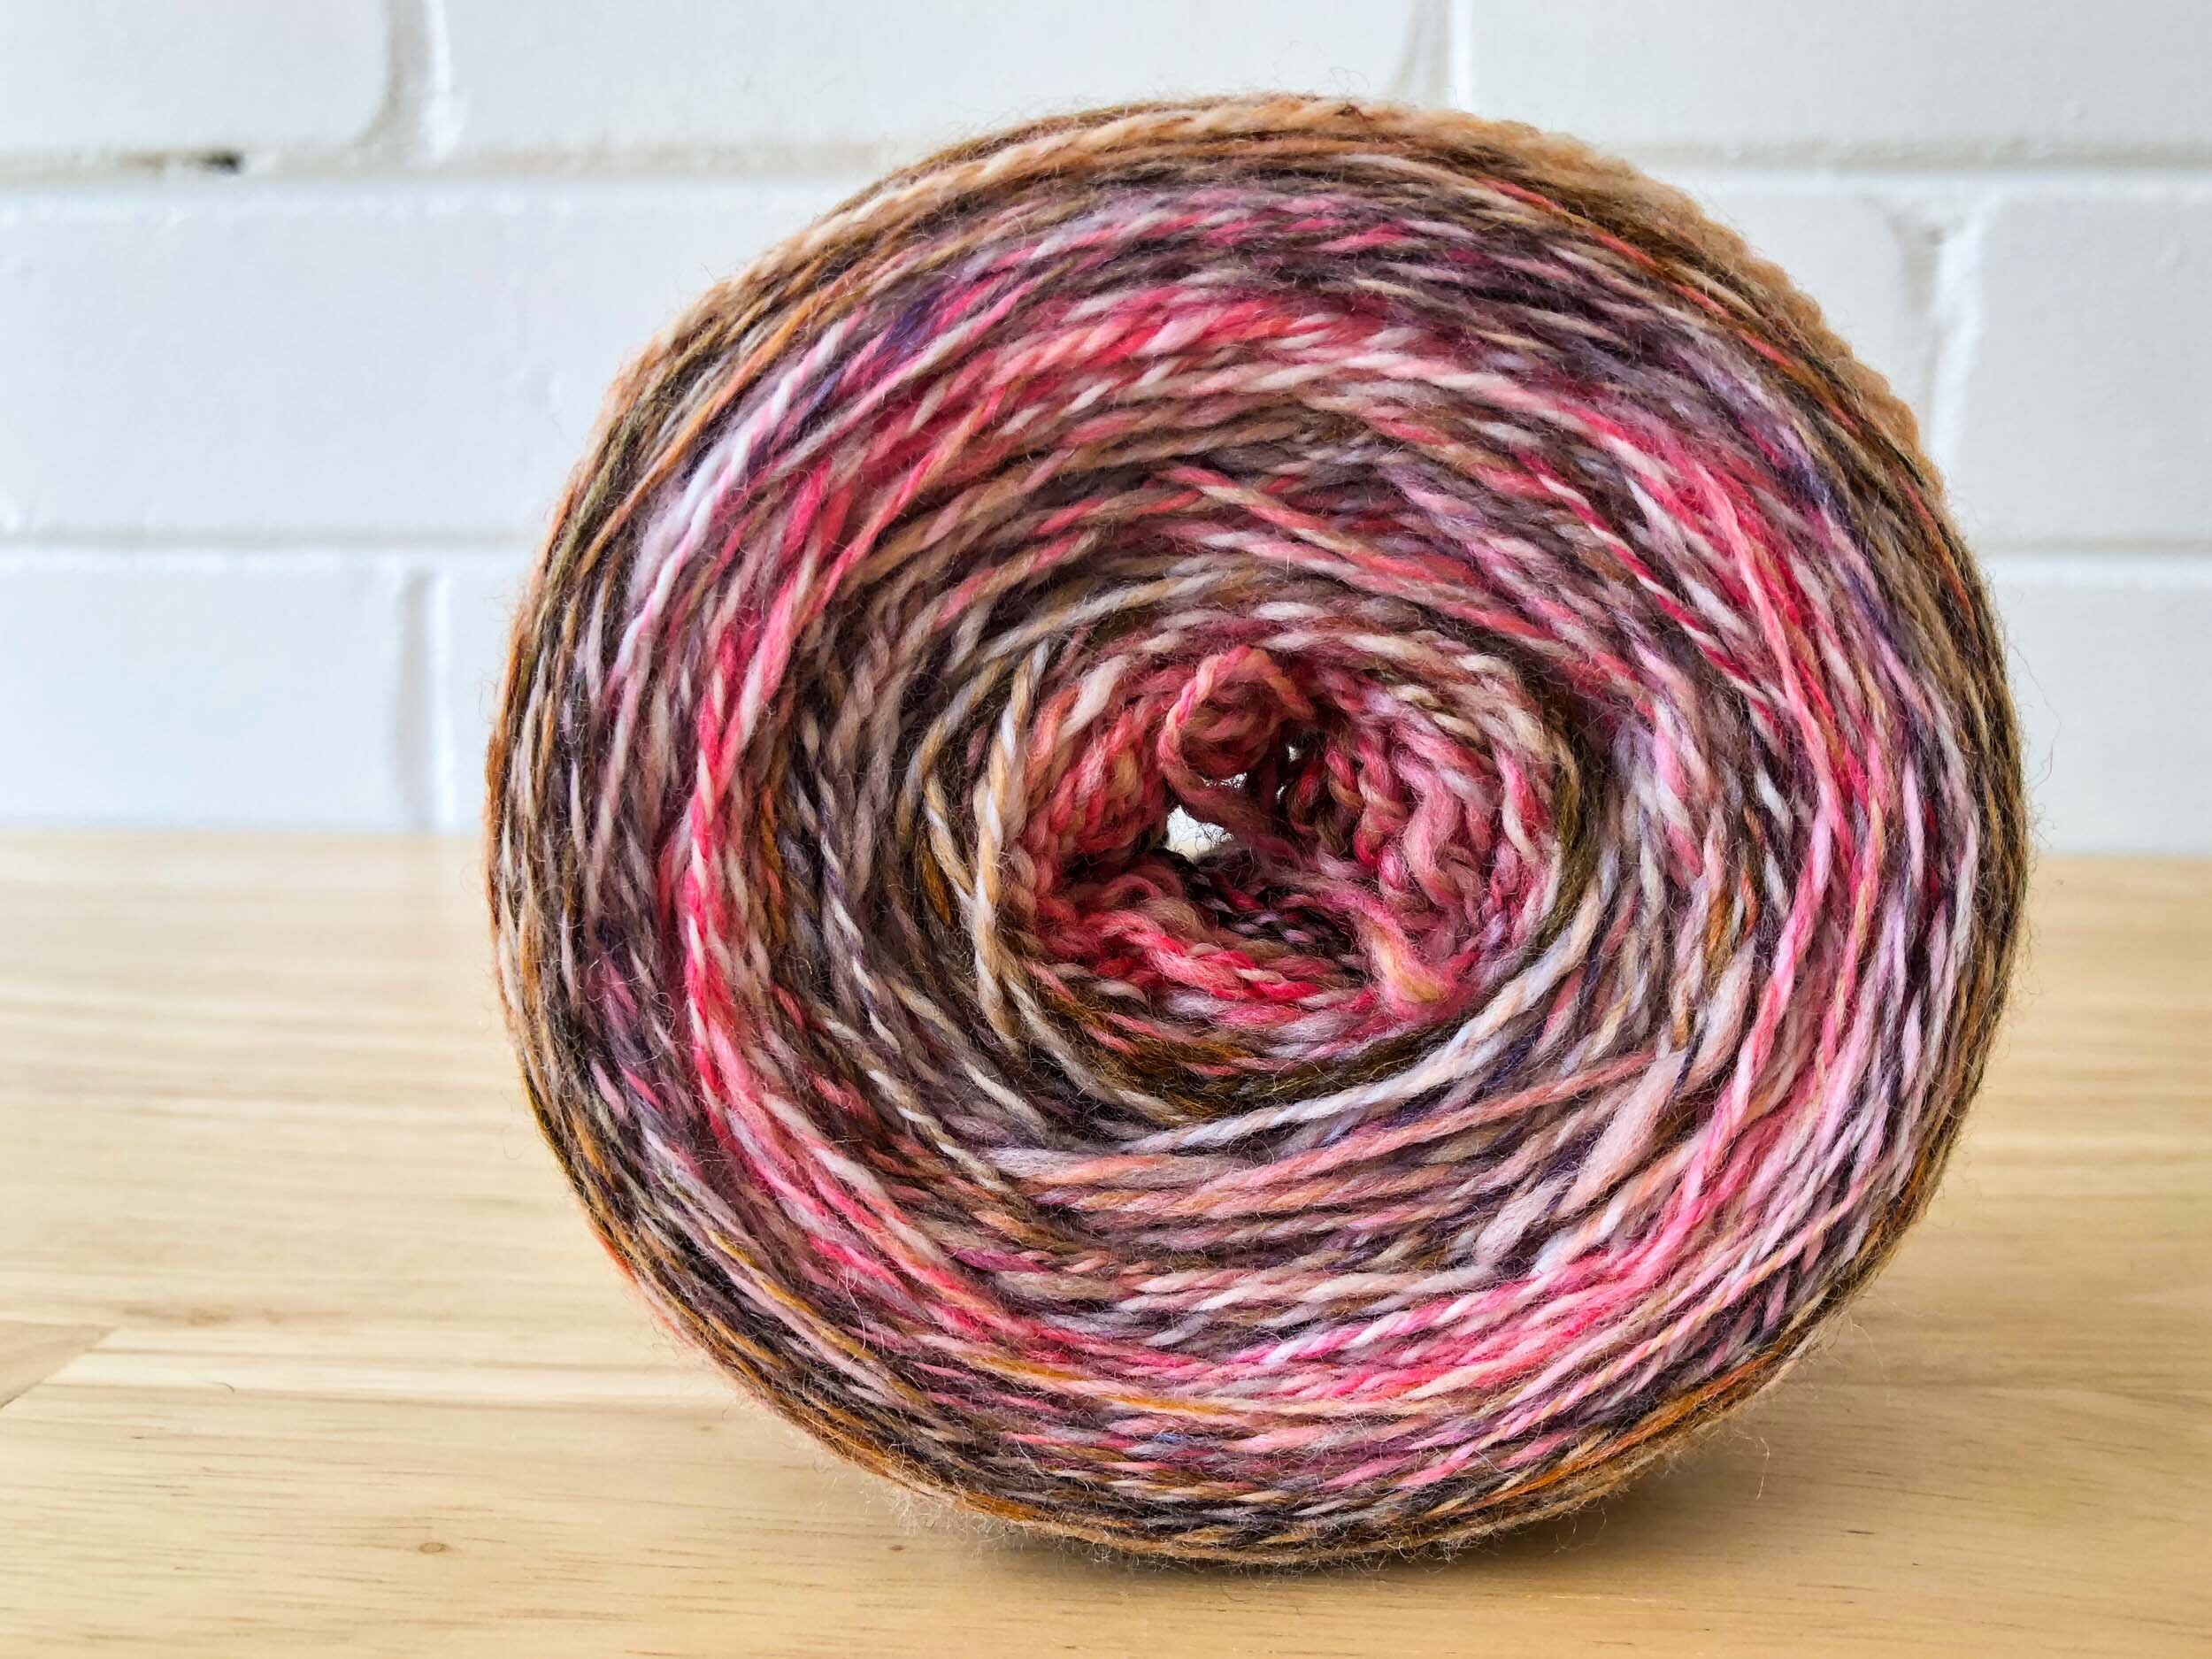
  • I kept the finishing minimal plying both singles together directly from their bobbins and finished the skein with a short soak to revive the fibres.

  • The resulting yarn was light and soft with moderate twist. I didn’t measure the yardage but thought it likely to be around 400m at fingering/4ply weight.

THE KNIT

  • Finding a suitable project started with plugging all the parameters into the Ravelry pattern search - weight, yardage and category. Given the yardage and character of the yarn I thought a cowl or small shawl would work well.

  • Wanting to learn more about shawl construction and lacework I went with the Grateful Moments shawl pattern, it already had several projects using hand spun yarns to great effect so seemed like the perfect fit.

  • I didn’t swatch, I just jumped in and knit until I ran out of yarn!

FINISHING

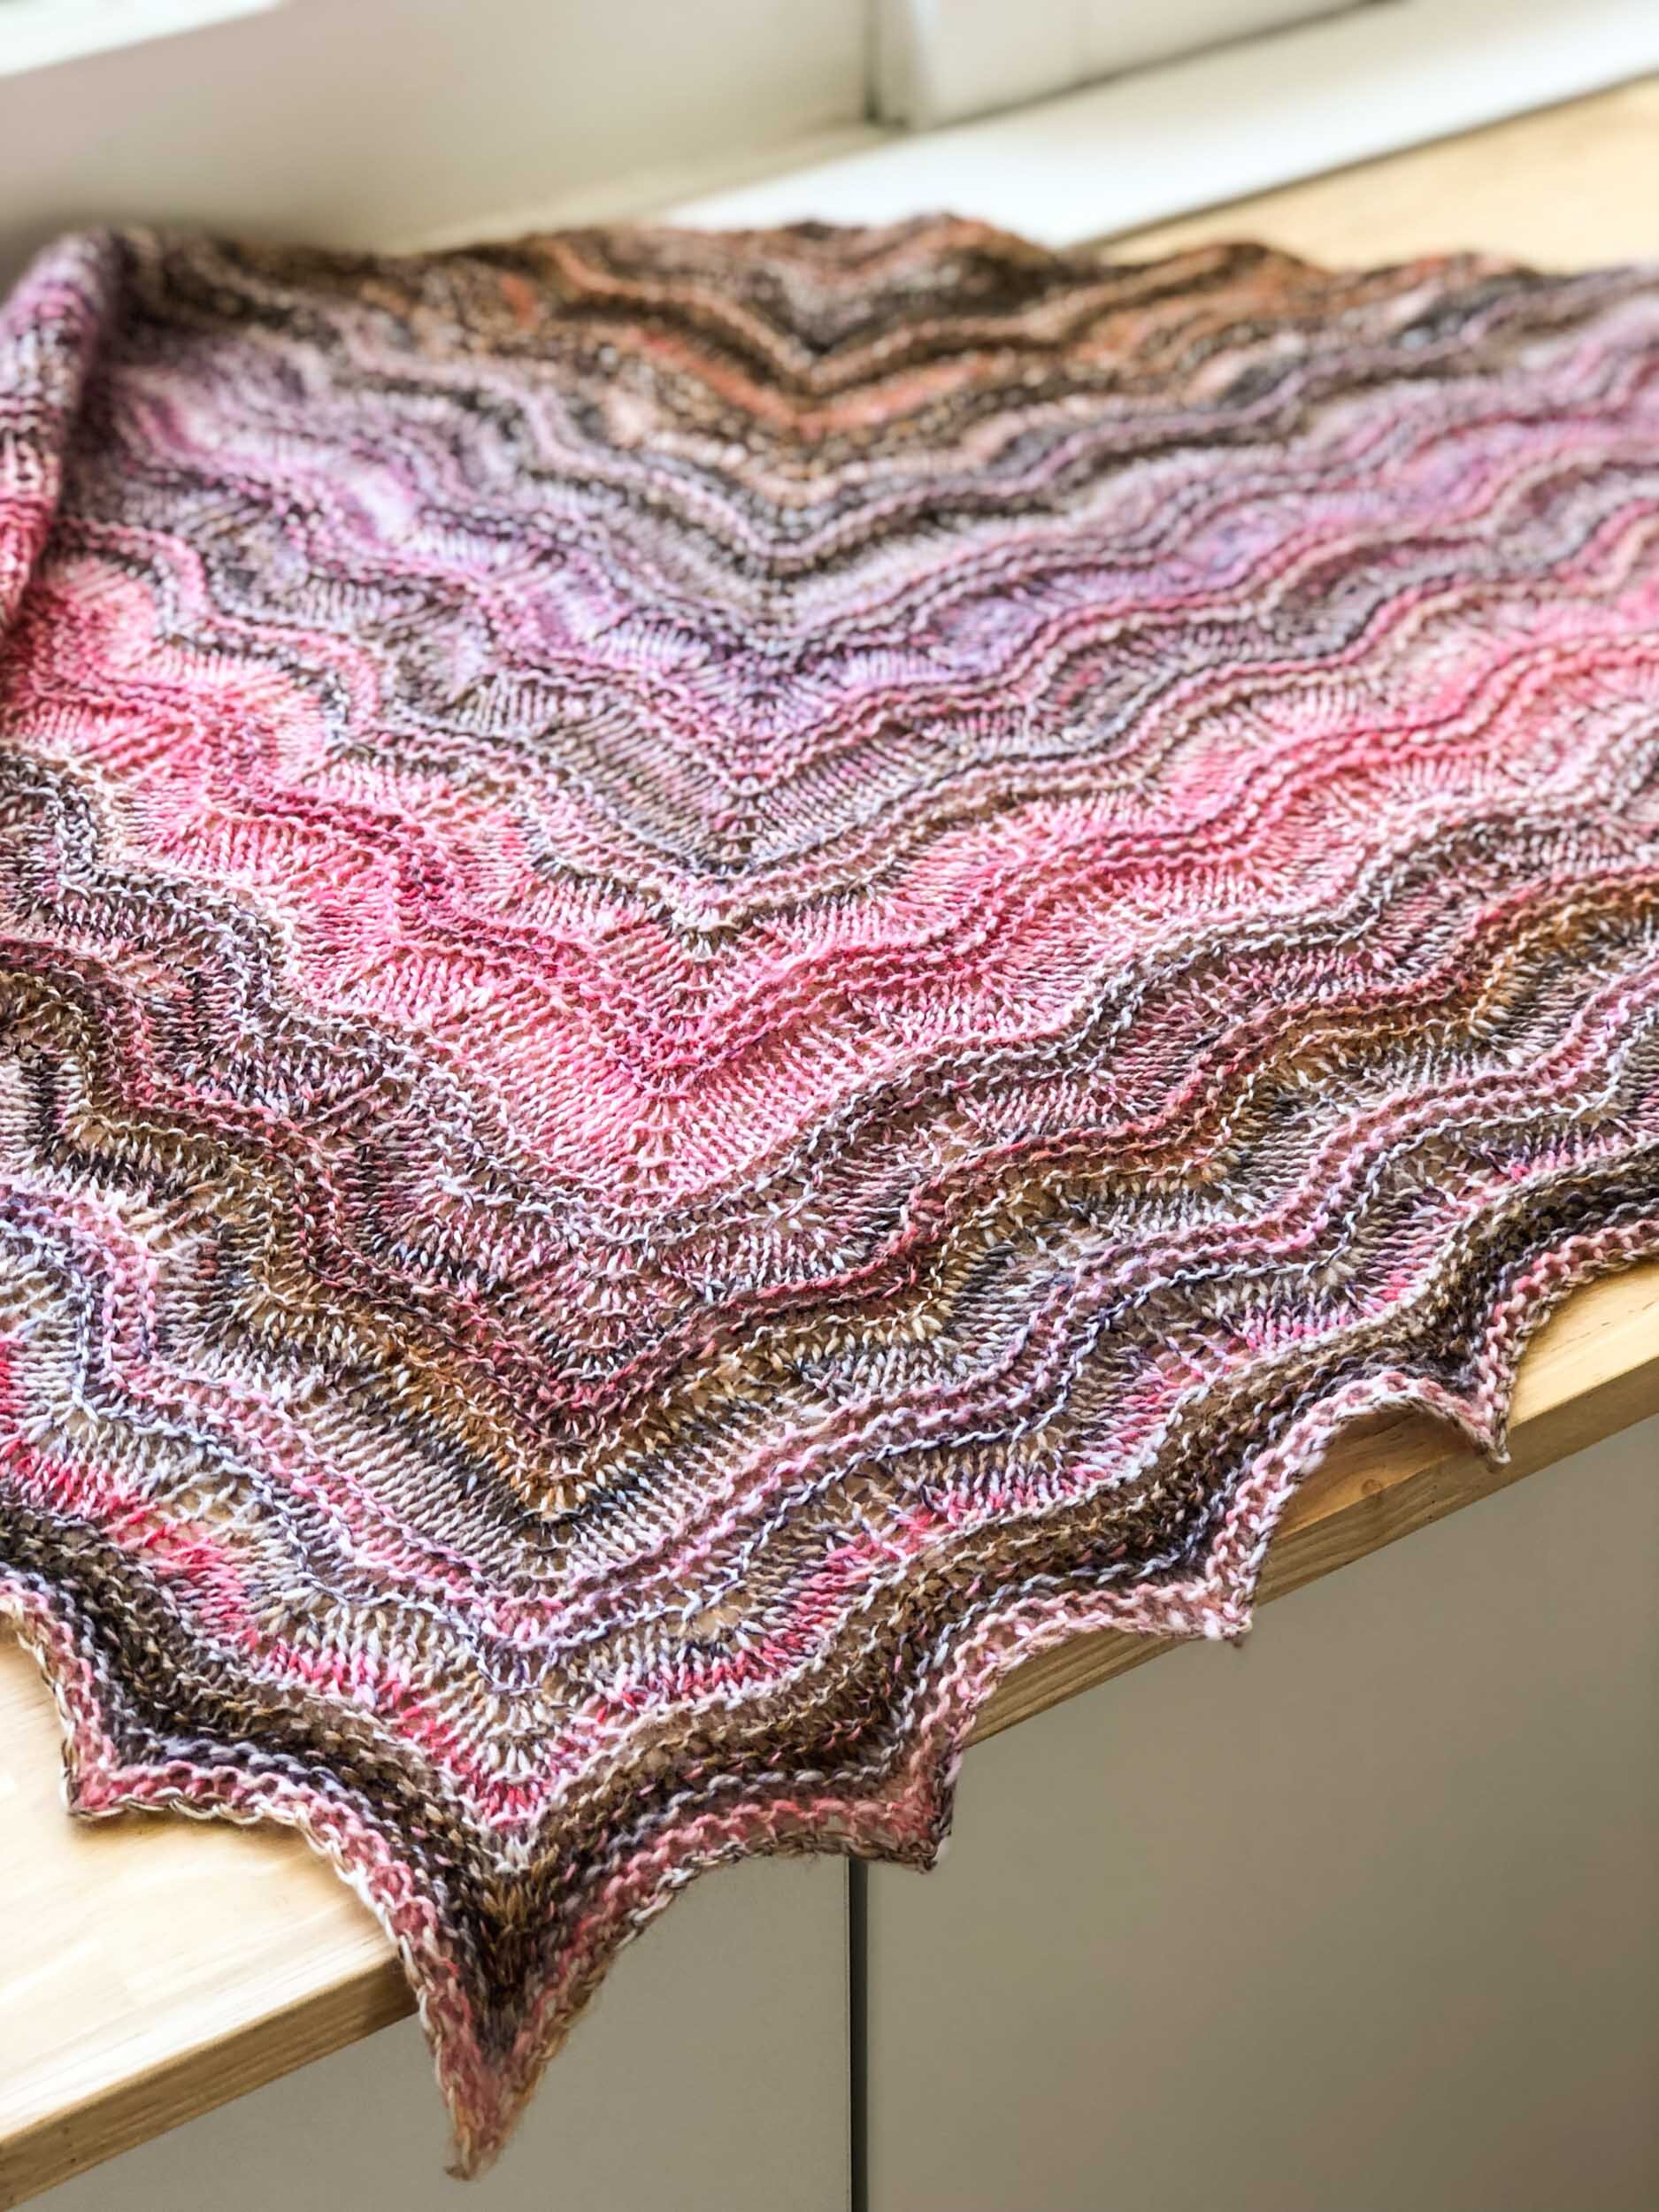
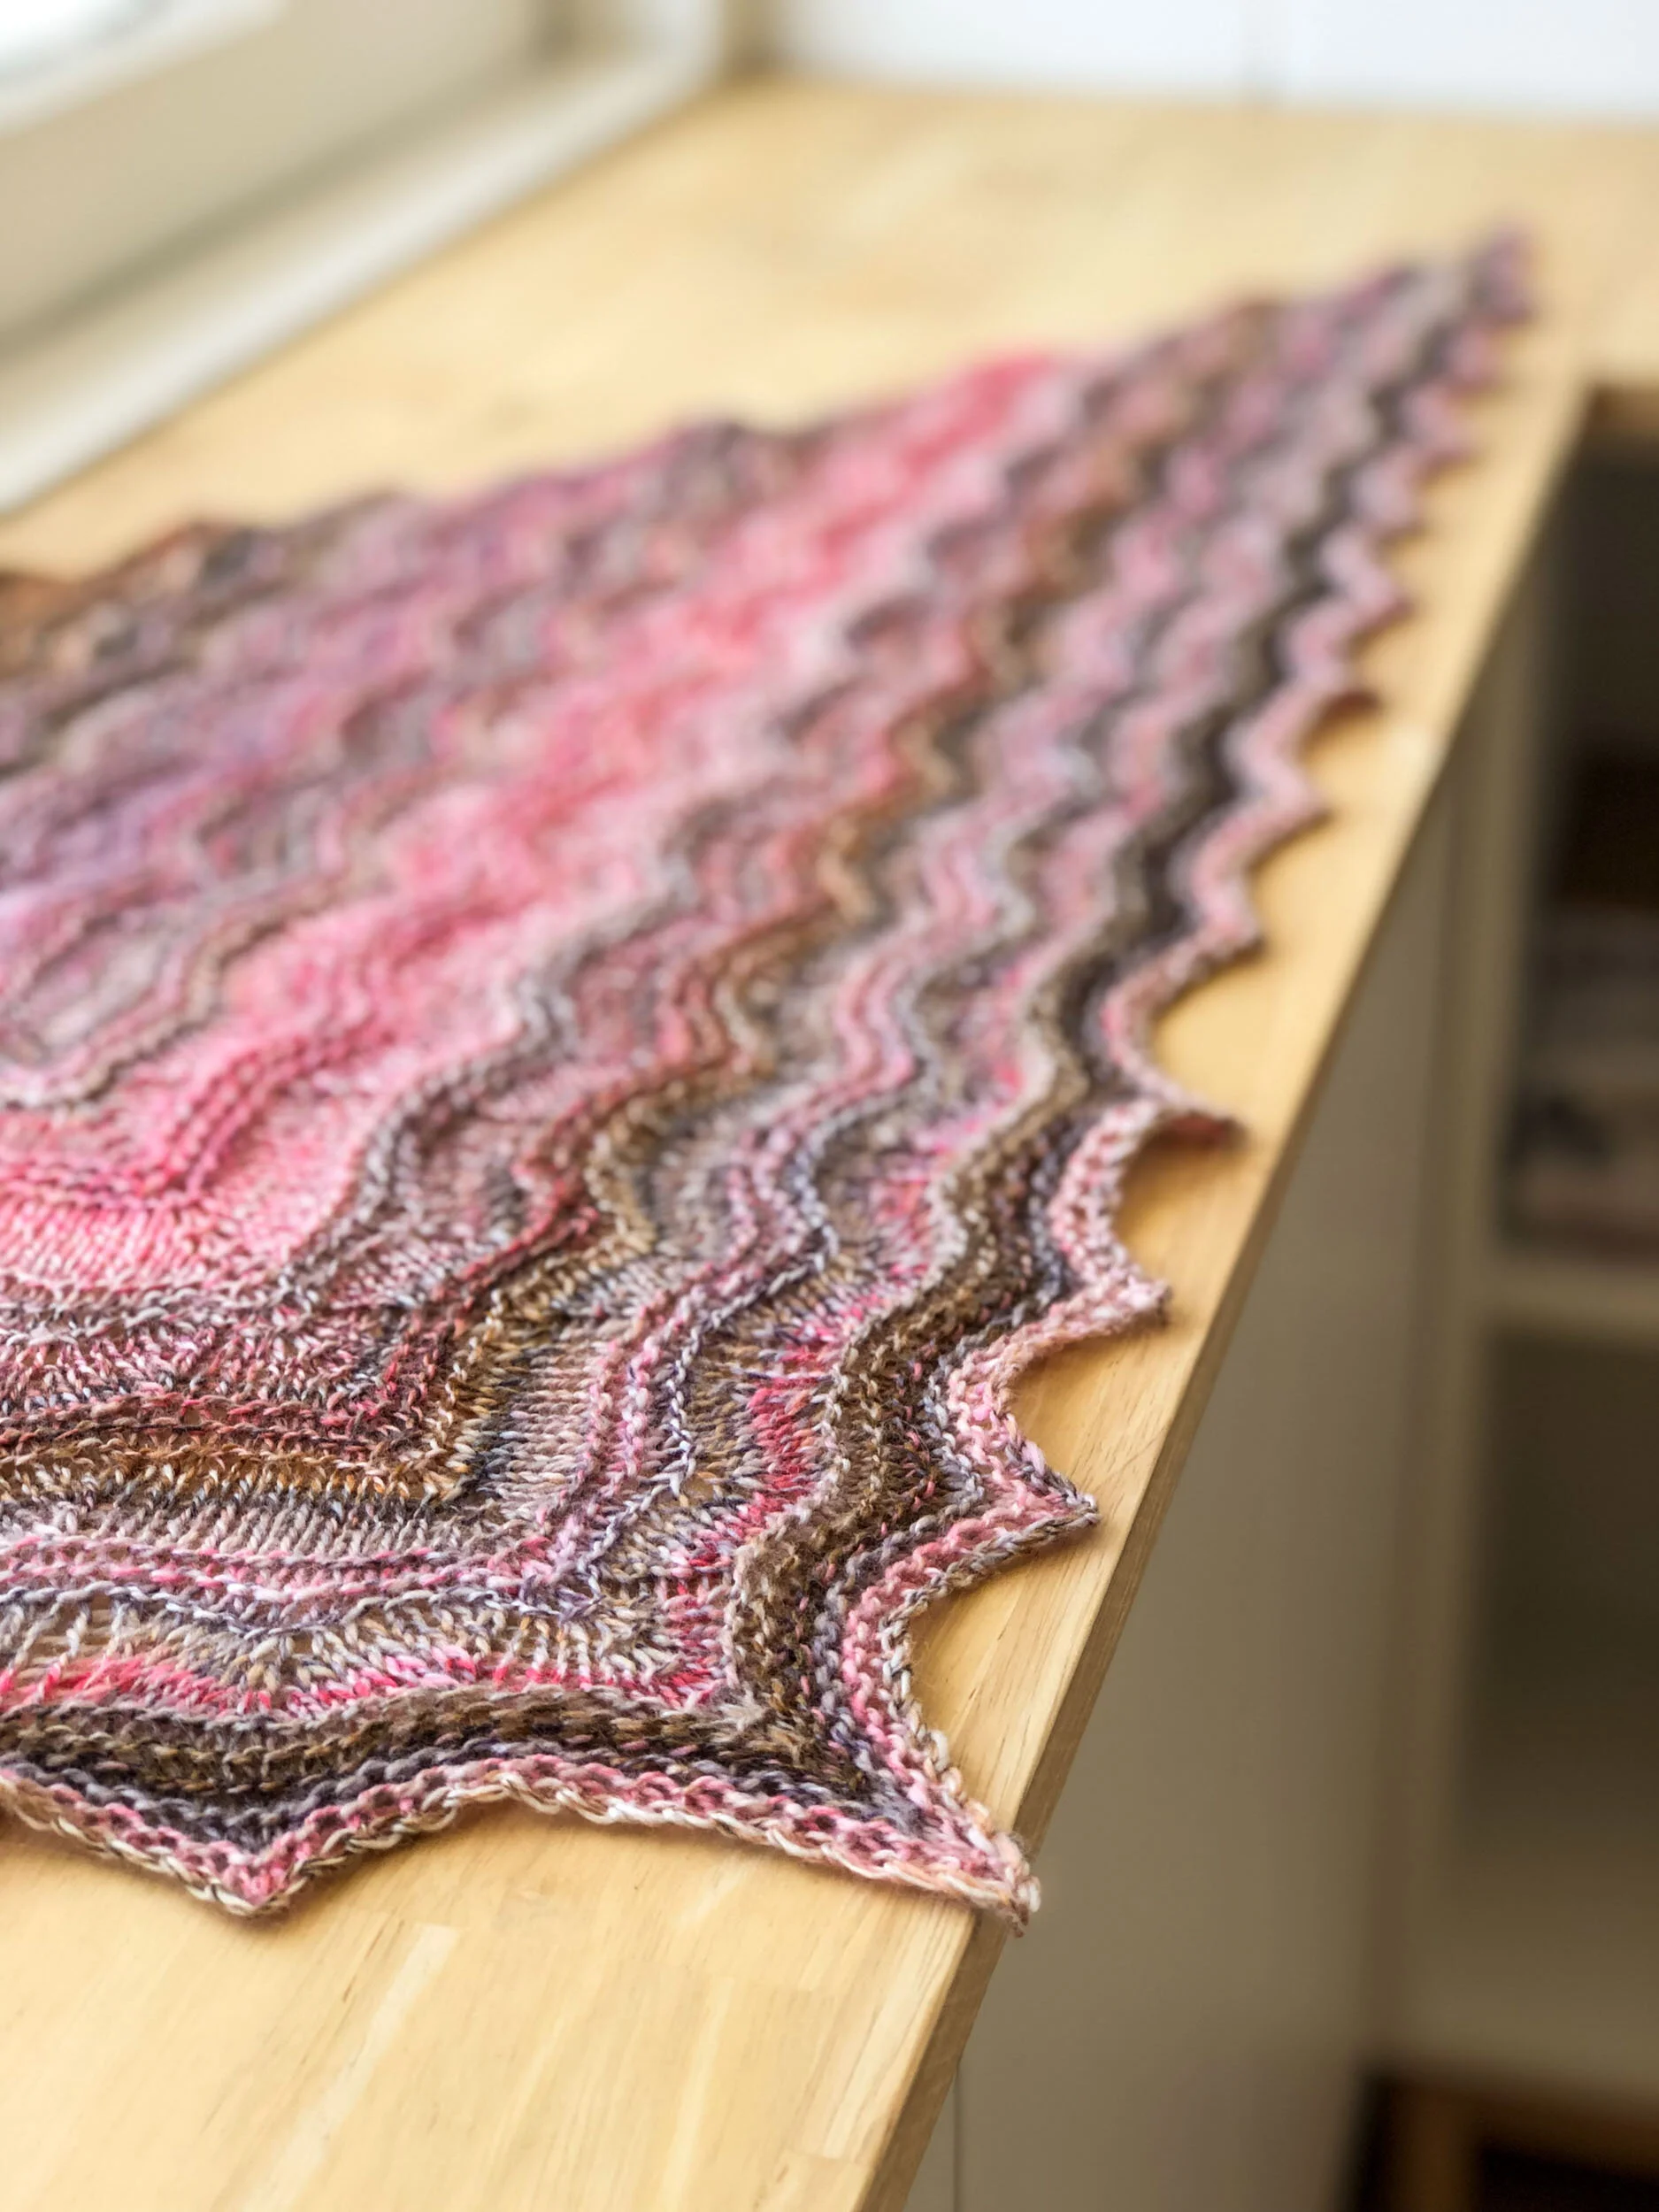
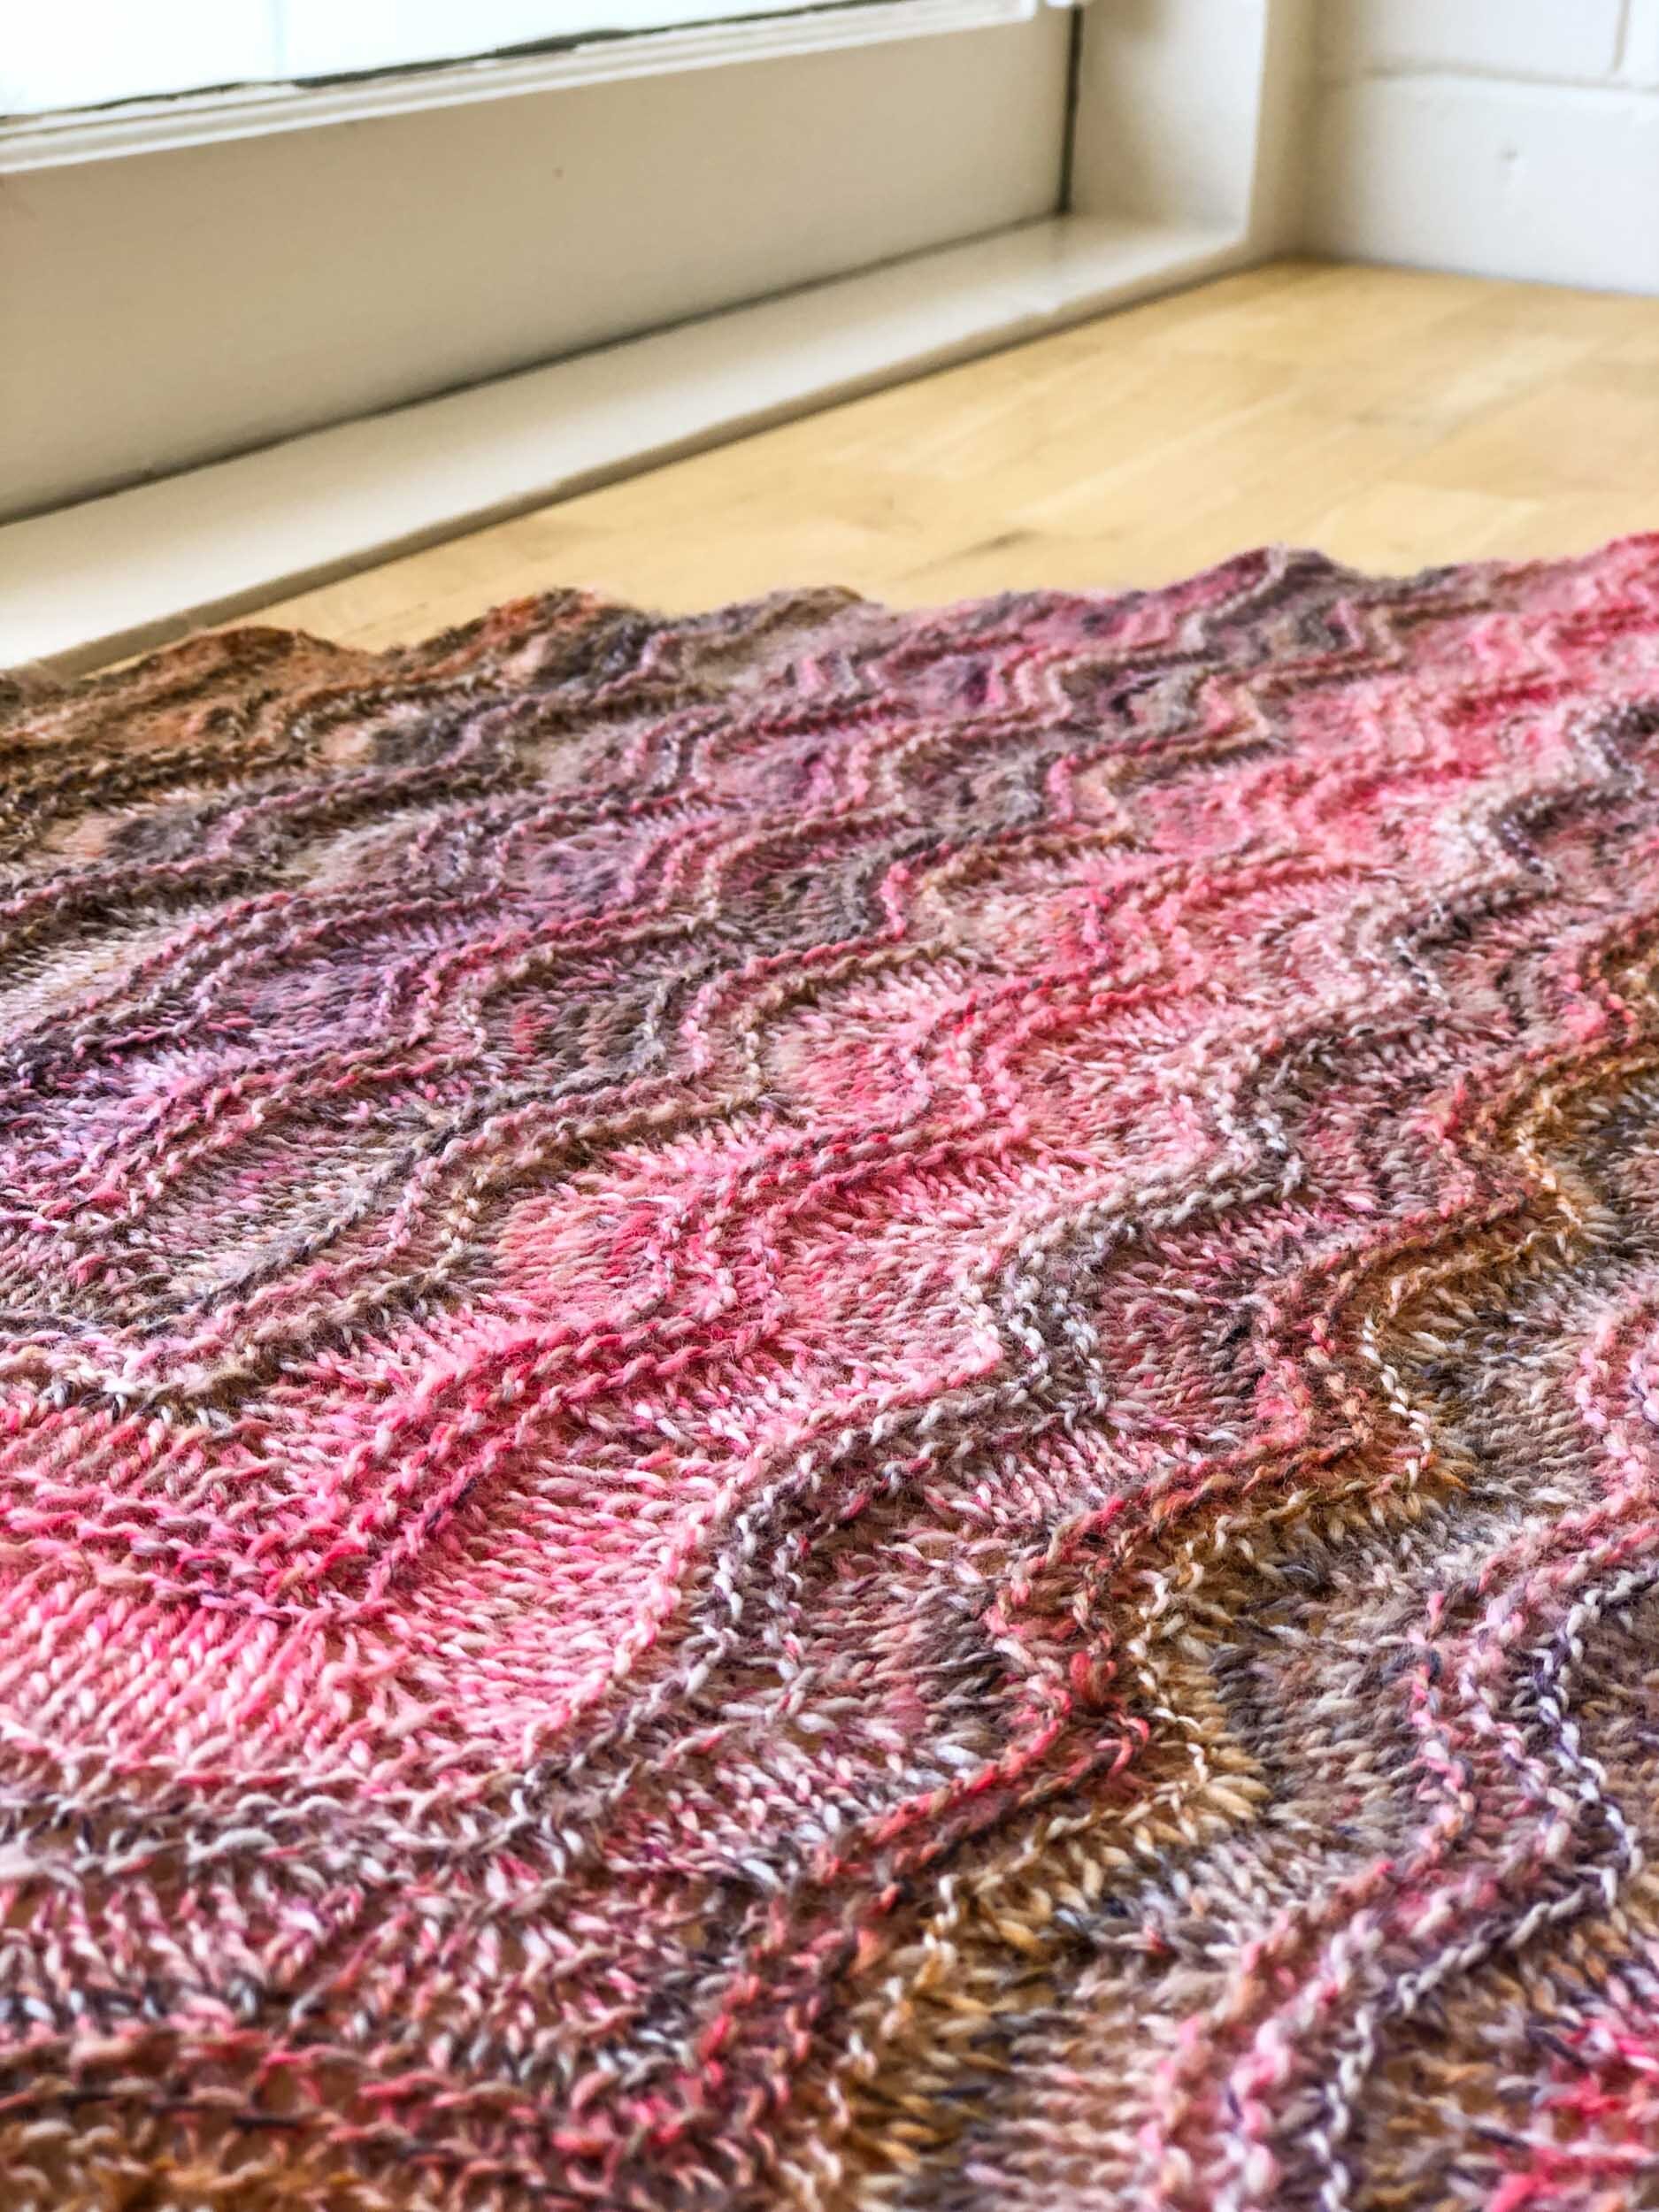
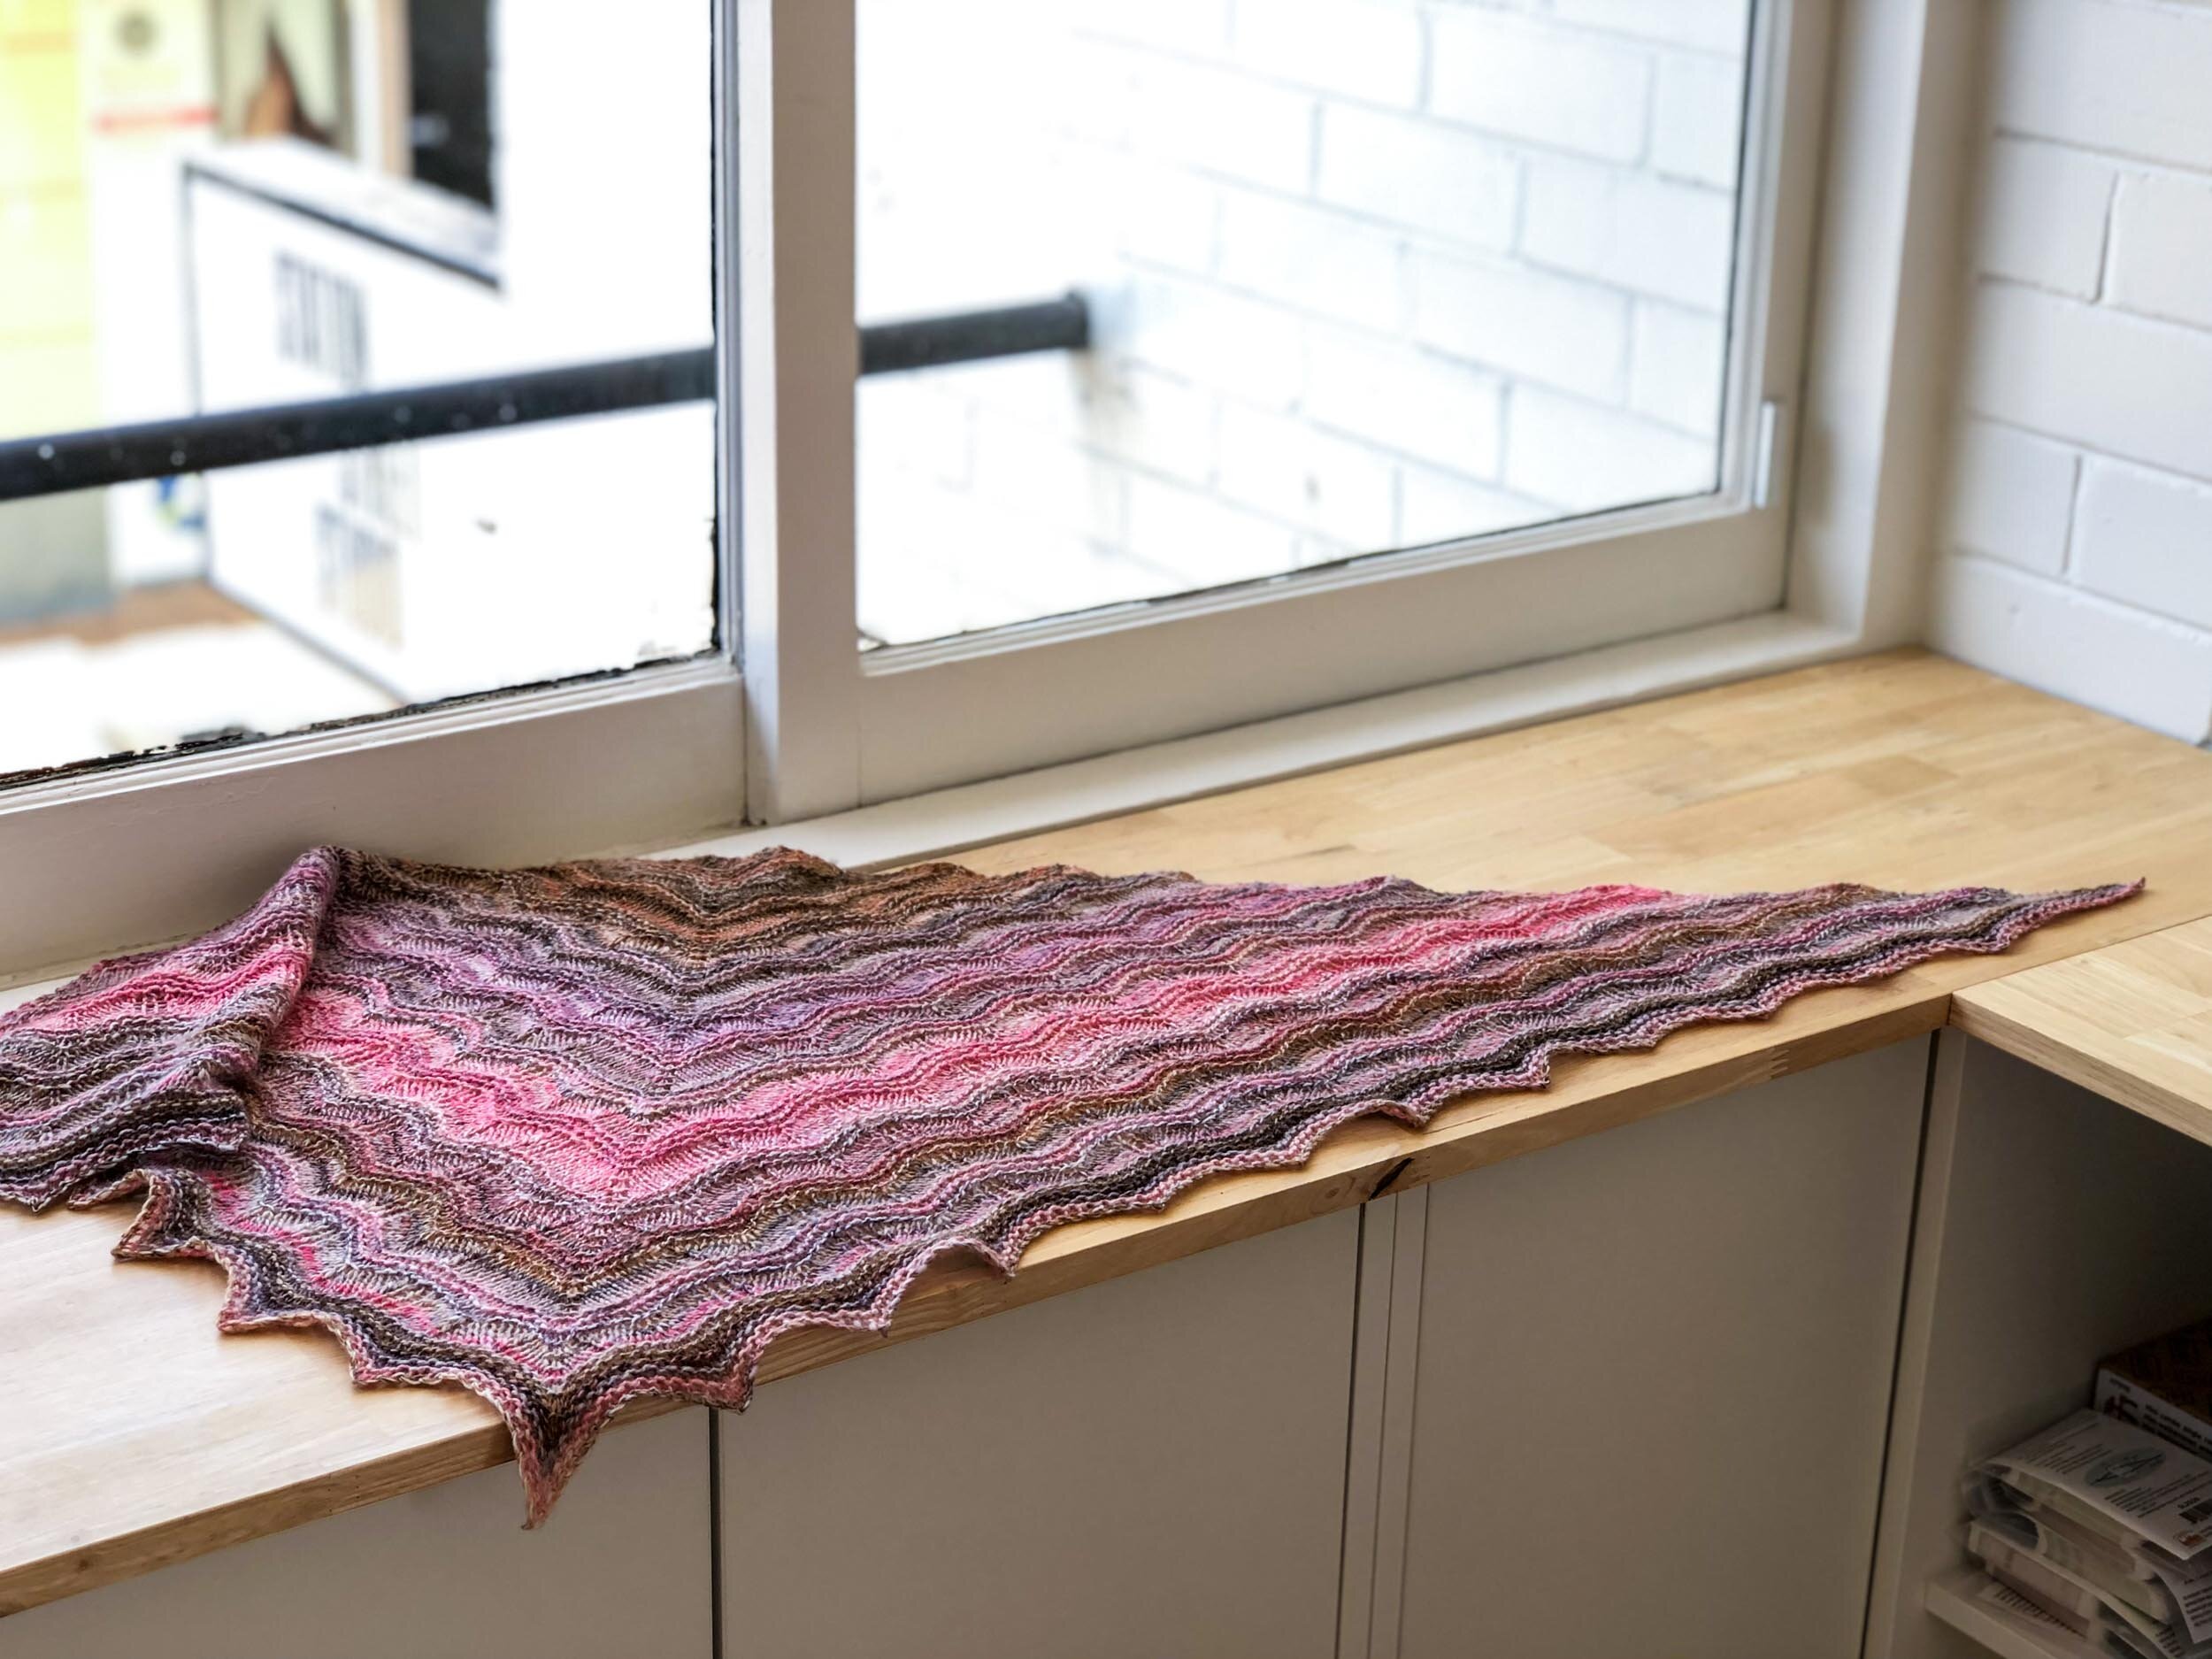
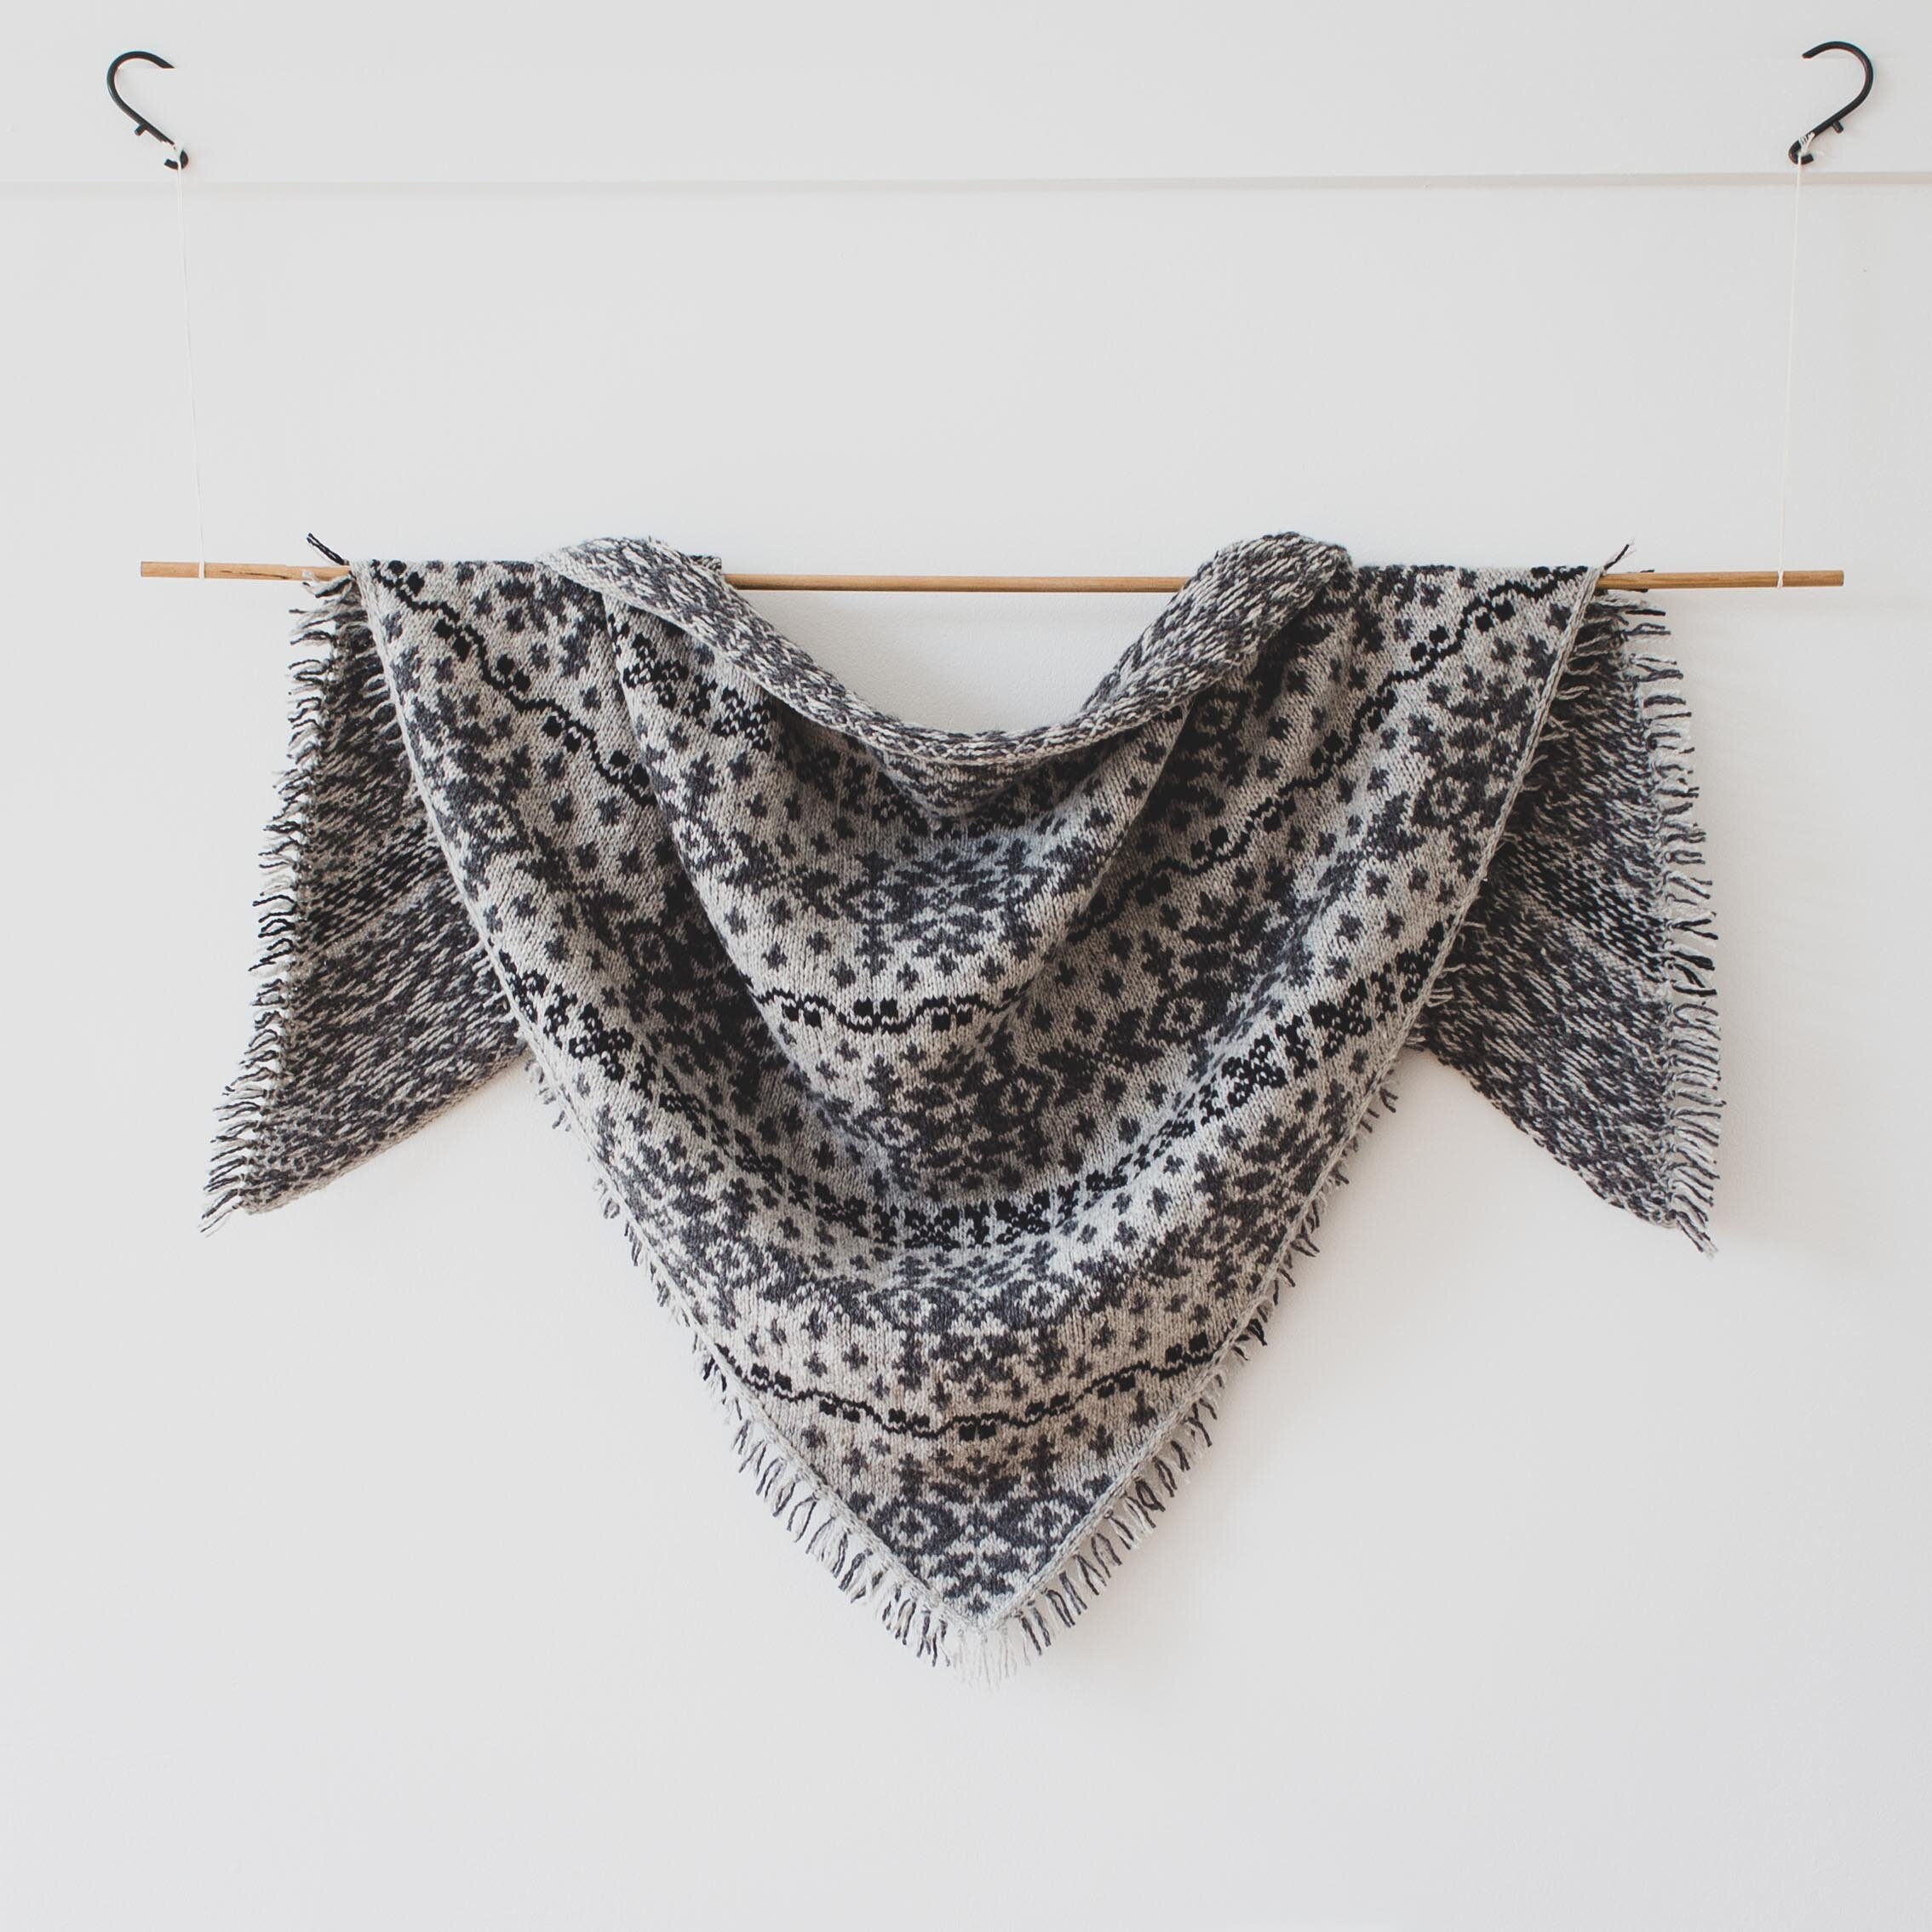
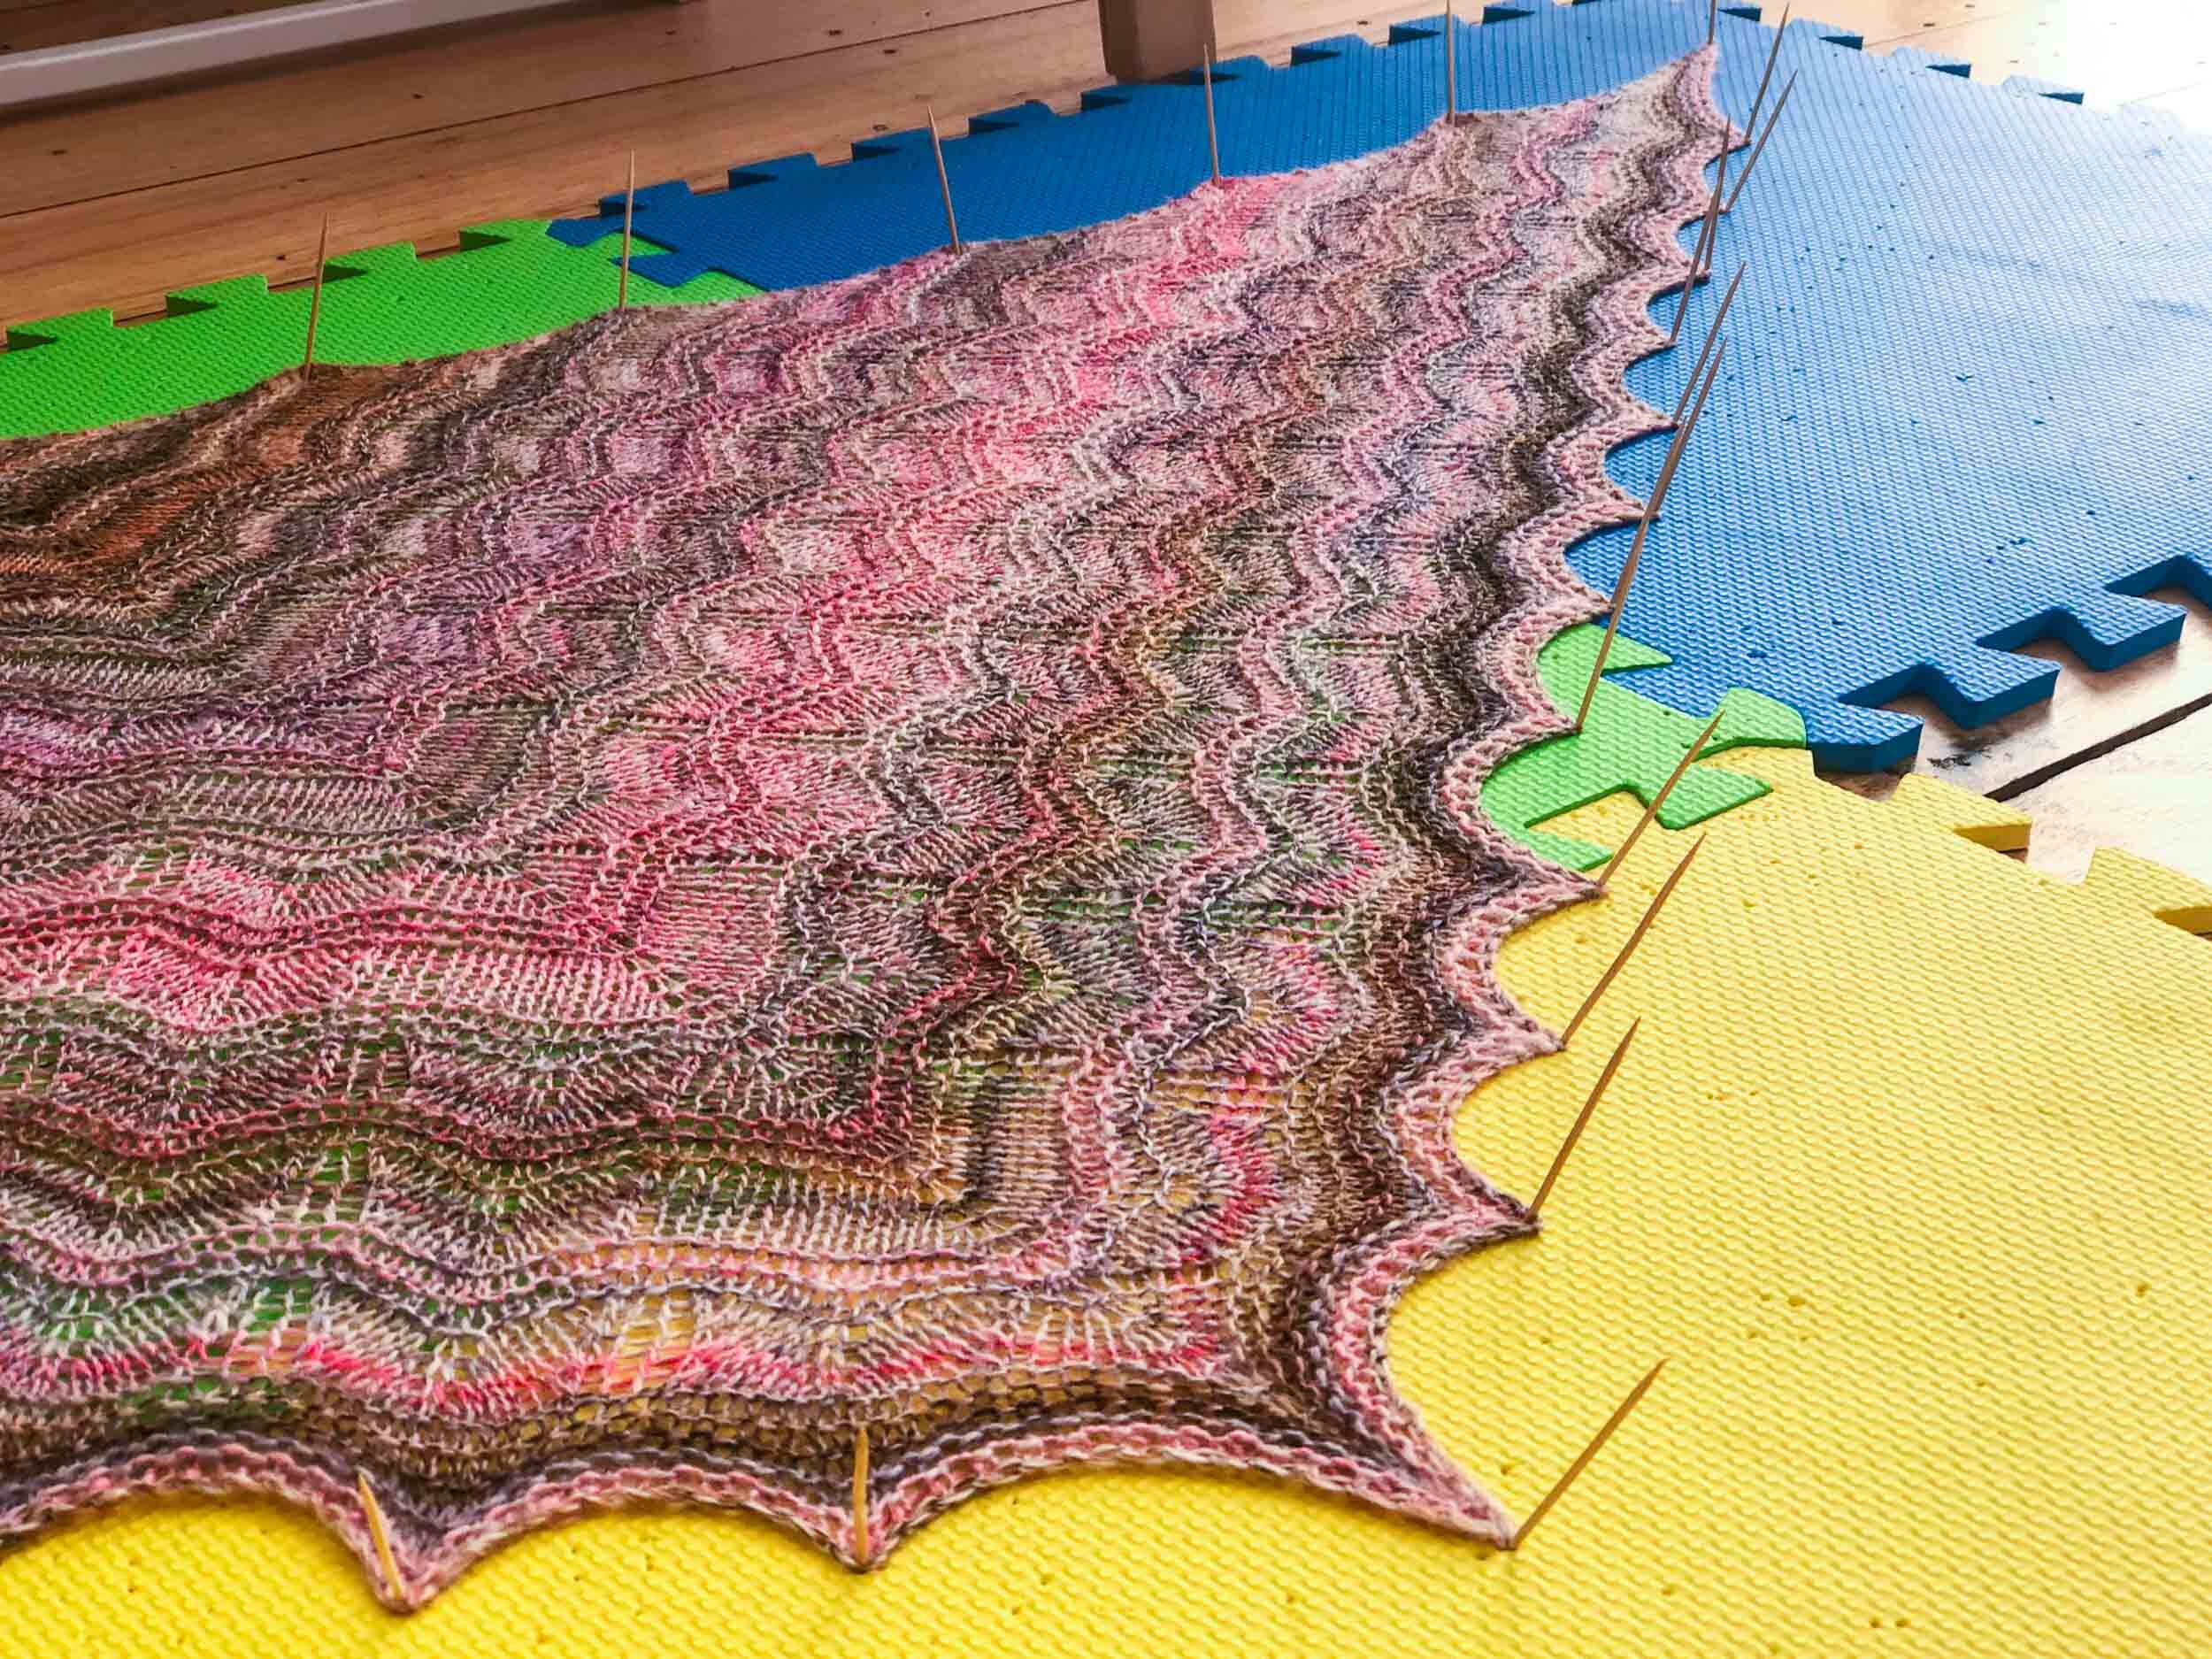
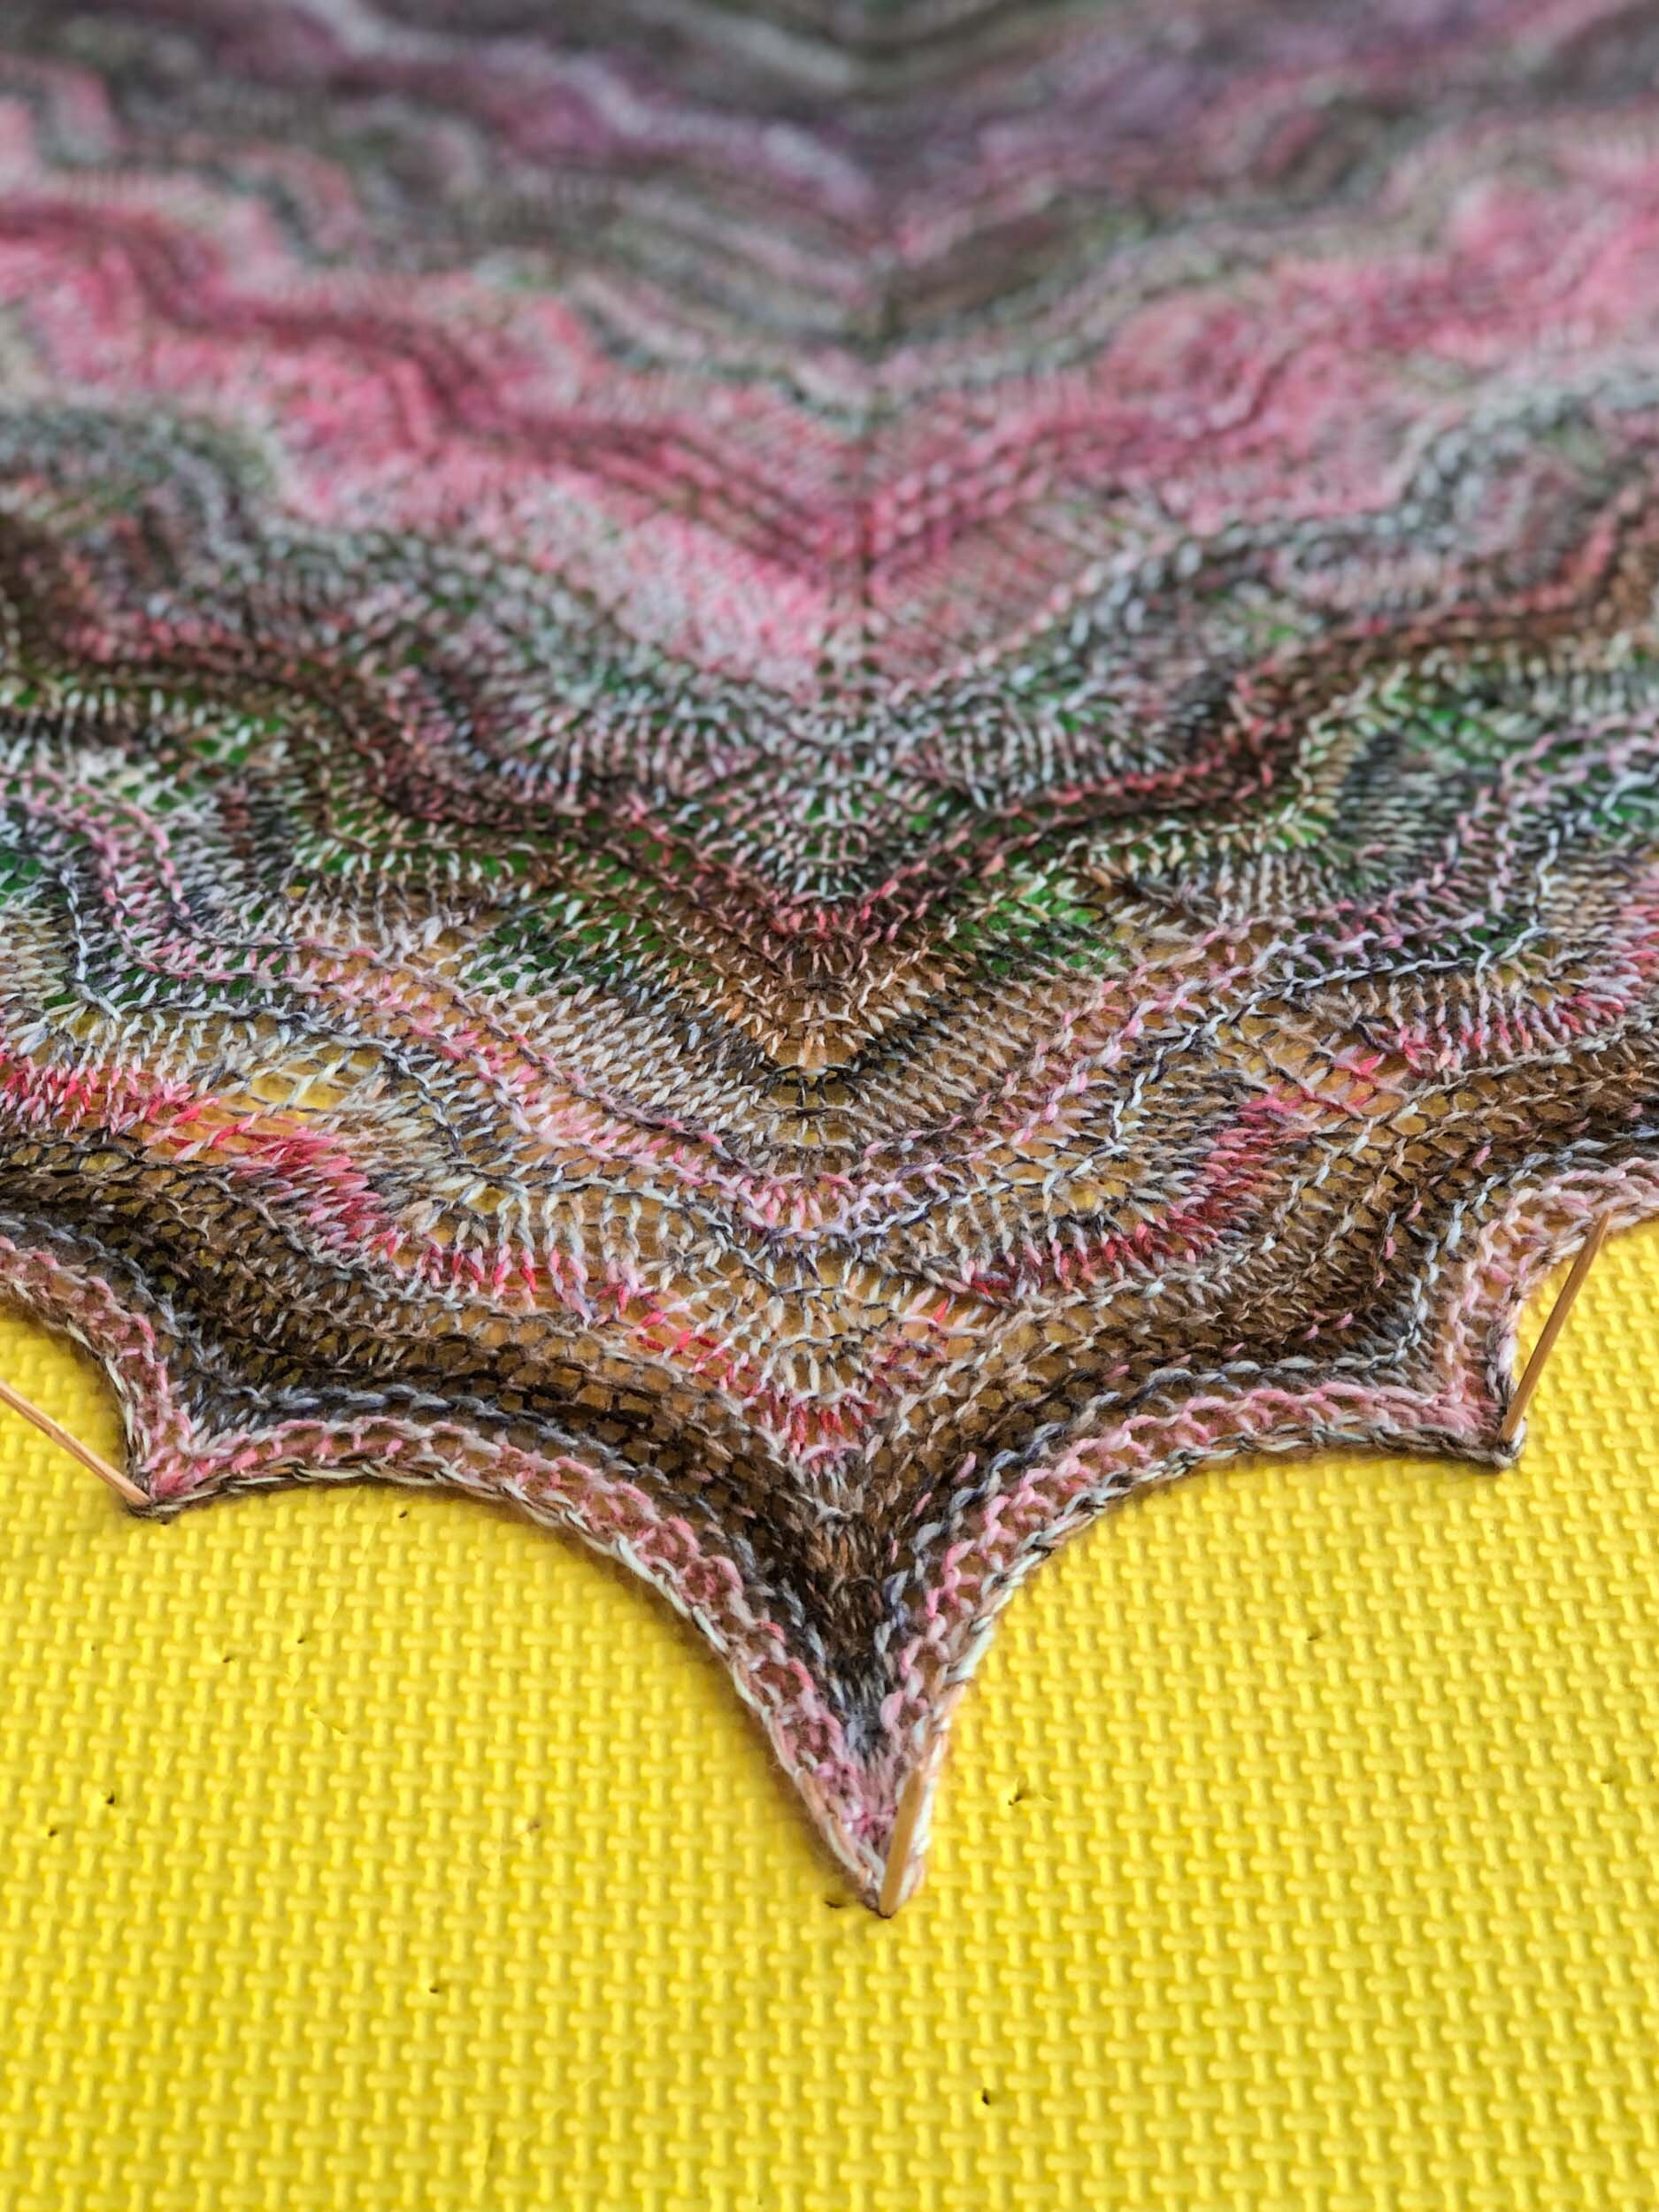
I gave the shawl a short soak in a bath of cool water. I pinned the shawl out on a blocking mat giving attention to opening out the full wingspan and pinning out the selvage to highlight the lace detail.
INSIGHTS AND OPPORTUNITIES

THE SPIN

  • The fine superwash Merino fibre made for an easy spin without having to do too much prep work.

  • Some of the splashy colour within the original braid did dilute with drafting but that was to be expected. I was happy to see much of the pink sections were preserved and come through in the resulting yarn.

  • The S17 is such a solid wheel, I’m finding it just handles anything I throw at it. I love the huge bobbin capacity, there was more than enough room on one bobbin to ply the full 100g!

THE KNIT

  • The pattern was well written and easy to follow. The lace chart wasn’t too complex for a first timer like me.

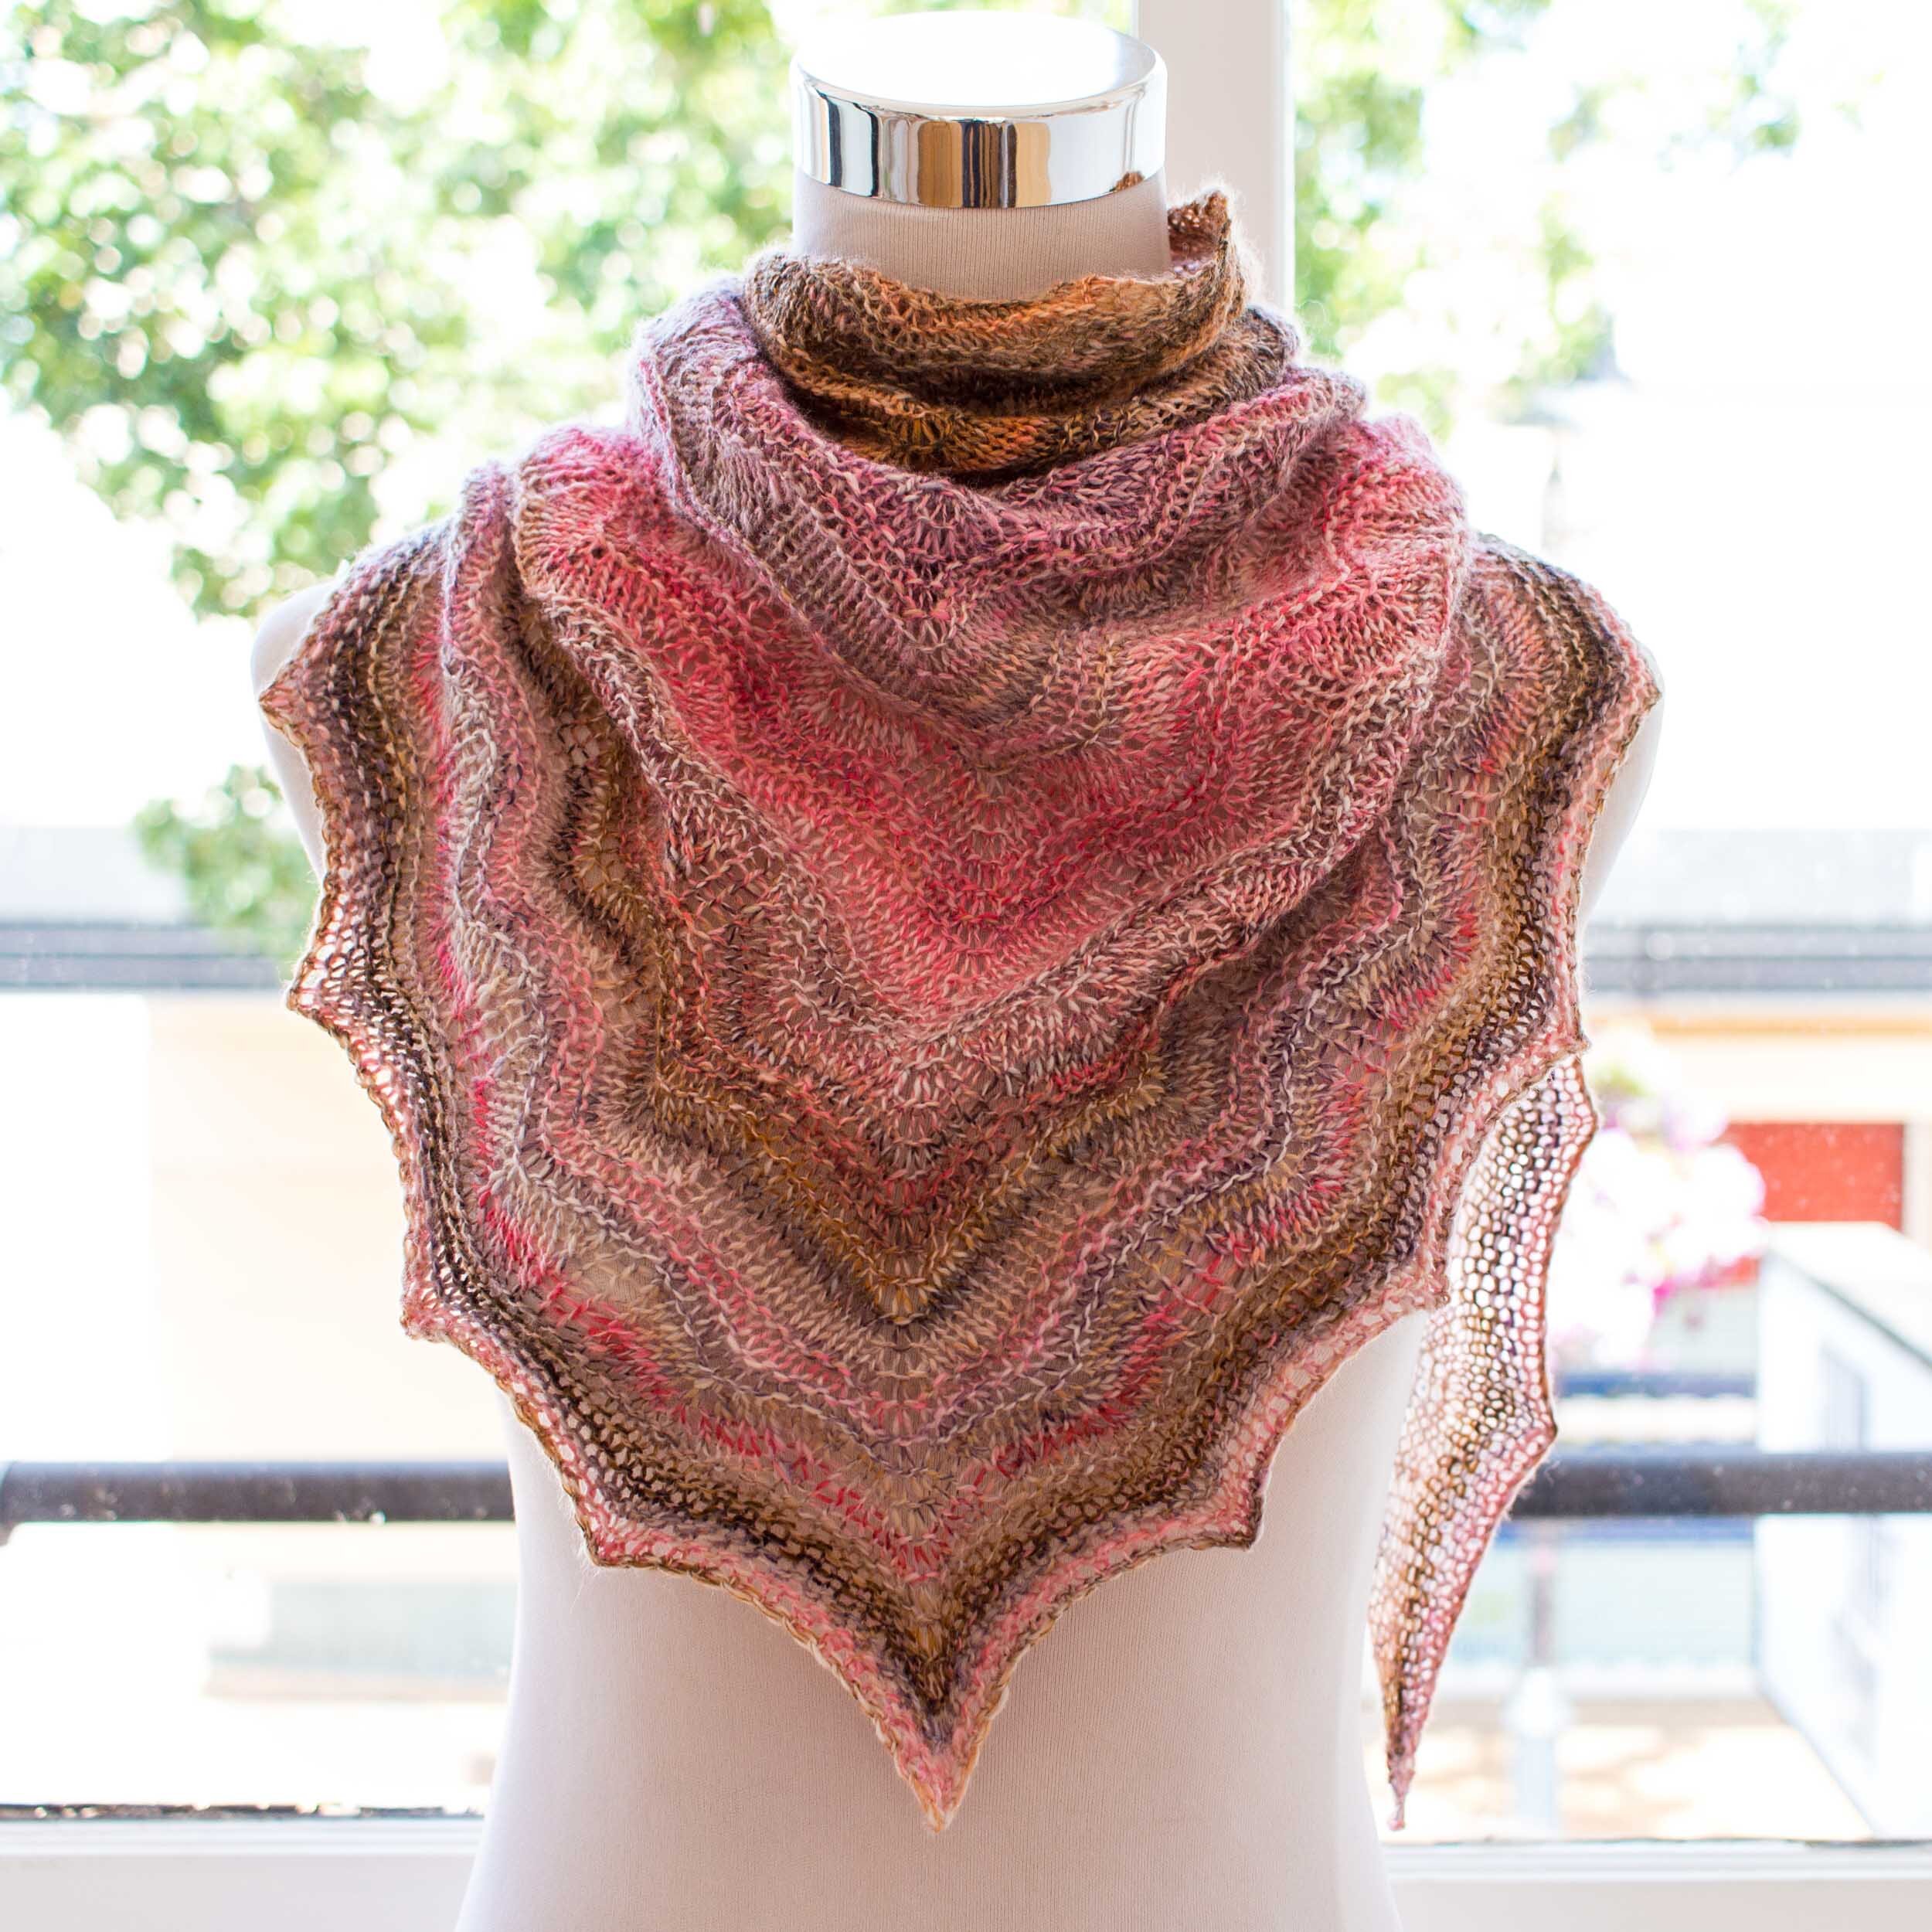
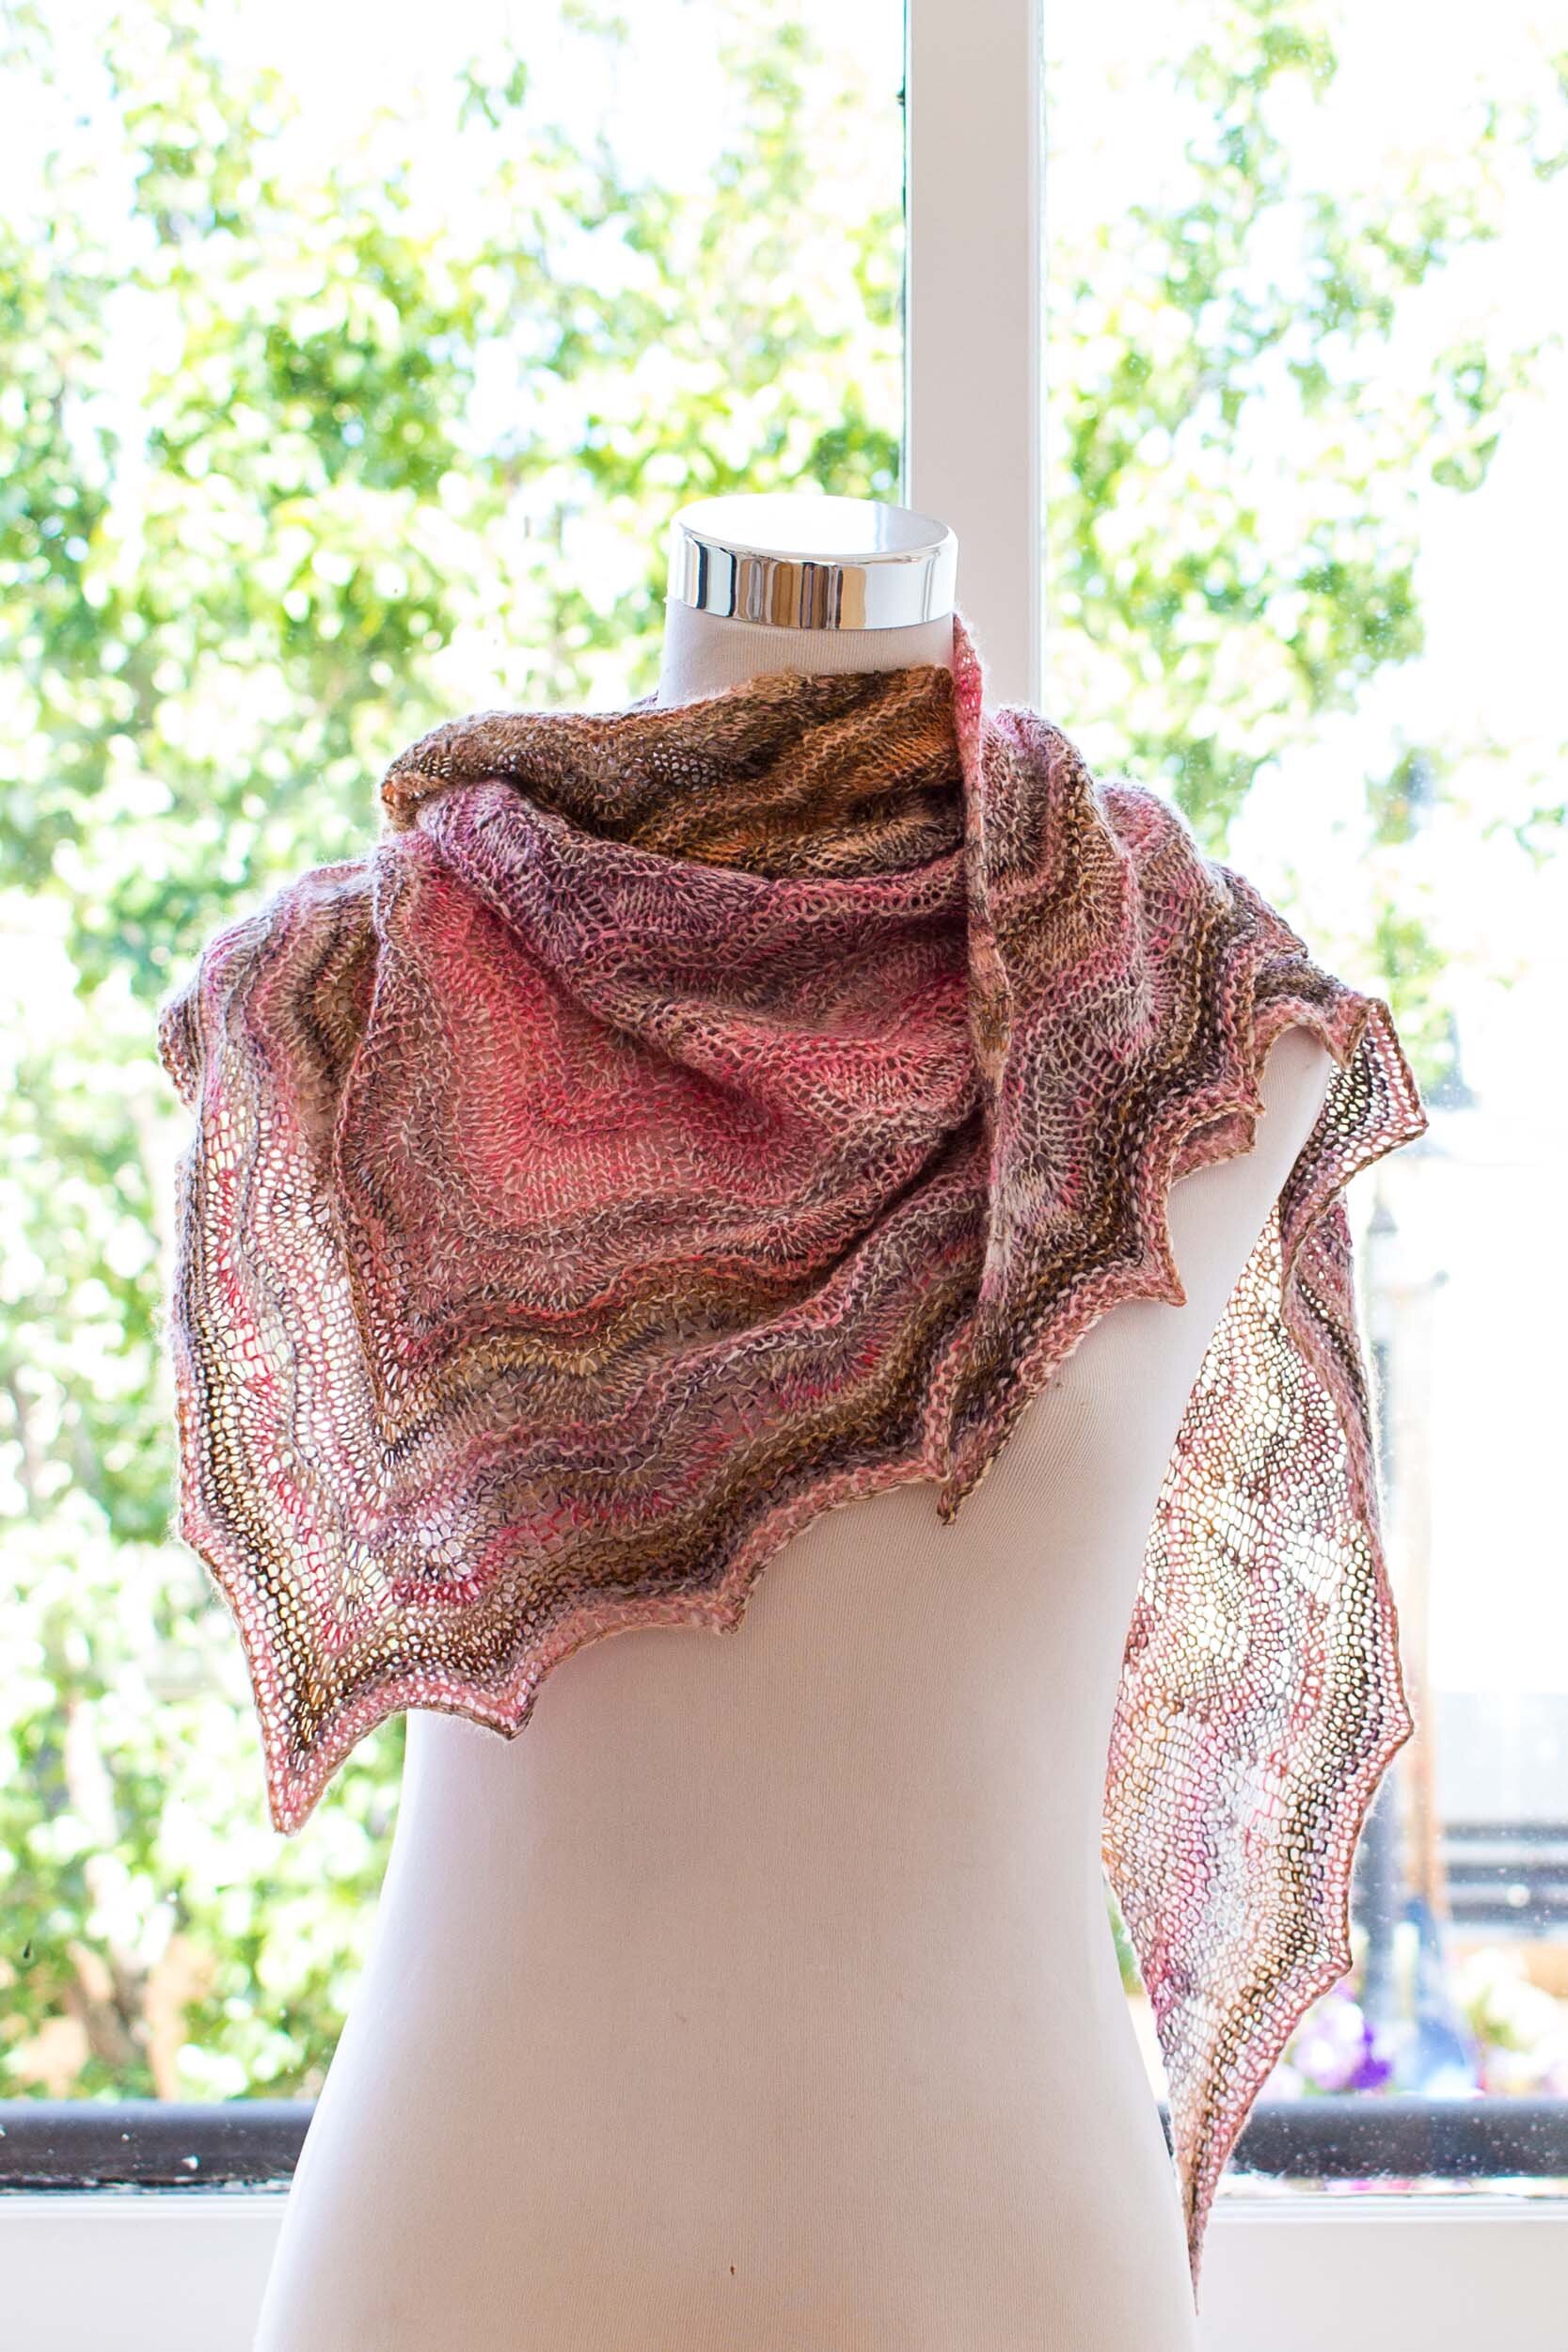
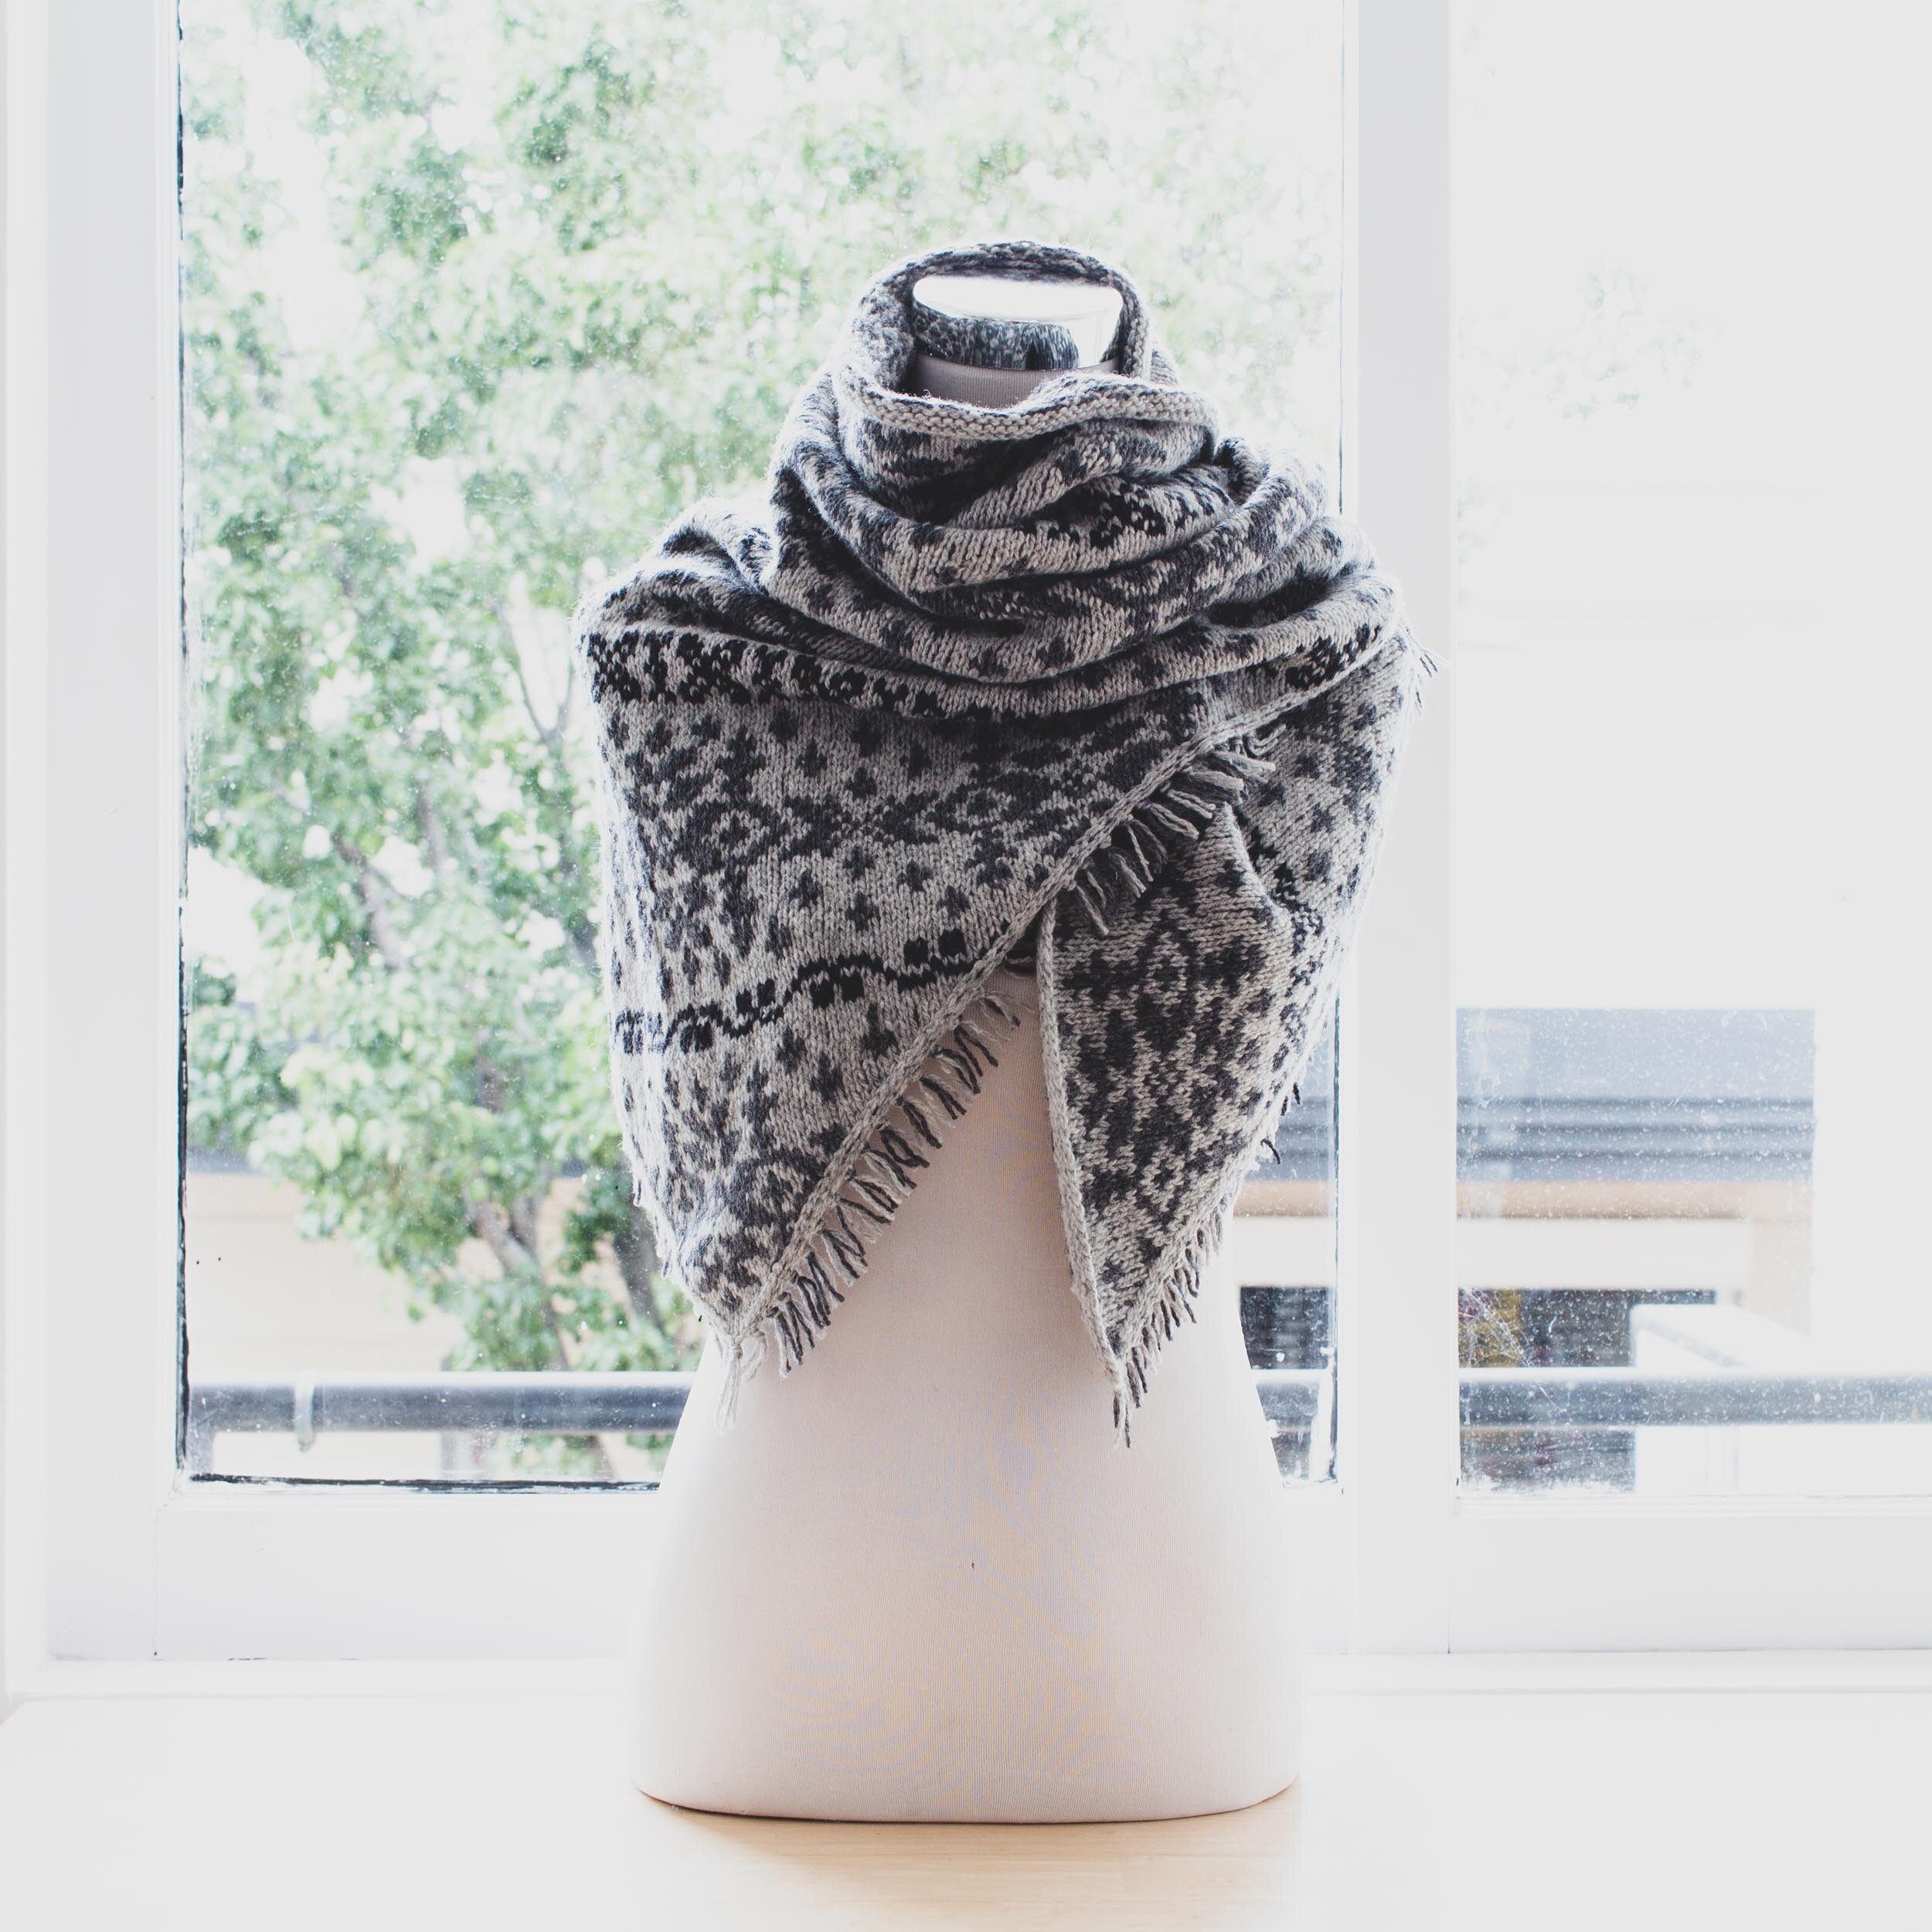
  • I did bind-off one or two repeats early as I was about to run out of yarn. The resulting size was just right to wear the shawl in cowl or neckerchief style.

  • The hand feel of the resulting fabric was light and next-to-skin soft.

  • The interaction of colour in this piece is just amazing! I love studying the subtle gradients between the layers of pinks, purples and browns.

FINAL THOUGHTS

Overall, this was a very unstructured project. Though, when key decisions were made, I did make them with intention, understanding what impact they would have on the outcome of the project.

Hand spun projects don’t always have to begin with the end in mind. Being led by what you love most – the colours, textures, grist - is just a great way to get started. It also helps me stay interested and see the project out to the end!

Triangular shawls are such a great way to feature variegated yarns I definitely see more in my future.

Grateful Moments Shawl - Journal - Loom & Spindle-16.jpg

THANK YOU FOR READING!

Would you like to save this project for later?

Add it to your Ravelry favourites HERE.


Stay in the loop

Receive updates from our studio, project inspiration and product news by joining the Loom & Spindle collective.


Explore More Studio projects…

You may also like…

Tiger Lily, Steeking a Shawl
Tiger Lily Shawl - Pattern by Amirisu - Loom & Spindle-3.jpg

What is steeking?

If you hang around knitters long enough you may hear this term thrown around, often referred to with some trepidation.

But put simply, a steek is just the process of securing the cut edge of a knitted fabric. This allows the knitted fabric to be worked in the round and cut open without the ends unravelling.

I’ve been curious about this technique for a while and always watch with interest when my favourite YouTubers describe their experiences.

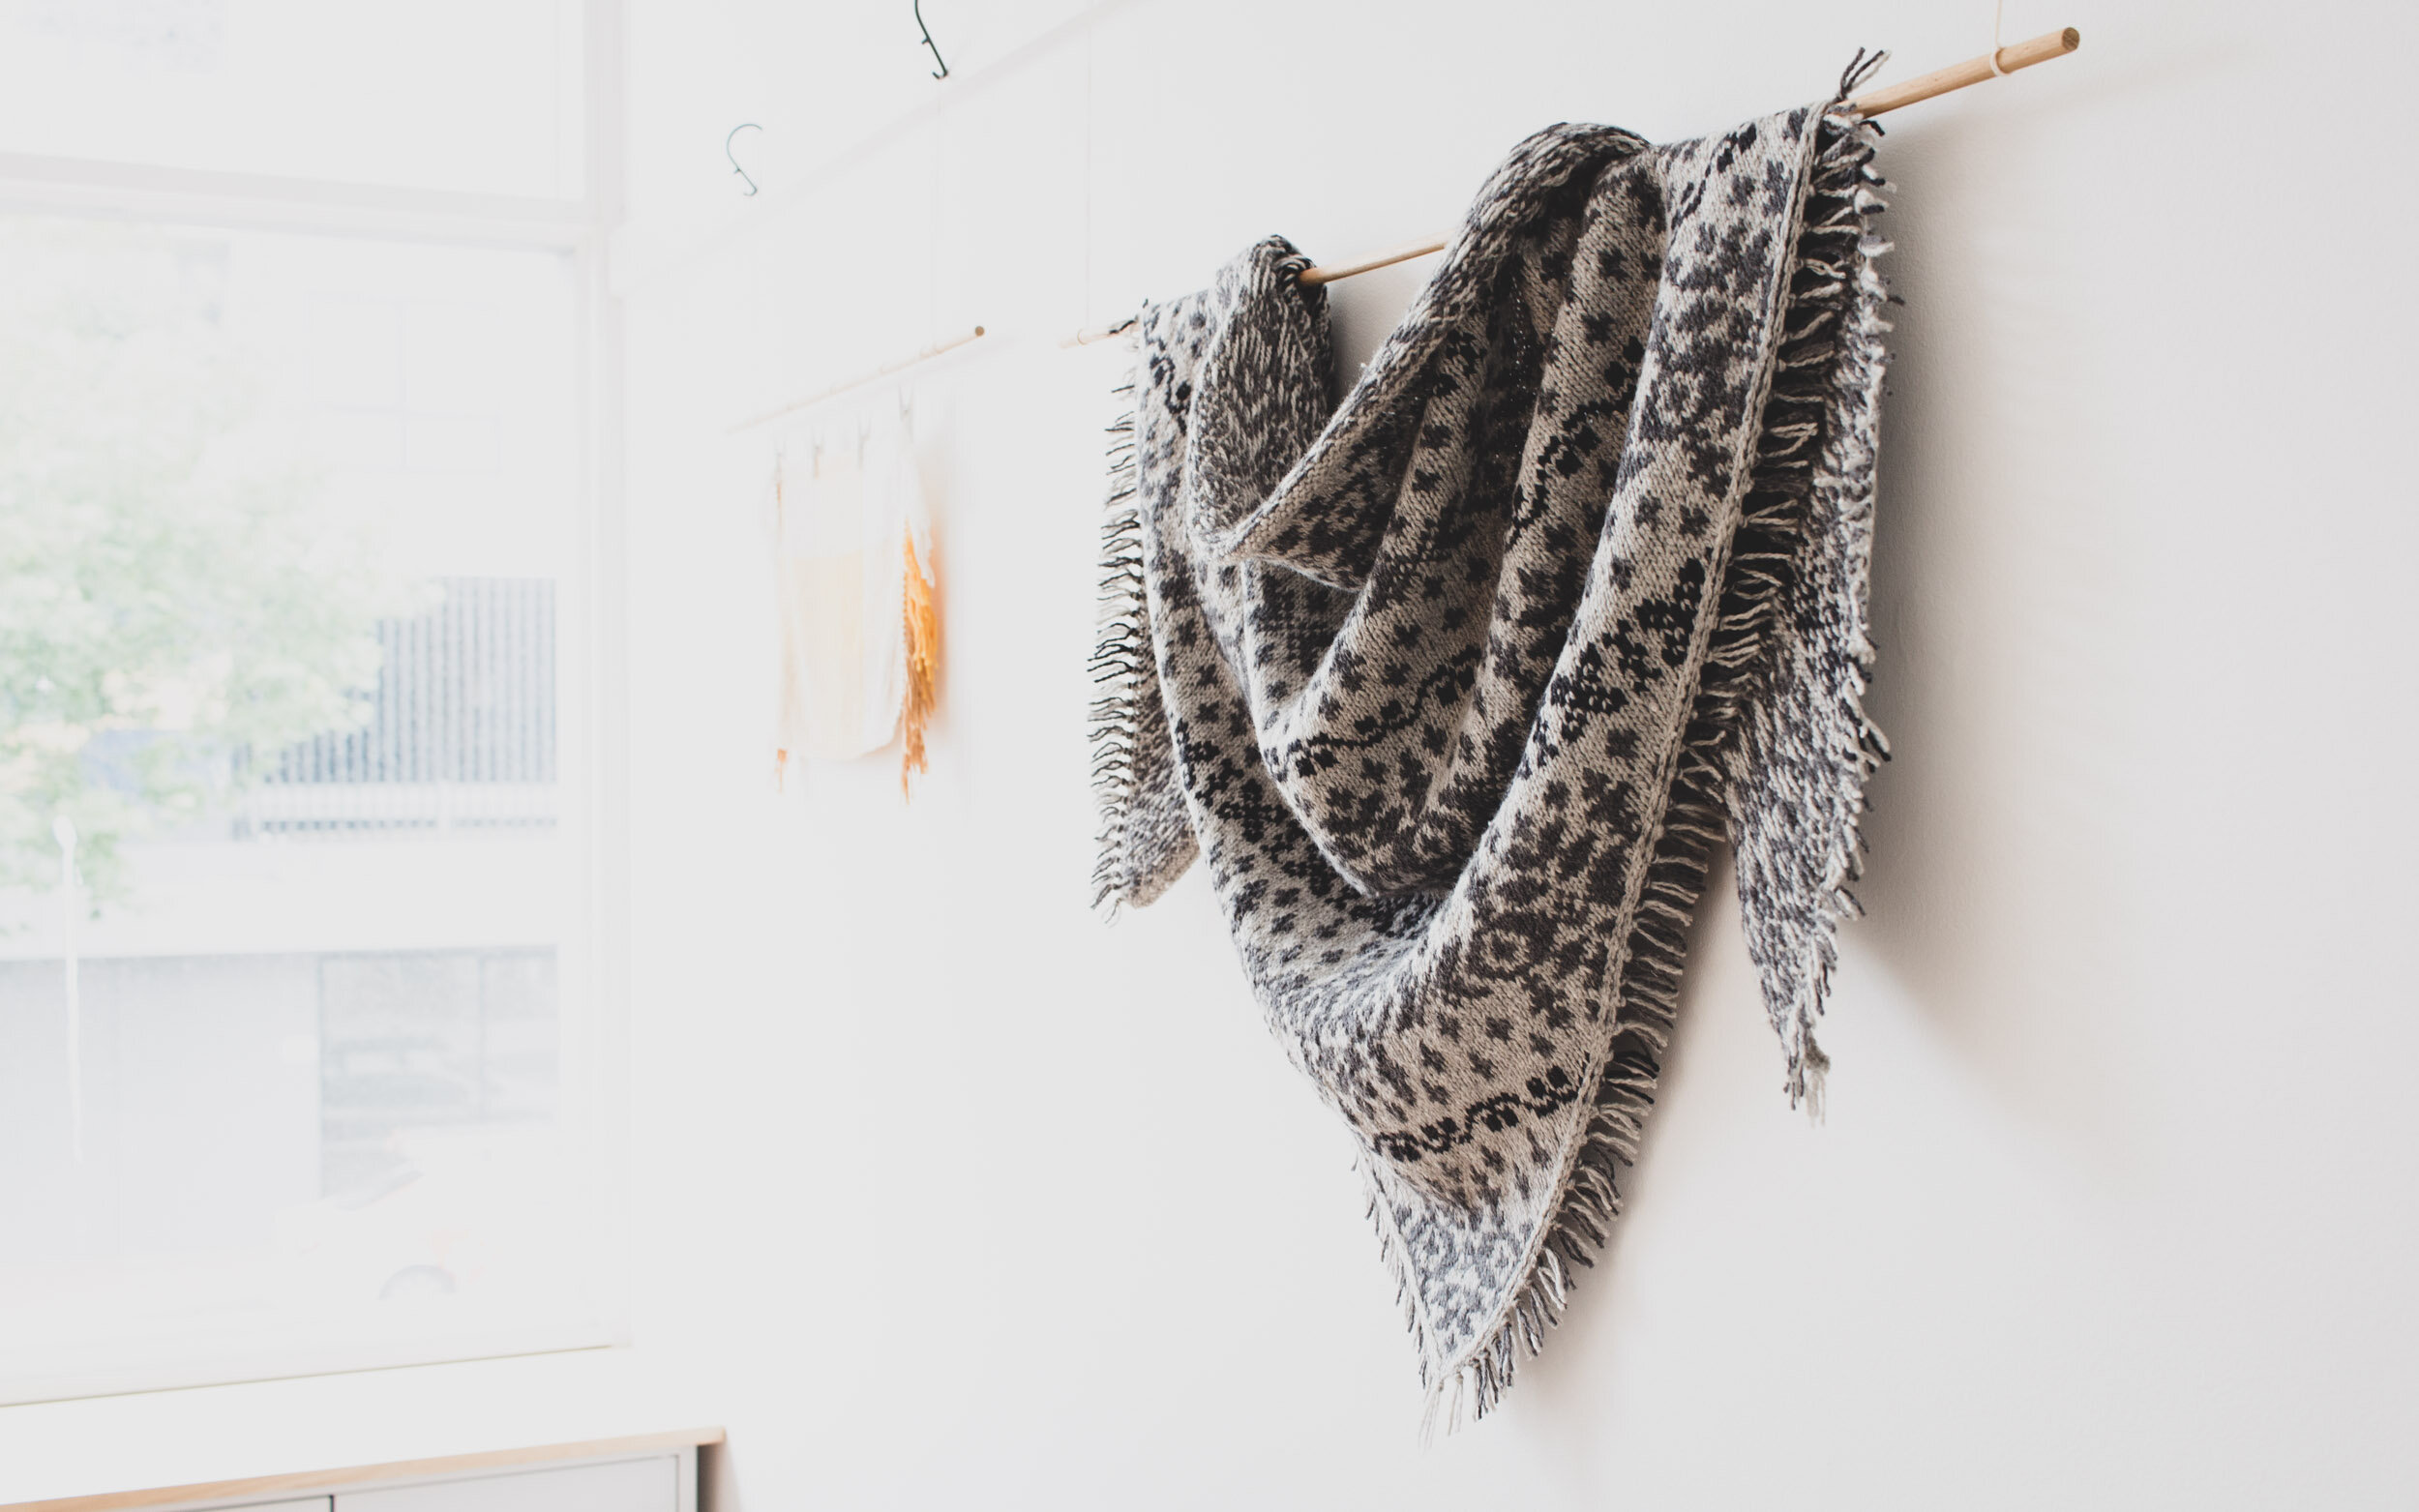
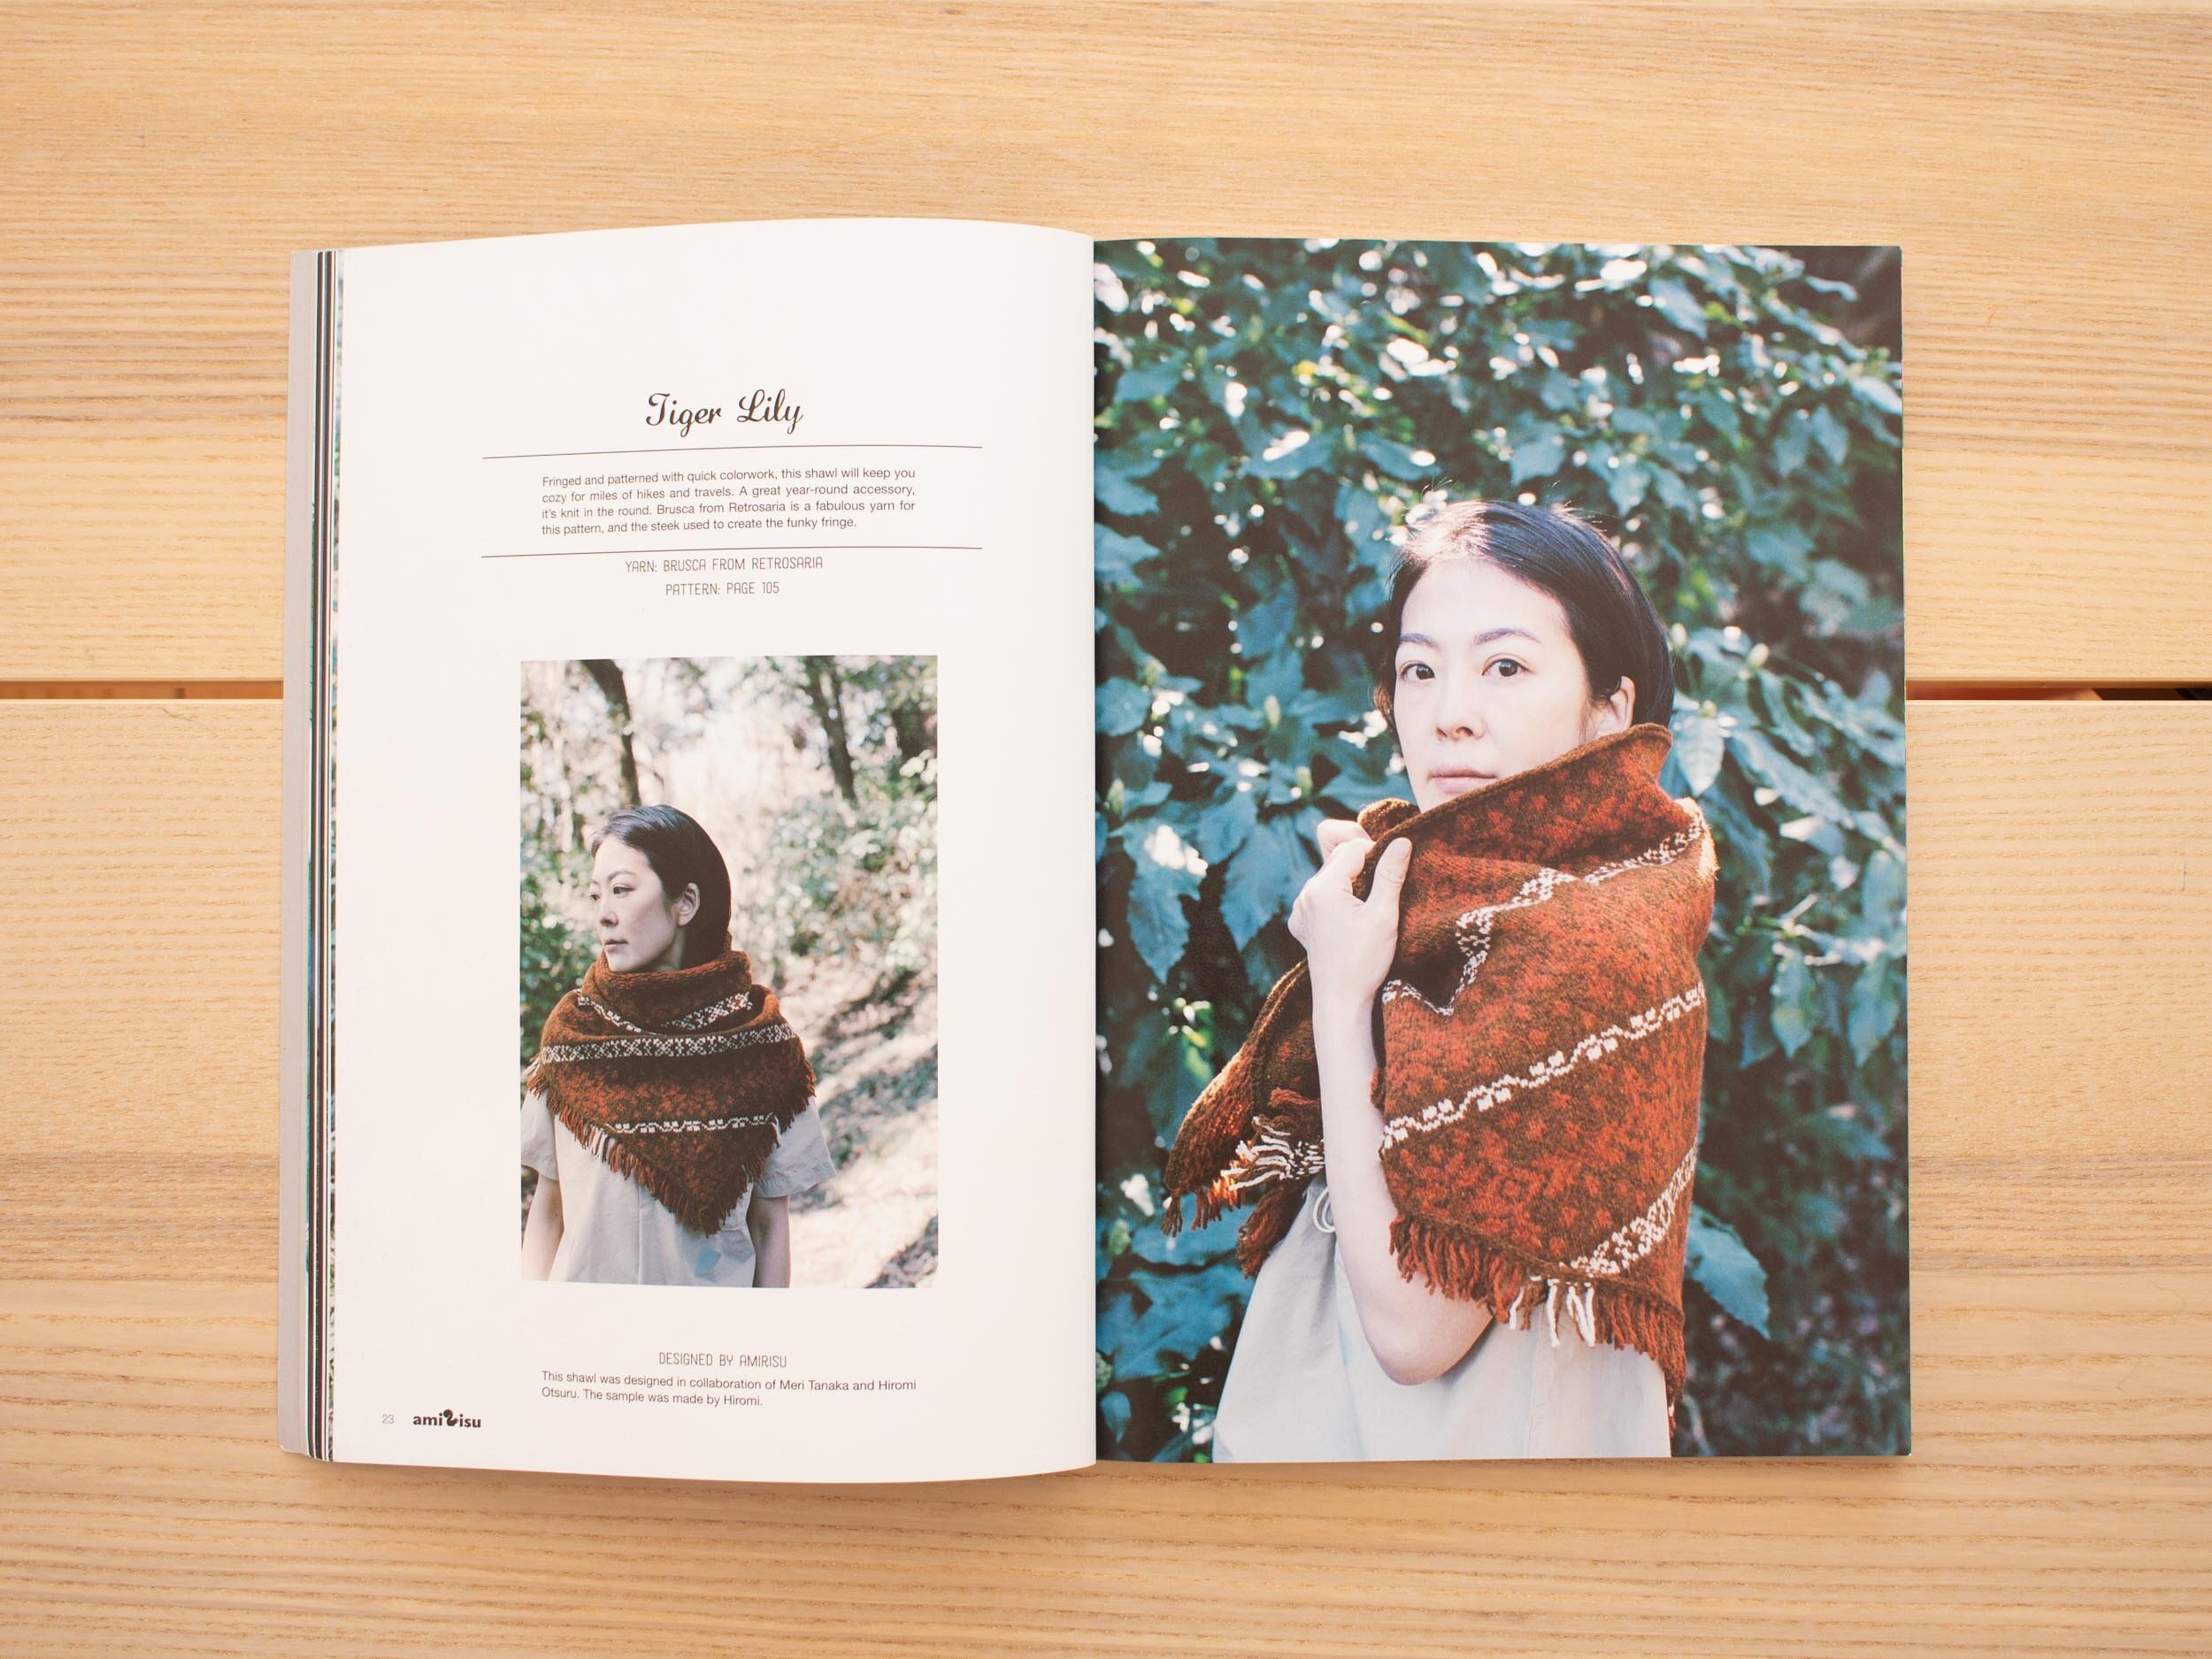
So, when Amirisu Issue 18 dropped in 2019 there was one piece in particular that caught my eye - the Tiger Lily shawl, a triangular colourwork shawl knit completely in the round and steeked!

Here’s my first-hand experience working a steeked shawl!

Enjoy!

Andrea - Loom & Spindle


STUDIO PROJECT: Tiger Lily

Tiger Lily Shawl - Pattern by Amirisu - Loom & Spindle-7.jpg

INTENTION

Knit the Tiger Lily shawl and explore:

  • Working with Loch Lomond GOTS

  • Working a triangular shawl in the round using steeking stitches

DESIGN

The Tiger Lily shawl pattern was designed by Amirisu Magazine, first published in Amirisu Issue 18: Summer 2019. It’s currently available to purchase as a digital download at Ravelry.com.

Tiger Lily Shawl Kit - Pattern by Amirisu - Loom & Spindle-1.jpg

SKILLS

Casting on
Knitting in the round
Decreasing stitches
Reading colourwork charts
Two colour colourwork
Steeking

TOOLS

4mm (US 6) and 4.5mm (US 7) circular needles.
I used Chiaogoo Spin Bamboo Interchangables.

MATERIALS

4 x Loch Lomond GOTS | Silver (06)
2 x Loch Lomond GOTS | Graphite (15)
1 x Loch Lomond GOTS | Schwarz (05)

*Tiger Lily yarn kits available HERE.

PROCESS

YARN SELECTION

  • The designer uses two colours of similar hue for the main chart, swapping in a high contrast colour for the smaller charts B and C.

  • Colourwork detail can occasionally be lost when adjacent colours are too similar. But I felt the designer had intentionally made this decision for Chart A , the similar hues creating a unique visual texture that adds to the rustic appeal of the piece.

  • With the designer’s colour-play in mind I experimented with a few different palettes. I used Loch Lomond Bio as I felt this yarn would be well suited to recreating the look and feel of the original piece.

  • I thought it would be fun to try a reverse palette of sorts and settled on a grey scale with two shades of light grey and a black for a dark contrast.

CONSTRUCTION

  • Working from the widest side of the triangle to the apex, the shawl began with a cast-on edge of around 300 stitches. This sounded daunting but using a long tail cast-on and counting stitches in groups of 50 as I went, it didn’t require too much effort.

    I used a needle larger than the pattern required for the cast-on edge. This was so I could make the stitches firm and even and provide the required ease for the selvedge stitches.

  • Following the pattern, the piece was joined in the round with steeking stitches added between beginning and end of row markers. This set-up is detailed in the pattern if you haven’t used this technique before.

  • At the beginning and end of each row I caught the non-working yarn in the edge stitches to secure both yarns and avoid any long floats at these points.

  • The colourwork charts are quite detailed and require some focus, particularly chart A with its wide repeat.

  • I worked the shawl as written.

Tiger Lily Shawl - Pattern by Amirisu - Loom & Spindle-4.jpg

FINISHING

  • I cut open the steek. Before unravelling the steek edges I blocked the shawl by giving it a short soak in a bath of cool water with a drop of wool wash. Pinning it out on a blocking matt, I gave attention to shaping the shawl and aligning the colourwork stitches.

  • To create the fringing, I unravelled the steek stitches and ironed the ends to remove the kinks. I tied off the ends in groups of four, ironing them flat again to align anything that was askew. I carefully cut the fringing to a 2.5cm (1'') length.

Once dry the gauge measured at: 

  • 22 stitches over 10cm (4'')

  • 28 rows over 10cm (4'')

  • Wingspan, 153cm (60’’)

  • The finished shawl weighed in at 256g (9oz)

Tiger Lily Shawl - Pattern by Amirisu - Loom & Spindle-6.jpg
Tiger Lily Shawl - Pattern by Amirisu - Loom & Spindle-8.jpg
Tiger Lily Shawl - Pattern by Amirisu - Loom & Spindle-15.jpg
Tiger Lily Shawl - Pattern by Amirisu - Loom & Spindle-14.jpg
Tiger Lily Shawl - Pattern by Amirisu - Loom & Spindle-9.jpg

INSIGHTS AND OPPORTUNITIES

YARN

  • What can I say? I just love this toothy tweedy yarn. Loch Lomond GOTS is built for colourwork and it certainly didn’t disappoint in this piece.

  • On soaking, the yarn bloomed to produce a light and woolly fabric.

  • The vast amount of colourwork creates almost a double layer of fabric, the resulting shawl feeling like a warm hug around the shoulders.

CONSTRUCTION

  • Using steeking stitches for a triangular shawl was quite unique but easy to set up and work.

  • Decreasing on every row and seeing the project shrink as you reach the apex was certainly satisfying.

FINISHING

  • Cutting open the steek to reveal the true shape and size of the shawl (and all my hard work) was certainly satisfying.

  • I was delighted with the fringe. I’m glad I took the time to iron and uncurl the ends to get that perfect straight edge.

  • Blocking revealed a slightly larger wingspan than the pattern intended. But all for the better as it sits perfectly on my shoulders without having to forever readjust it. 

Tiger Lily Shawl - Pattern by Amirisu - Loom & Spindle-1.jpg

FINAL THOUGHTS

Overall, this is a great design that worked up quickly.

I love the texture that the yarn and colourwork create.

Steeking is definitely a method I’ll incorporate into future projects.

I’ve been wearing this shawl all winter and heading into spring it won’t be leaving the wardrobe rotation any time soon!


THANK YOU FOR READING!

Would you like to save this project for later?

Add it to your Ravelry favourites HERE.


Like to knit Tiger Lily in Loch Lomond GOTS?


Stay in the loop

Receive updates from our studio, project inspiration and product news by joining the Loom & Spindle collective.


Explore More Studio projects…

You may also like…

Nightshift, A Hand Spun Shawl Project
Nightshift Shawl - Pattern by Andrea Mowry - Studio Project by Loom & Spindle-4.jpg

I often find it difficult to decide what to spin next, often overwhelmed by the many project variables – colour, fibre, plies and ultimately what to knit/weave/crochet…

Gradually I’ve realised that I just need to get the process started by making one key decision.

For a while I’ve wanted to spin for a shawl project and drawn in by the intense colour-play of the Nightshift shawl I knew it was time to commit.

I’ve detailed below how making this one decision had a positive cascading effect on the direction of the project, from how I selected the fibre and determined colour, to how I would spin the yarn and knit the shawl.

I hope you enjoy this exploration in fibre, colour and yarn, and maybe even inspire your next spin!

Andrea - Loom & Spindle


PROJECT: A Hand Spun Nightshift Shawl

Nightshift Shawl - Pattern by Andrea Mowry - Studio Project by Loom & Spindle-6.jpg

INTENTION

Hand spin yarn for a Nightshift shawl and explore:

  • Fibre selection and colour placement

  • Colour effects in the hand spun yarn

  • The resulting fabric and hand-feel

Nightshift Shawl - Pattern by Andrea Mowry - Studio Project by Loom & Spindle-27.jpg
Nightshift Shawl - Pattern by Andrea Mowry - Studio Project by Loom & Spindle-24.jpg

SKILLS

  • Hand spinning a two-ply worsted/10ply weight yarn

  • Knitted shawl construction

TOOLS

  • Spinning wheel - Louët S17 Spinning Wheel

  • Knitting needles - 5mm (US 8) circular needles (I used Chiaogoo Spin Bamboo Interchangables)

Nightshift Shawl - Pattern by Andrea Mowry - Studio Project by Loom & Spindle-31.jpg

MATERIALS

From my stash:

  • 50g, 21 micron Merino (yellow). Hand dyed by Created by Elsie B

  • 250g, 26 micron Warooka Station Merino x White Suffolk. Hand dyed by Shepherdess (no longer trading).

PATTERN

The Nightshift shawl pattern was published by Andrea Mowry of Drea Renee Knits in October 2018. It is available for purchase on Ravelry or dreareneeknits.com.

Nightshift Shawl - Pattern by Andrea Mowry - Studio Project by Loom & Spindle-1.jpg

PROCESS

FIBRE SELECTION

  • Spinning for a shawl project, my prerequisite when choosing fibre was for something that had a next-to-skin softness. Colour-play was also going to be a big part of this project, so I narrowed the fibre selection down further to just hand-dyed braids with interesting colour repeats.

  • Working from my stash, I pulled out hand dyed braids in Merino and similar fibres and started grouping compatible colourways.

  •  I settled on a braid of Merino and several braids of a Merino X Suffolk fibre, approximately 300g in total. I had previously sampled the Merino X Suffolk. The resulting yarn was soft and bouncy similar in characteristic to Merino.

  • Featuring heavily saturated shades of yellow, orange, red, purple and green, the resulting palette was definitely out of my comfort zone. Though, I considered the colour intensity and saturation of each shade would correspond well to the design elements of the Nightshift pattern.
Nightshift fibre.jpg

THE SPIN

  • The intention was to spin six, 2-ply yarns at a worsted/10ply weight to get a knitted gauge similar to what was specified in the pattern.

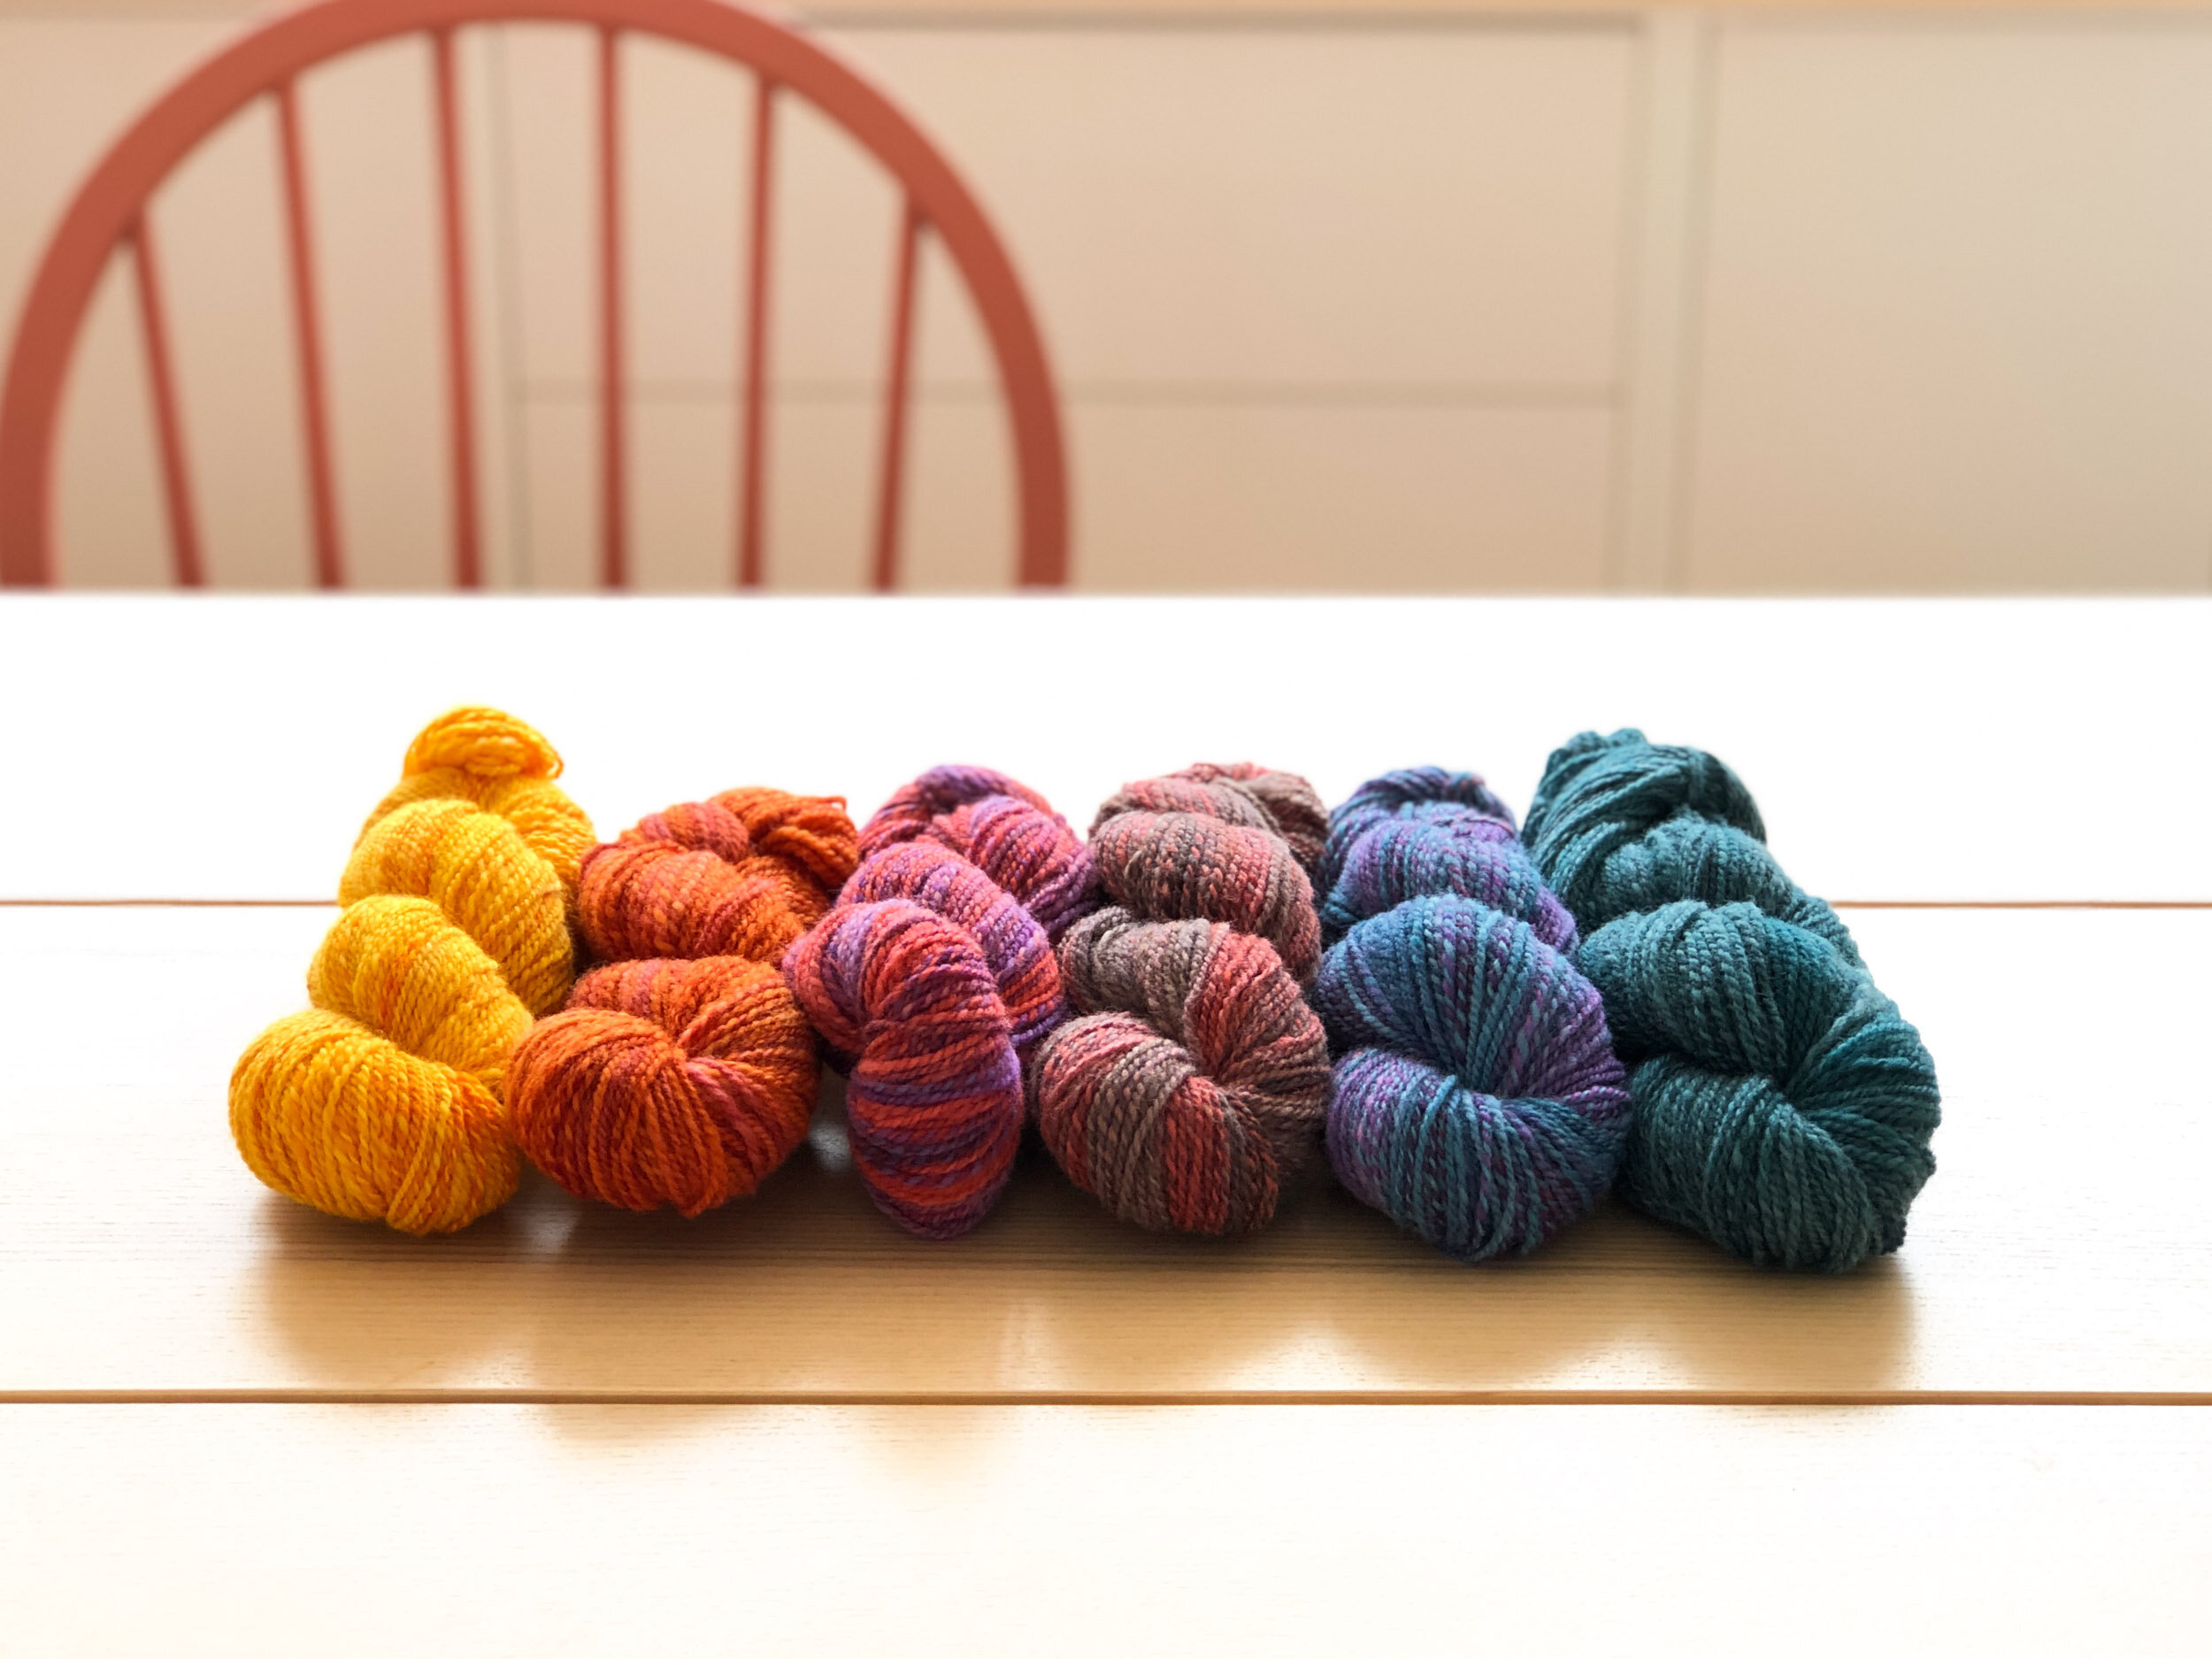
  • To prep the fibre I broke the fibre down into six 50g lots, carefully distributing colours to ensure I would end up with six colour differentiated yarns:

    • Yellow

    • Orange/Red

    • Red/Grey

    • Red/Purple

    • Green/Purple

    • Green

  • Then for my two plies I studied the colouring in each bundle and split each into two portions keeping the colour evenly distributed.

Nightshift Shawl - Pattern by Andrea Mowry - Studio Project by Loom & Spindle-22.jpg
  • For each colour bundle I spun one of the portions from the tip making the first ply. For the second ply I stripped down the remaining portions so the colours would repeat more frequently.

  • Each ply was spun in the Z direction at approximately 28-30 WPI, then plied together in the S direction to create a 2-ply yarn.

  • Each yarn was finished with a short soak in cool water, pressed in a towel to remove the excess and then hung to dry.

Nightshift Shawl - Pattern by Andrea Mowry - Studio Project by Loom & Spindle-20.jpg
Nightshift Shawl - Pattern by Andrea Mowry - Studio Project by Loom & Spindle-23.jpg

KNITTING

  • I knit a mini swatch on 5mm needles. I was happy with the resulting fabric. I didn’t fuss about gauge as the pattern was quite modular and could be made larger or smaller if needed.

  • The pattern was worked as written using Mowry’s suggested colour changes, with the exception of one colour repeat towards the end where I knit 10 extra rows.

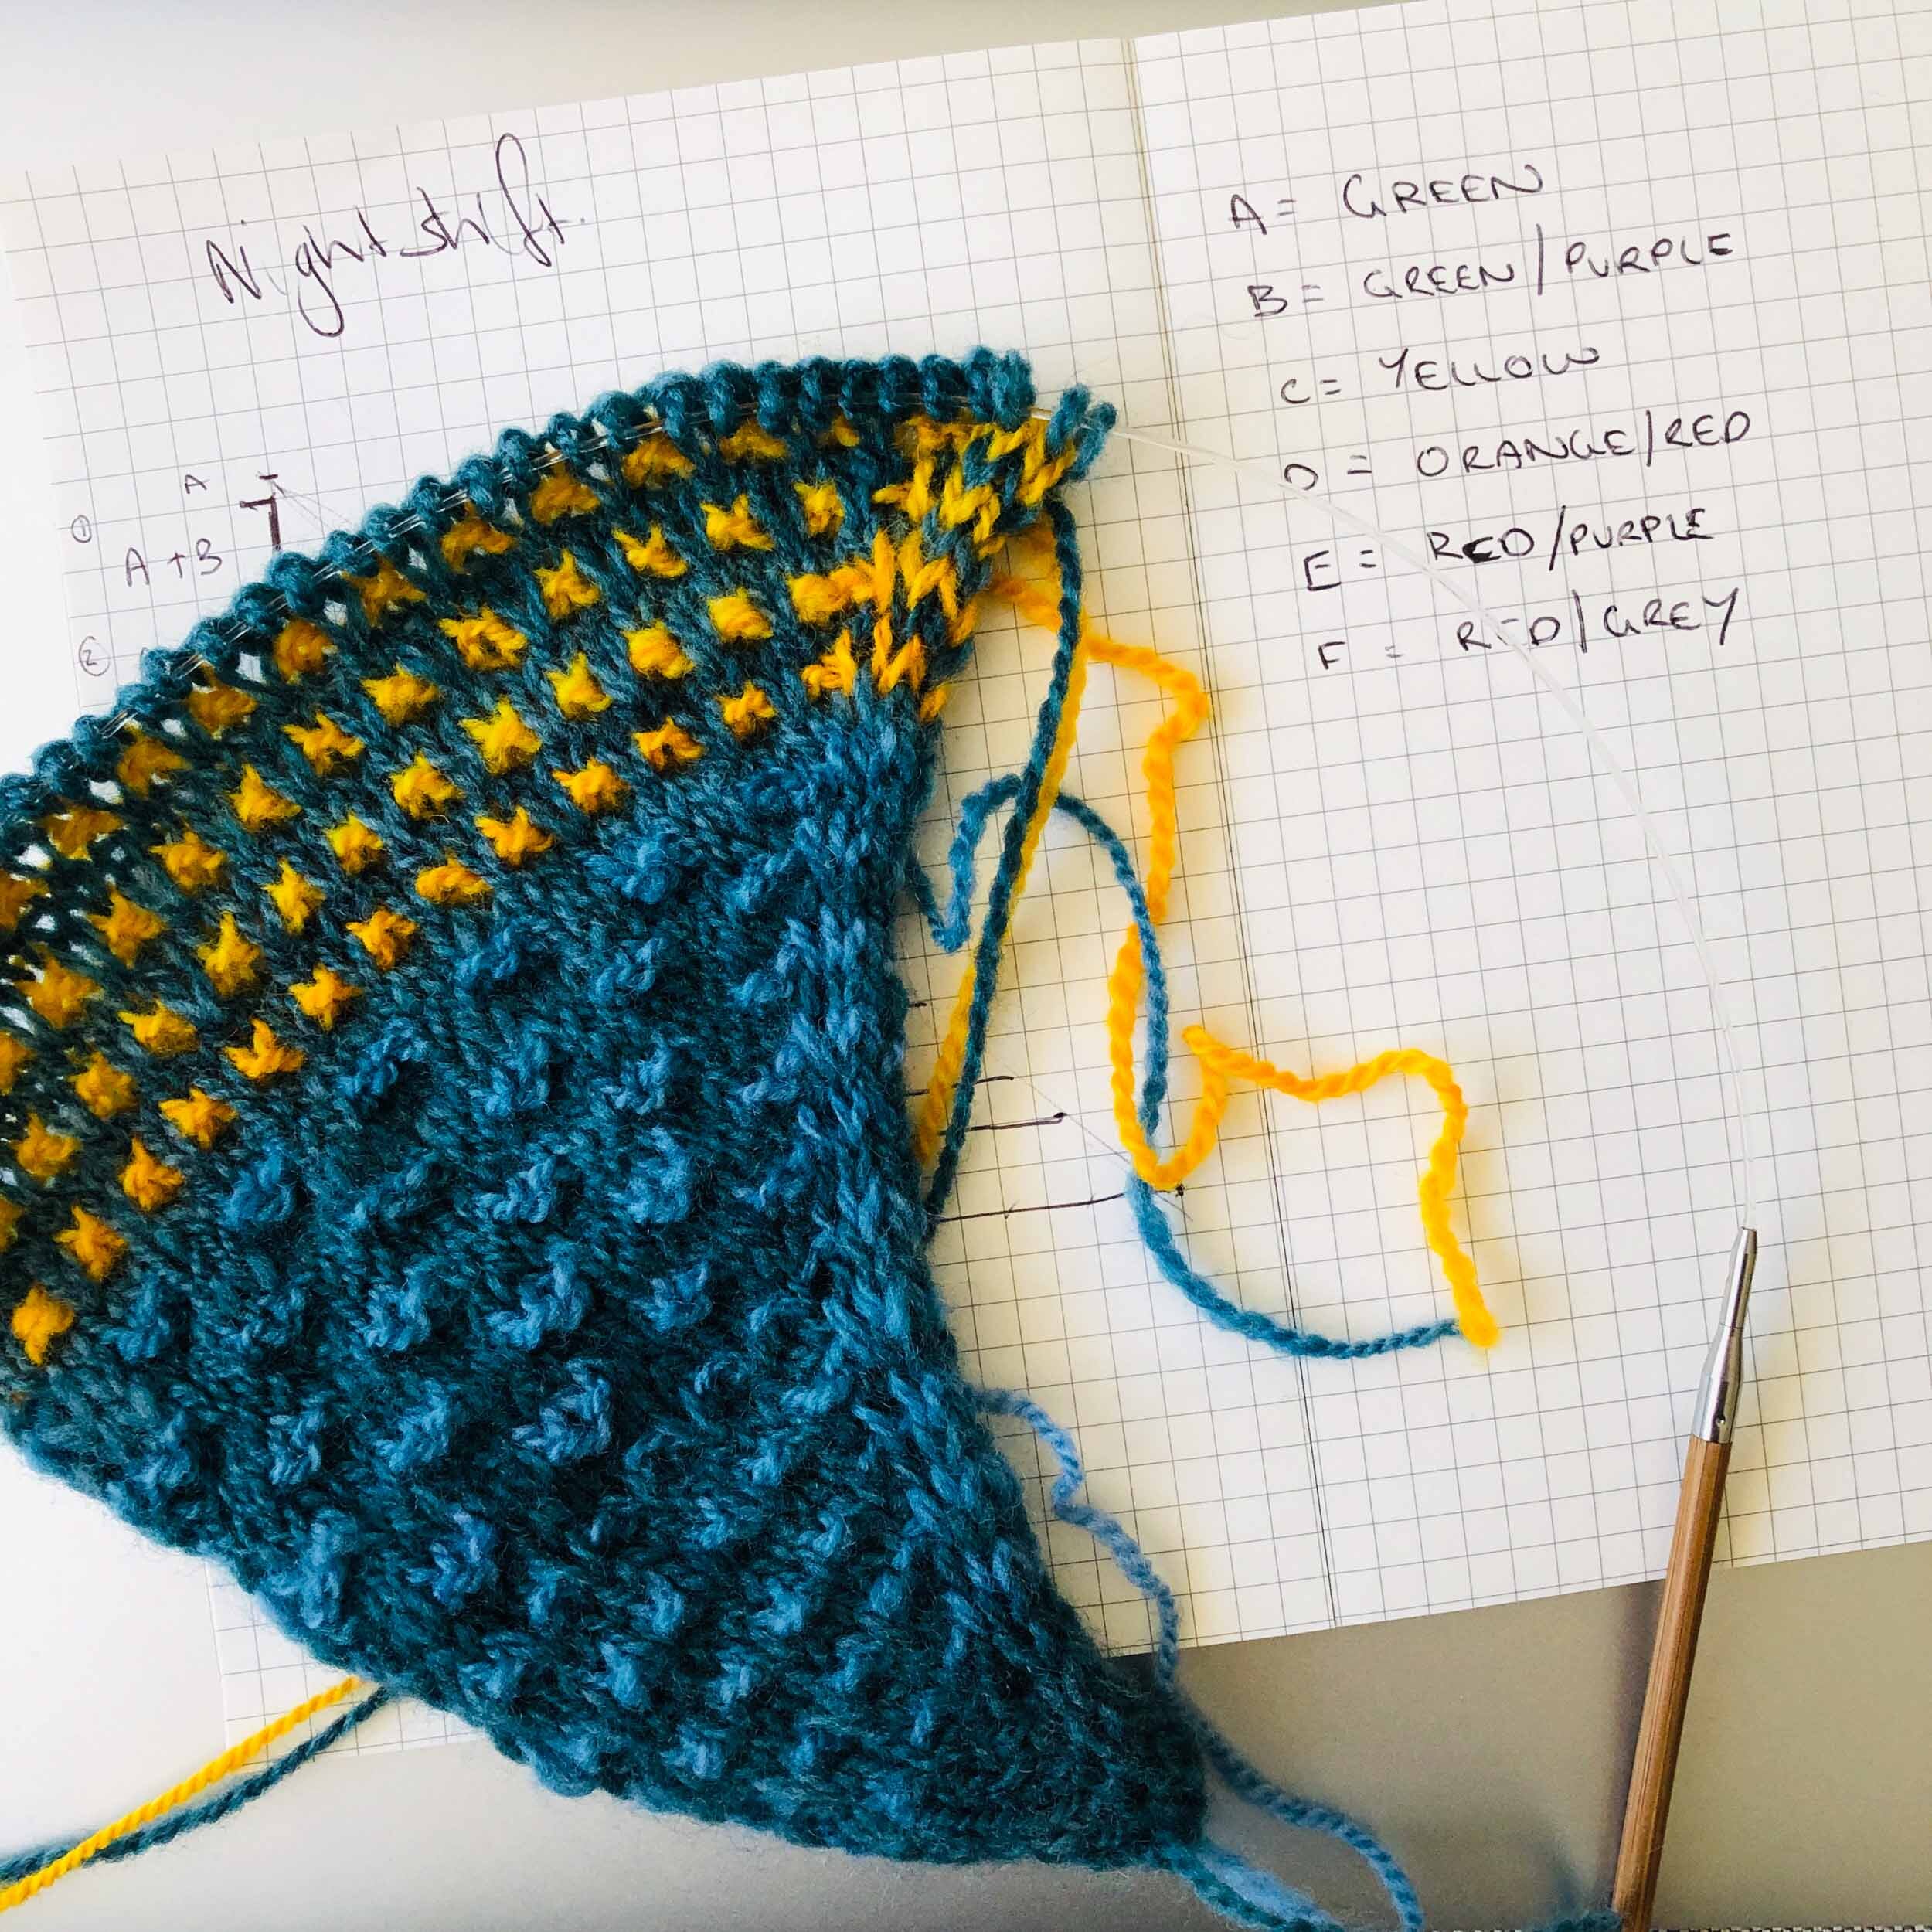
  • My colours correspond to the pattern colours as follows:

    • Colour A – Green

    • Colour B – Green/Purple

    • Colour C – Yellow

    • Colour D – Orange/Red

    • Colour E – Red/Purple

    • Colour F – Red/Grey

    • Bound off in C and D.

Nightshift Shawl - Pattern by Andrea Mowry - Studio Project by Loom & Spindle-30.jpg

FINISHING

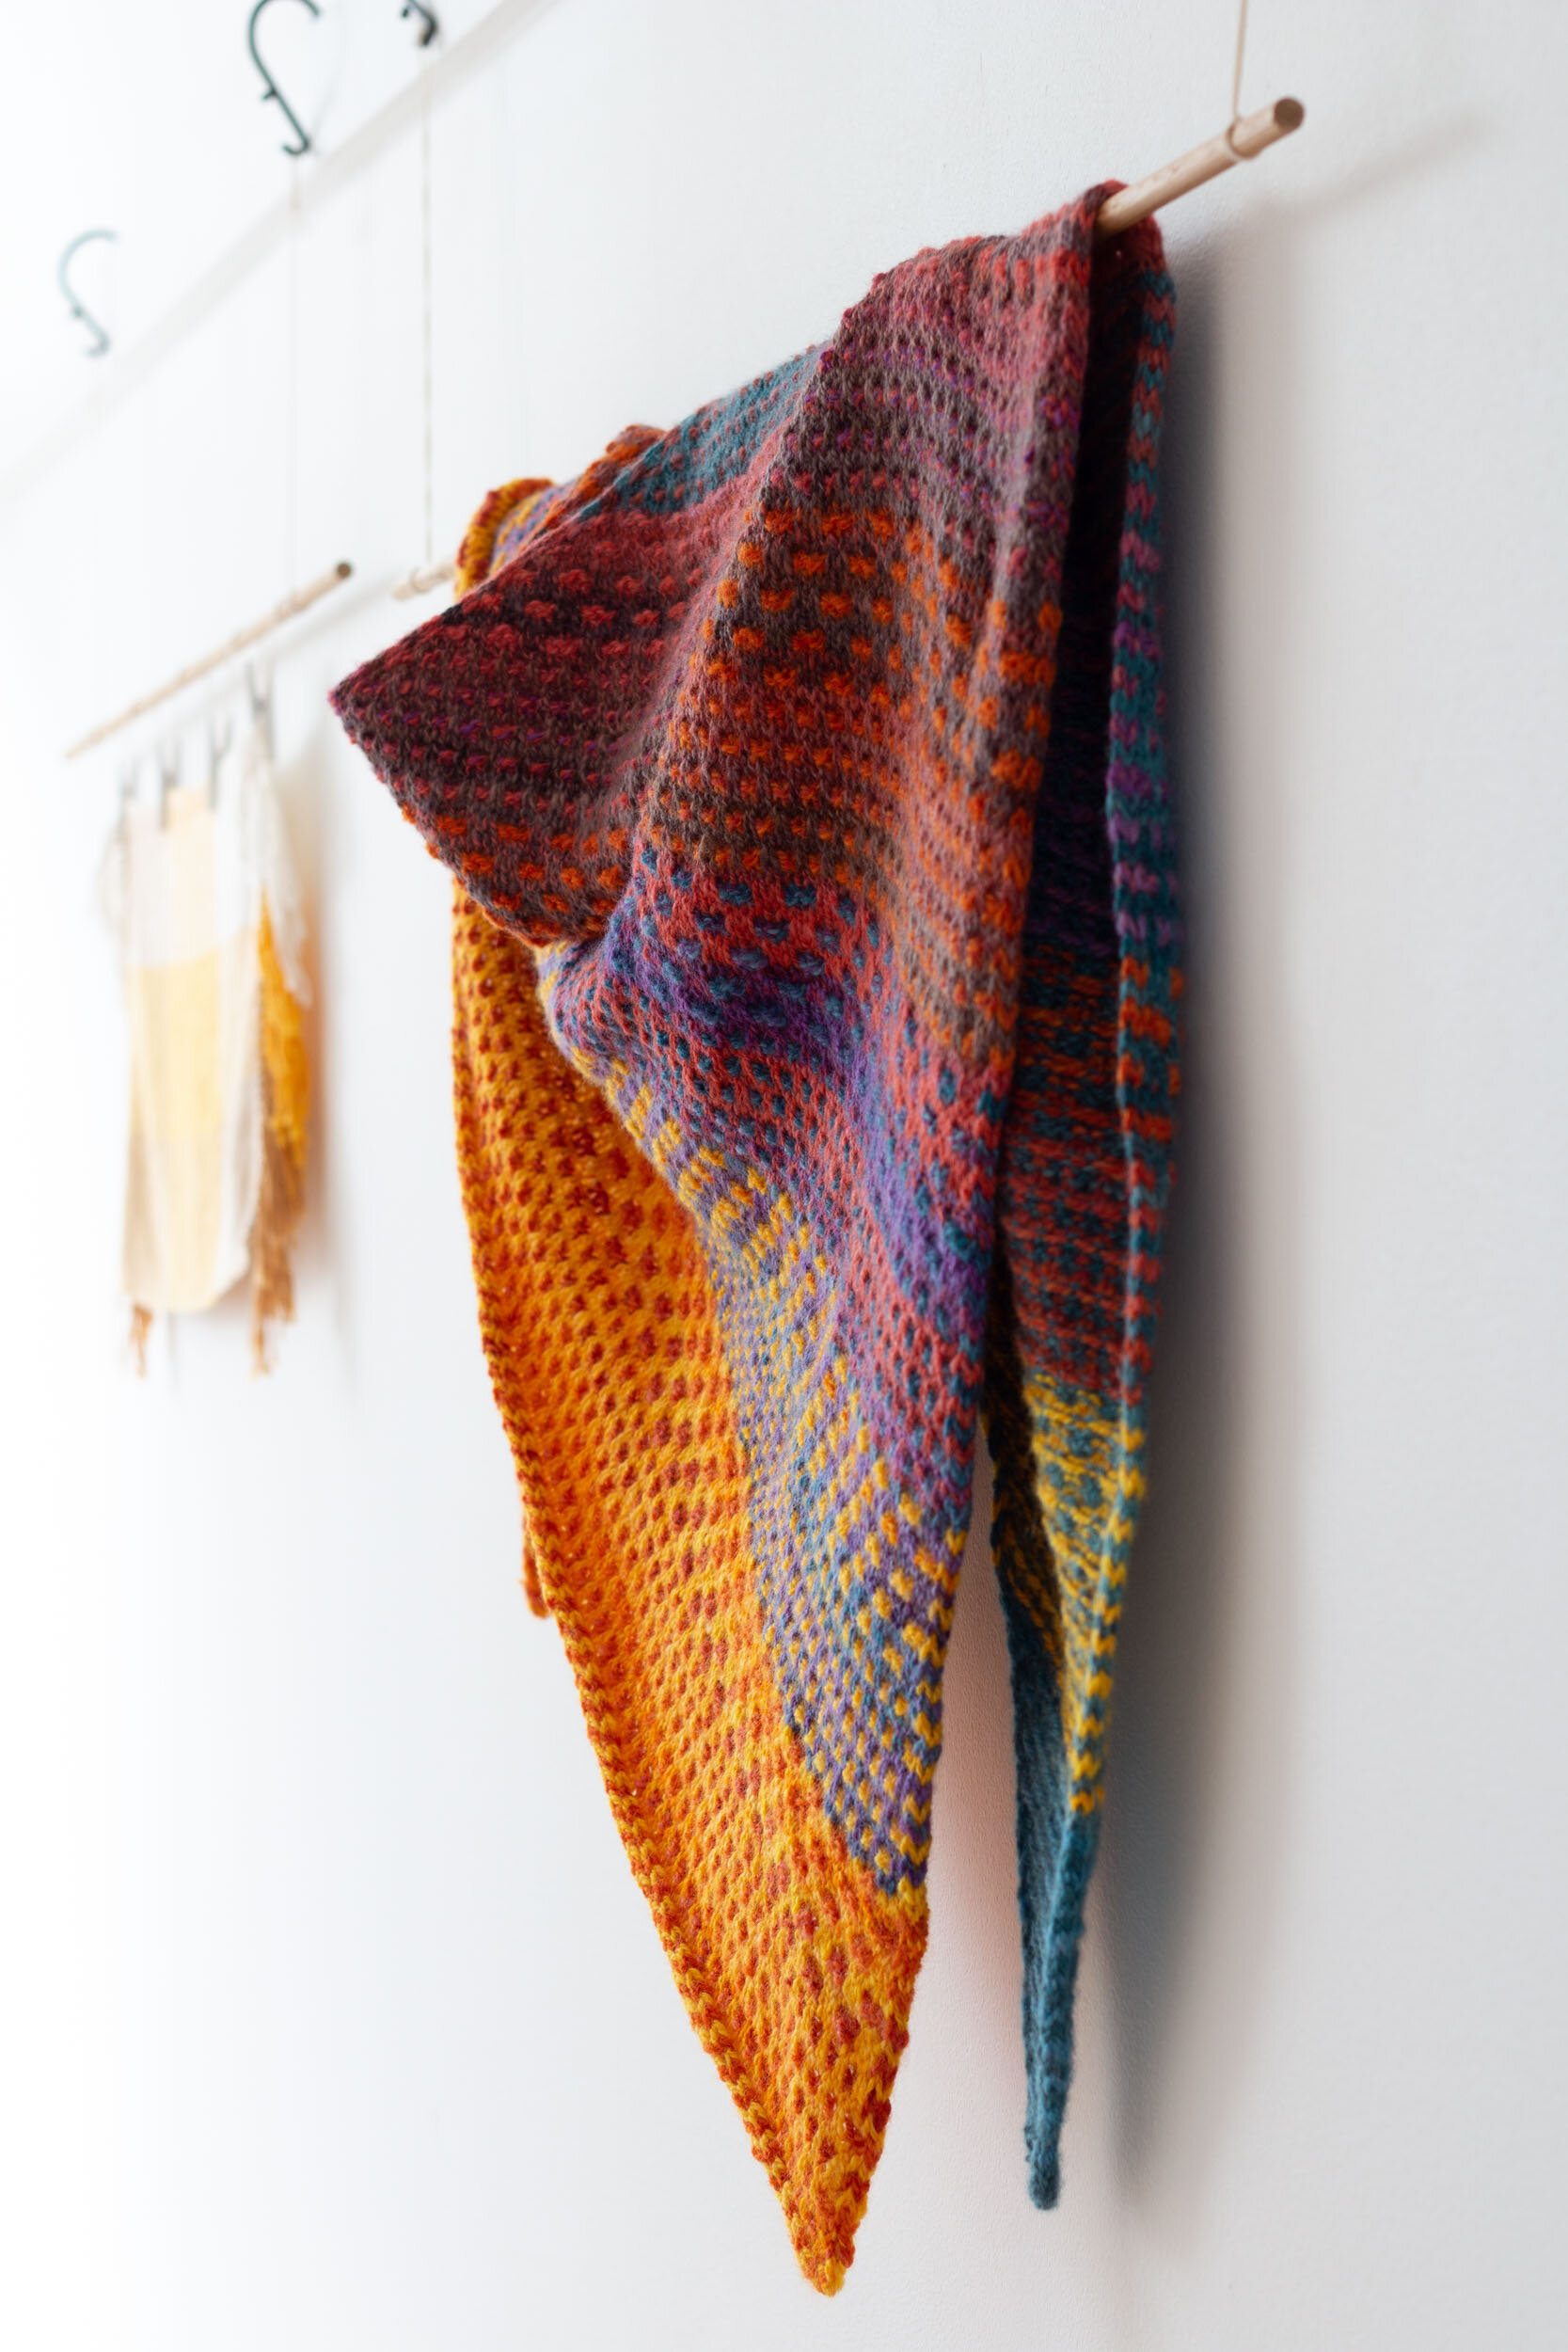
To finish, the shawl was immersed in a bath of cool water for around 10 minutes, the water was drained, and the shawl pressed between towels to remove the excess. The piece was pinned out on a blocking matt, attention given to the triangular shaping of the shawl.

Once dry the gauge measured at: 

  • 20 stitches over 10cm (4'')

  • 28 rows over 10cm (4'')

 Total yardage:

  • I’m not really sure as I didn’t do any strict yardage calculations before I started. Though, think I have enough left over to make a beanie!

Final measurements:

  • Wingspan - 65”/165 cm 

  • Centre Depth - 31”/79 cm

Nightshift Shawl - Pattern by Andrea Mowry - Studio Project by Loom & Spindle-14.jpg

INSIGHTS AND OPPORTUNITIES

FIBRE AND COLOUR SELECTION

  • The Nightshift was such a great stash buster, I was truly in my happy place mixing and matching fibres for this project.

  • I was immediately drawn to the warm saturated shades of some of my most treasured braids, I was delighted when the final palette came together.

THE SPIN

  • The worsted weight yarn spun up very quickly, I had everything spun up in under a month!

  • I felt that it was important to complete all the spinning before I started knitting for this project in order to determine colour placement within the knitted shawl. 

FABRIC AND HANDFEEL

  • I certainly wasn’t disappointed by the merino and Merino X fibres. They made for bouncy squishy yarns and a light and lofty shawl.

  • From far away you could easily say it’s just a colour block shawl, but with Mowry’s clever repeating mosaic stitch pattern the resulting fabric is a kaleidoscope of colour with subtle gradients over every row that I could study for hours.

Nightshift Shawl - Pattern by Andrea Mowry - Studio Project by Loom & Spindle-10.jpg
Nightshift Shawl - Pattern by Andrea Mowry - Studio Project by Loom & Spindle-17.jpg

FINAL THOUGHTS

  • There’s good reason why this pattern has 3800+ projects on Ravelry. The colour-play is highly engaging, and the piece works up quickly as you’re always itching to get to the next colour section.

  • The modular stitch repeat makes for a forgiving pattern, handy when yardage or gauge is not always spot on.

  • The colour shifting characteristics of hand-spun yarn make it the perfect substitution for the patterns suggested yarn.

  • Knitting with your hand spun yarn and feeling every bump and seeing every colour change is so satisfying. I would highly recommend all skill levels giving it!

Nightshift Shawl - Pattern by Andrea Mowry - Studio Project by Loom & Spindle-7.jpg

THANK YOU FOR READING!

Would you like to save this project for later? Add it to your Ravelry favourites HERE.

STAY IN THE LOOP

RECEIVE UPDATES FROM OUR STUDIO, PROJECT INSPIRATION AND PRODUCT NEWS BY JOINING THE LOOM & SPINDLE COLLECTIVE.

Nightshift Shawl - Pattern by Andrea Mowry - Studio Project by Loom & Spindle-2.jpg
 

Explore Spinning…

You may also like…