

What is steeking?
If you hang around knitters long enough you may hear this term thrown around, often referred to with some trepidation.
But put simply, a steek is just the process of securing the cut edge of a knitted fabric. This allows the knitted fabric to be worked in the round and cut open without the ends unravelling.
I’ve been curious about this technique for a while and always watch with interest when my favourite YouTubers describe their experiences.
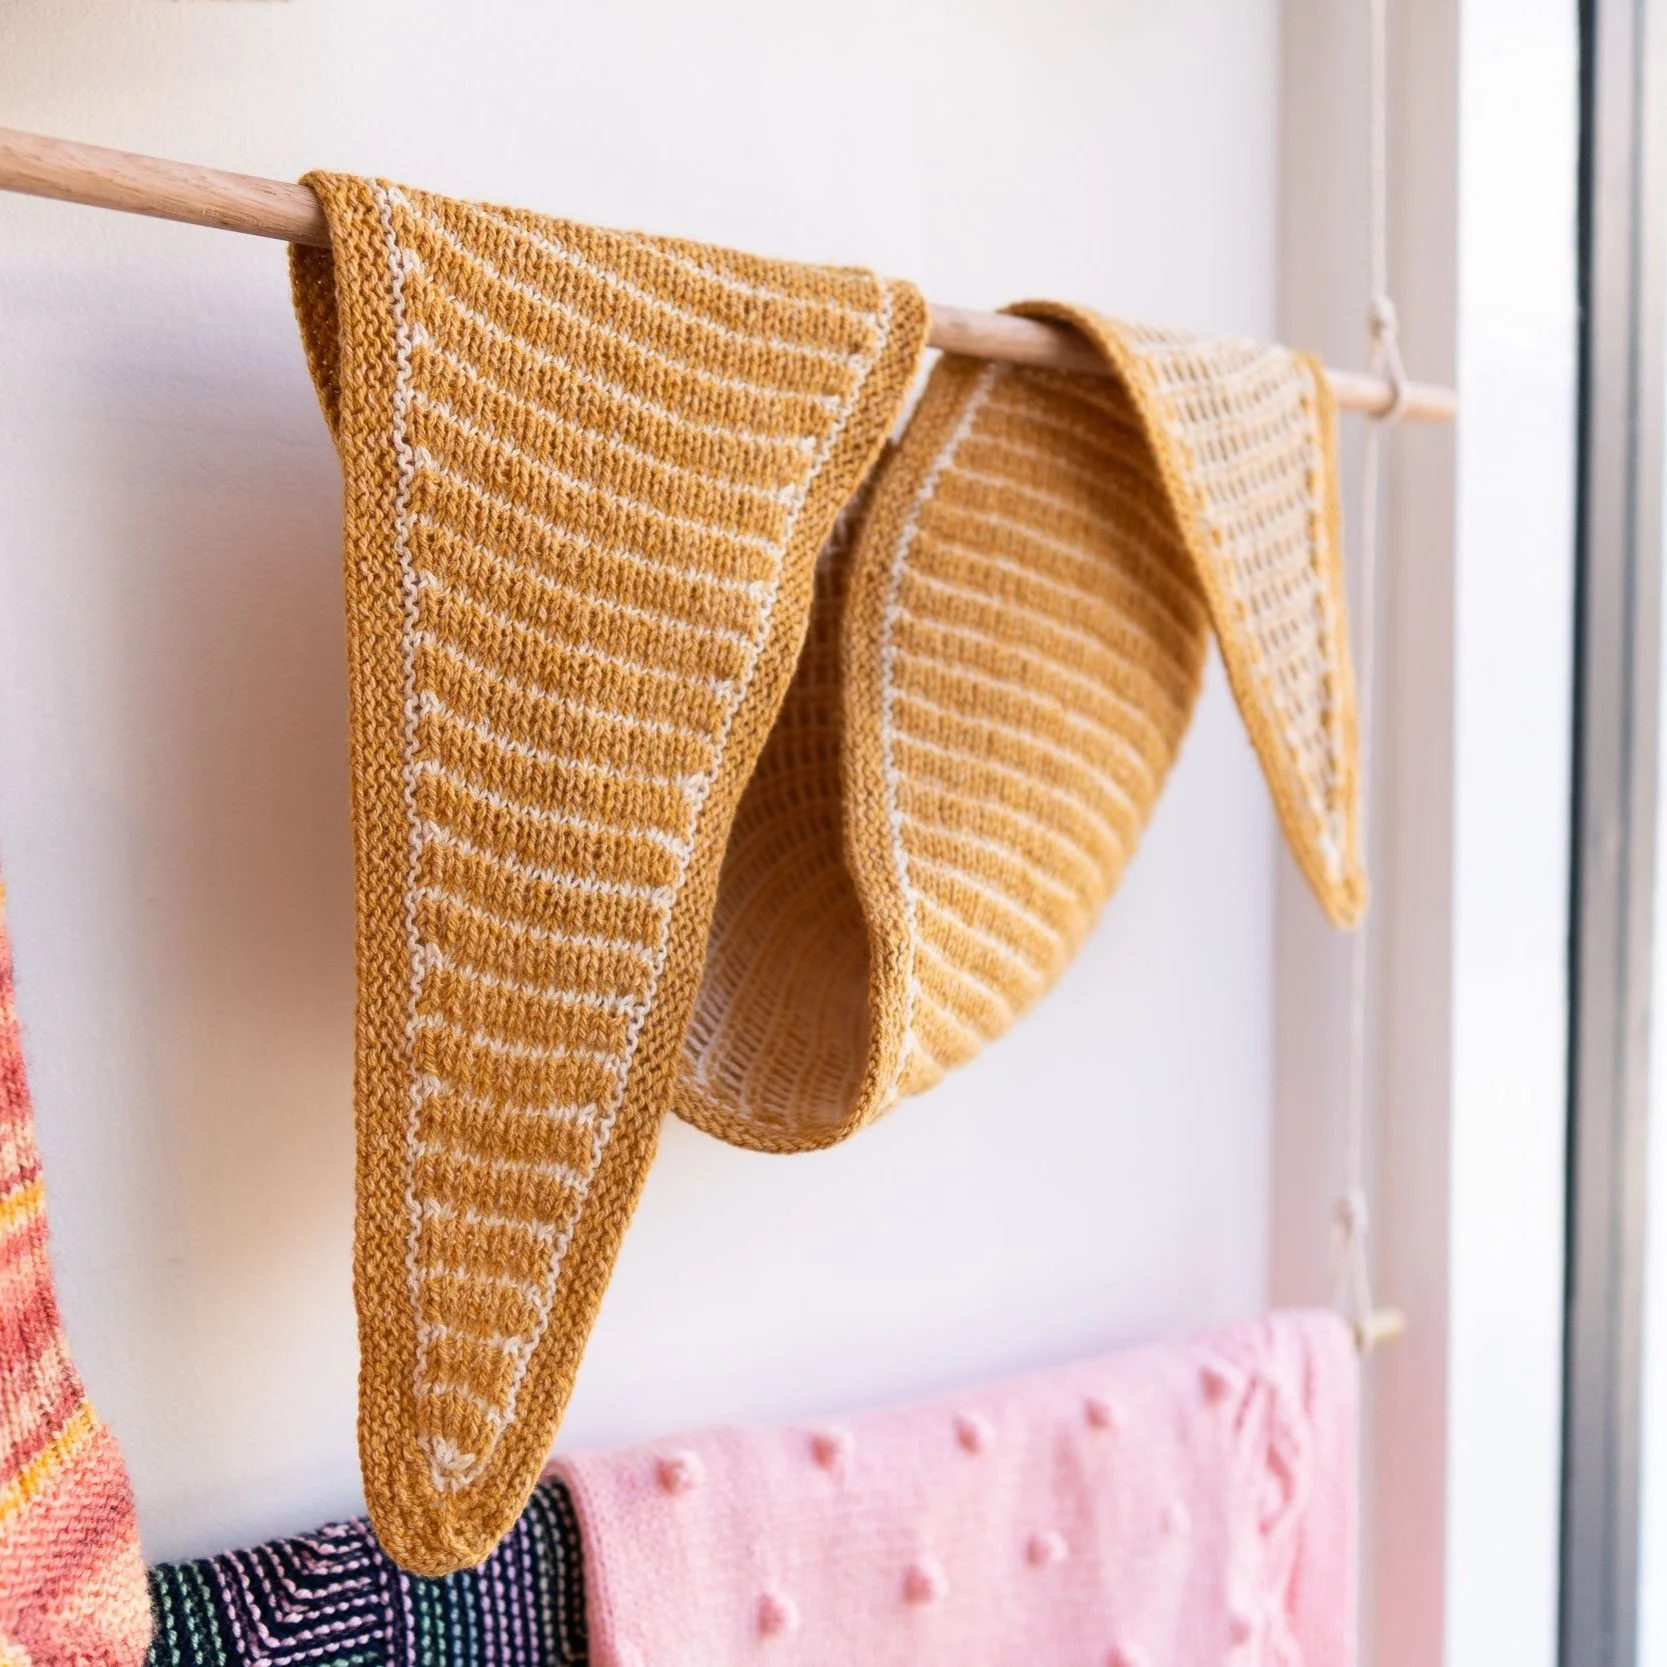
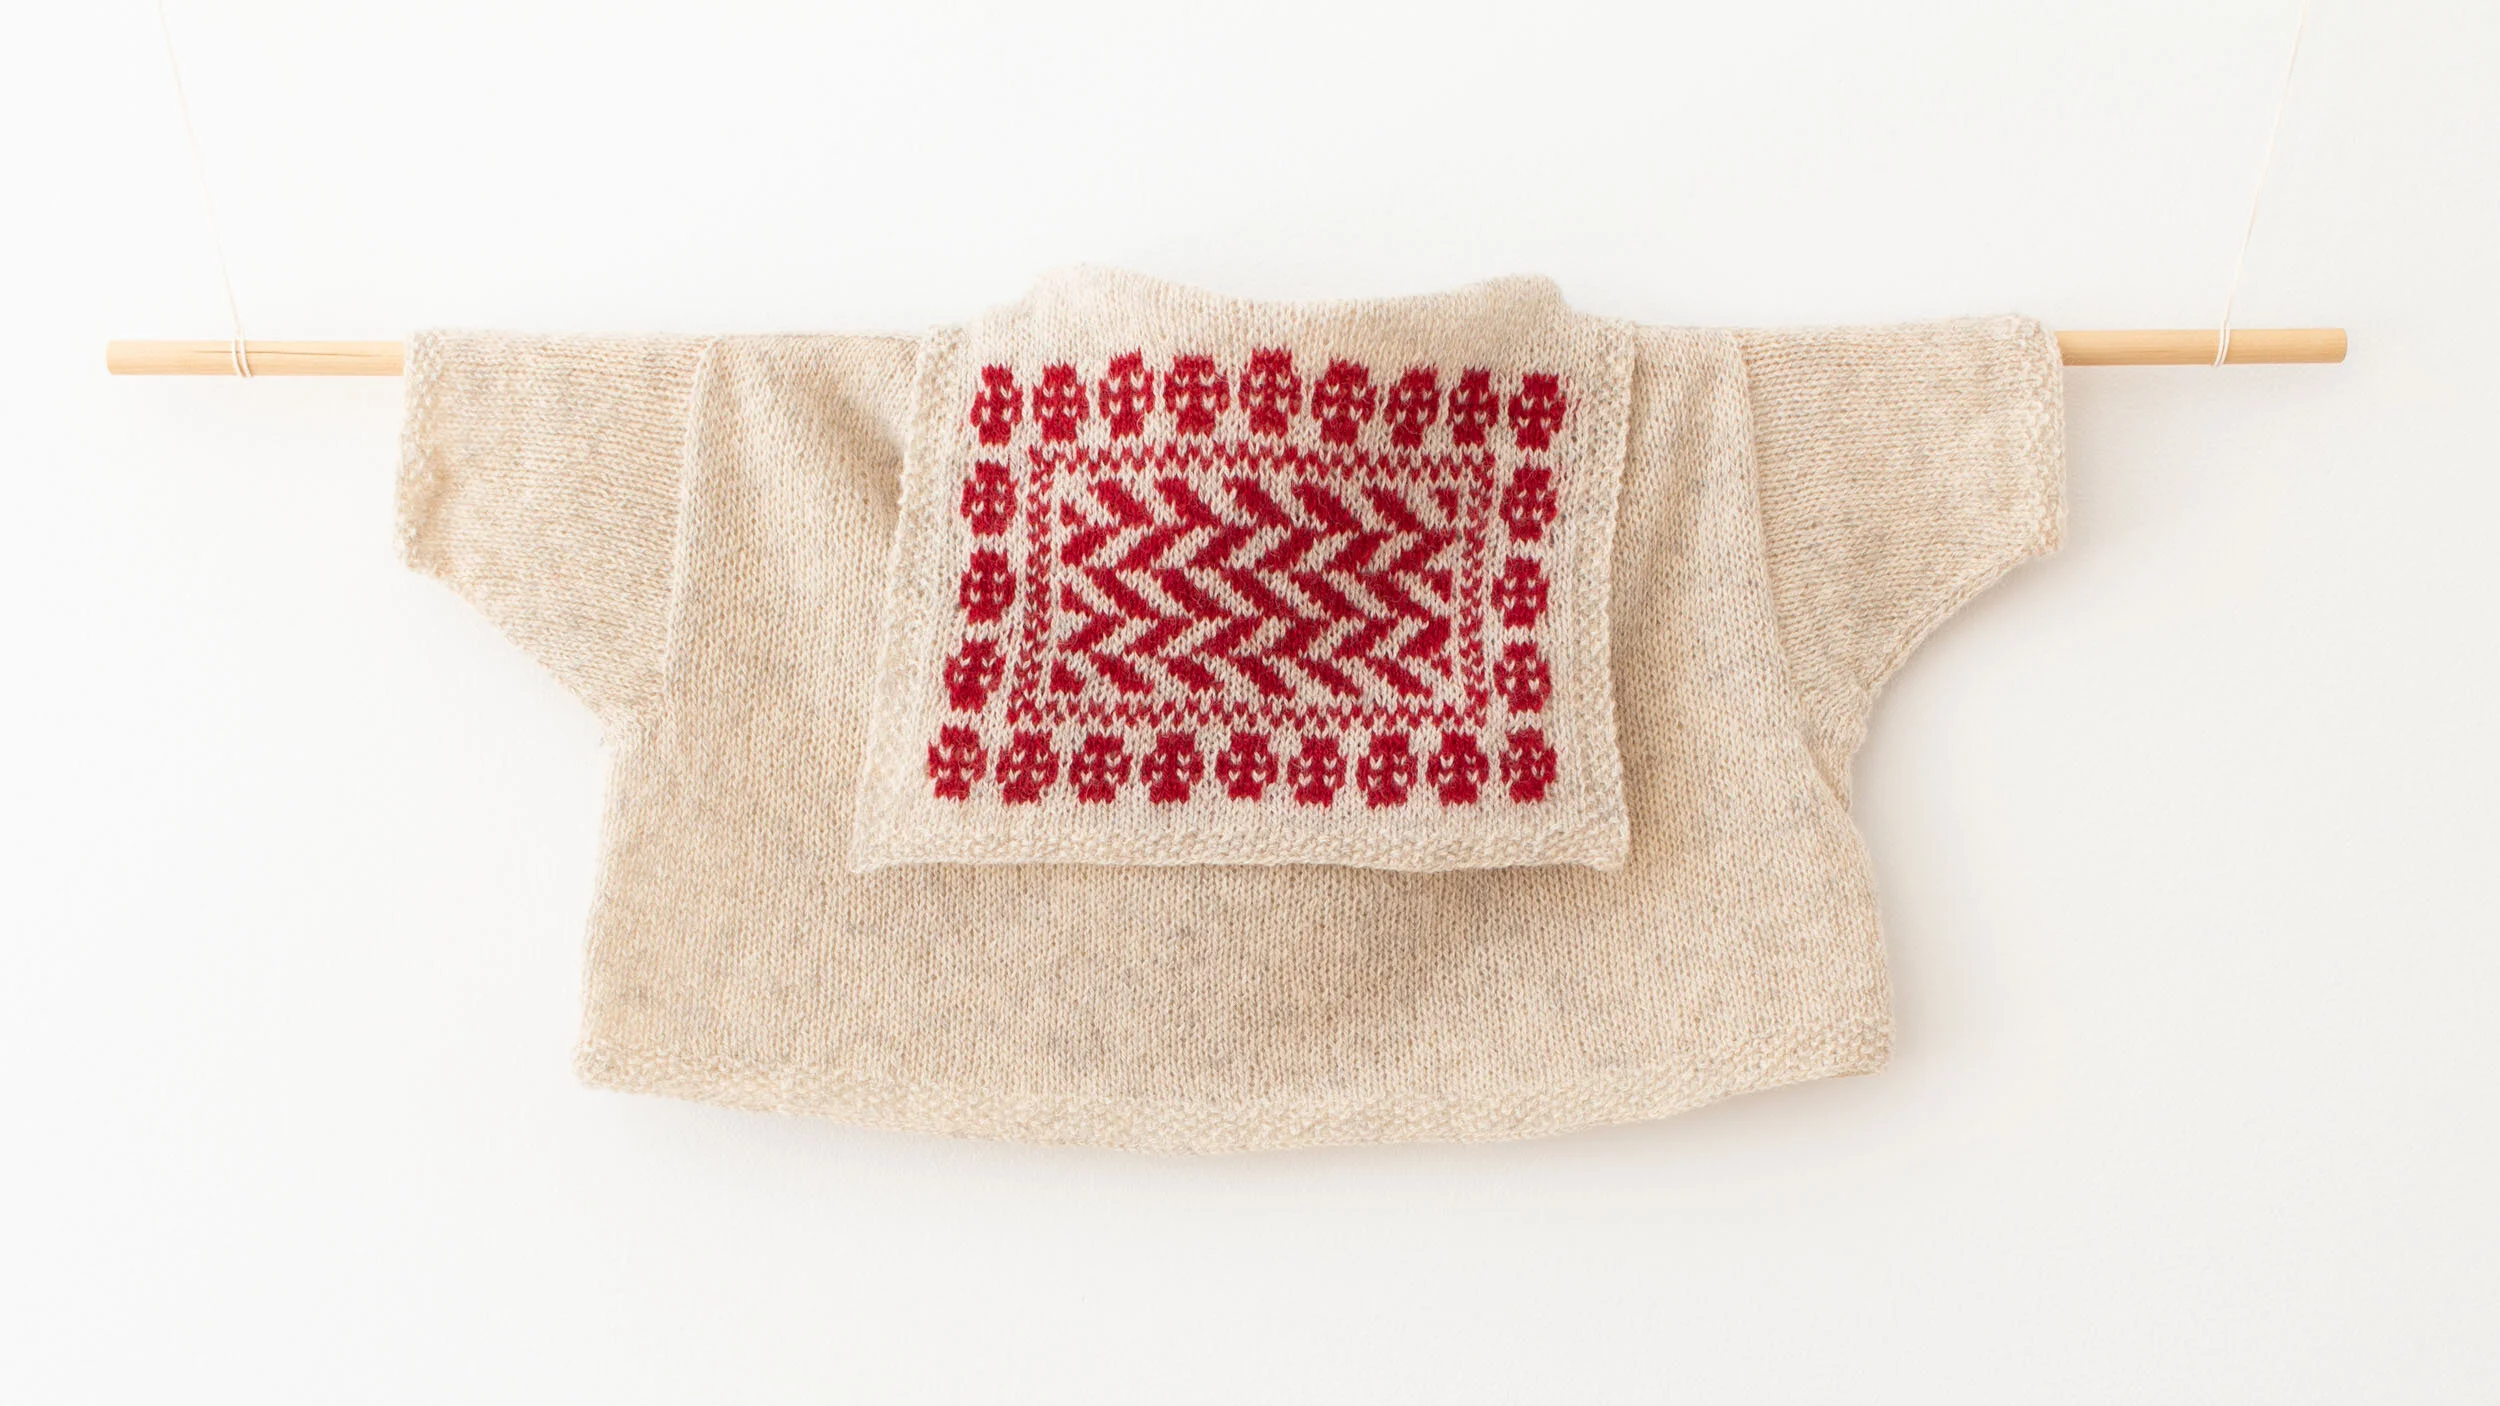
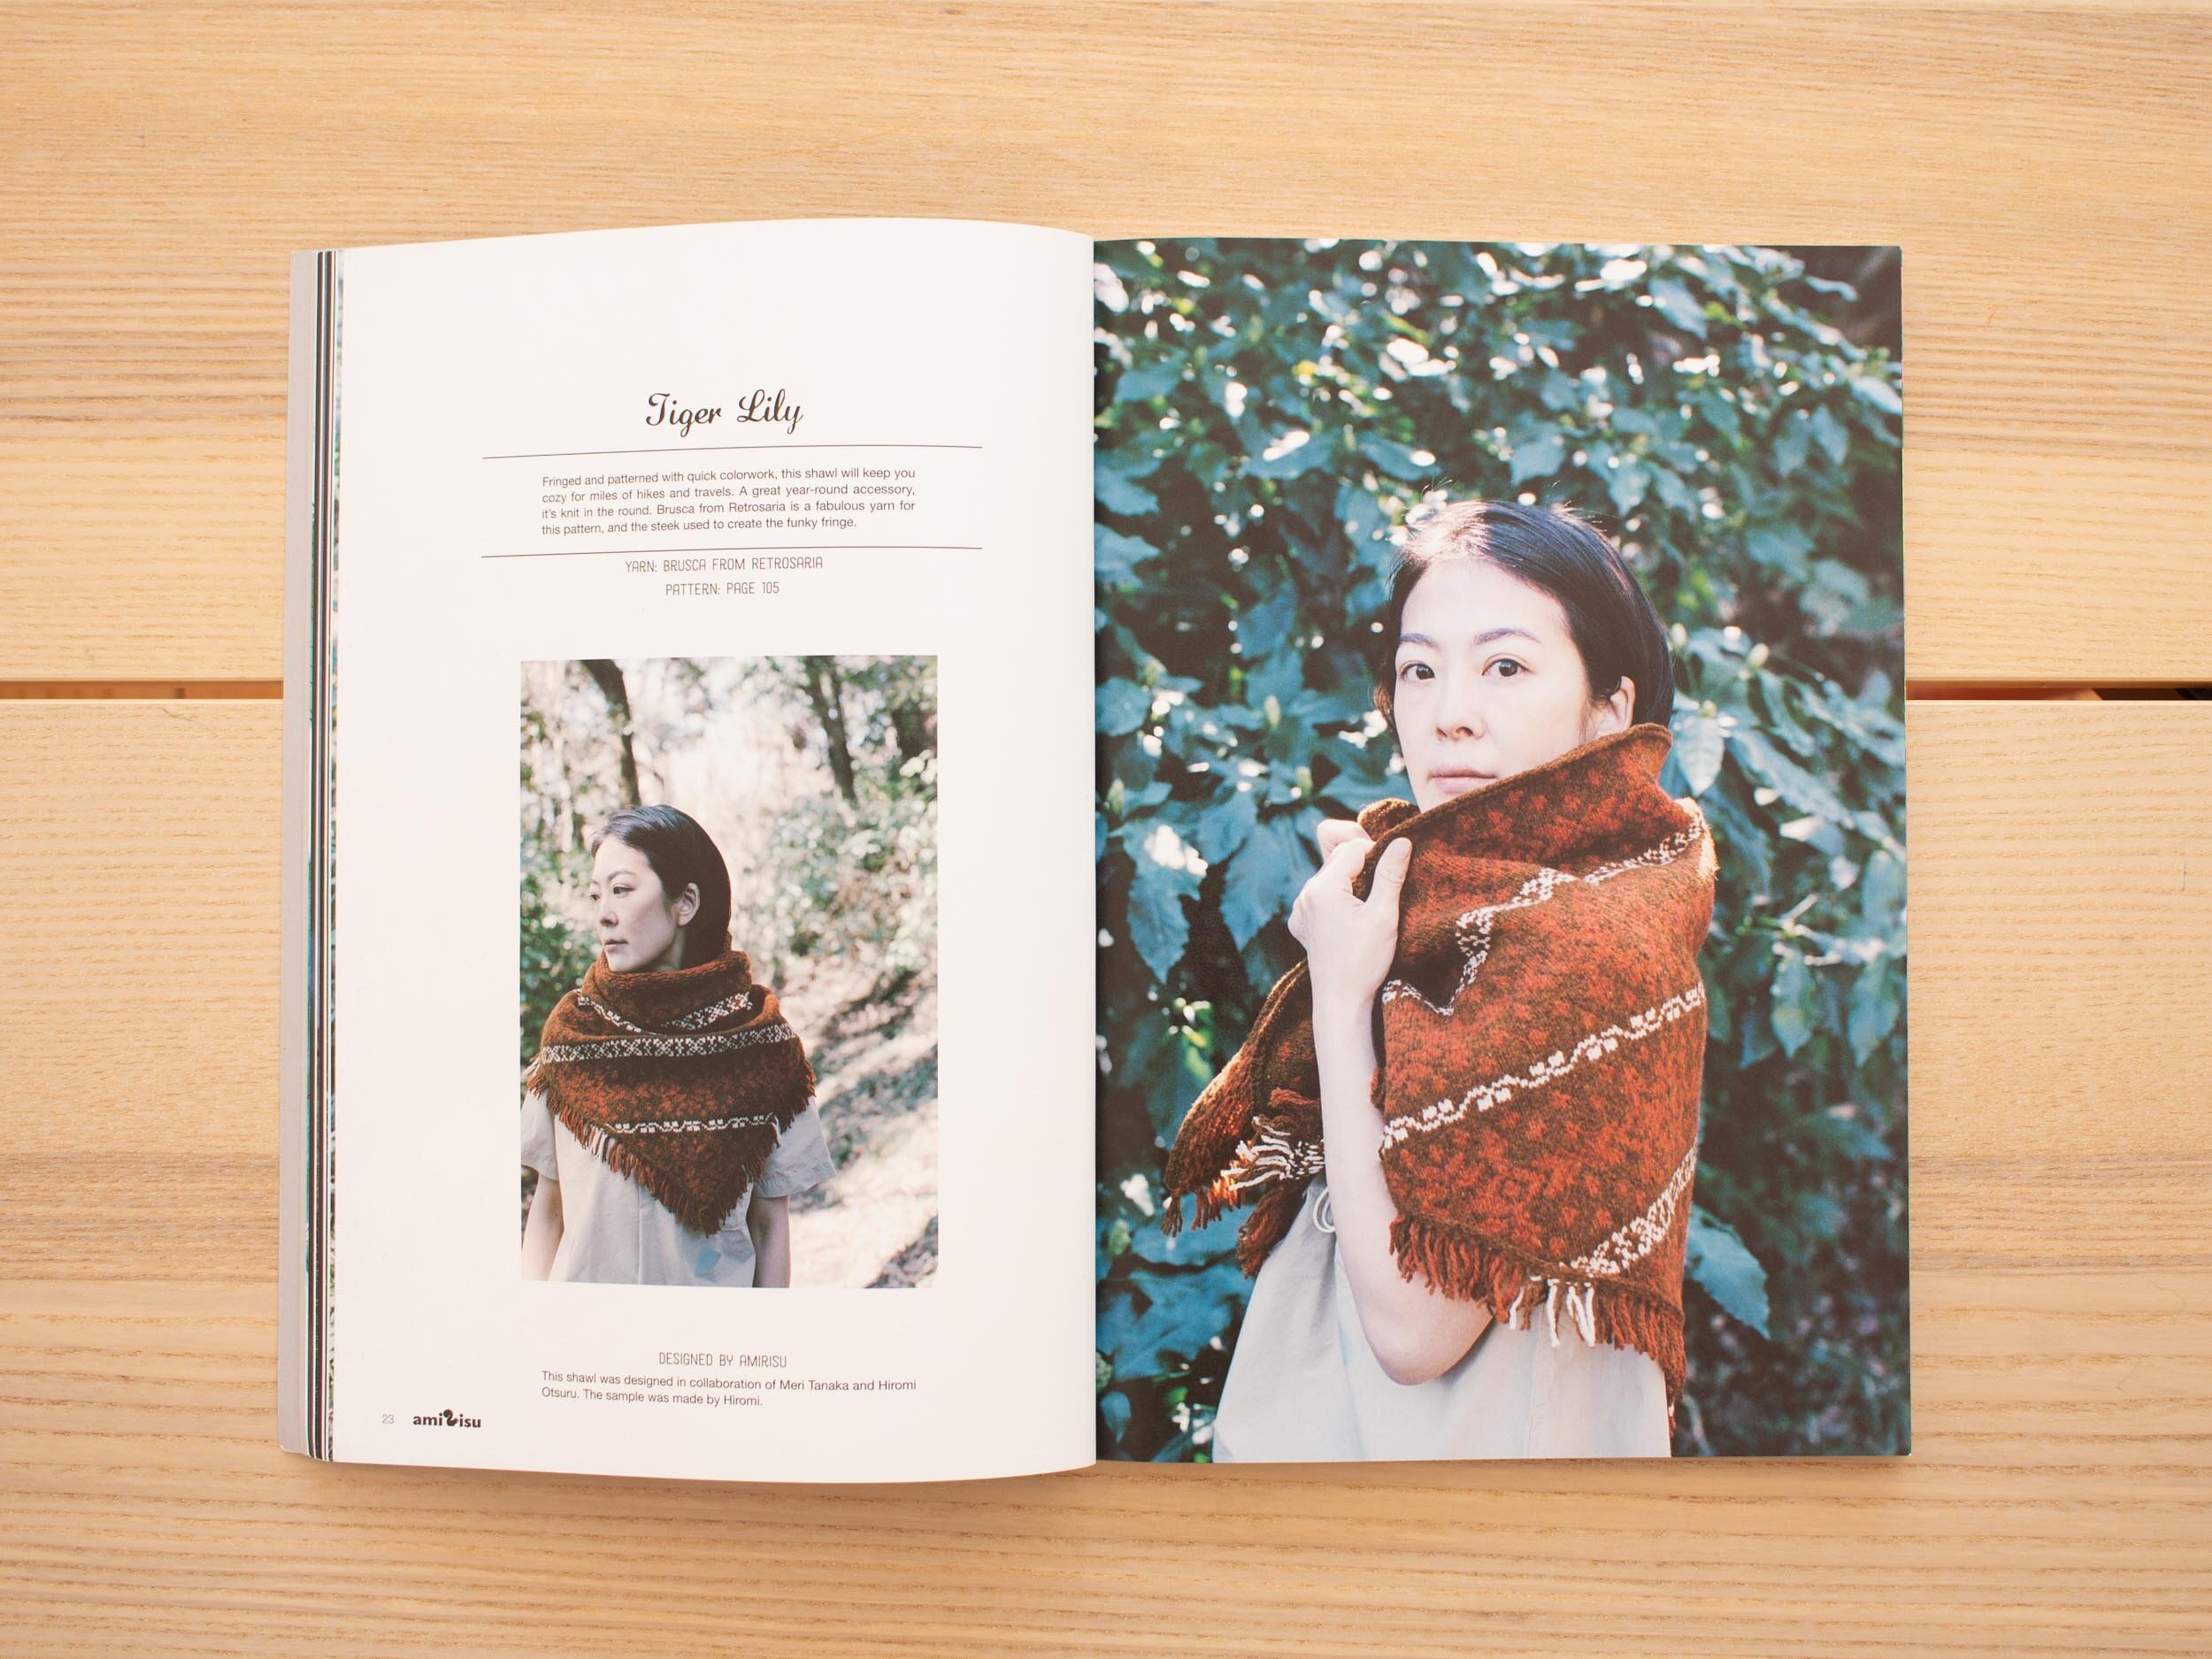
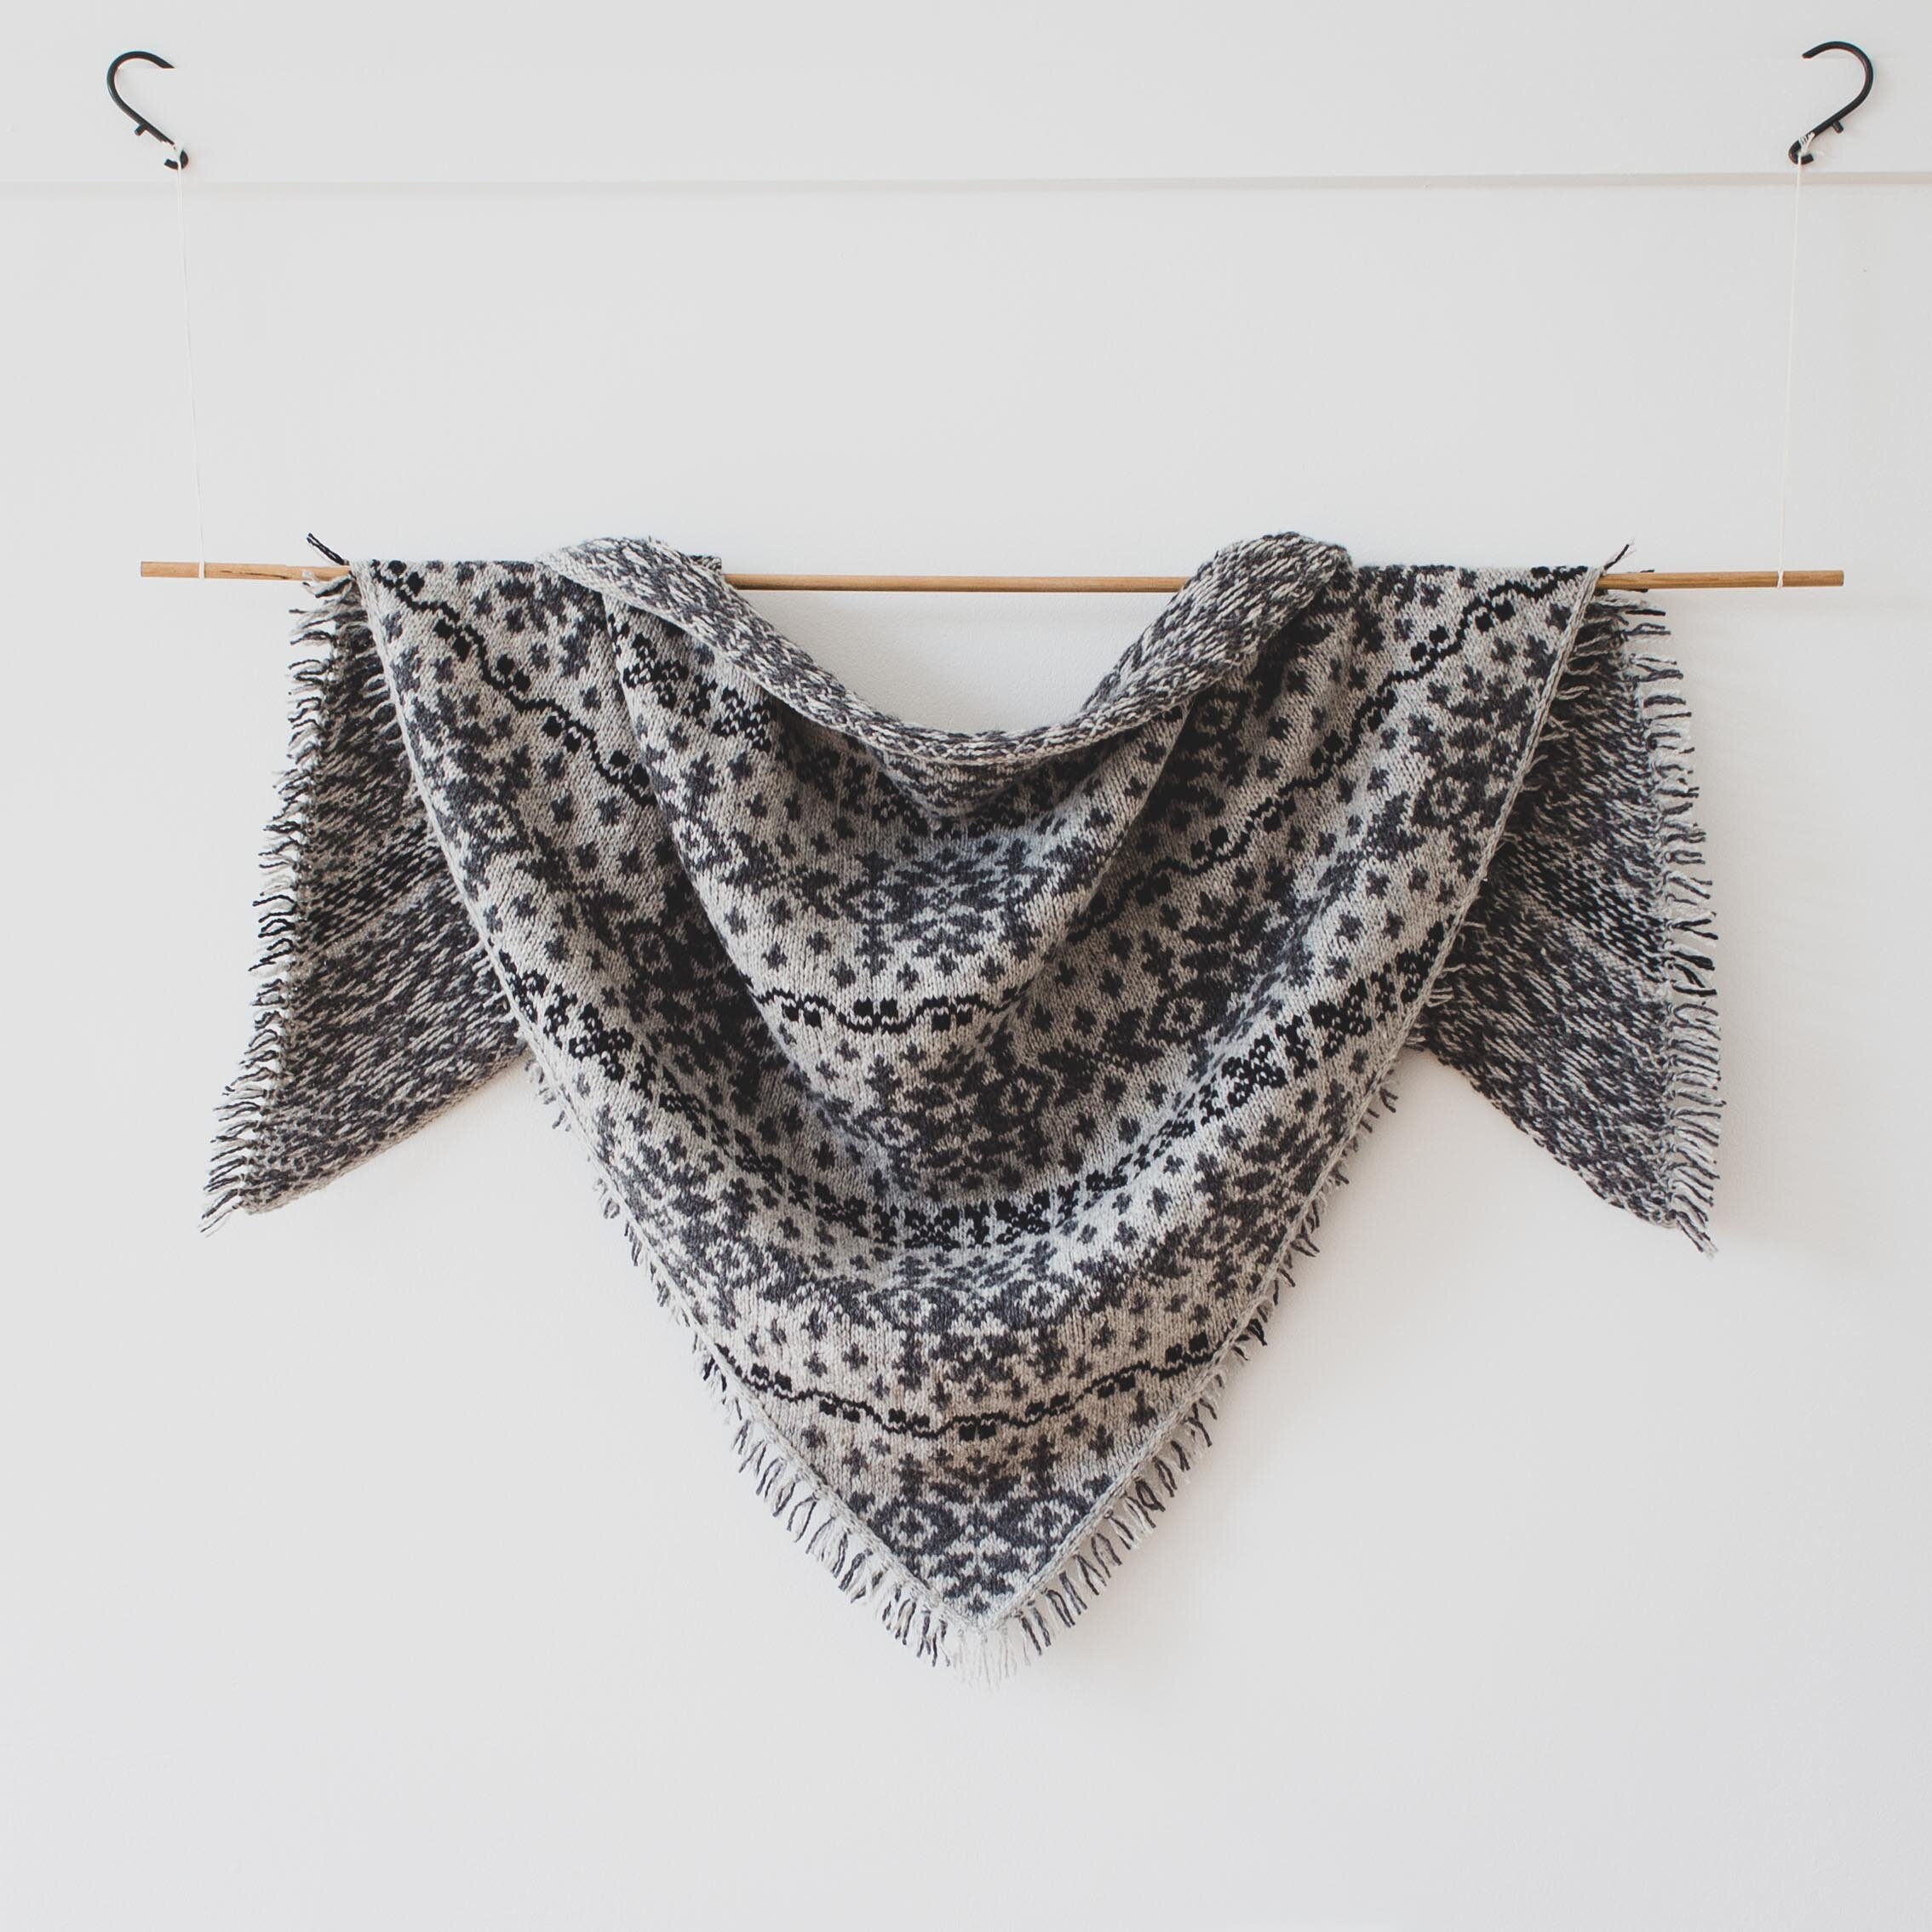
So, when Amirisu Issue 18 dropped in 2019 there was one piece in particular that caught my eye - the Tiger Lily shawl, a triangular colourwork shawl knit completely in the round and steeked!
Here’s my first-hand experience working a steeked shawl!
Enjoy!
Andrea - Loom & Spindle
STUDIO PROJECT: Tiger Lily

INTENTION
Knit the Tiger Lily shawl and explore:
Working with Loch Lomond GOTS
Working a triangular shawl in the round using steeking stitches
DESIGN
The Tiger Lily shawl pattern was designed by Amirisu Magazine, first published in Amirisu Issue 18: Summer 2019. It’s currently available to purchase as a digital download at Ravelry.com.
SKILLS
Casting on
Knitting in the round
Decreasing stitches
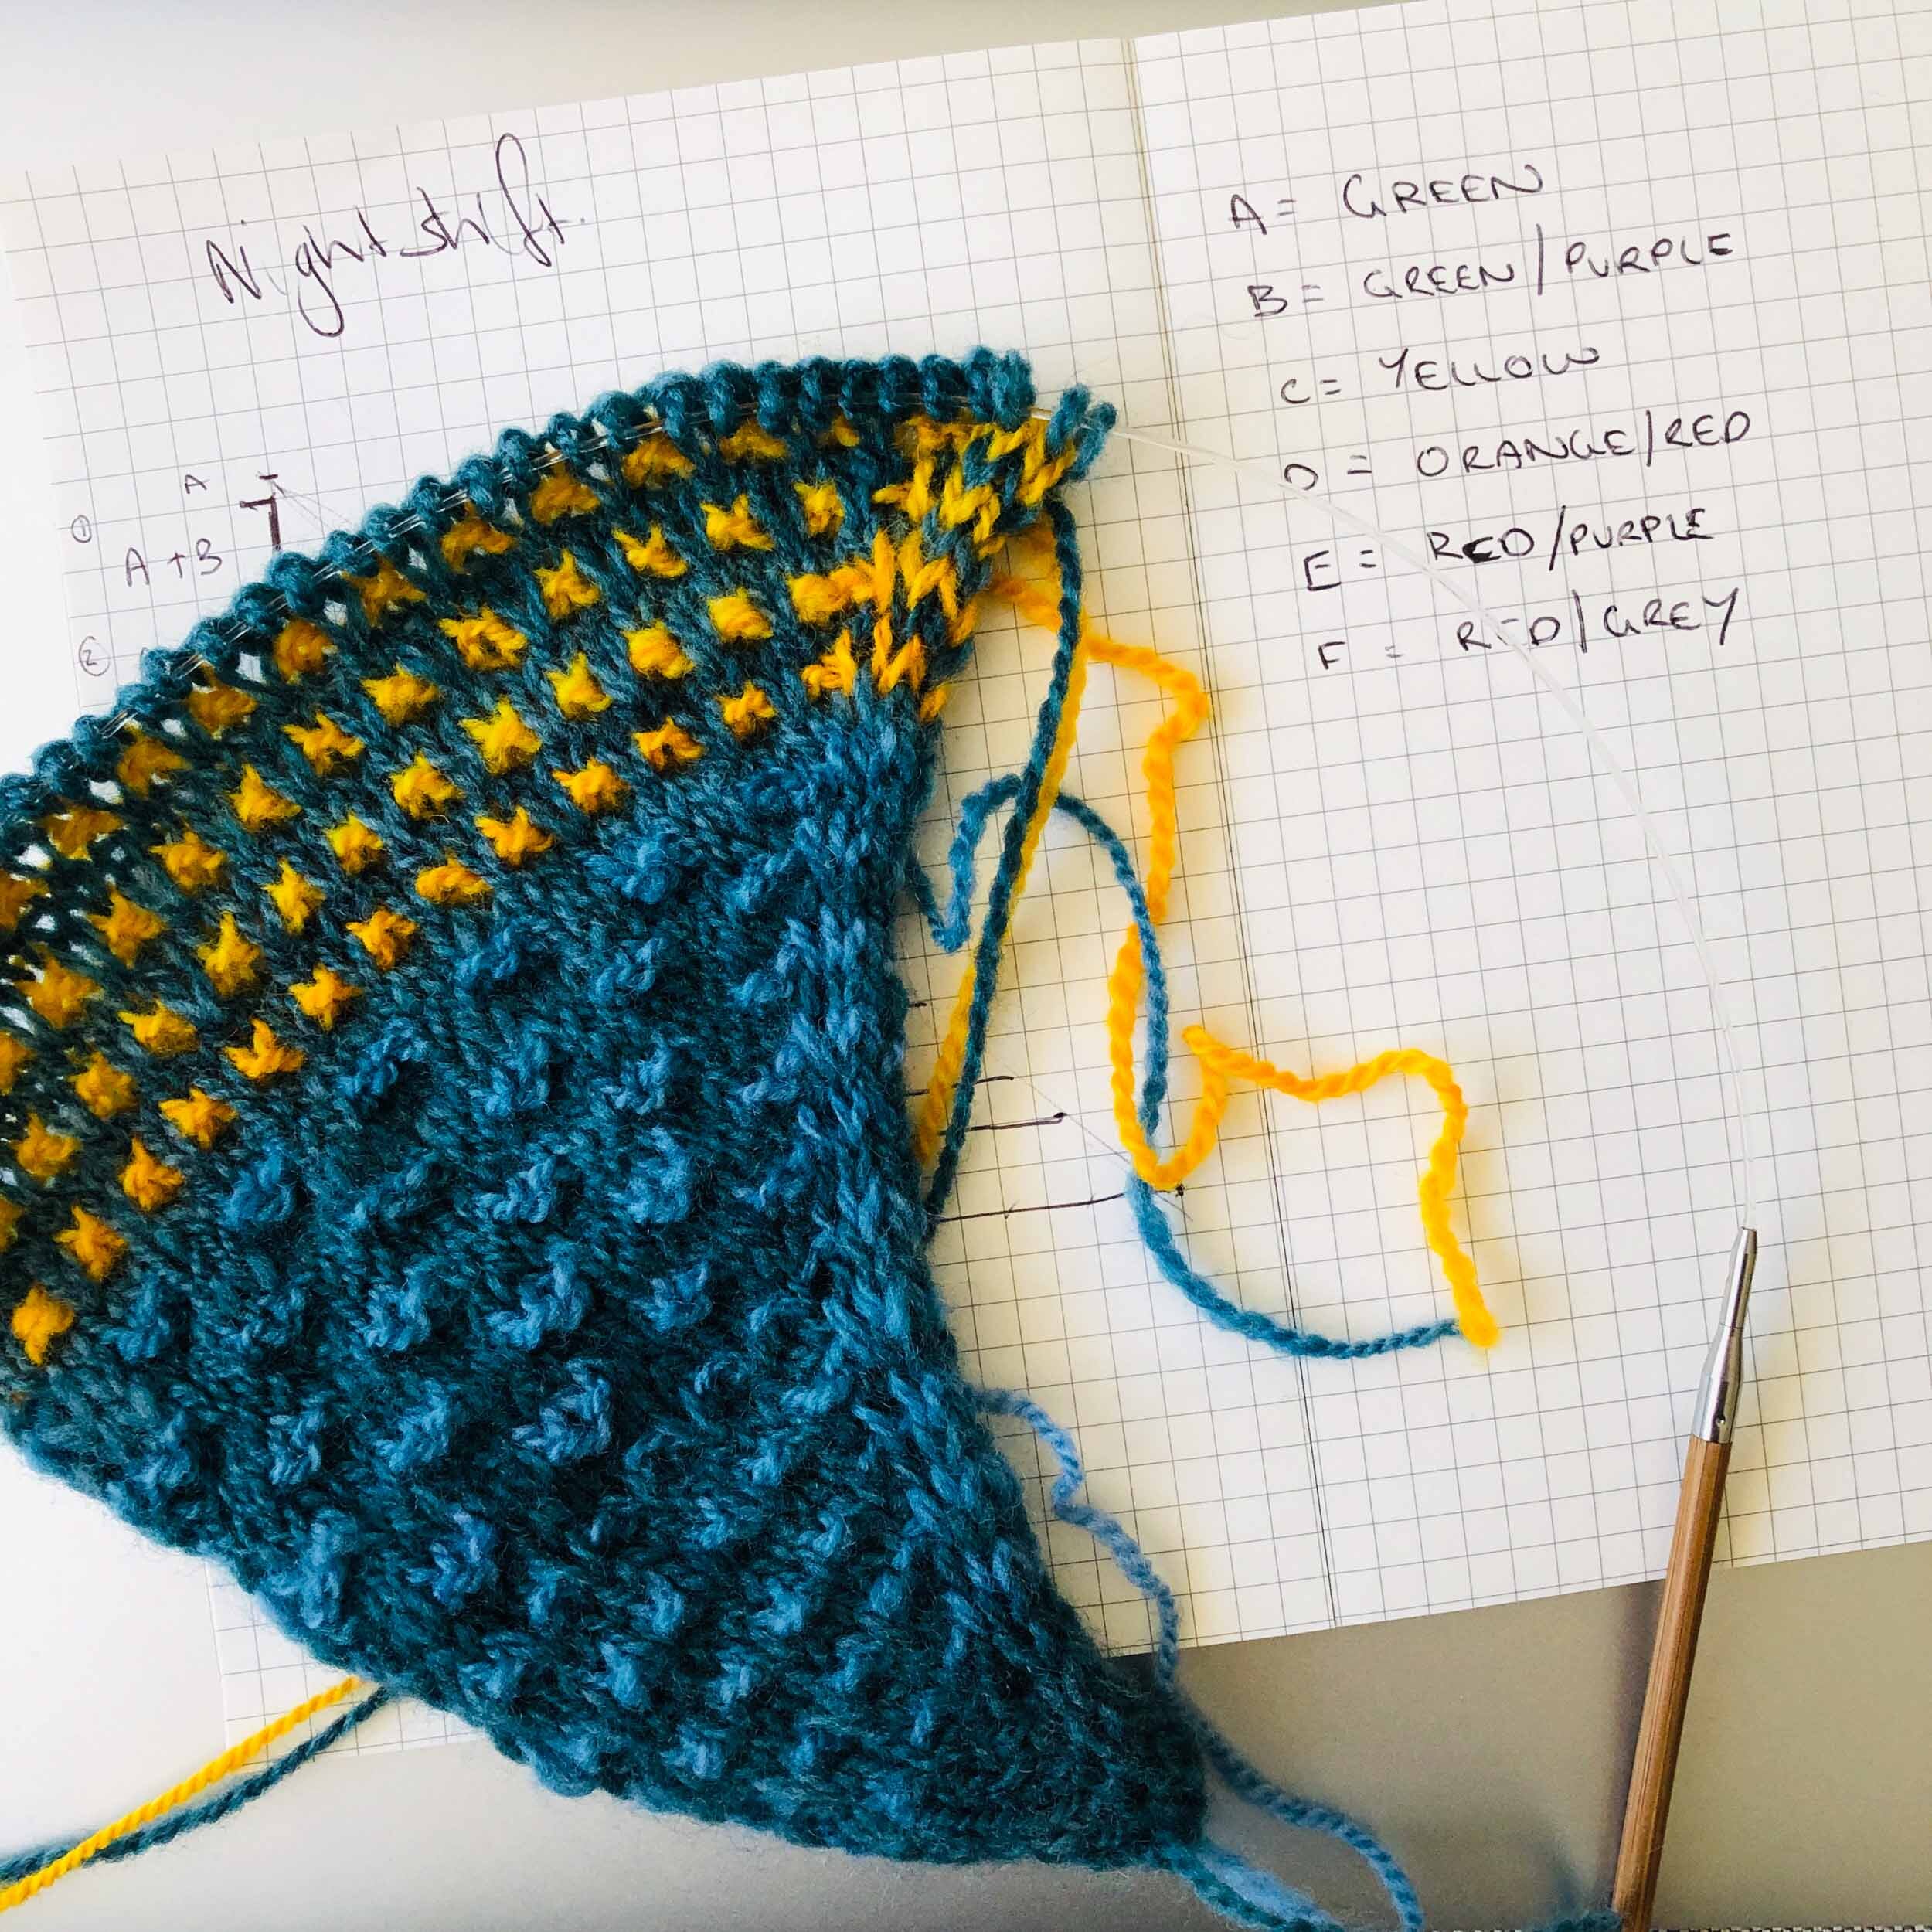
Reading colourwork charts
Two colour colourwork
Steeking
TOOLS
4mm (US 6) and 4.5mm (US 7) circular needles.
I used Chiaogoo Spin Bamboo Interchangables.
MATERIALS
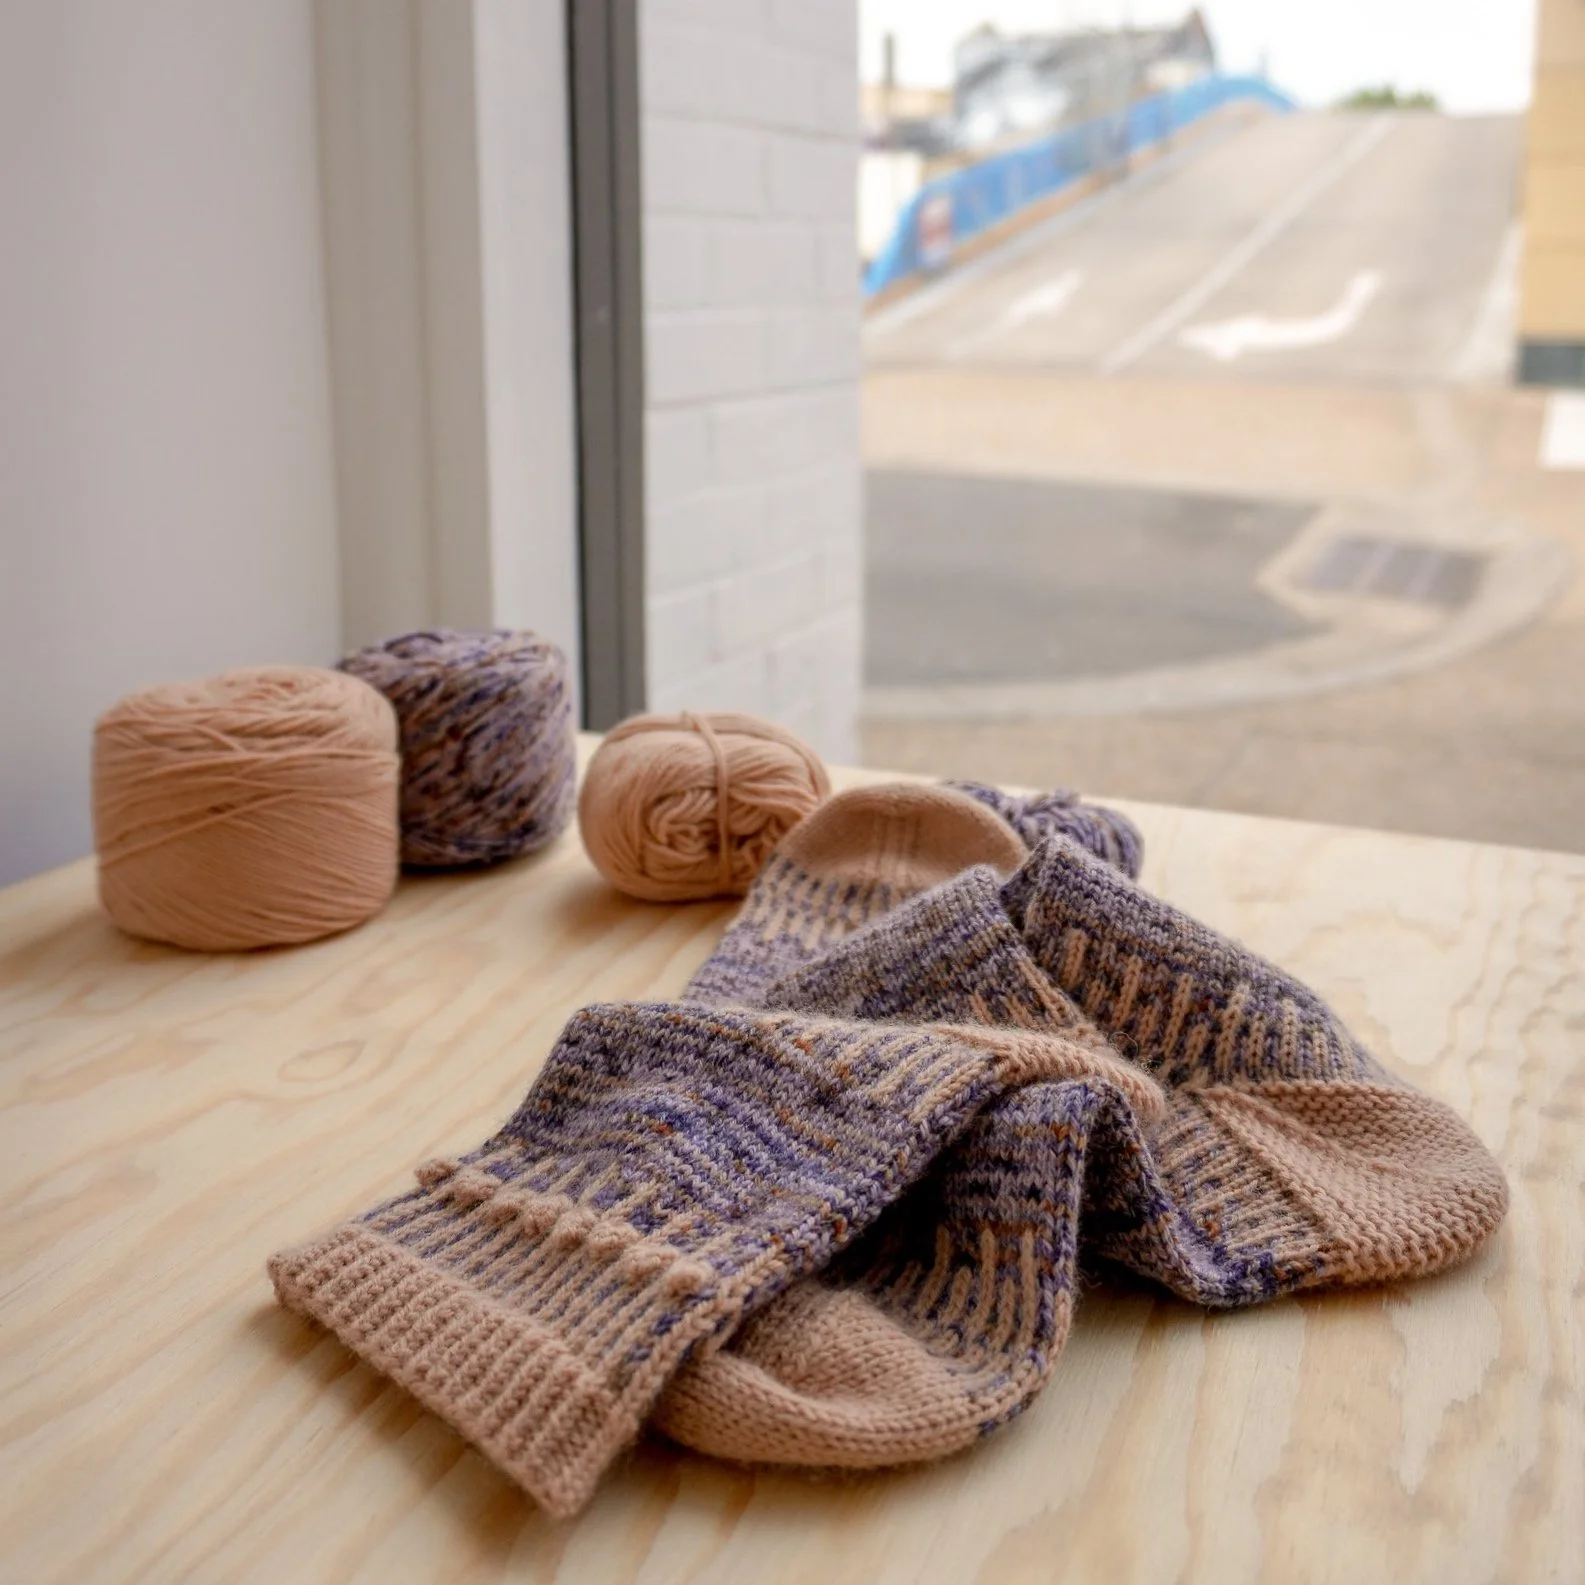
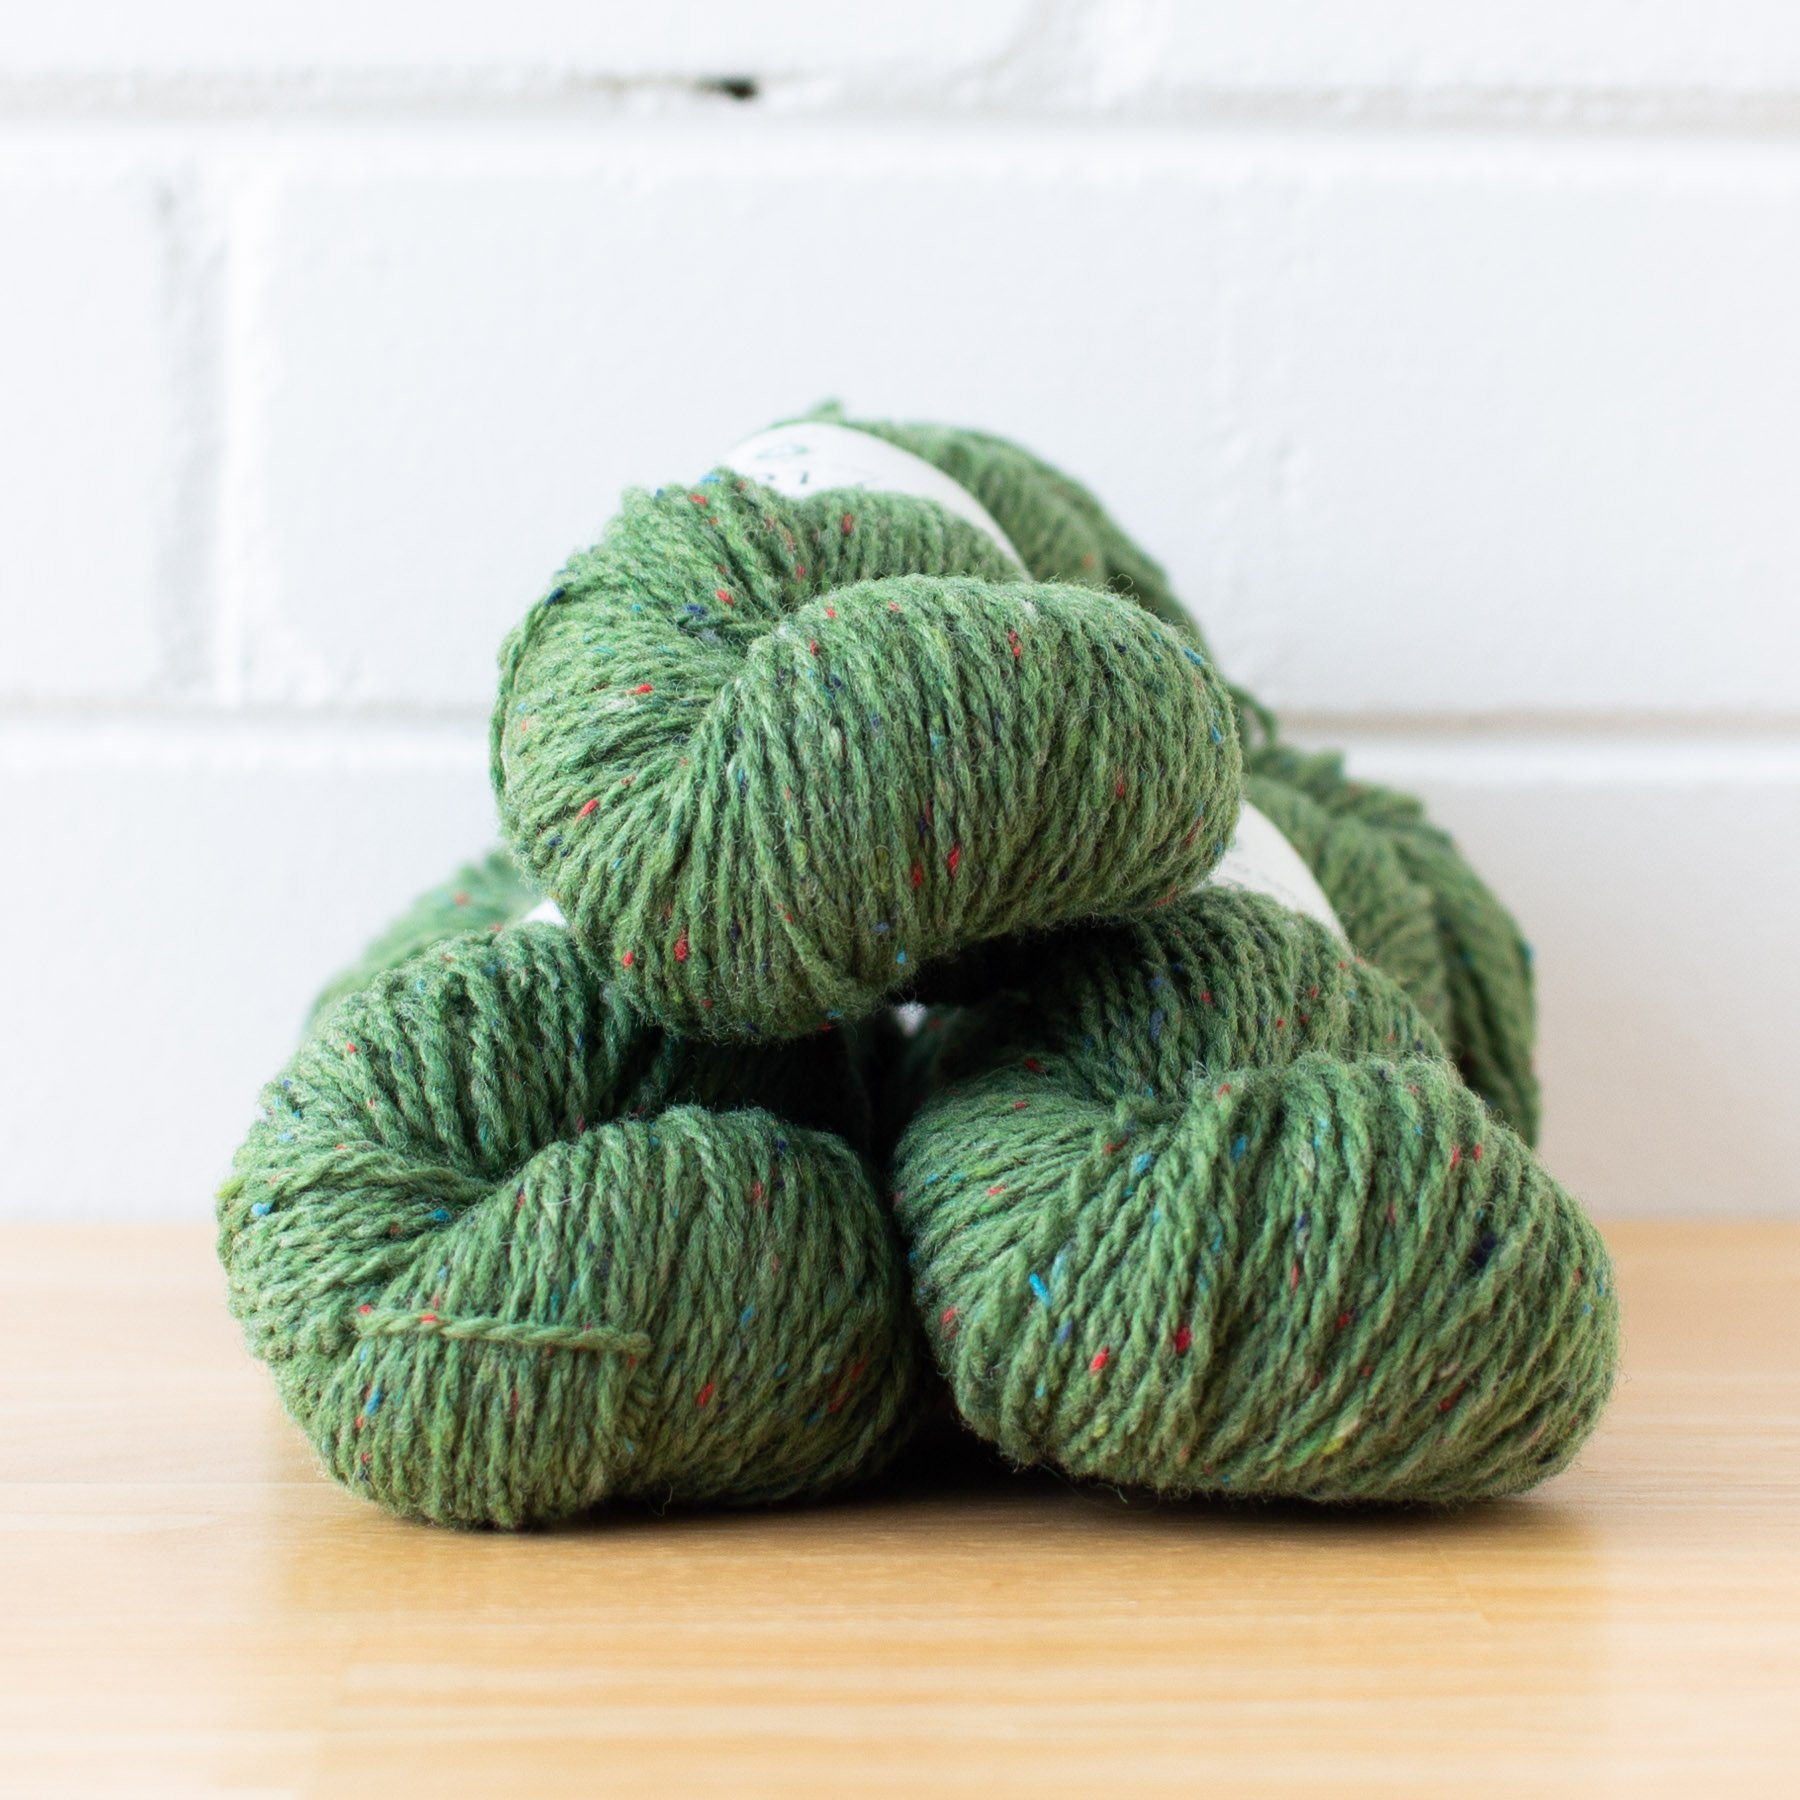
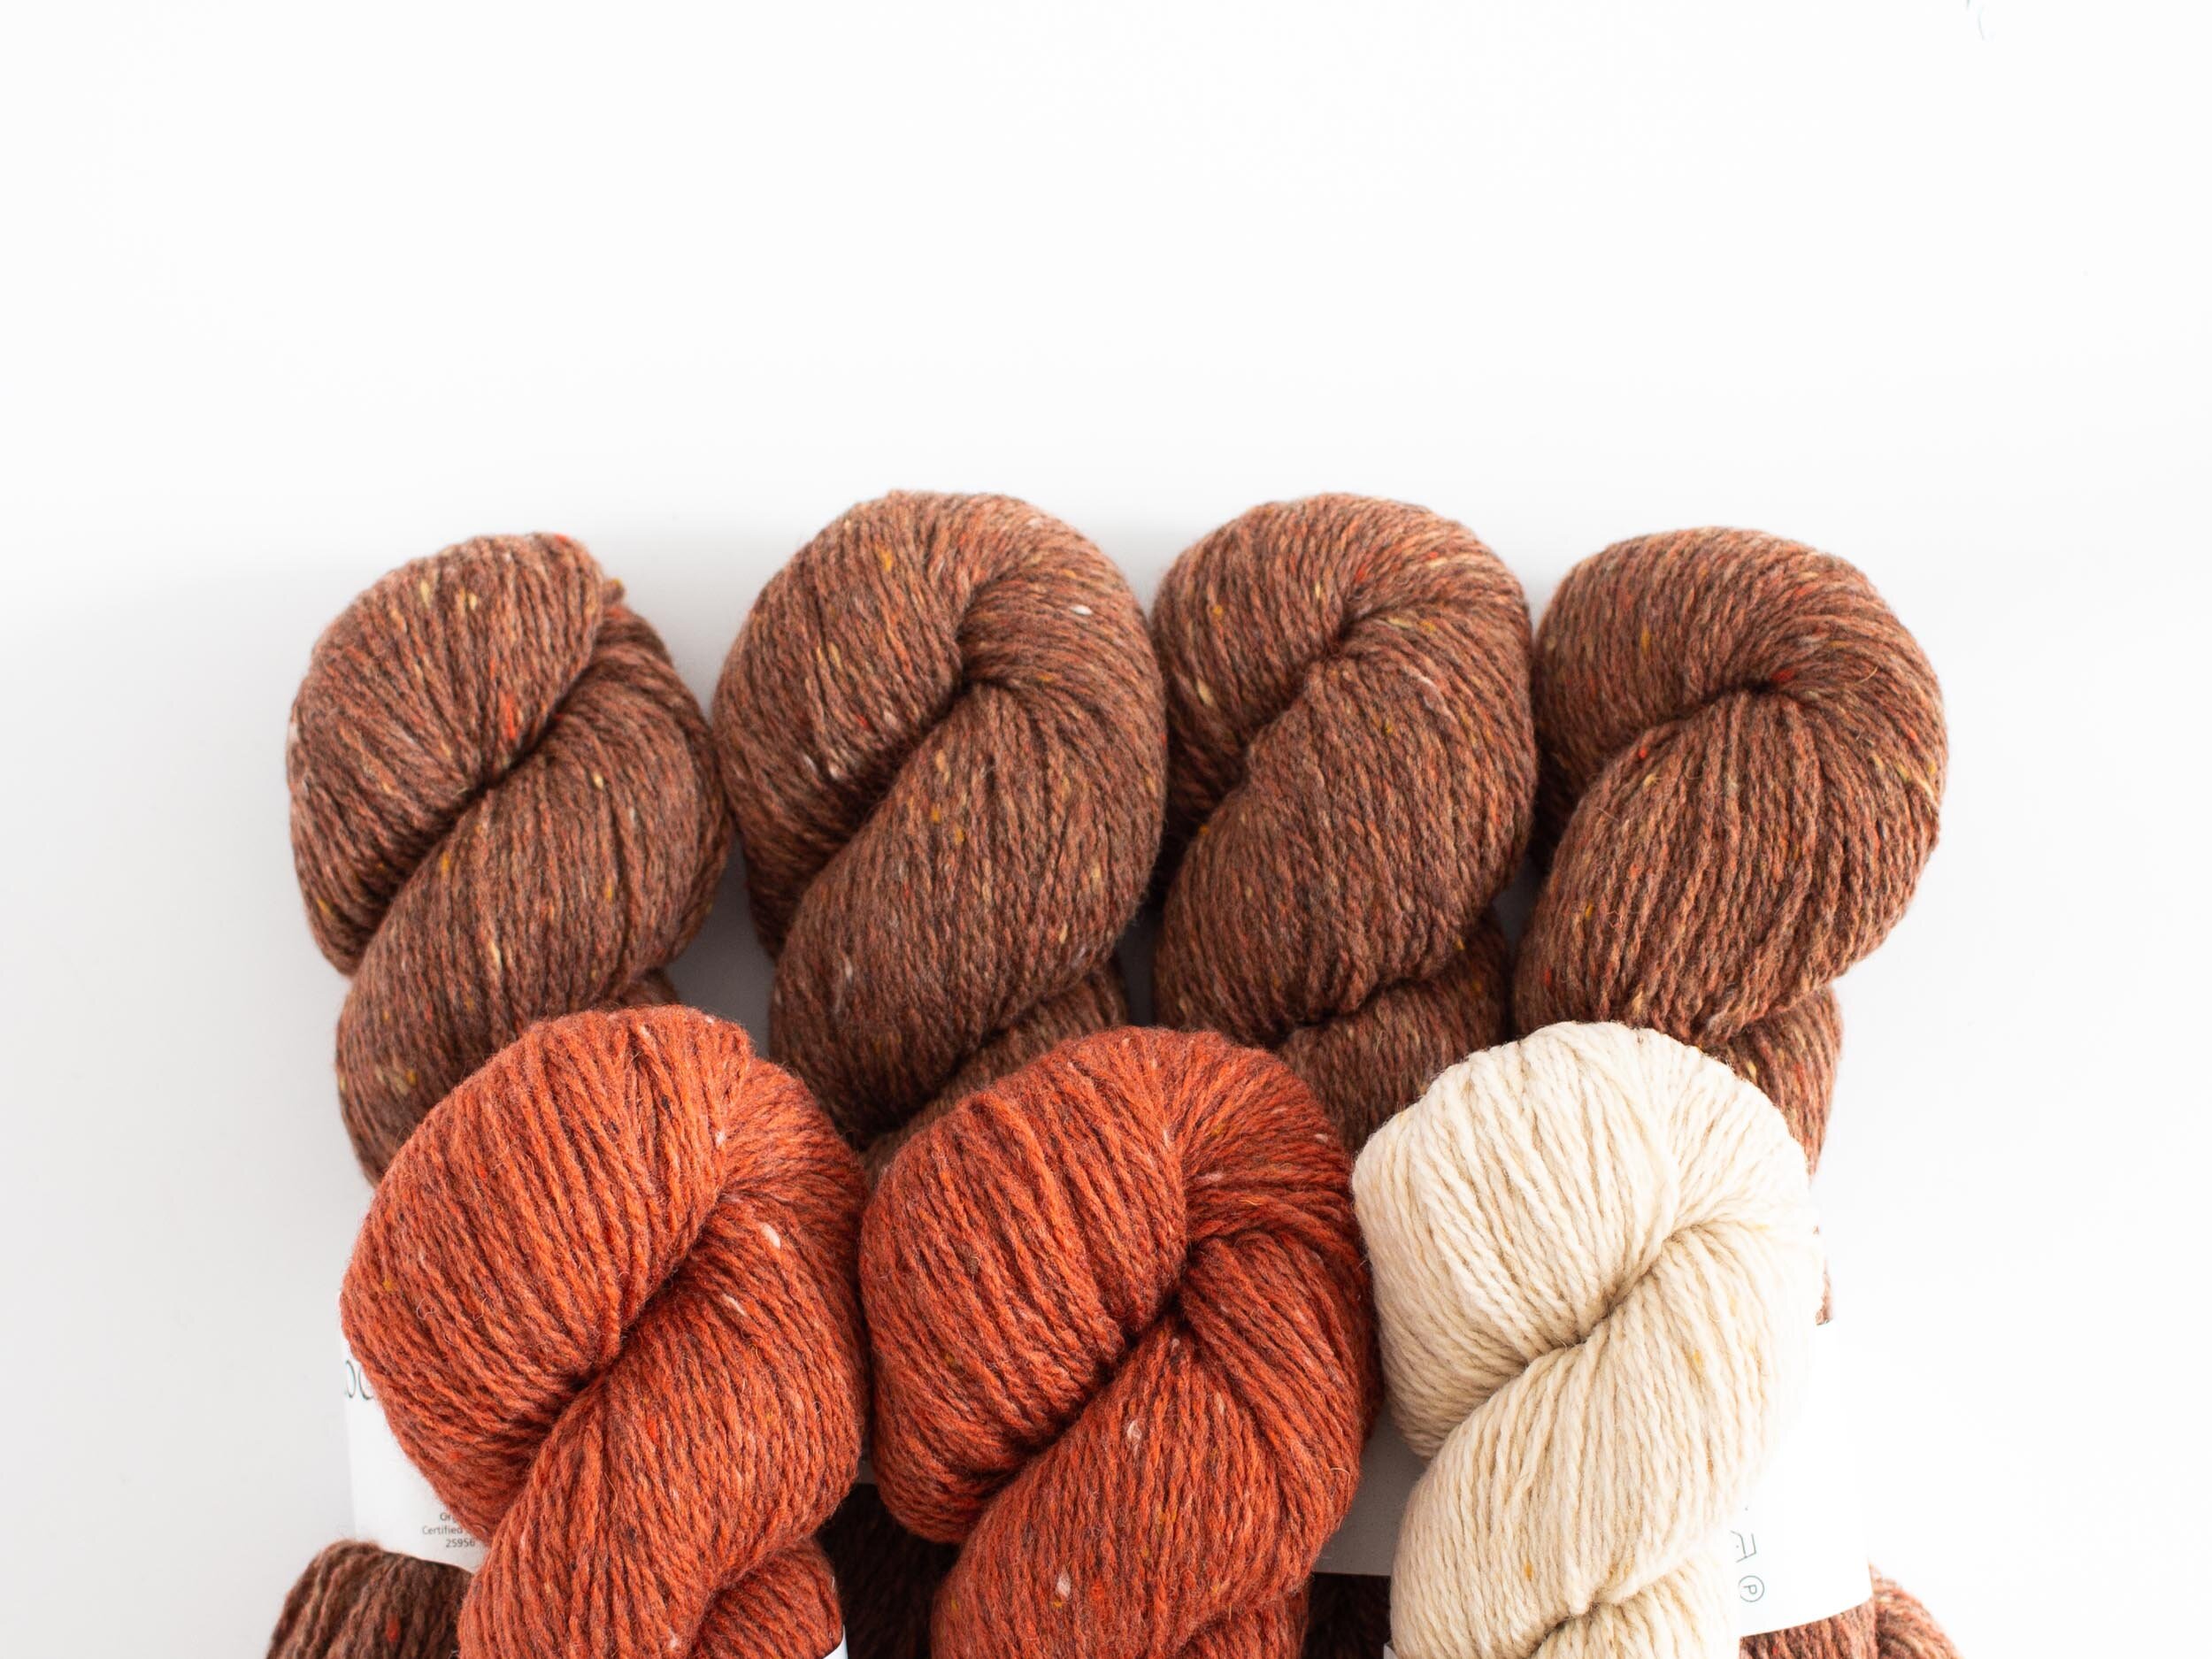
4 x Loch Lomond GOTS | Silver (06)
2 x Loch Lomond GOTS | Graphite (15)
1 x Loch Lomond GOTS | Schwarz (05)

*Tiger Lily yarn kits available HERE.
PROCESS
YARN SELECTION
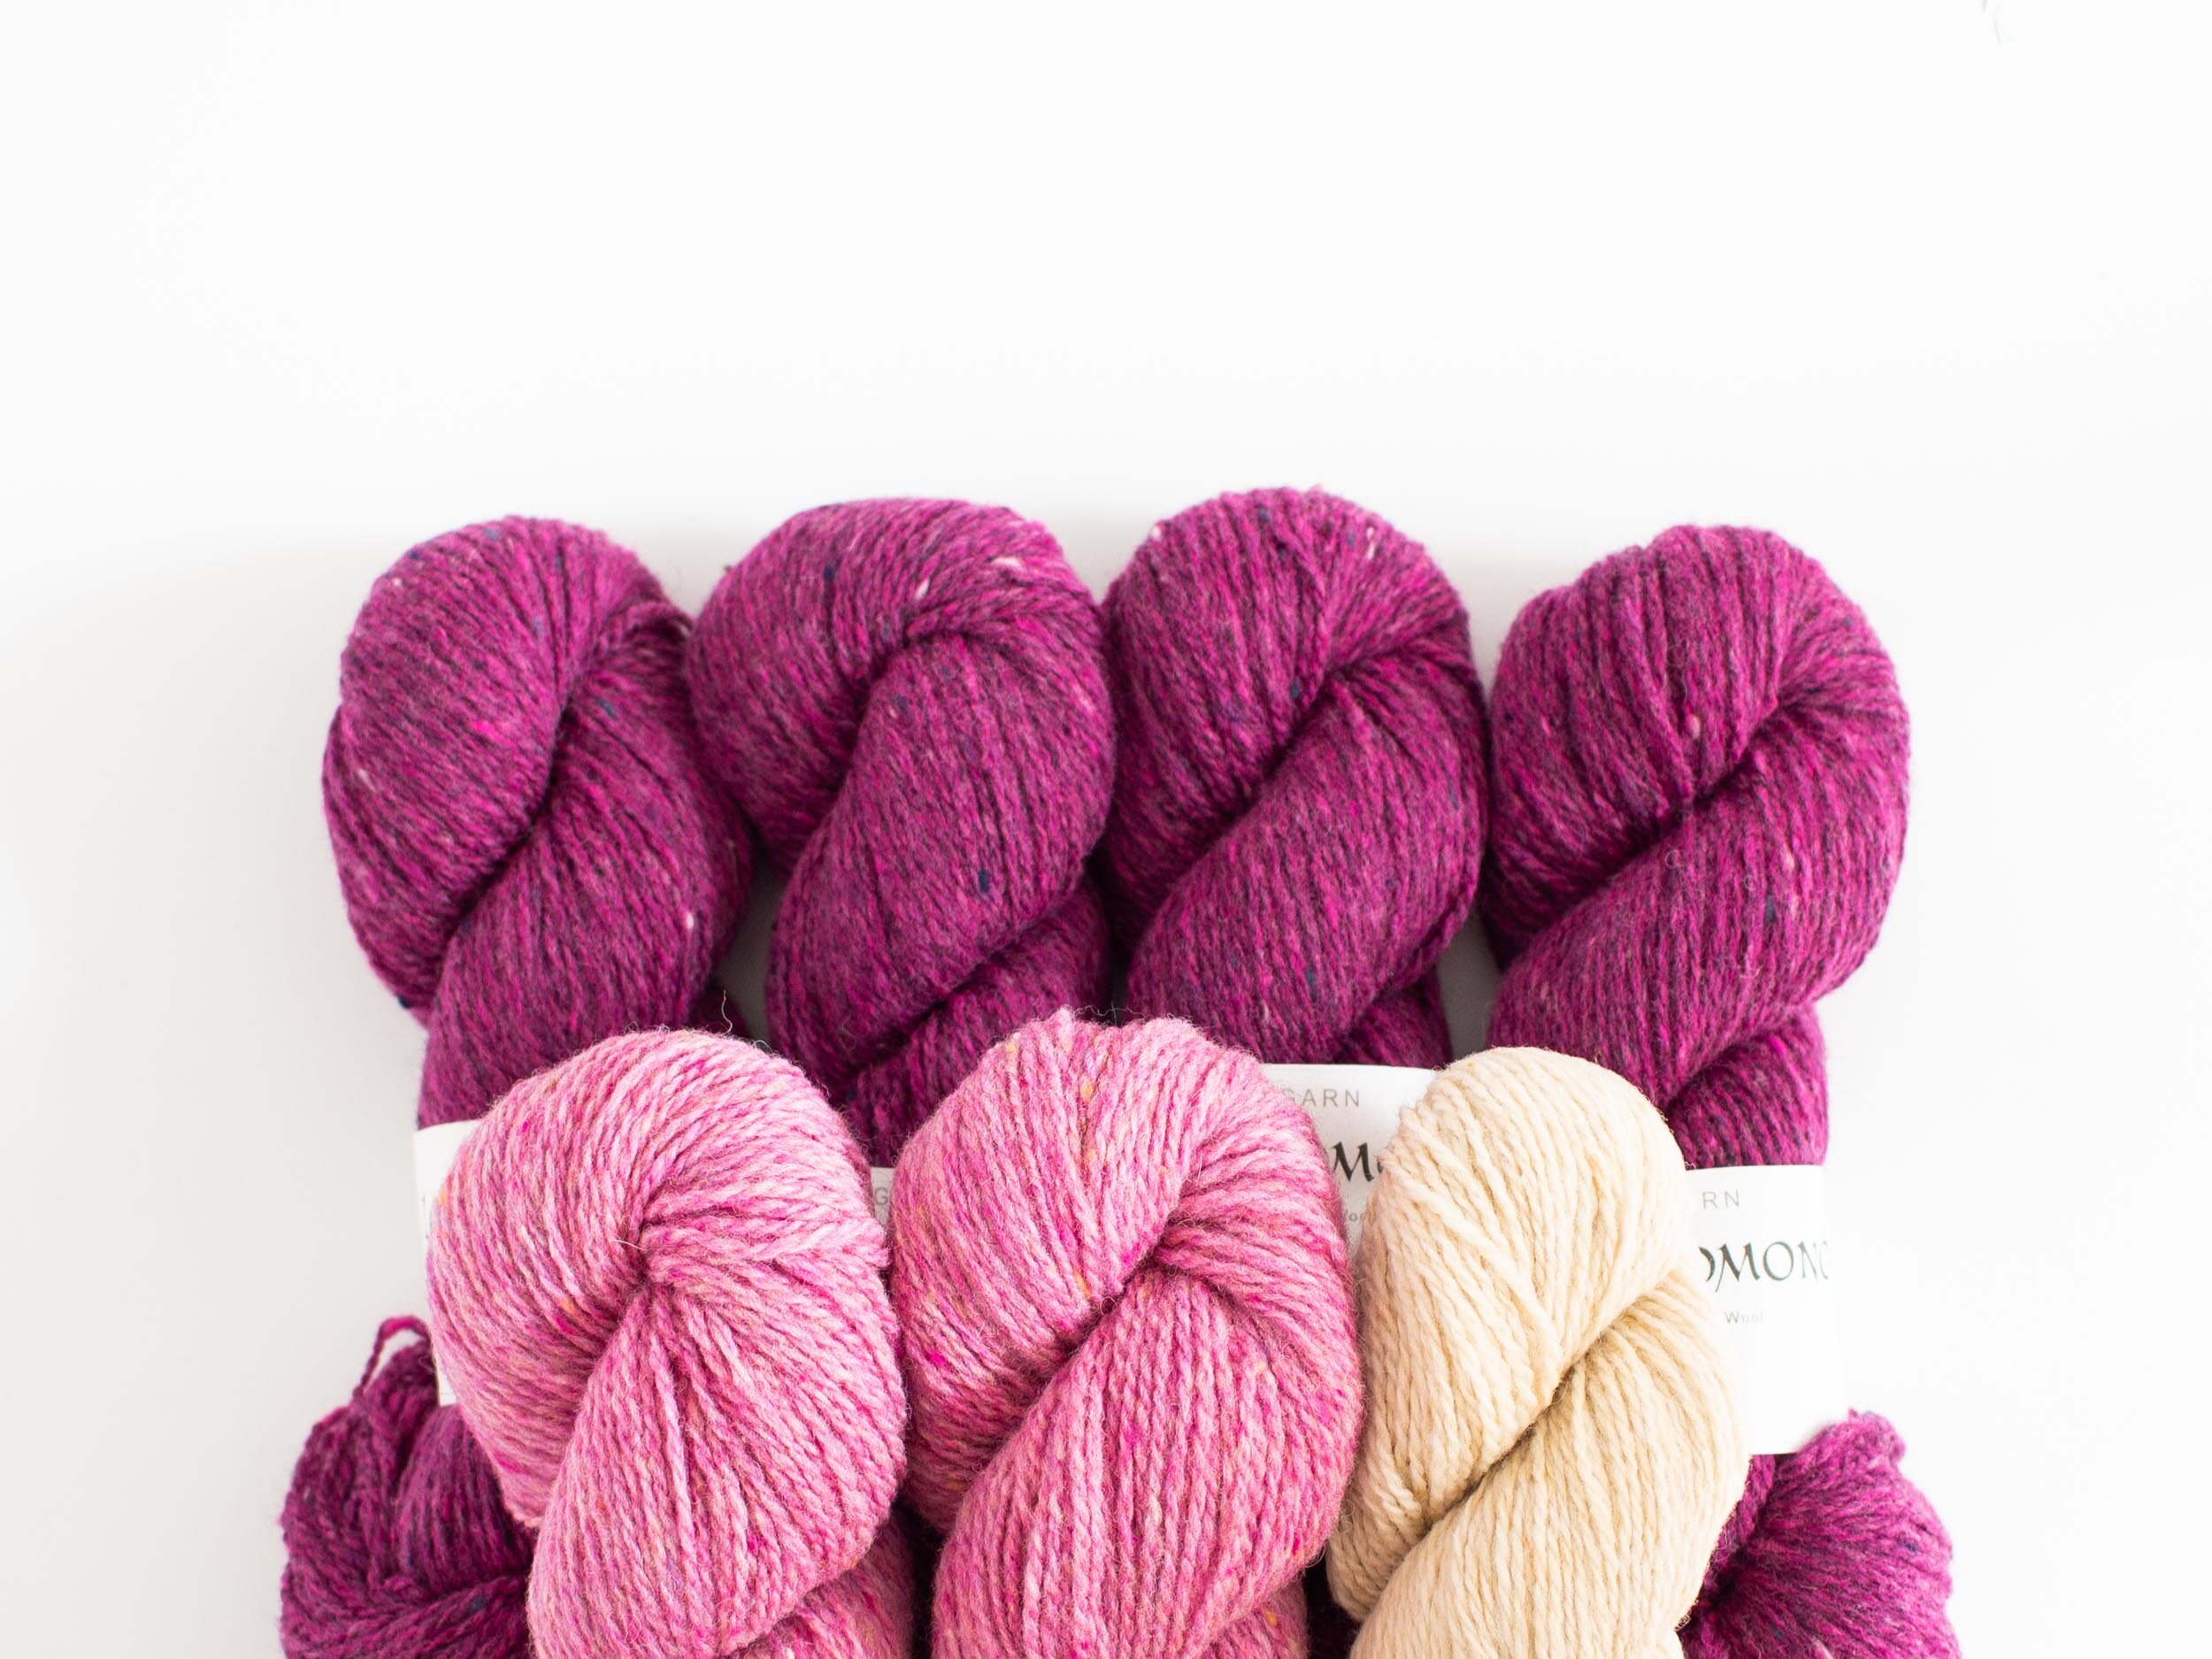
The designer uses two colours of similar hue for the main chart, swapping in a high contrast colour for the smaller charts B and C.
Colourwork detail can occasionally be lost when adjacent colours are too similar. But I felt the designer had intentionally made this decision for Chart A , the similar hues creating a unique visual texture that adds to the rustic appeal of the piece.
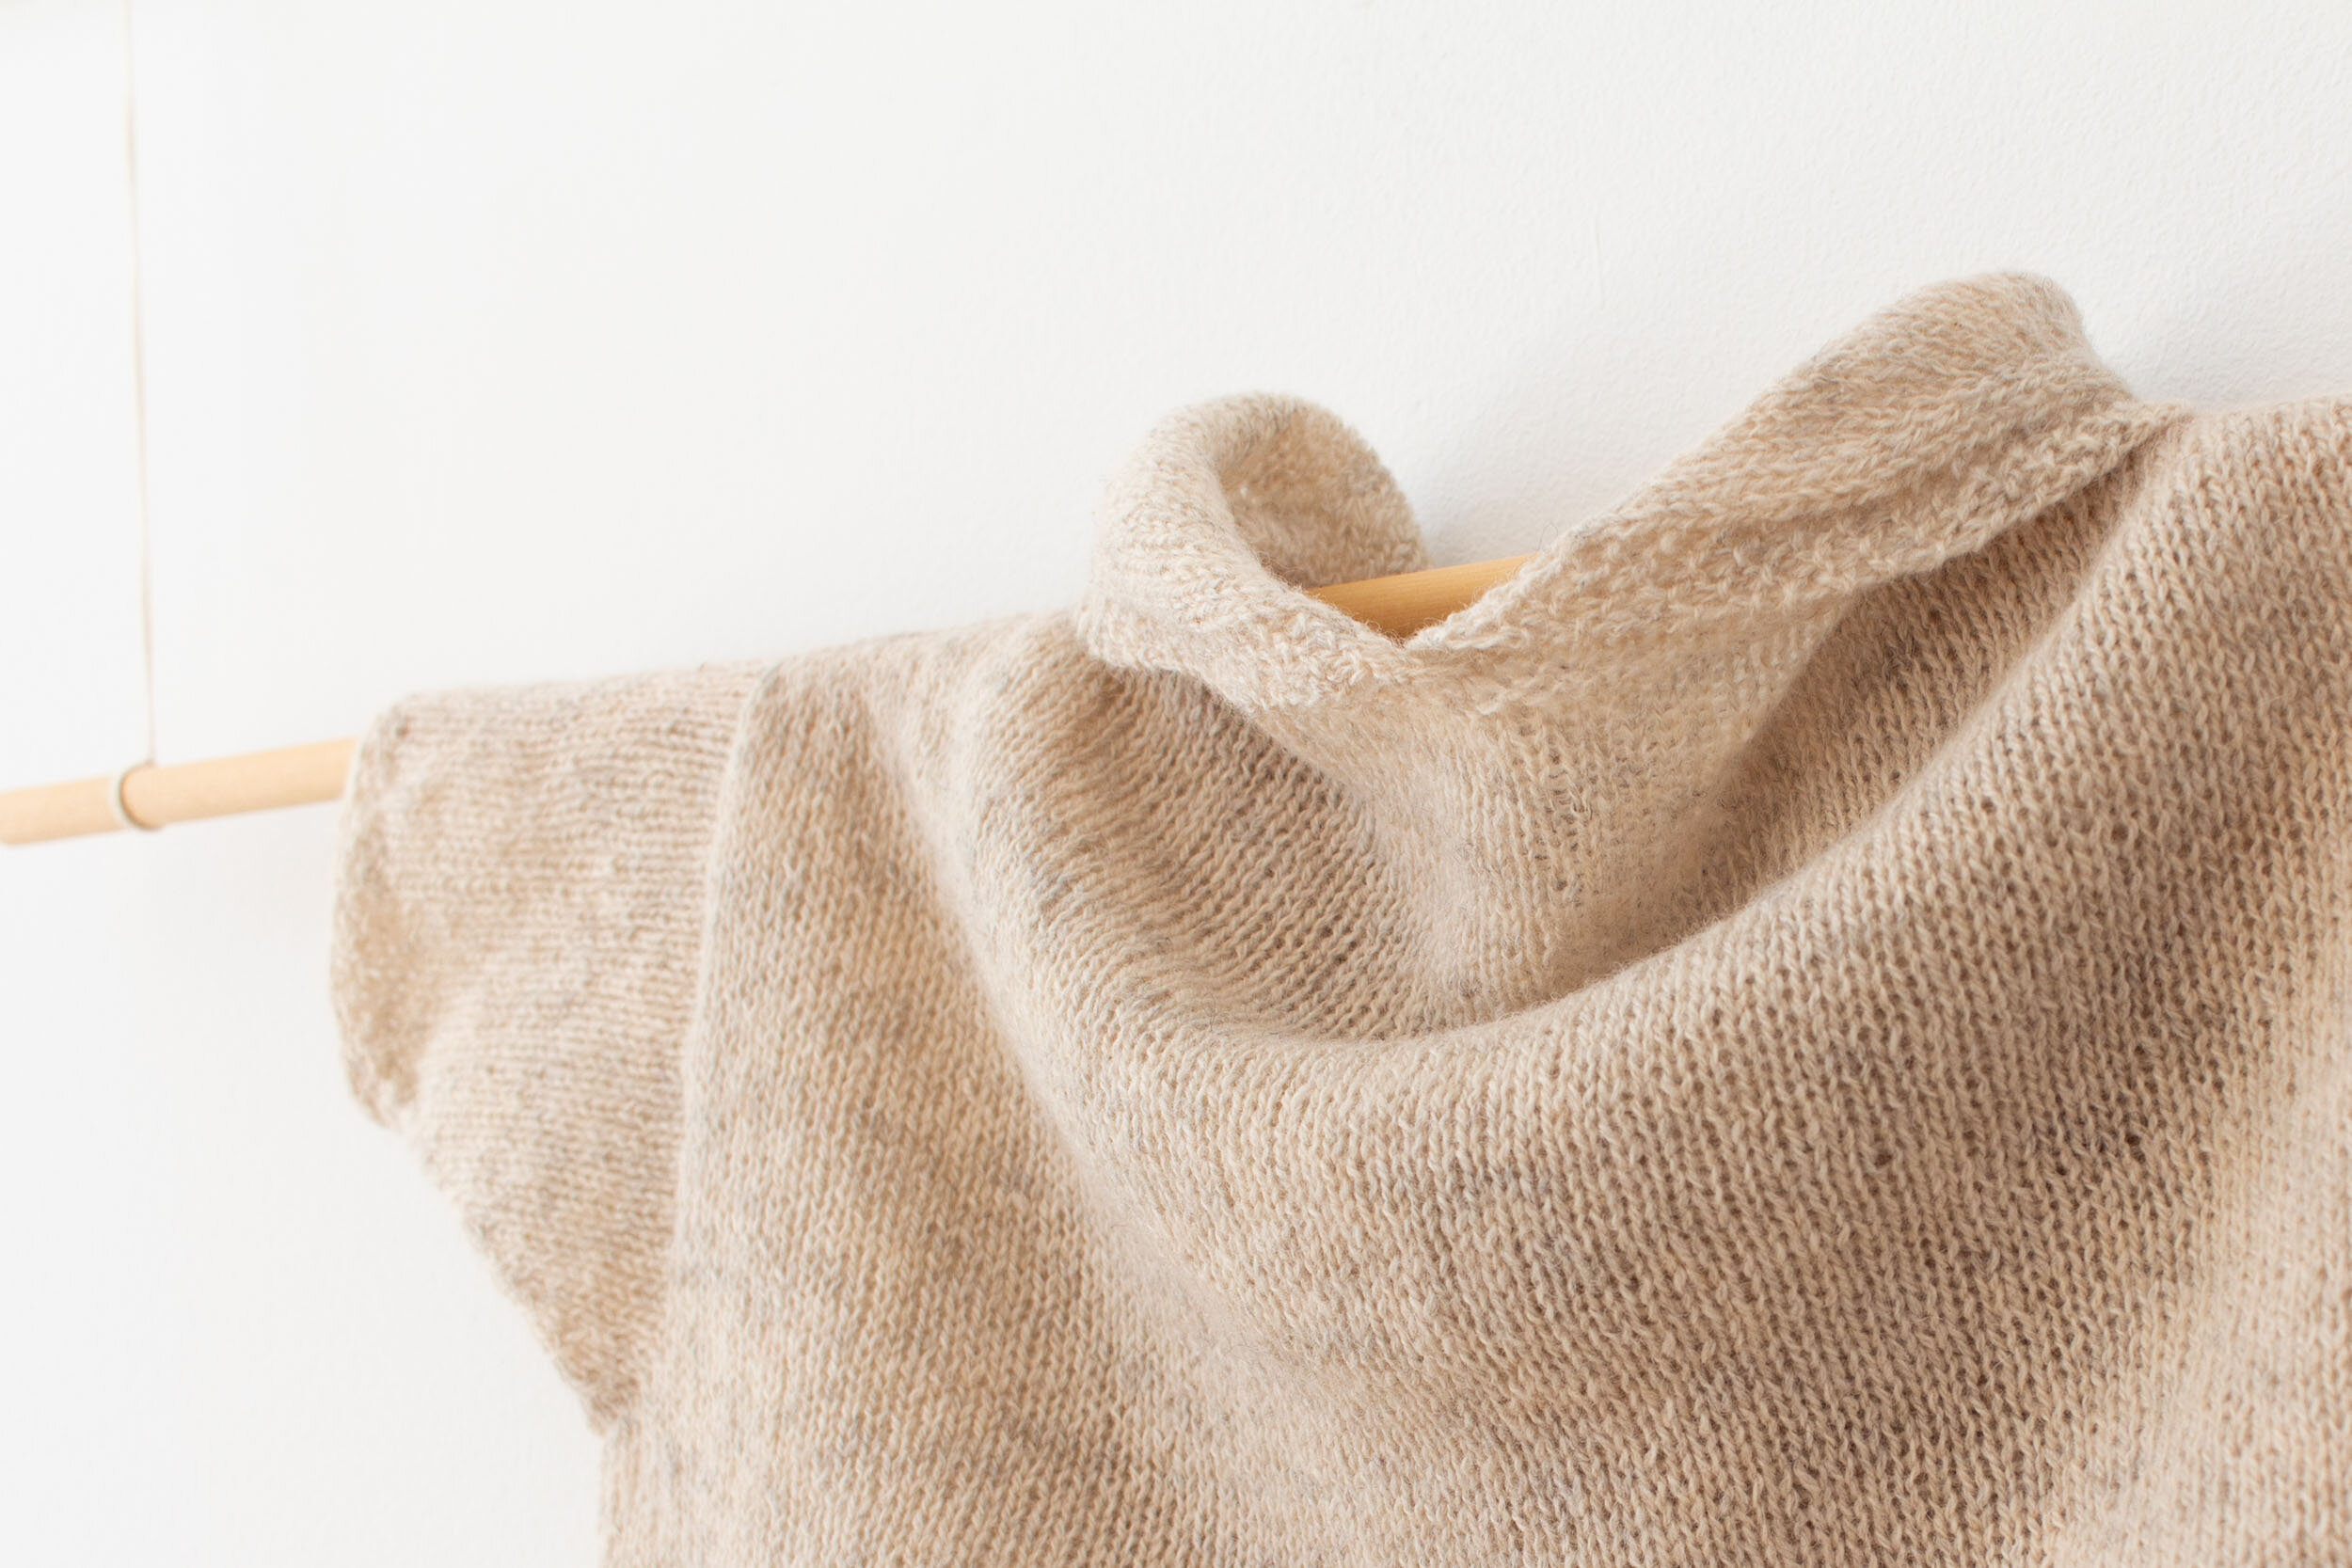
With the designer’s colour-play in mind I experimented with a few different palettes. I used Loch Lomond Bio as I felt this yarn would be well suited to recreating the look and feel of the original piece.
I thought it would be fun to try a reverse palette of sorts and settled on a grey scale with two shades of light grey and a black for a dark contrast.


CONSTRUCTION
Working from the widest side of the triangle to the apex, the shawl began with a cast-on edge of around 300 stitches. This sounded daunting but using a long tail cast-on and counting stitches in groups of 50 as I went, it didn’t require too much effort.
I used a needle larger than the pattern required for the cast-on edge. This was so I could make the stitches firm and even and provide the required ease for the selvedge stitches.
Following the pattern, the piece was joined in the round with steeking stitches added between beginning and end of row markers. This set-up is detailed in the pattern if you haven’t used this technique before.
At the beginning and end of each row I caught the non-working yarn in the edge stitches to secure both yarns and avoid any long floats at these points.
The colourwork charts are quite detailed and require some focus, particularly chart A with its wide repeat.
I worked the shawl as written.

FINISHING
I cut open the steek. Before unravelling the steek edges I blocked the shawl by giving it a short soak in a bath of cool water with a drop of wool wash. Pinning it out on a blocking matt, I gave attention to shaping the shawl and aligning the colourwork stitches.
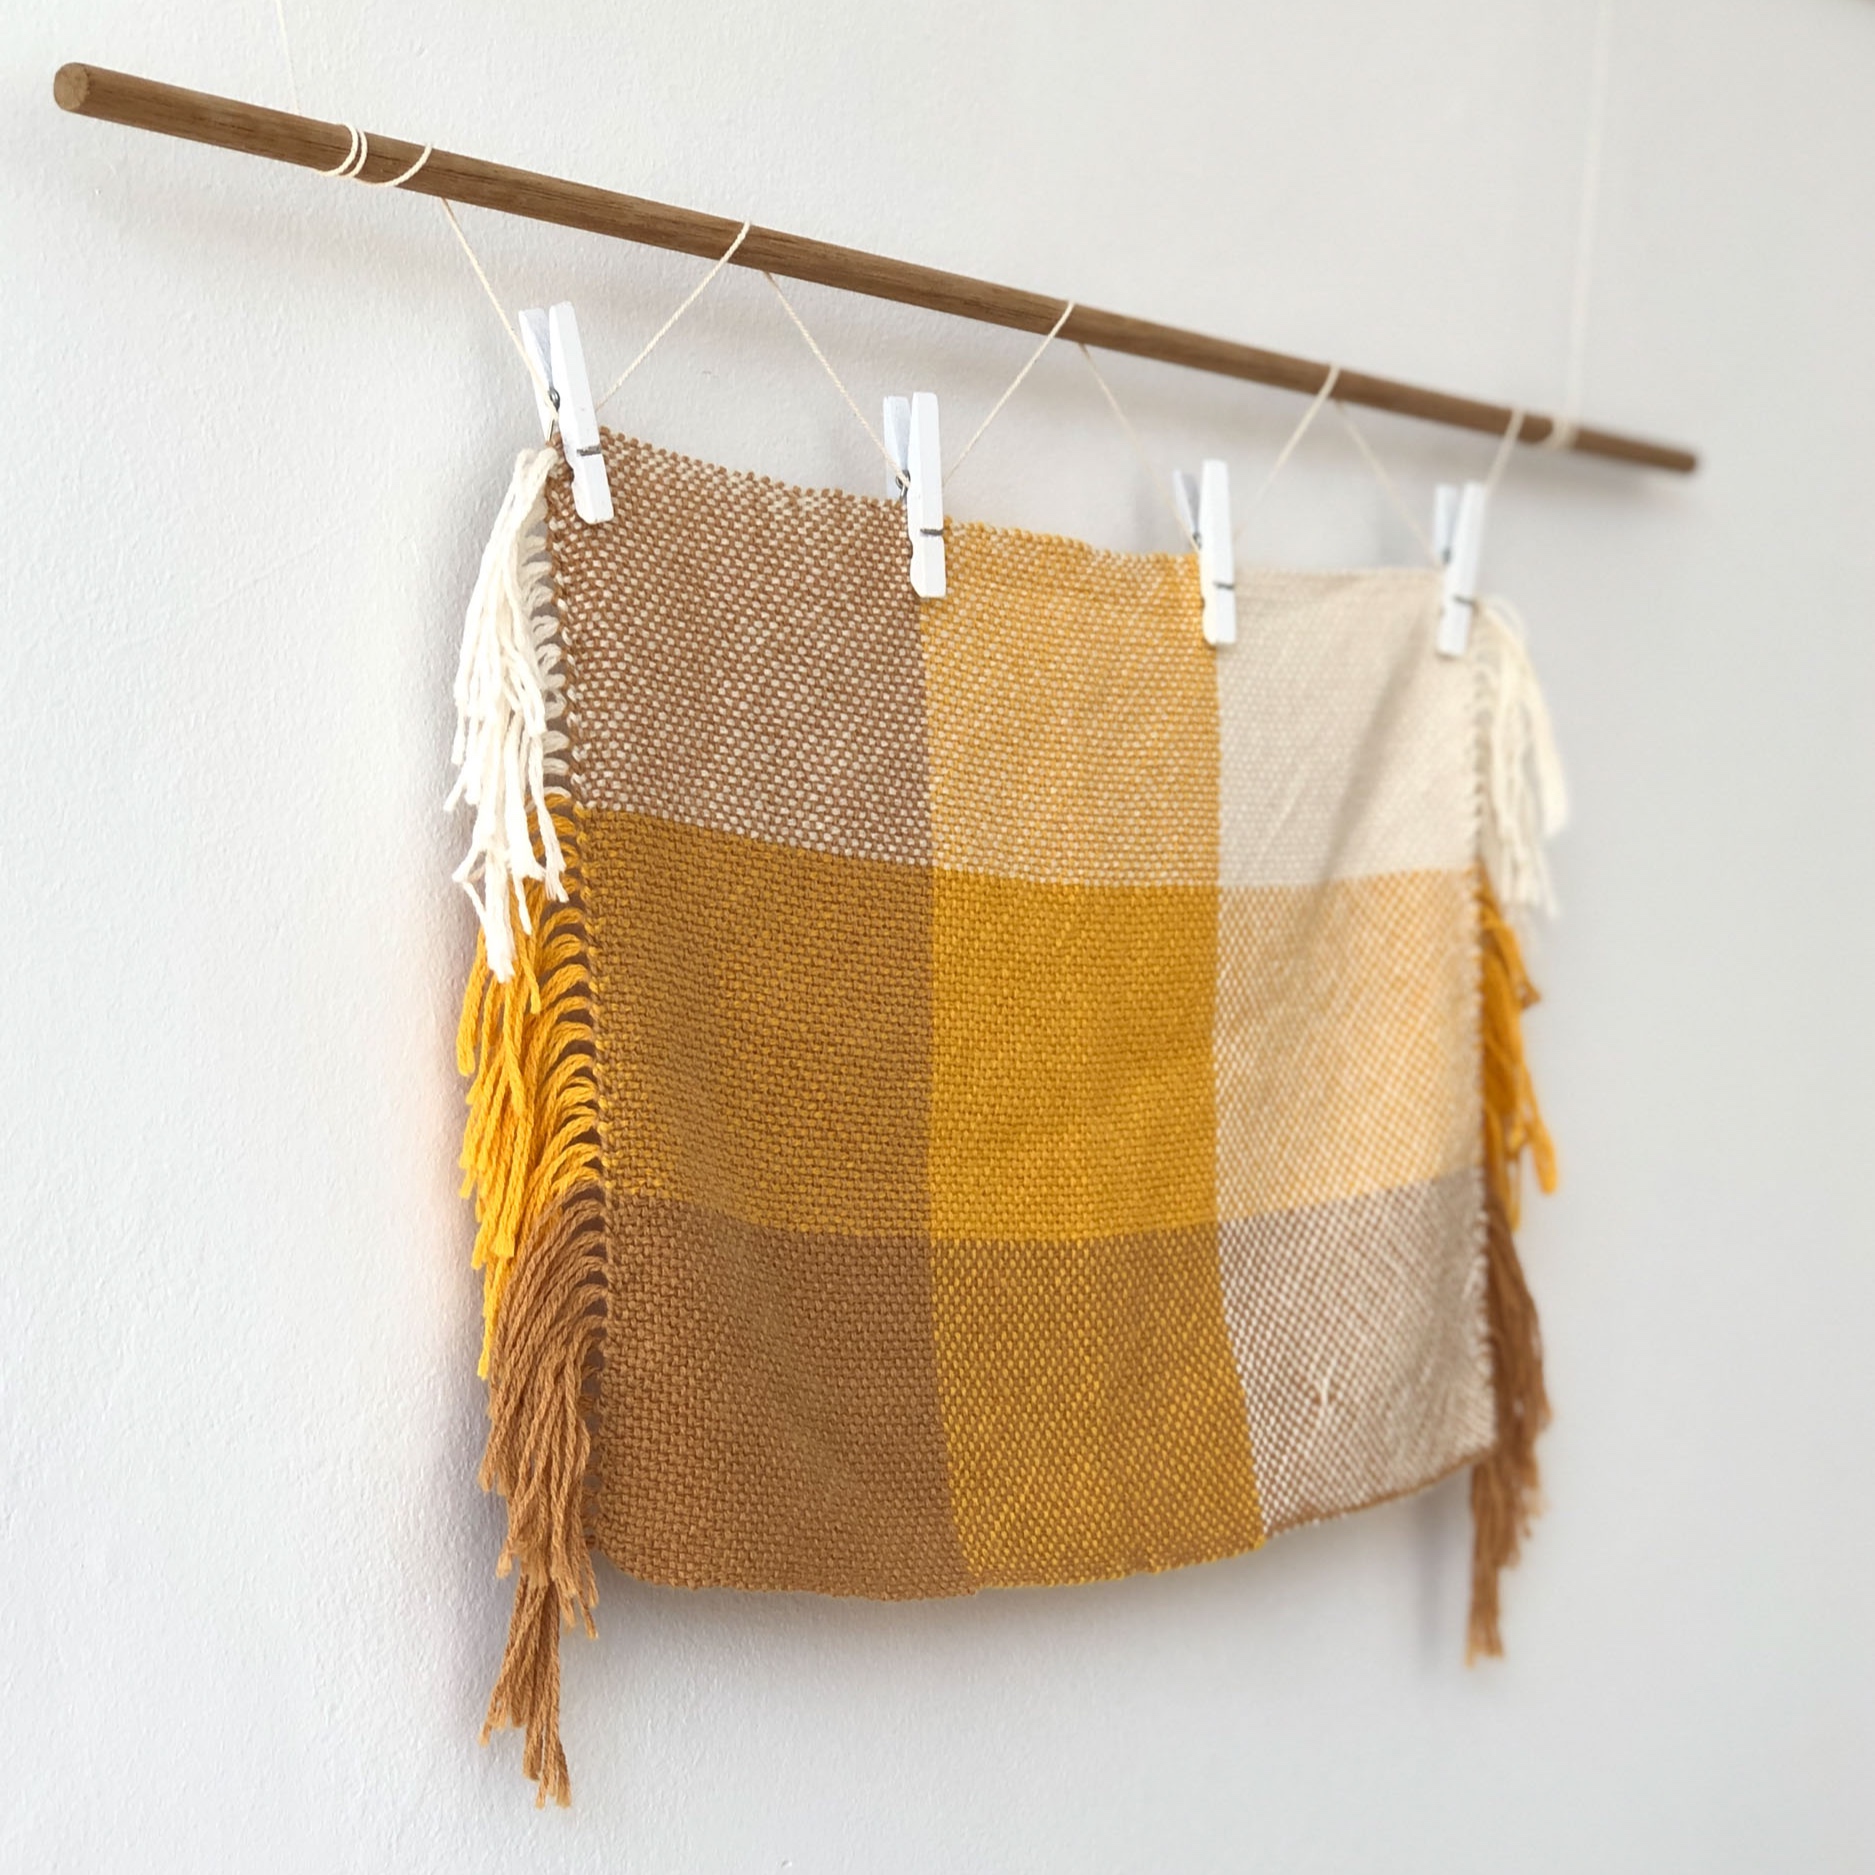
To create the fringing, I unravelled the steek stitches and ironed the ends to remove the kinks. I tied off the ends in groups of four, ironing them flat again to align anything that was askew. I carefully cut the fringing to a 2.5cm (1'') length.
Once dry the gauge measured at:
22 stitches over 10cm (4'')
28 rows over 10cm (4'')
Wingspan, 153cm (60’’)
The finished shawl weighed in at 256g (9oz)


INSIGHTS AND OPPORTUNITIES
YARN
What can I say? I just love this toothy tweedy yarn. Loch Lomond GOTS is built for colourwork and it certainly didn’t disappoint in this piece.
On soaking, the yarn bloomed to produce a light and woolly fabric.
The vast amount of colourwork creates almost a double layer of fabric, the resulting shawl feeling like a warm hug around the shoulders.
CONSTRUCTION
Using steeking stitches for a triangular shawl was quite unique but easy to set up and work.
Decreasing on every row and seeing the project shrink as you reach the apex was certainly satisfying.
FINISHING
Cutting open the steek to reveal the true shape and size of the shawl (and all my hard work) was certainly satisfying.
I was delighted with the fringe. I’m glad I took the time to iron and uncurl the ends to get that perfect straight edge.
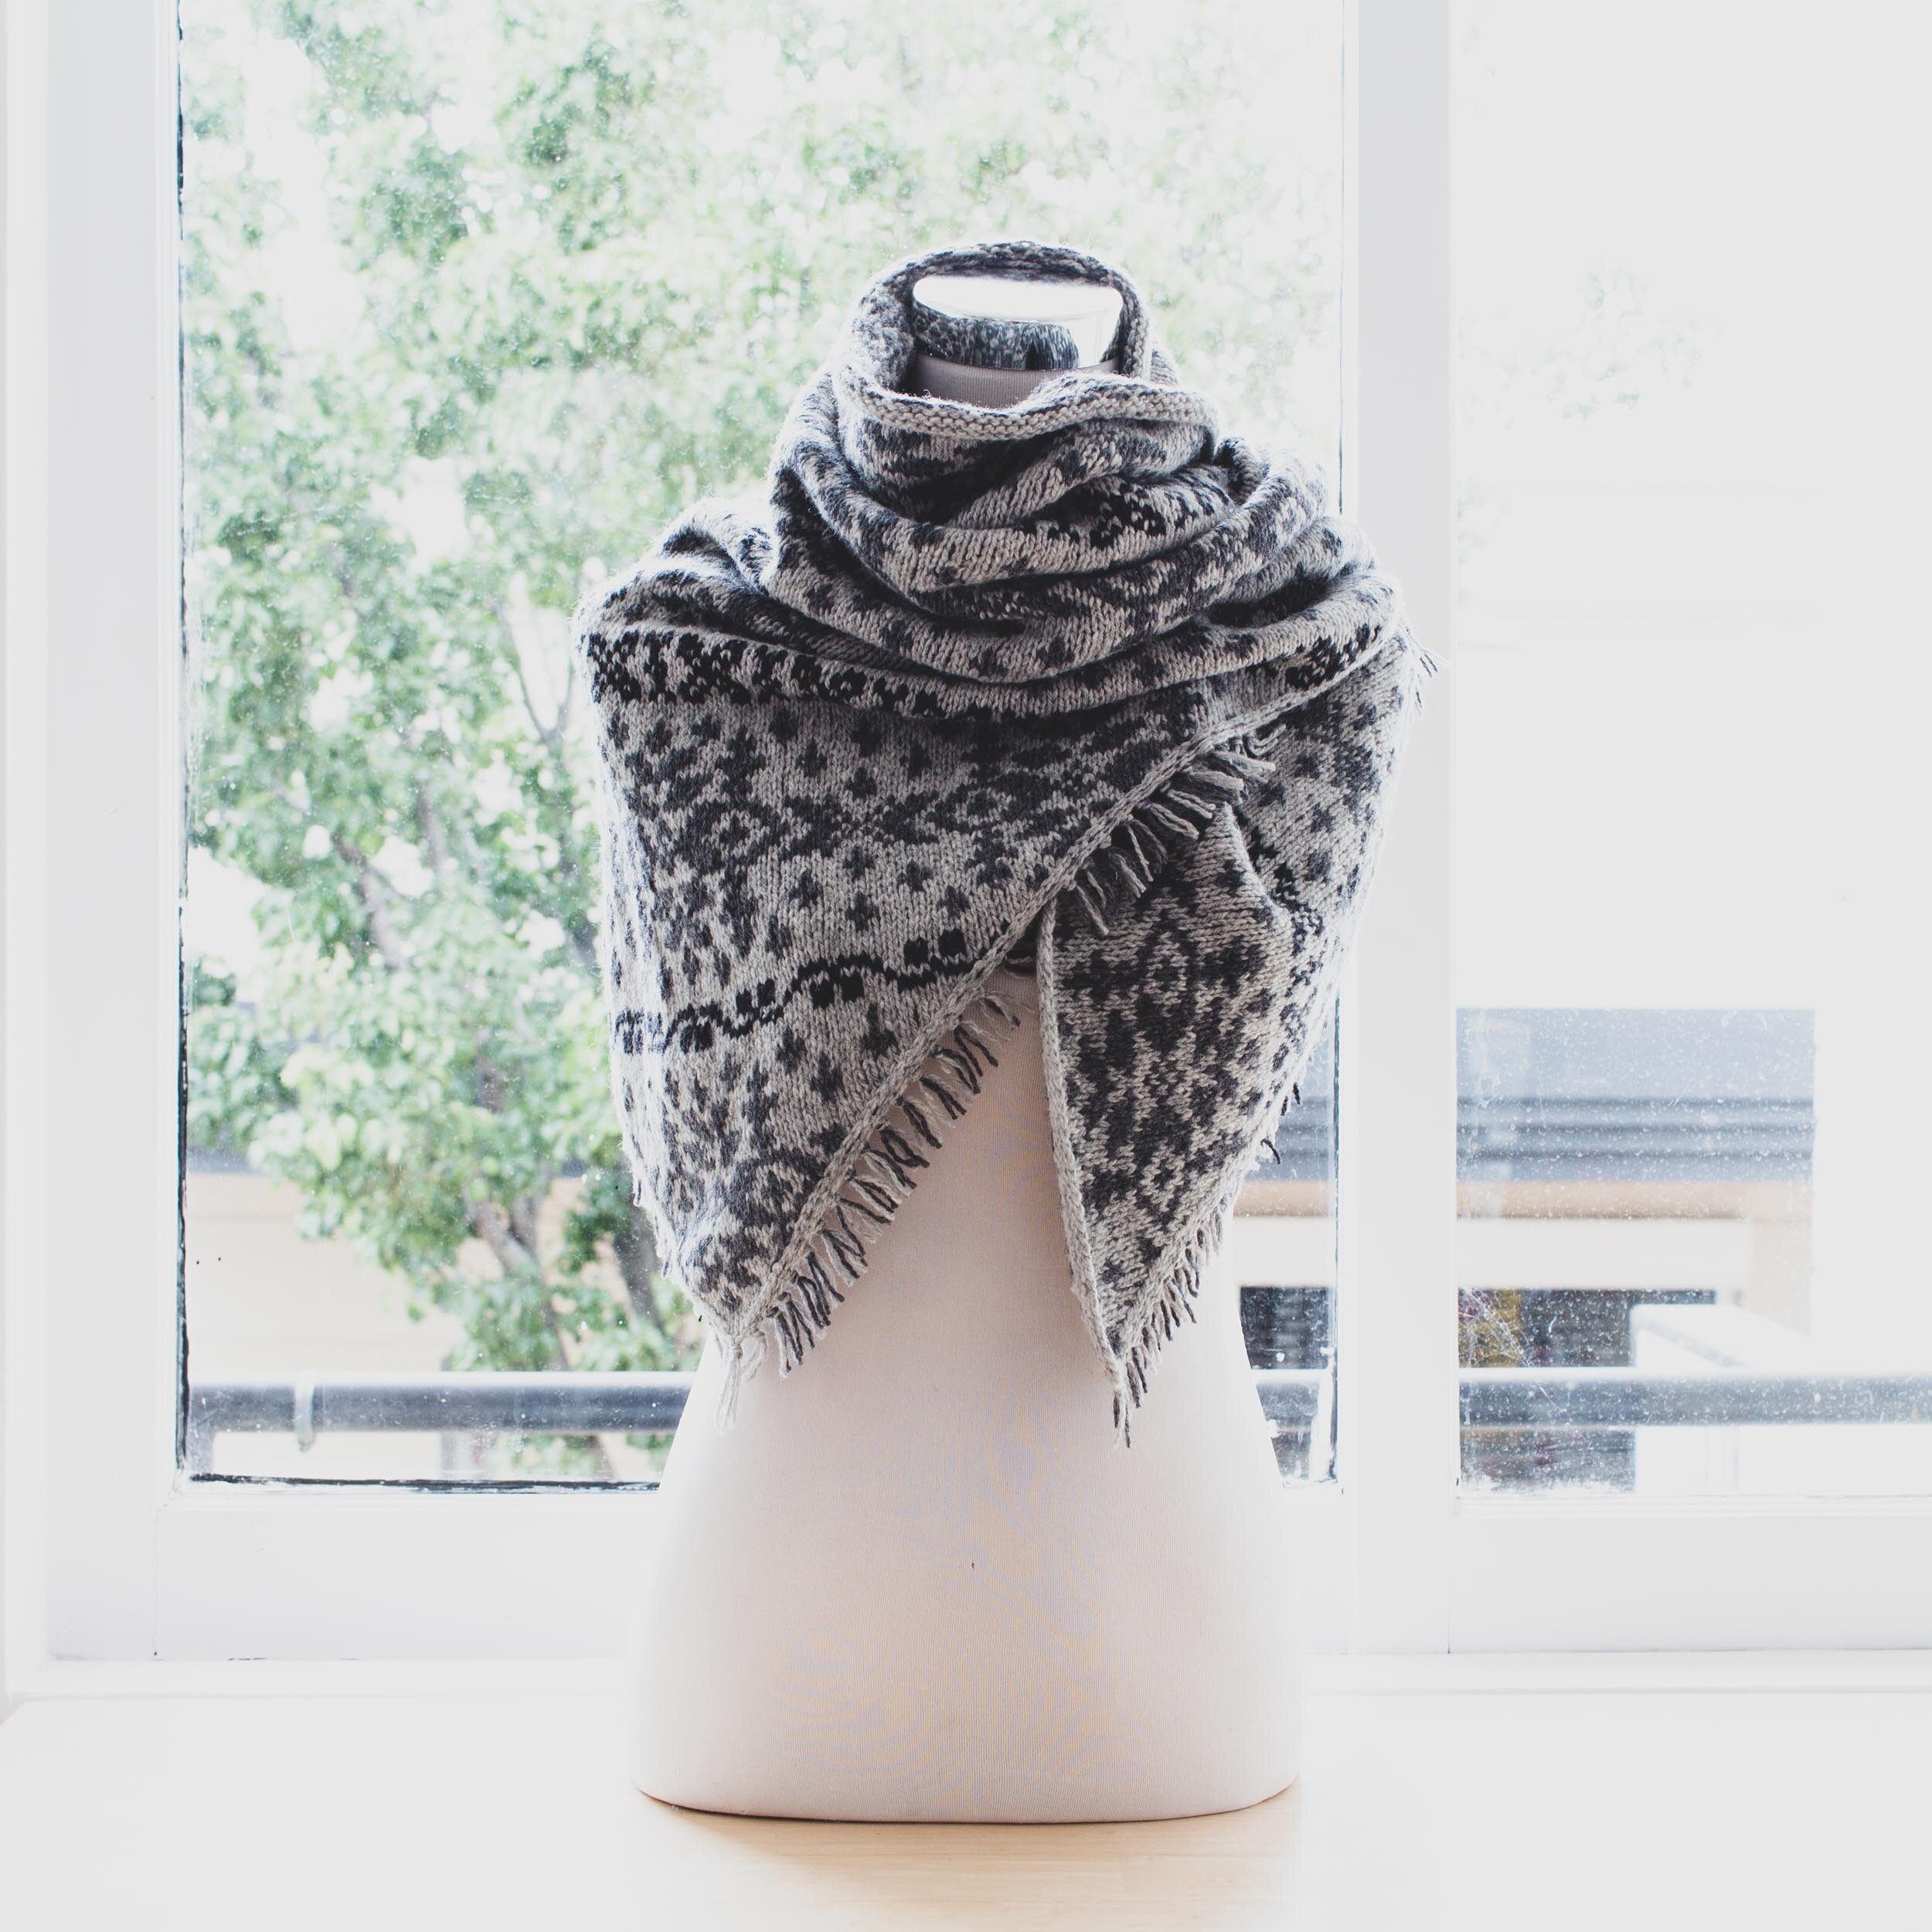
Blocking revealed a slightly larger wingspan than the pattern intended. But all for the better as it sits perfectly on my shoulders without having to forever readjust it.

FINAL THOUGHTS
Overall, this is a great design that worked up quickly.
I love the texture that the yarn and colourwork create.
Steeking is definitely a method I’ll incorporate into future projects.
I’ve been wearing this shawl all winter and heading into spring it won’t be leaving the wardrobe rotation any time soon!
THANK YOU FOR READING!
Would you like to save this project for later?
Add it to your Ravelry favourites HERE.
Like to knit Tiger Lily in Loch Lomond GOTS?


Stay in the loop
Receive updates from our studio, project inspiration and product news by joining the Loom & Spindle collective.