Posts tagged Worsted Weight Yarn
Soft + Luxurious | Nourish

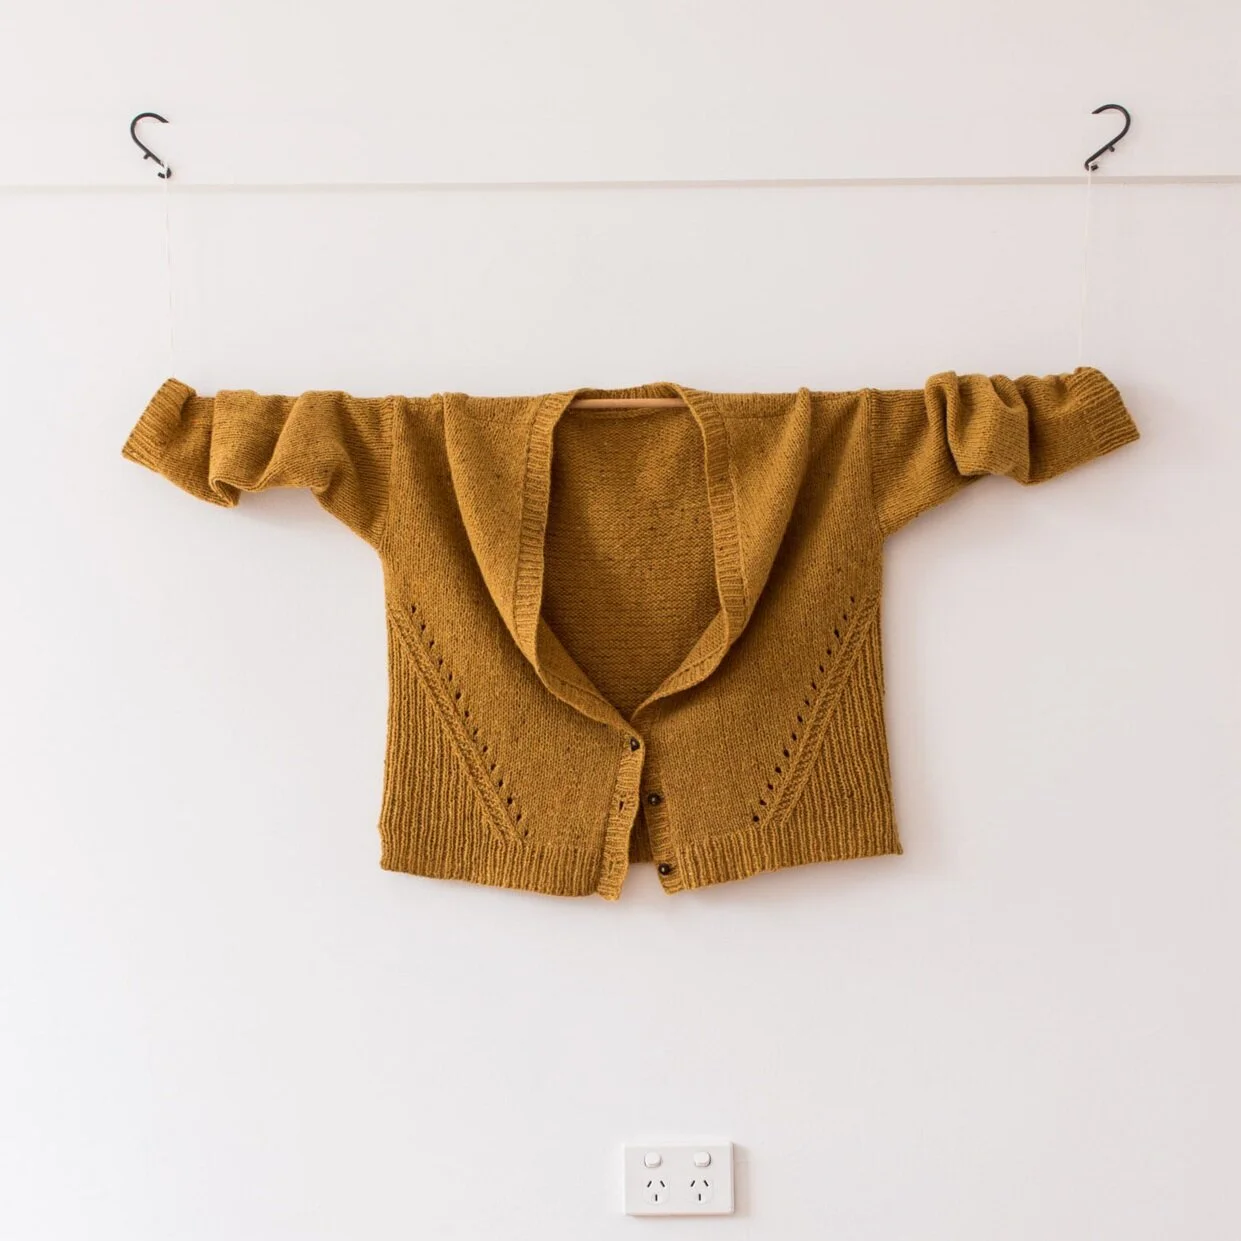
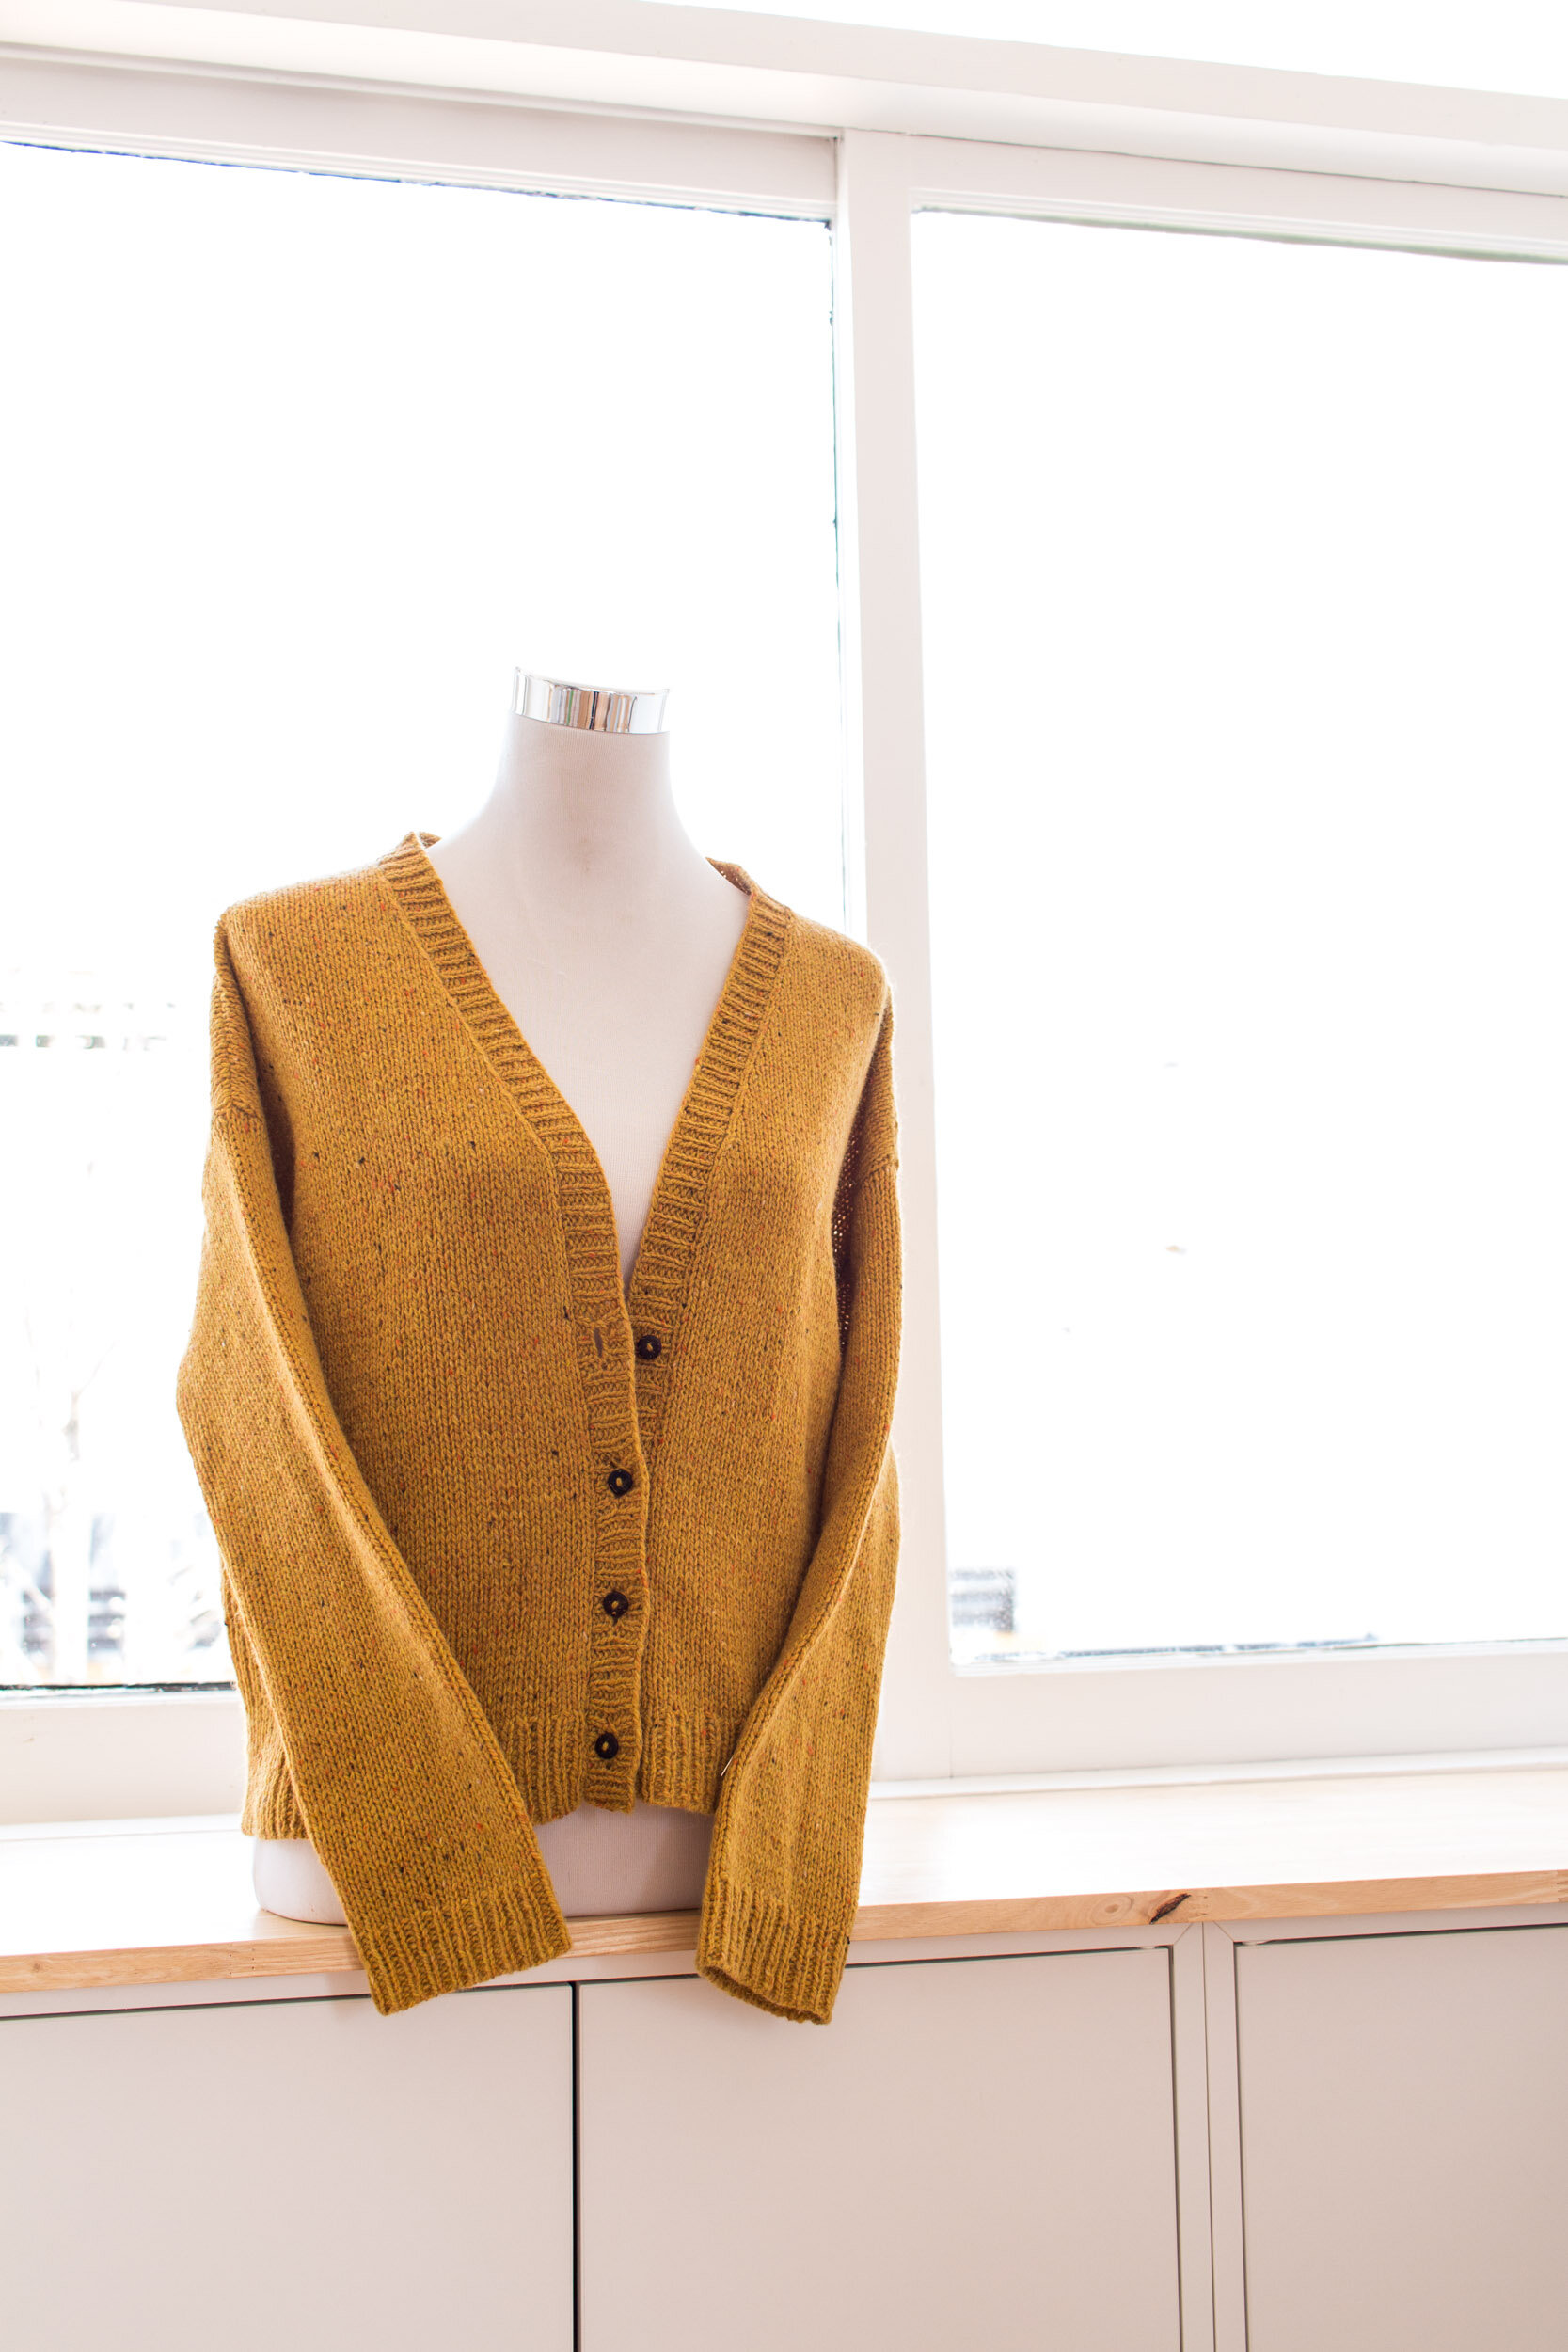
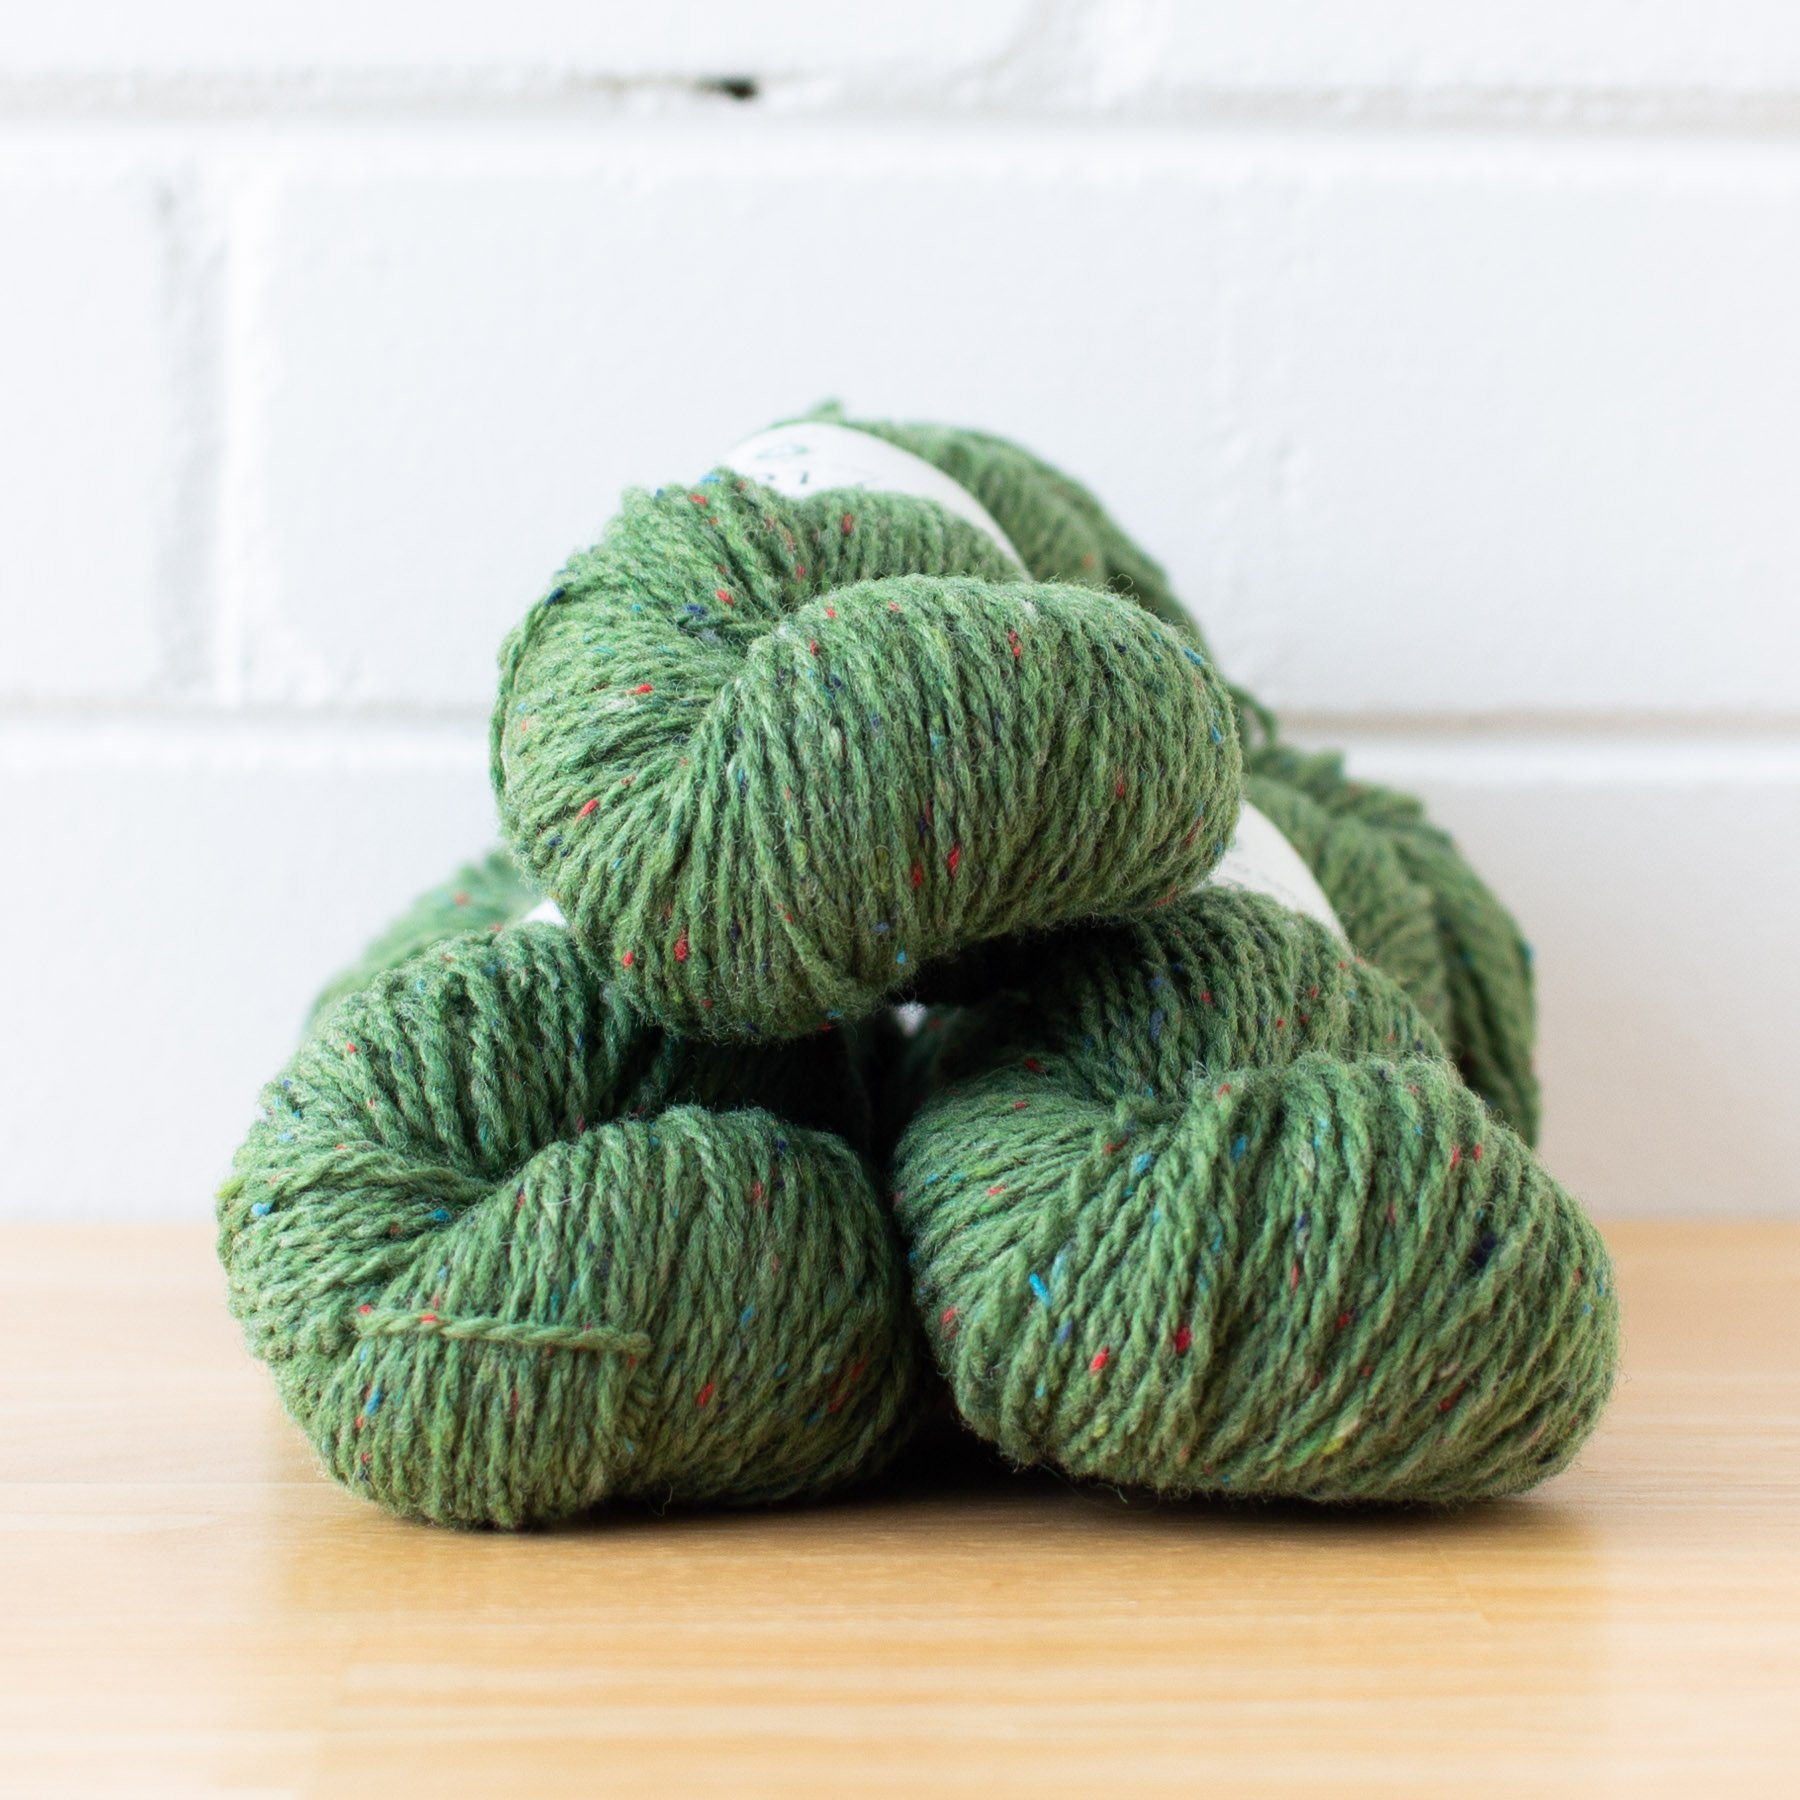
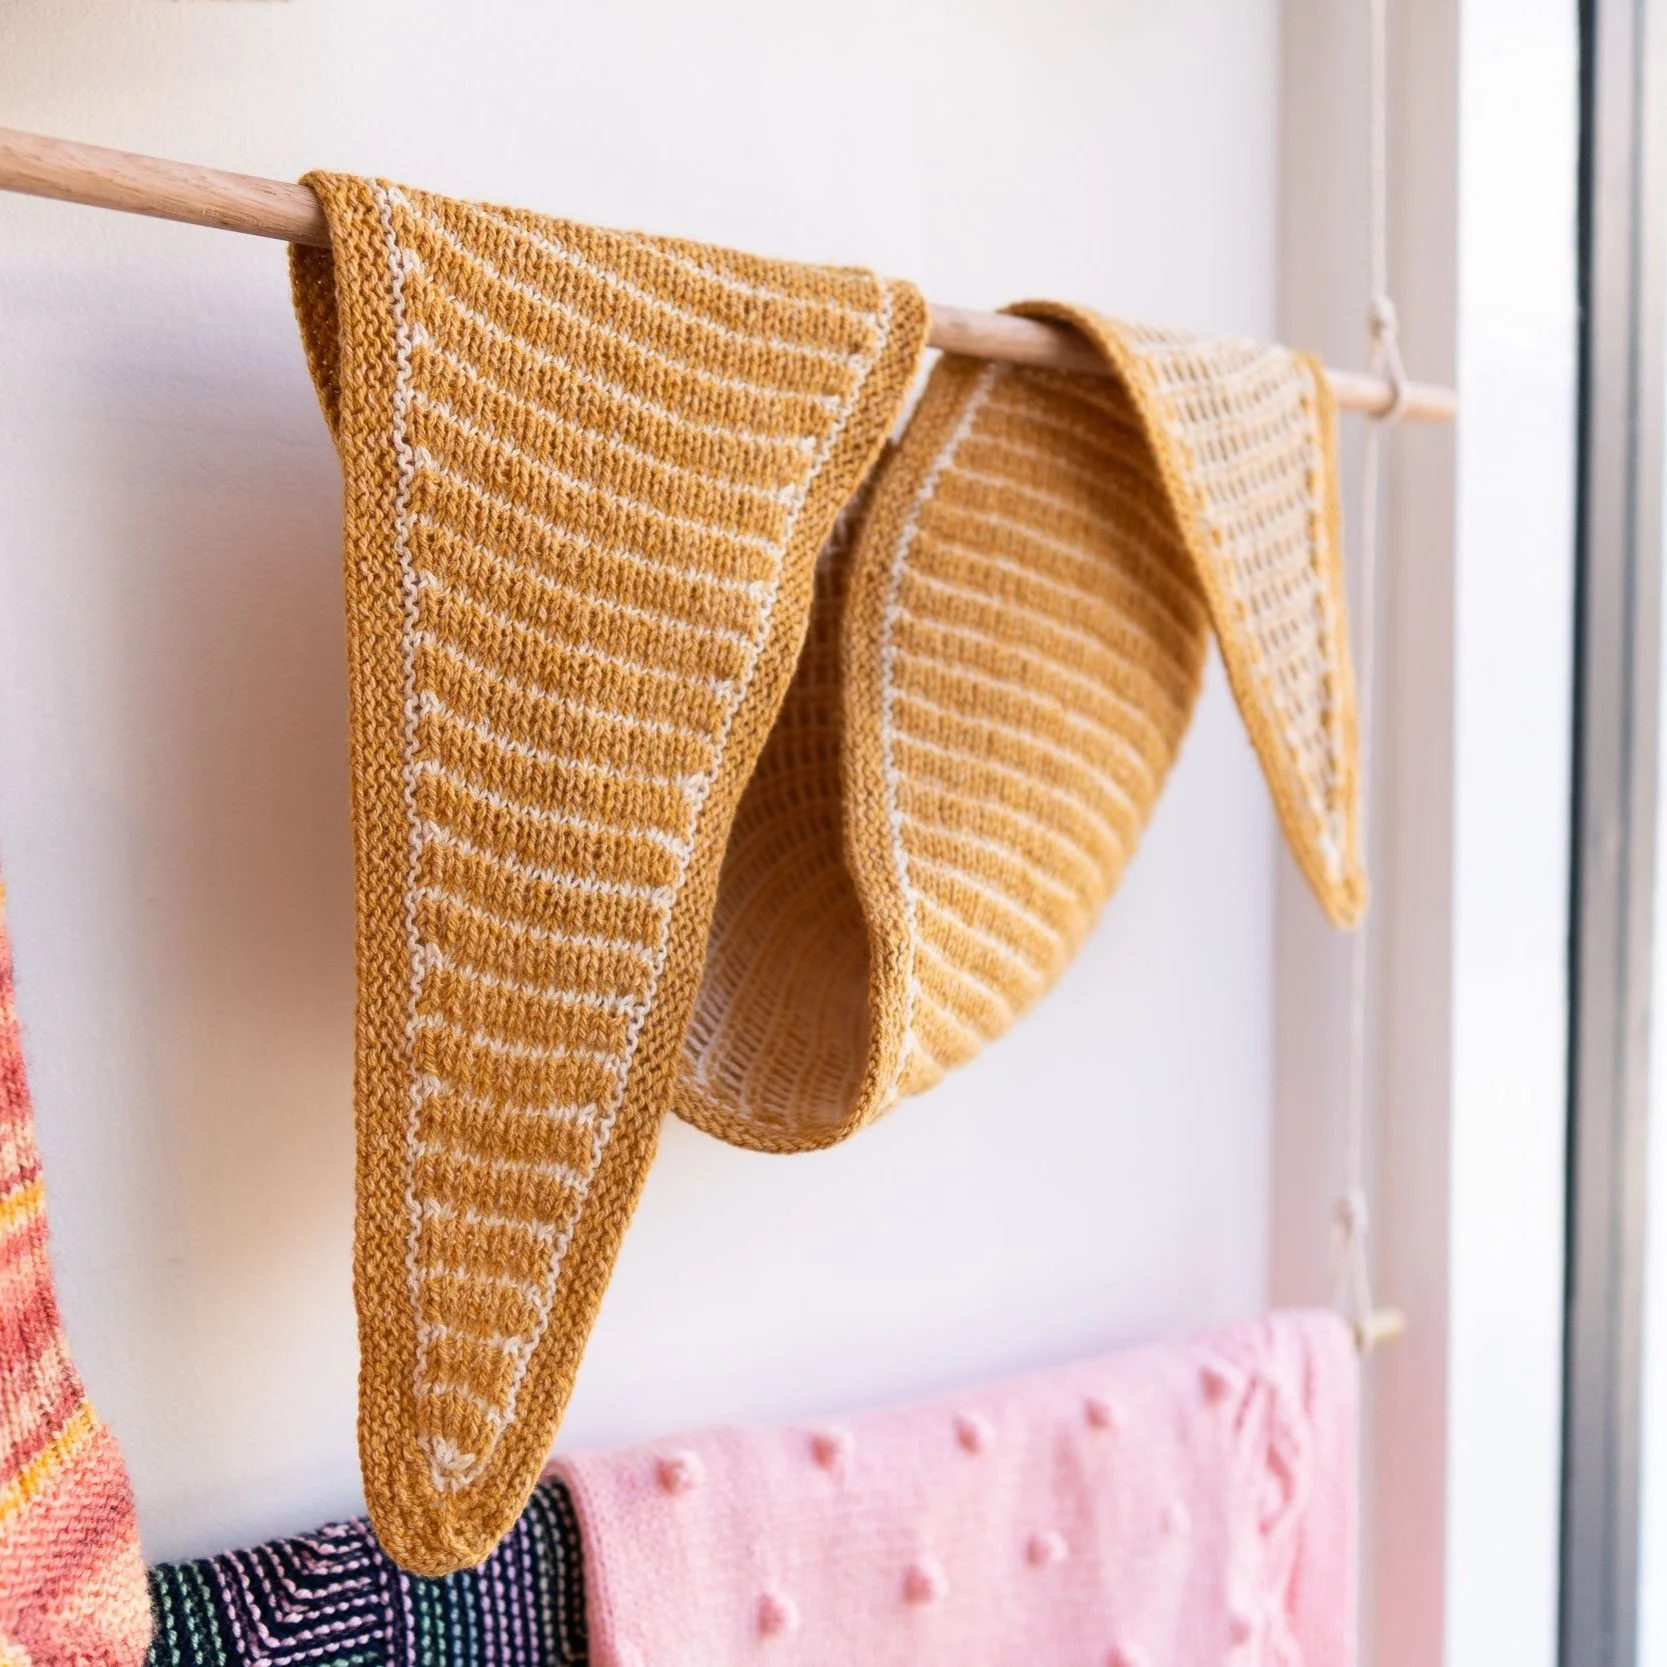
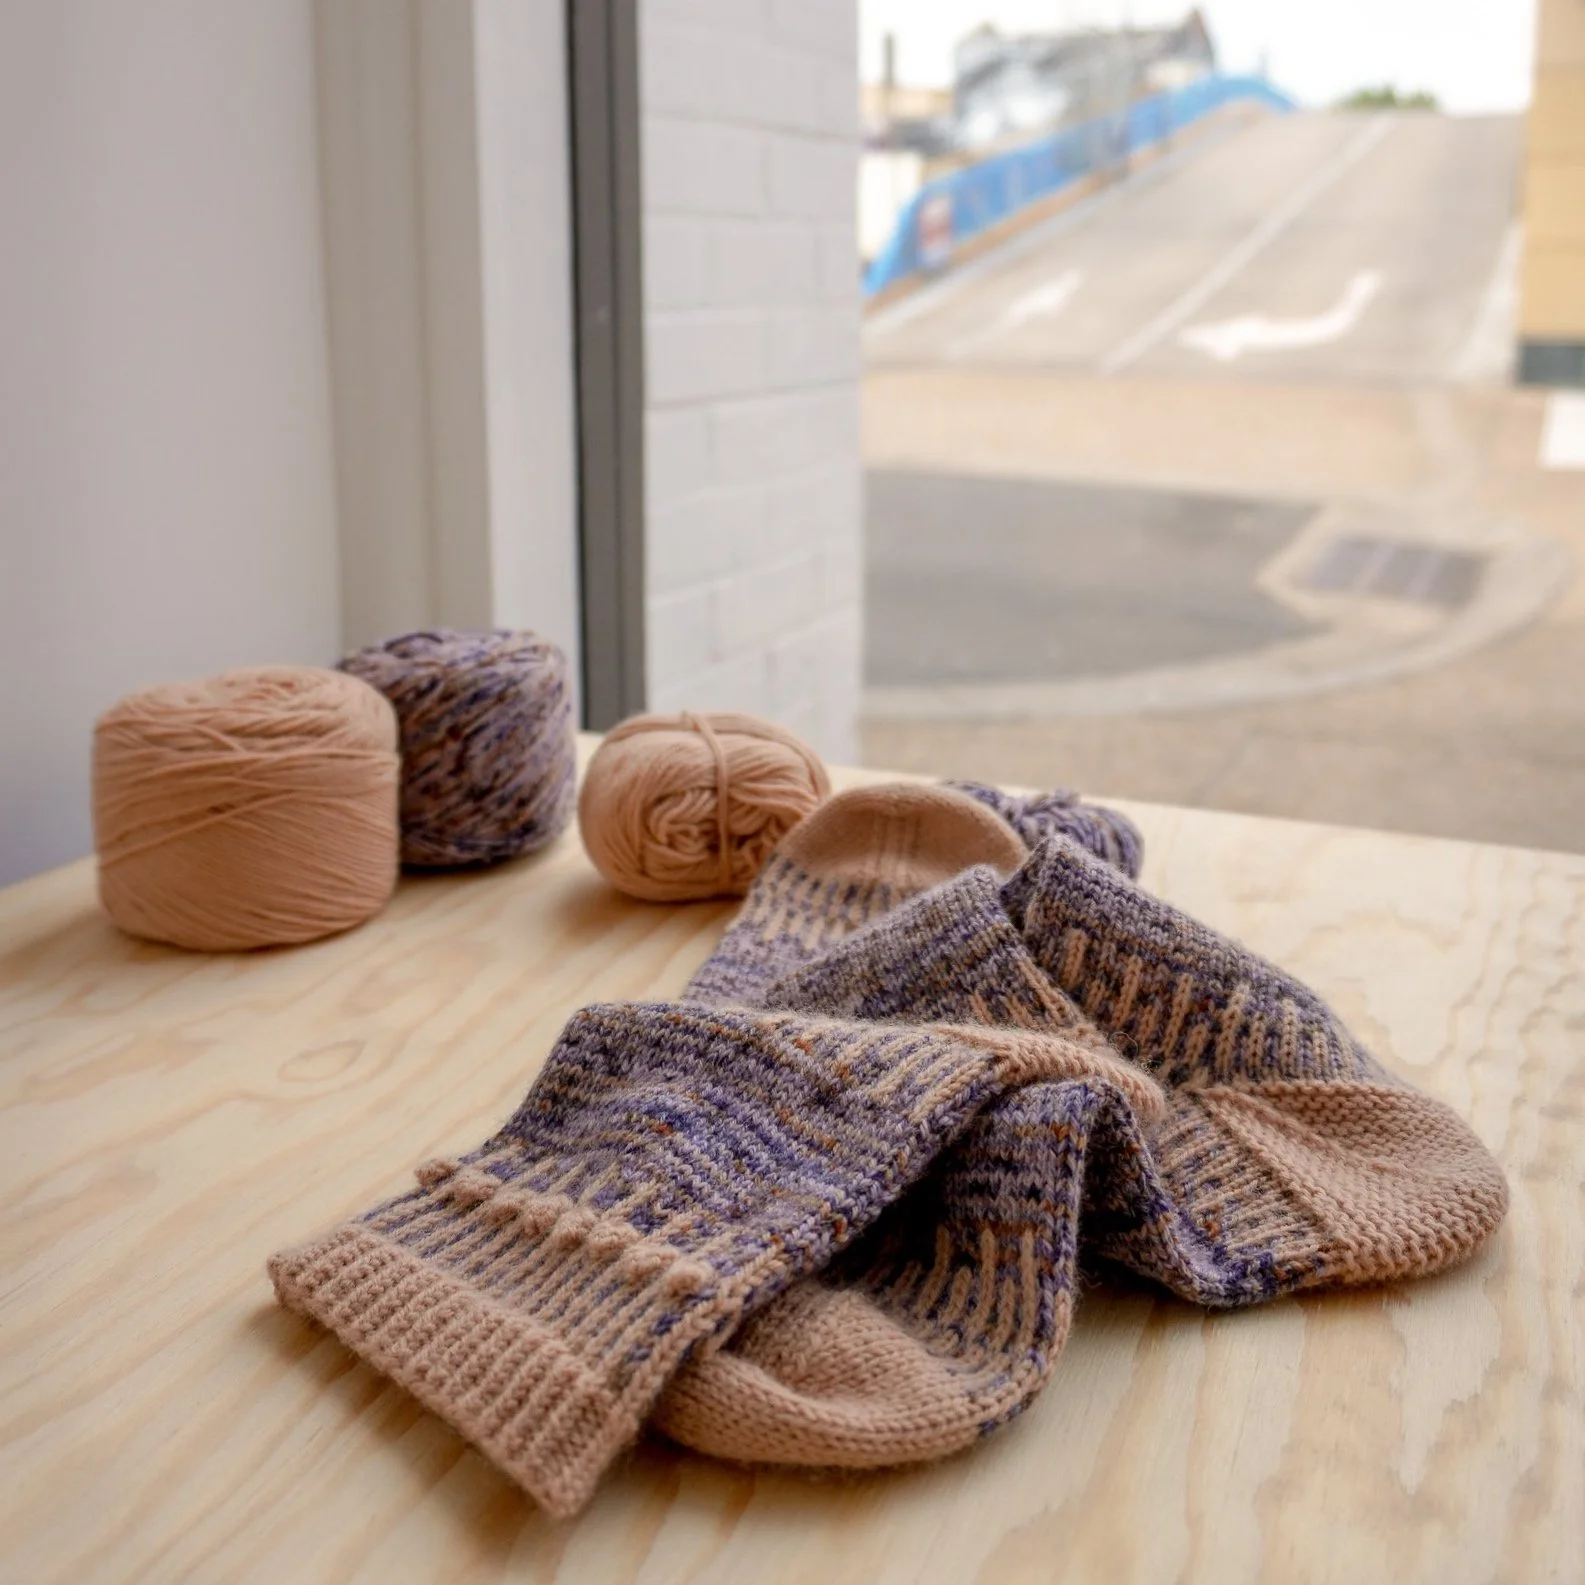
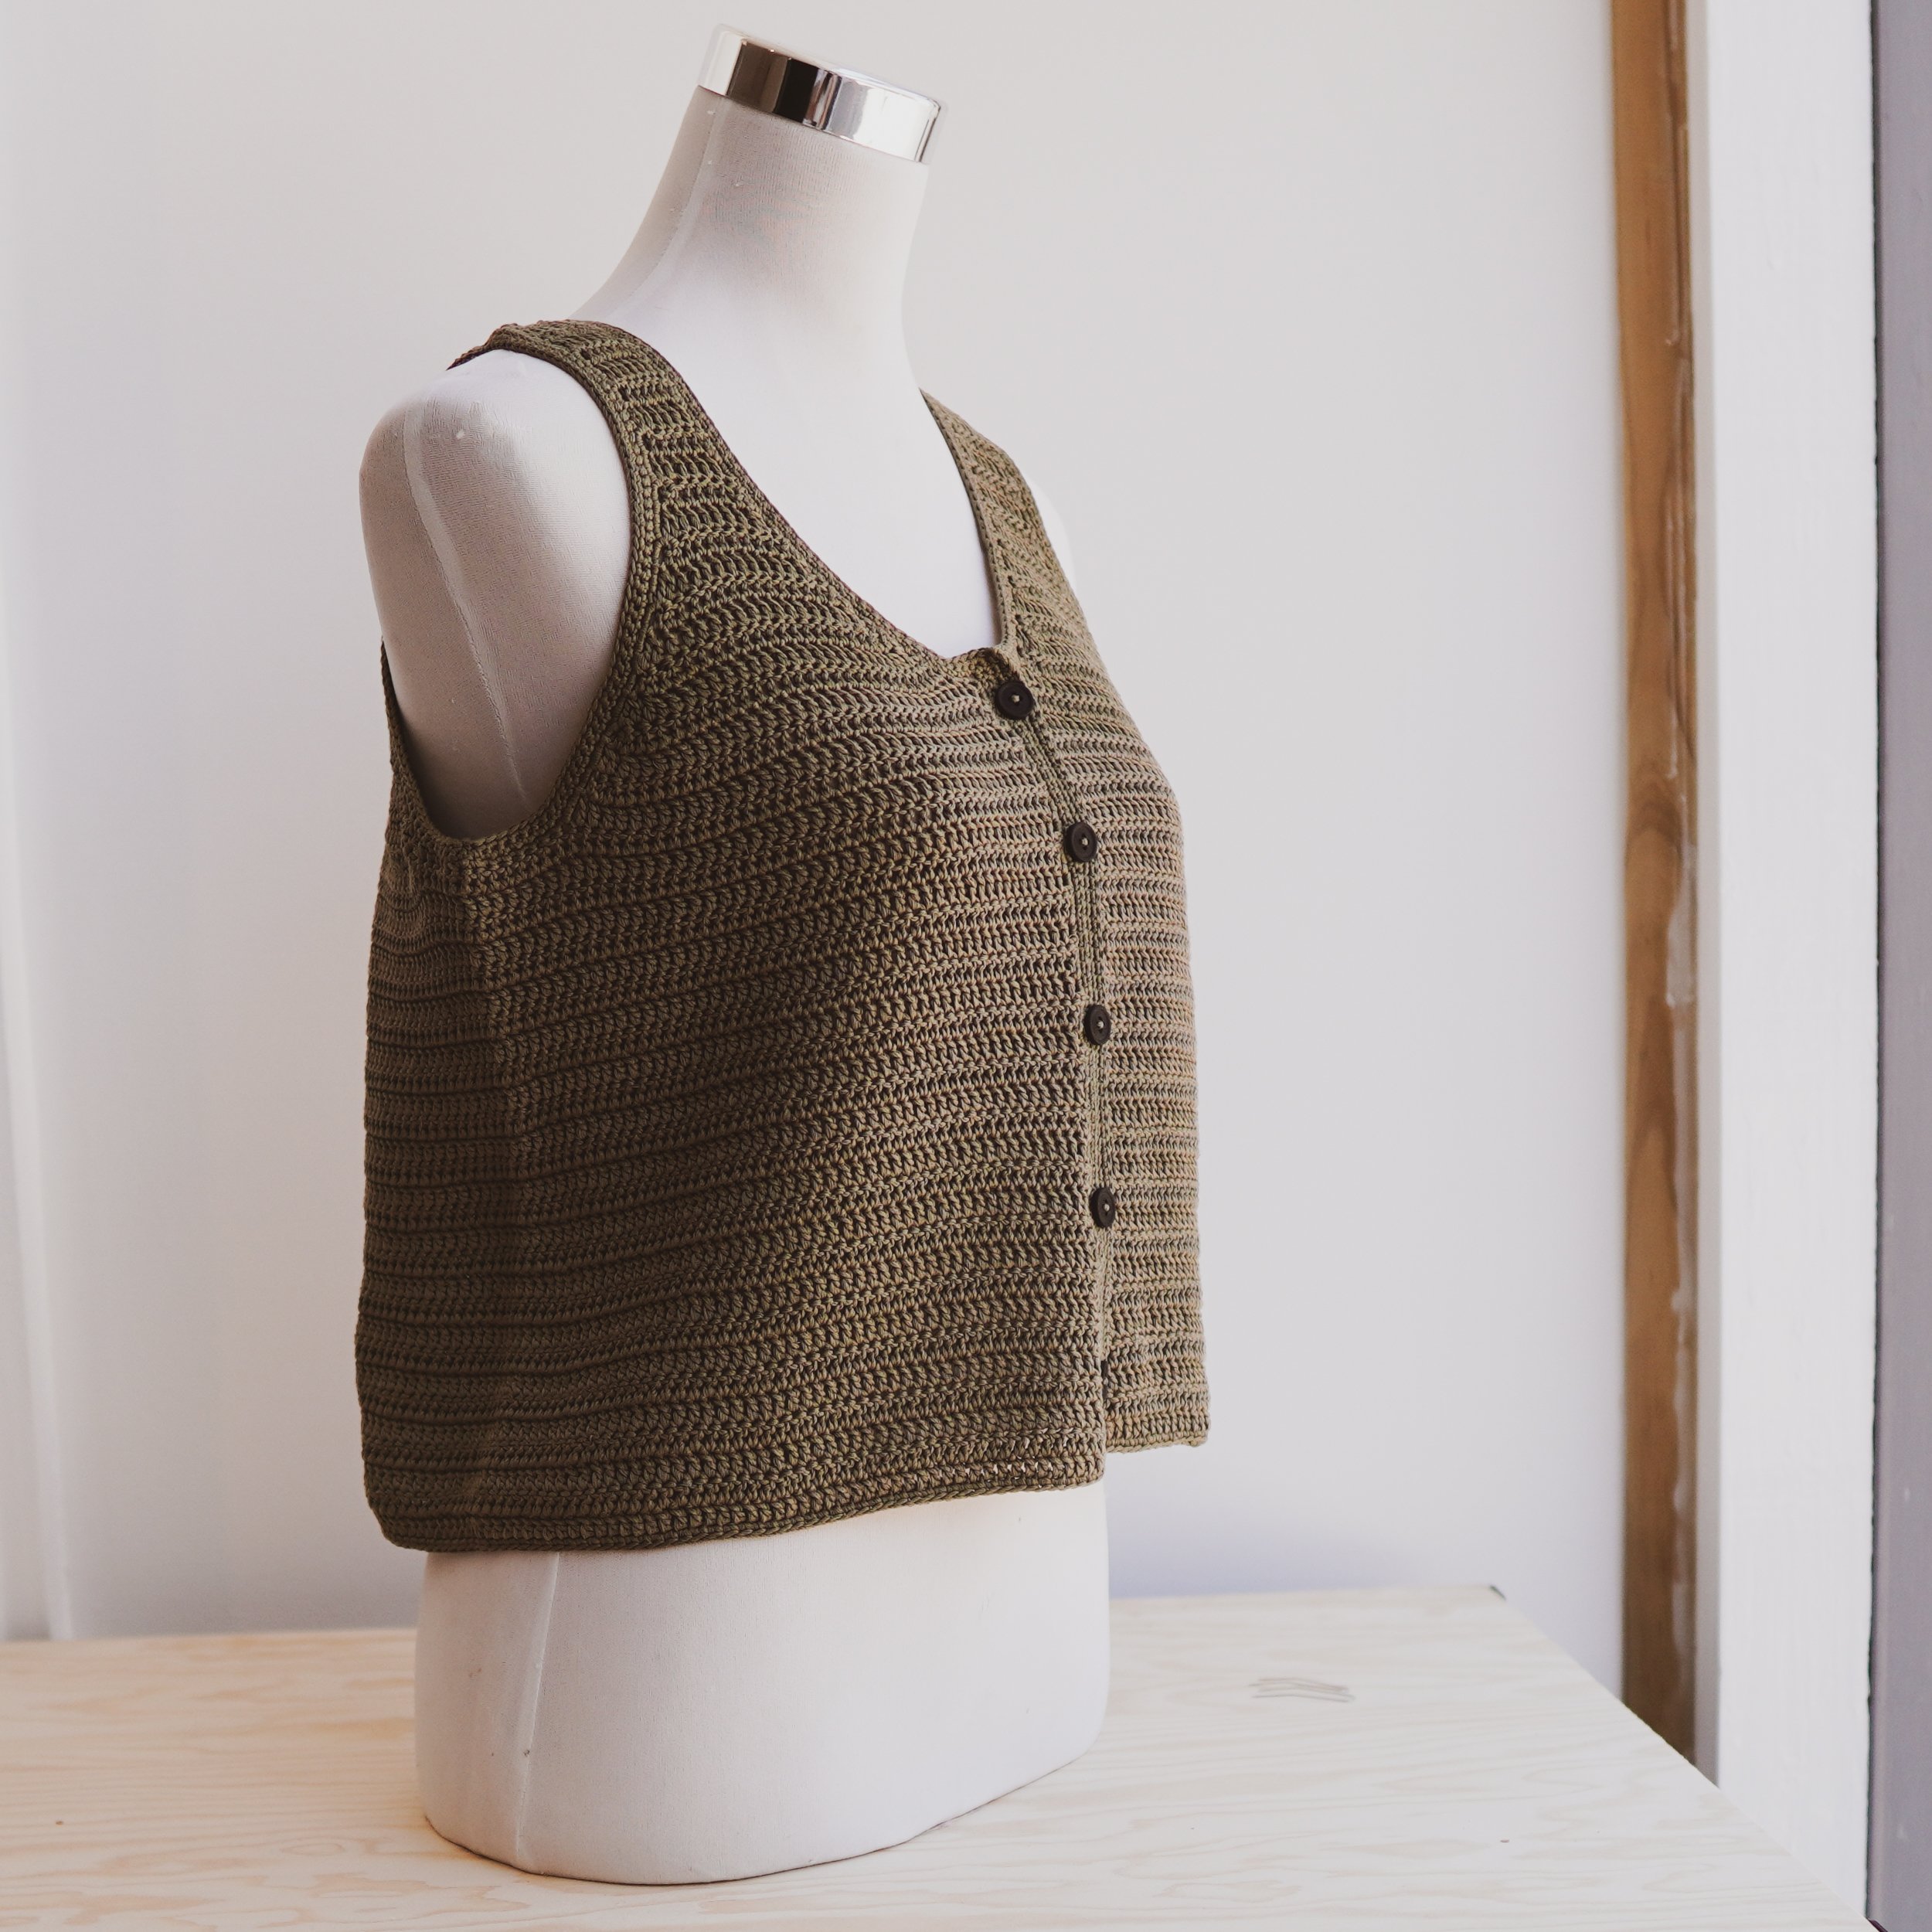
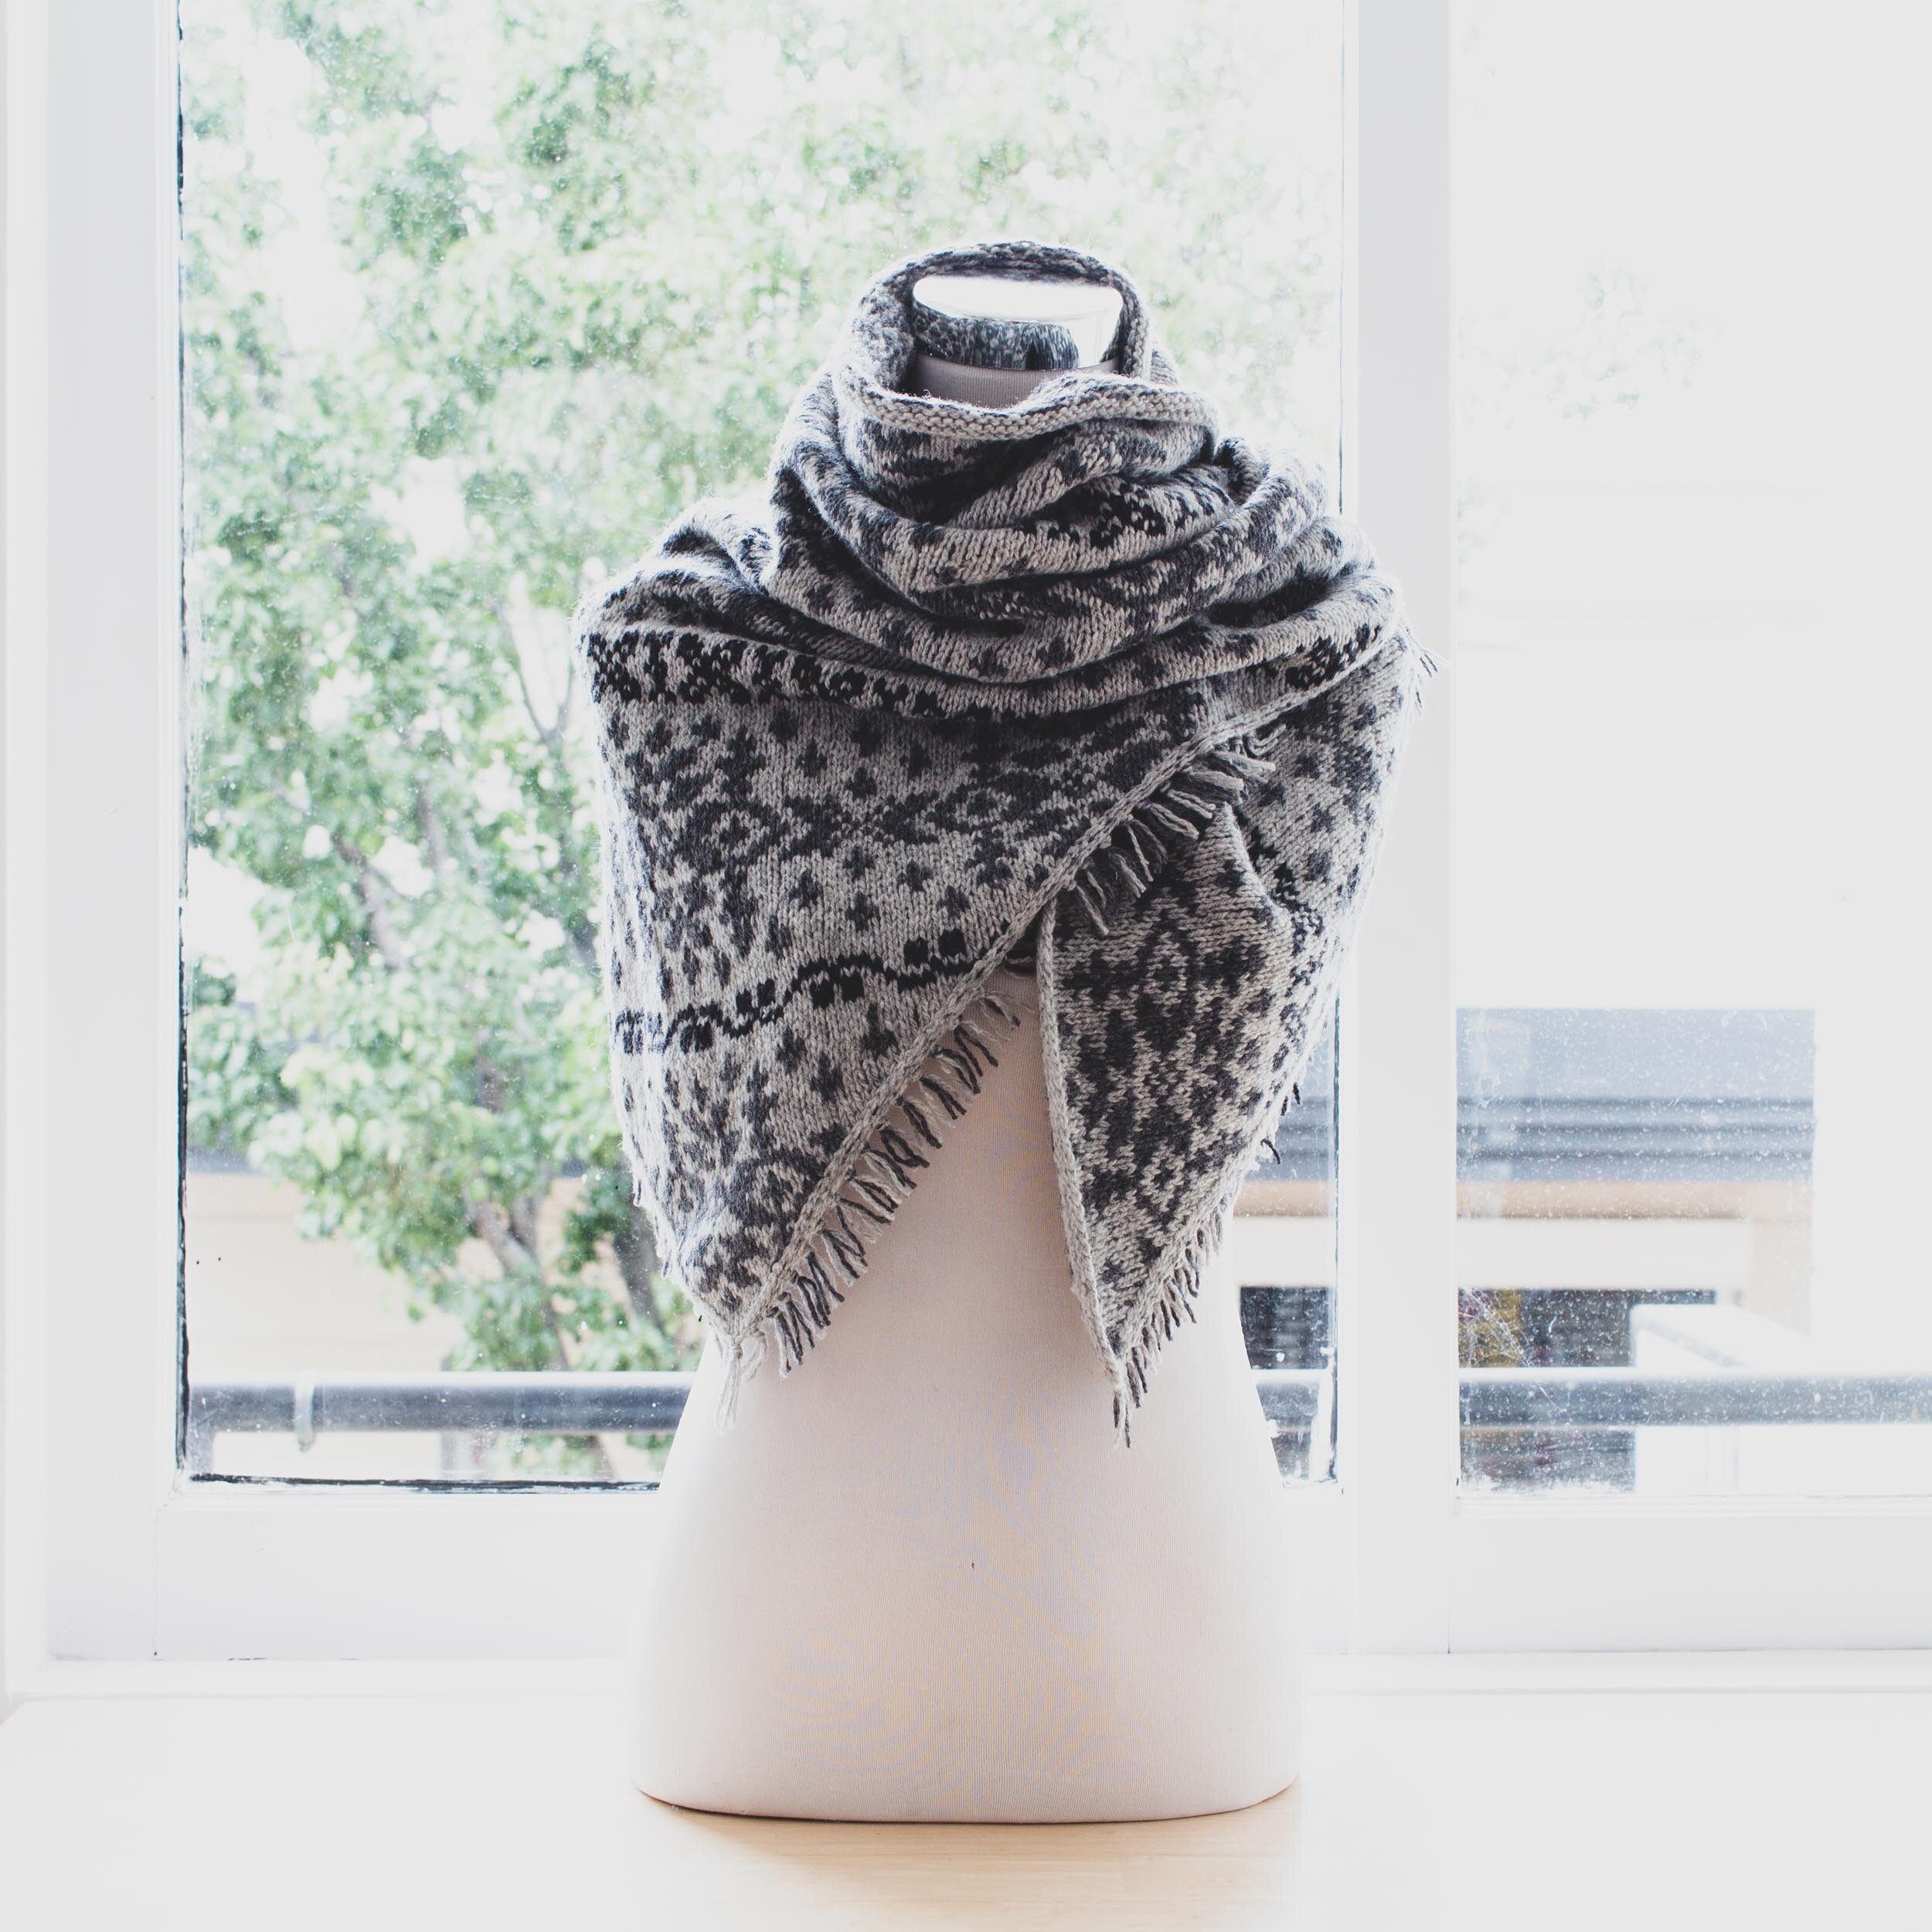
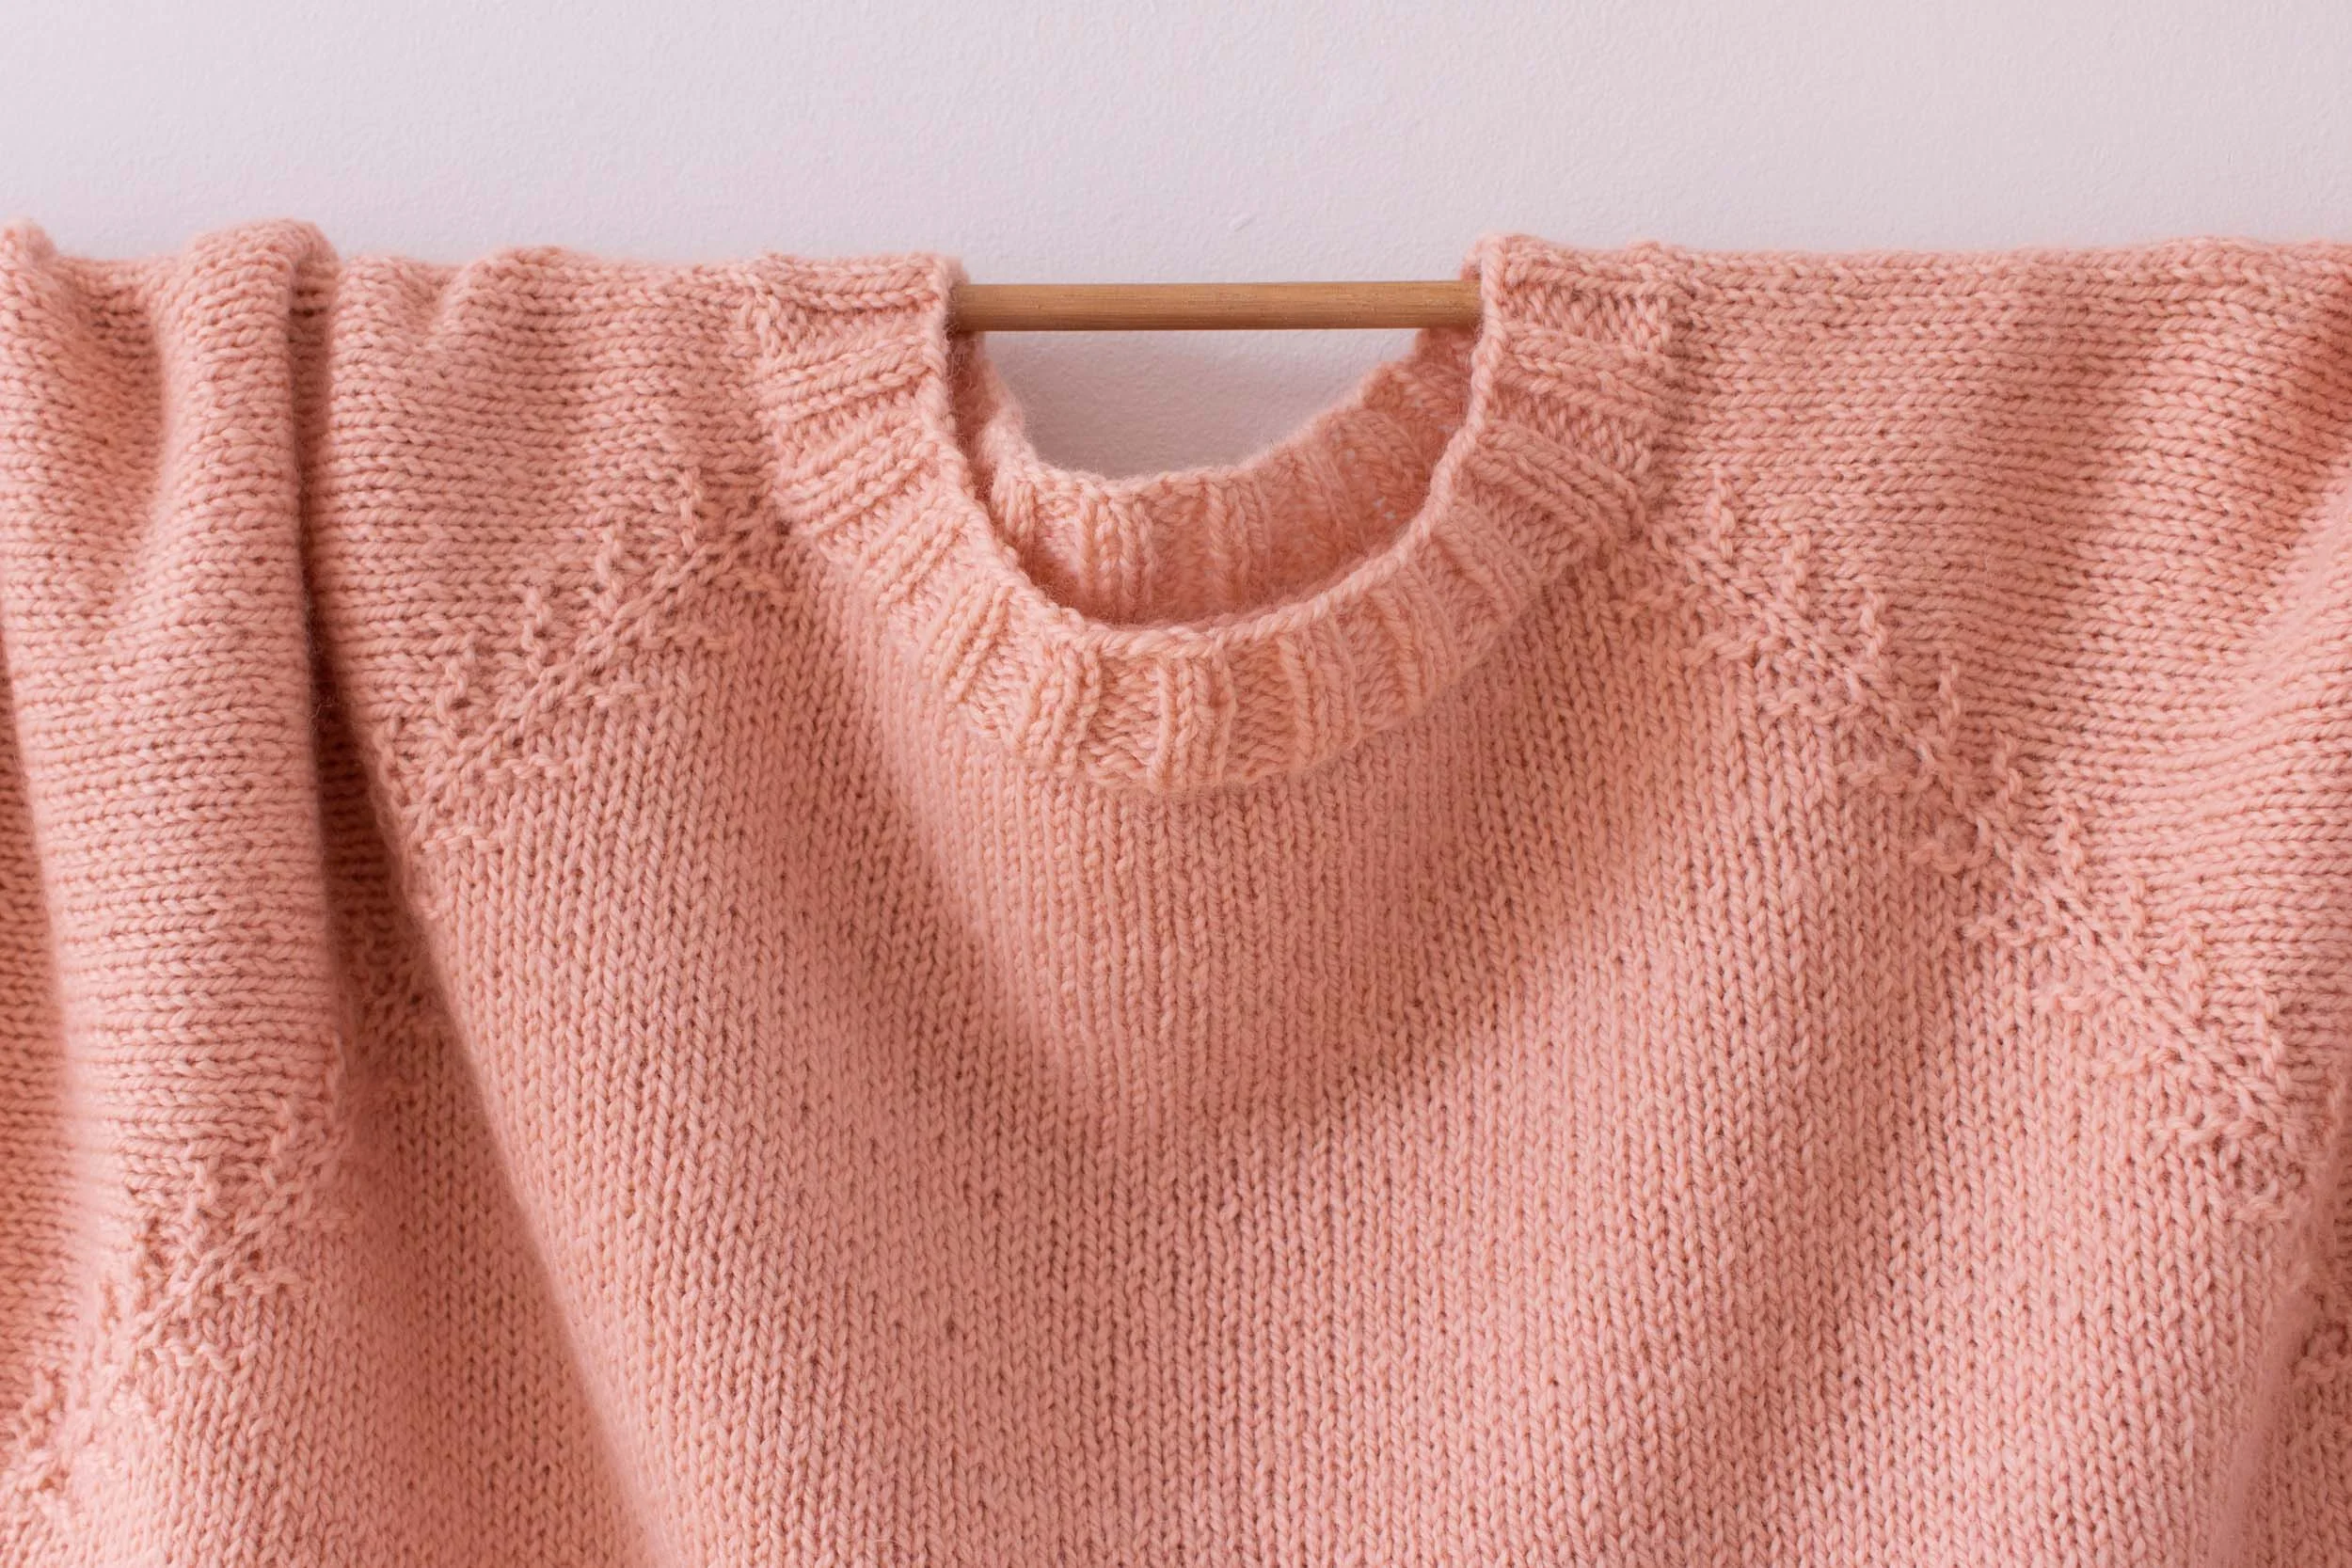
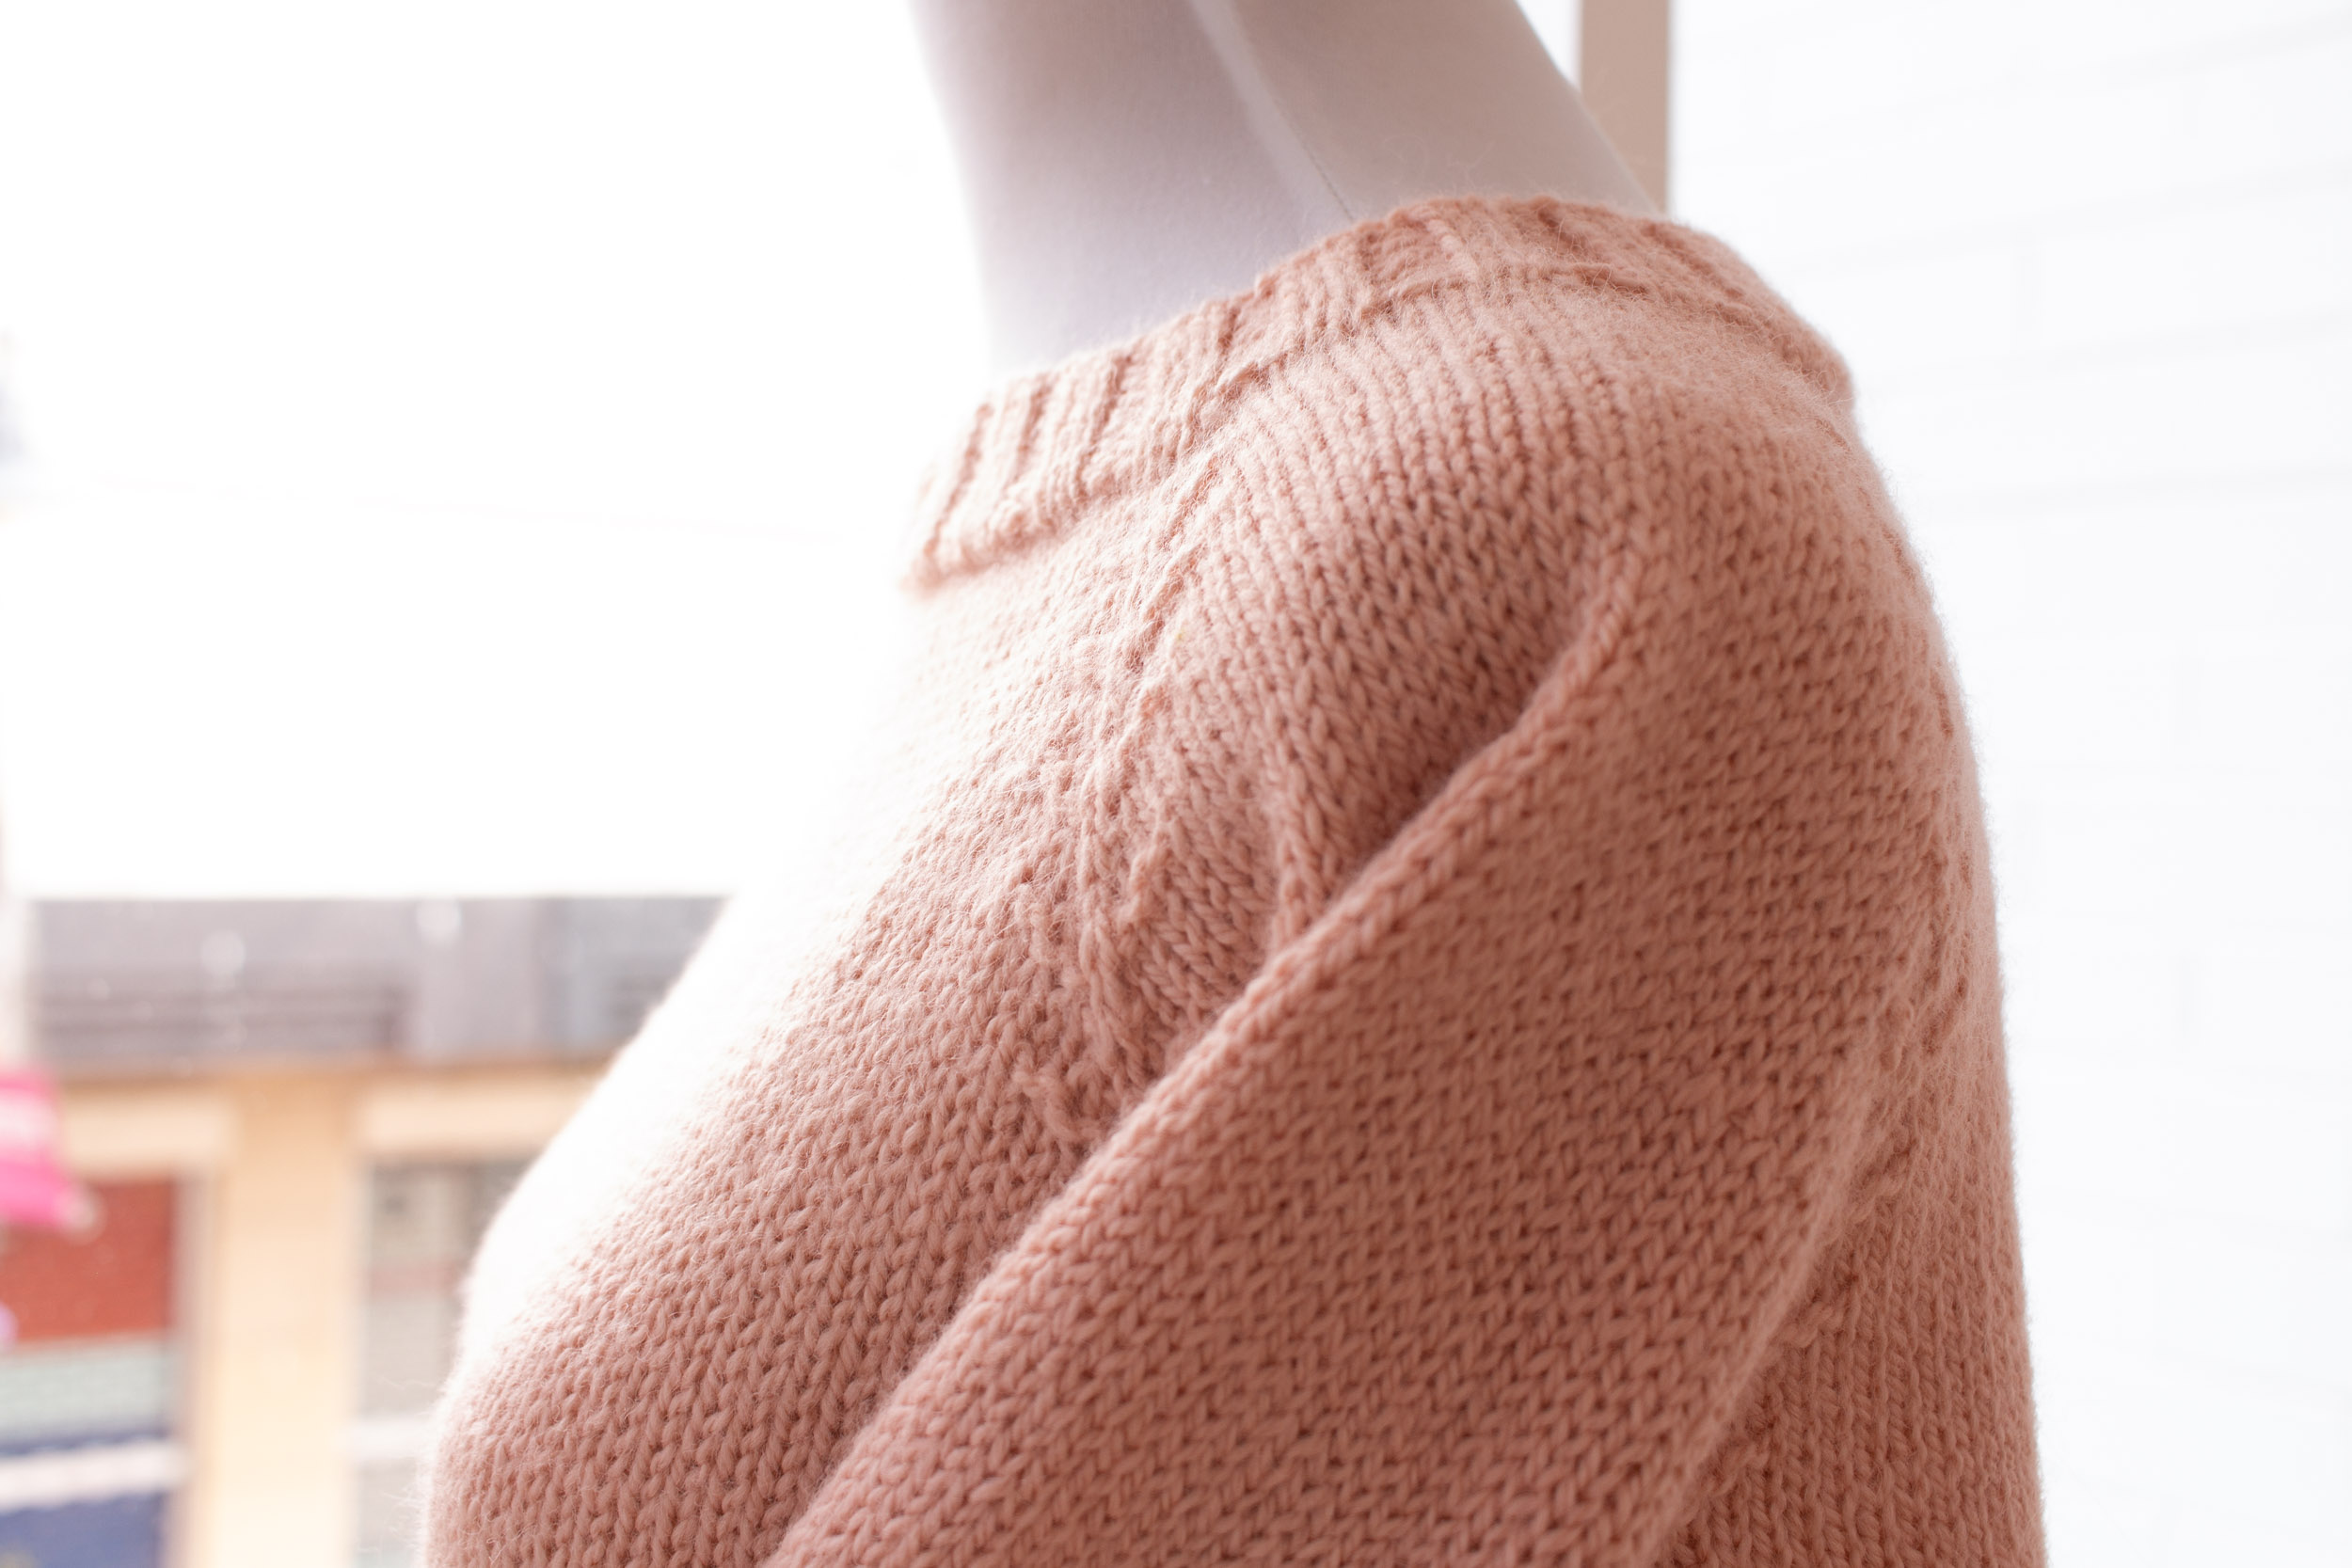
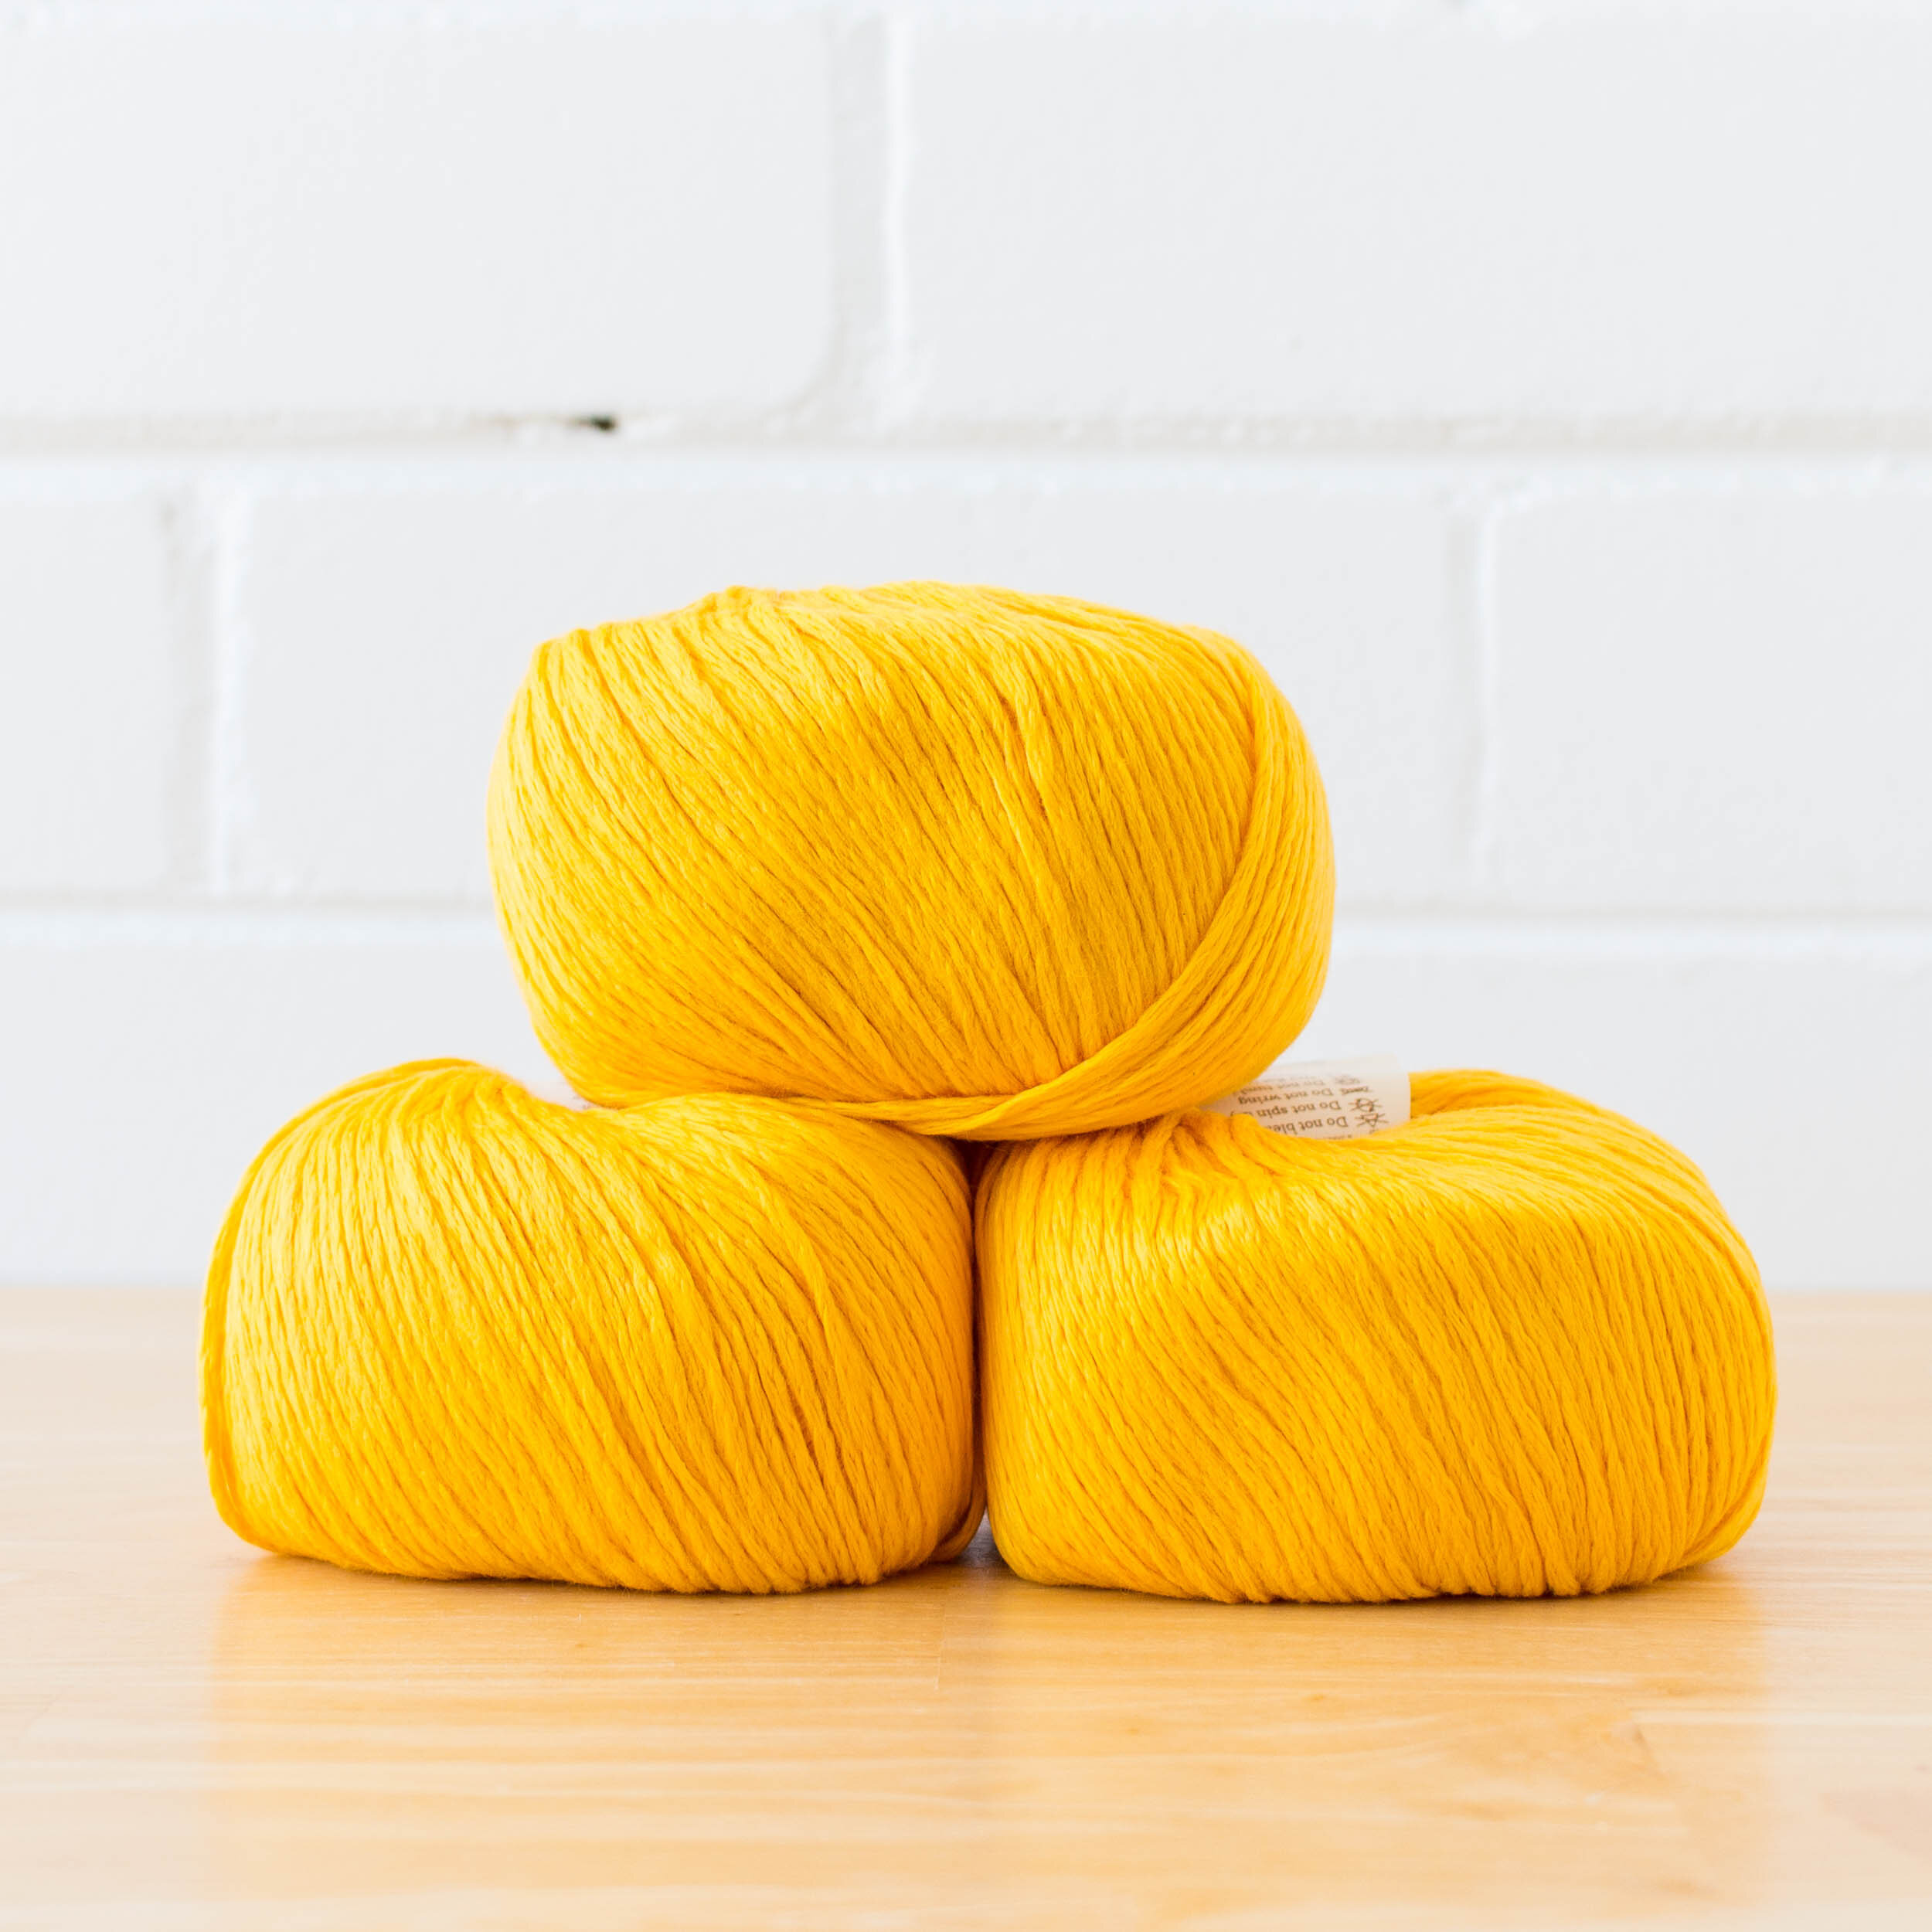
Cleckheaton’s Nourish is a stunningly soft 100% Cotton chainette style yarn, sure to become your next spring/summer favourite.

Made in Italy, this yarn has the most luxurious hand feel and is silky soft for next to skin wear.

We’re thinking spring tees, summer singlets and shawlettes in endless variations.

Shop all shades HERE.
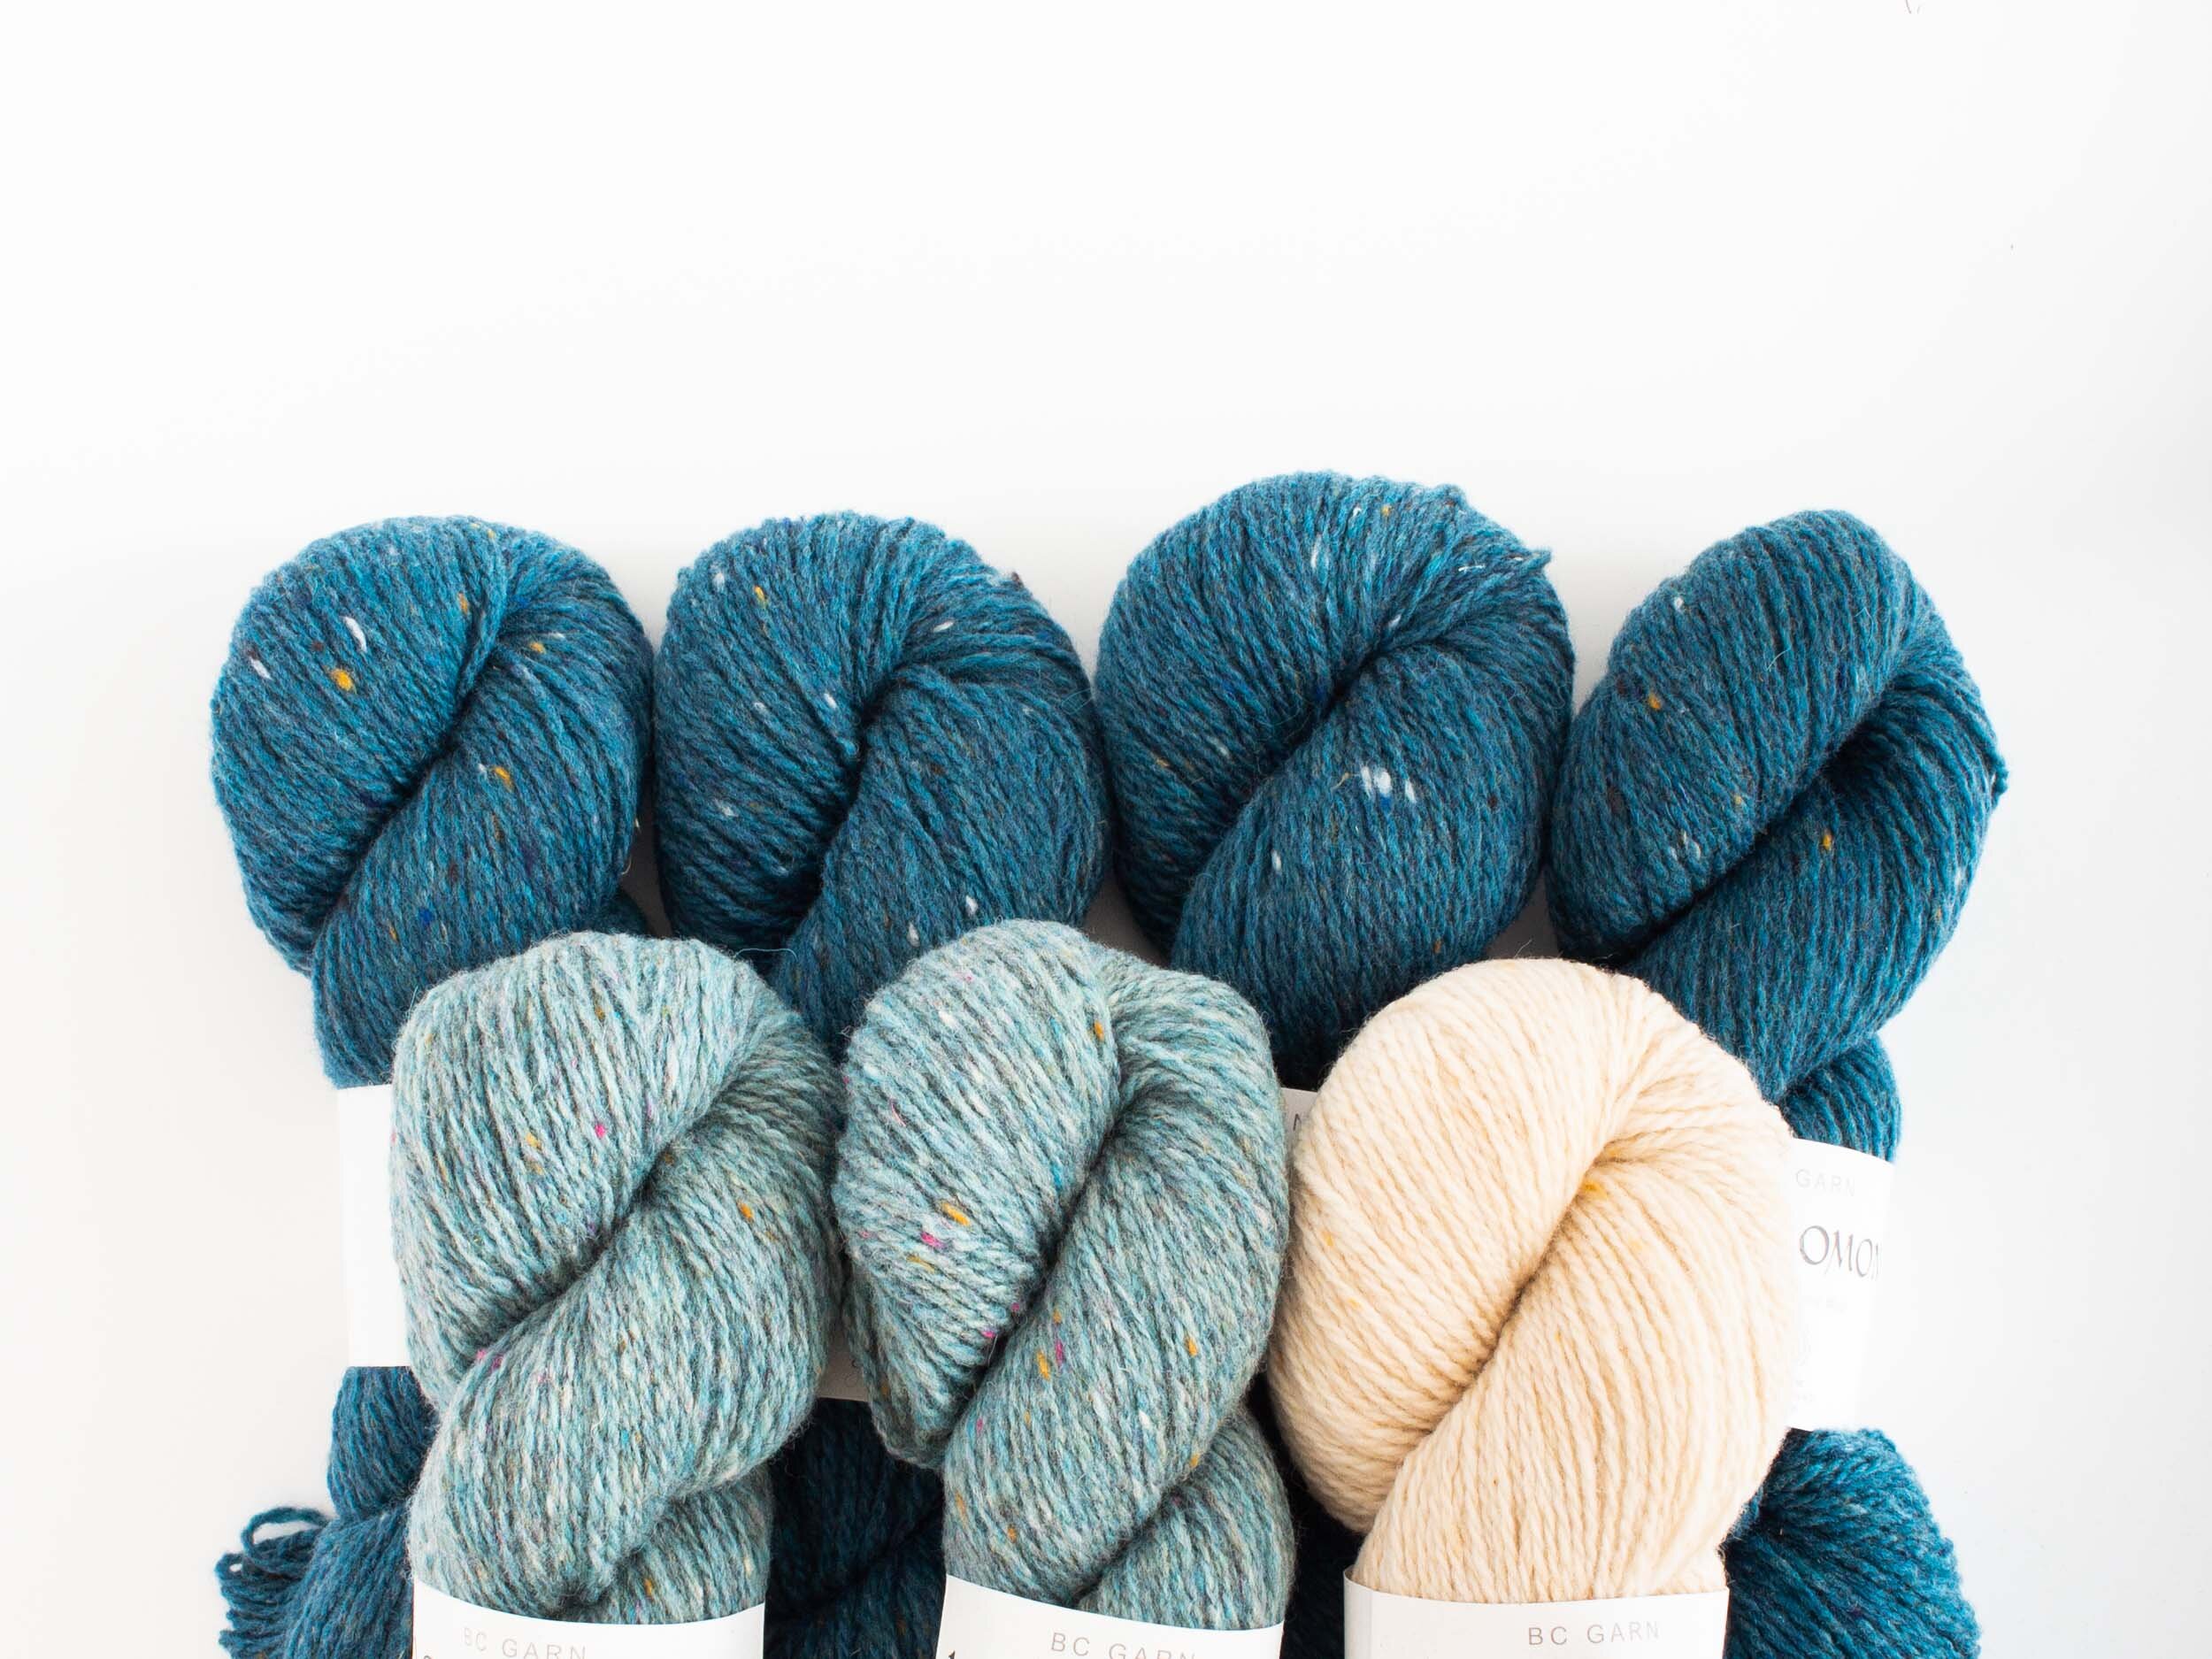
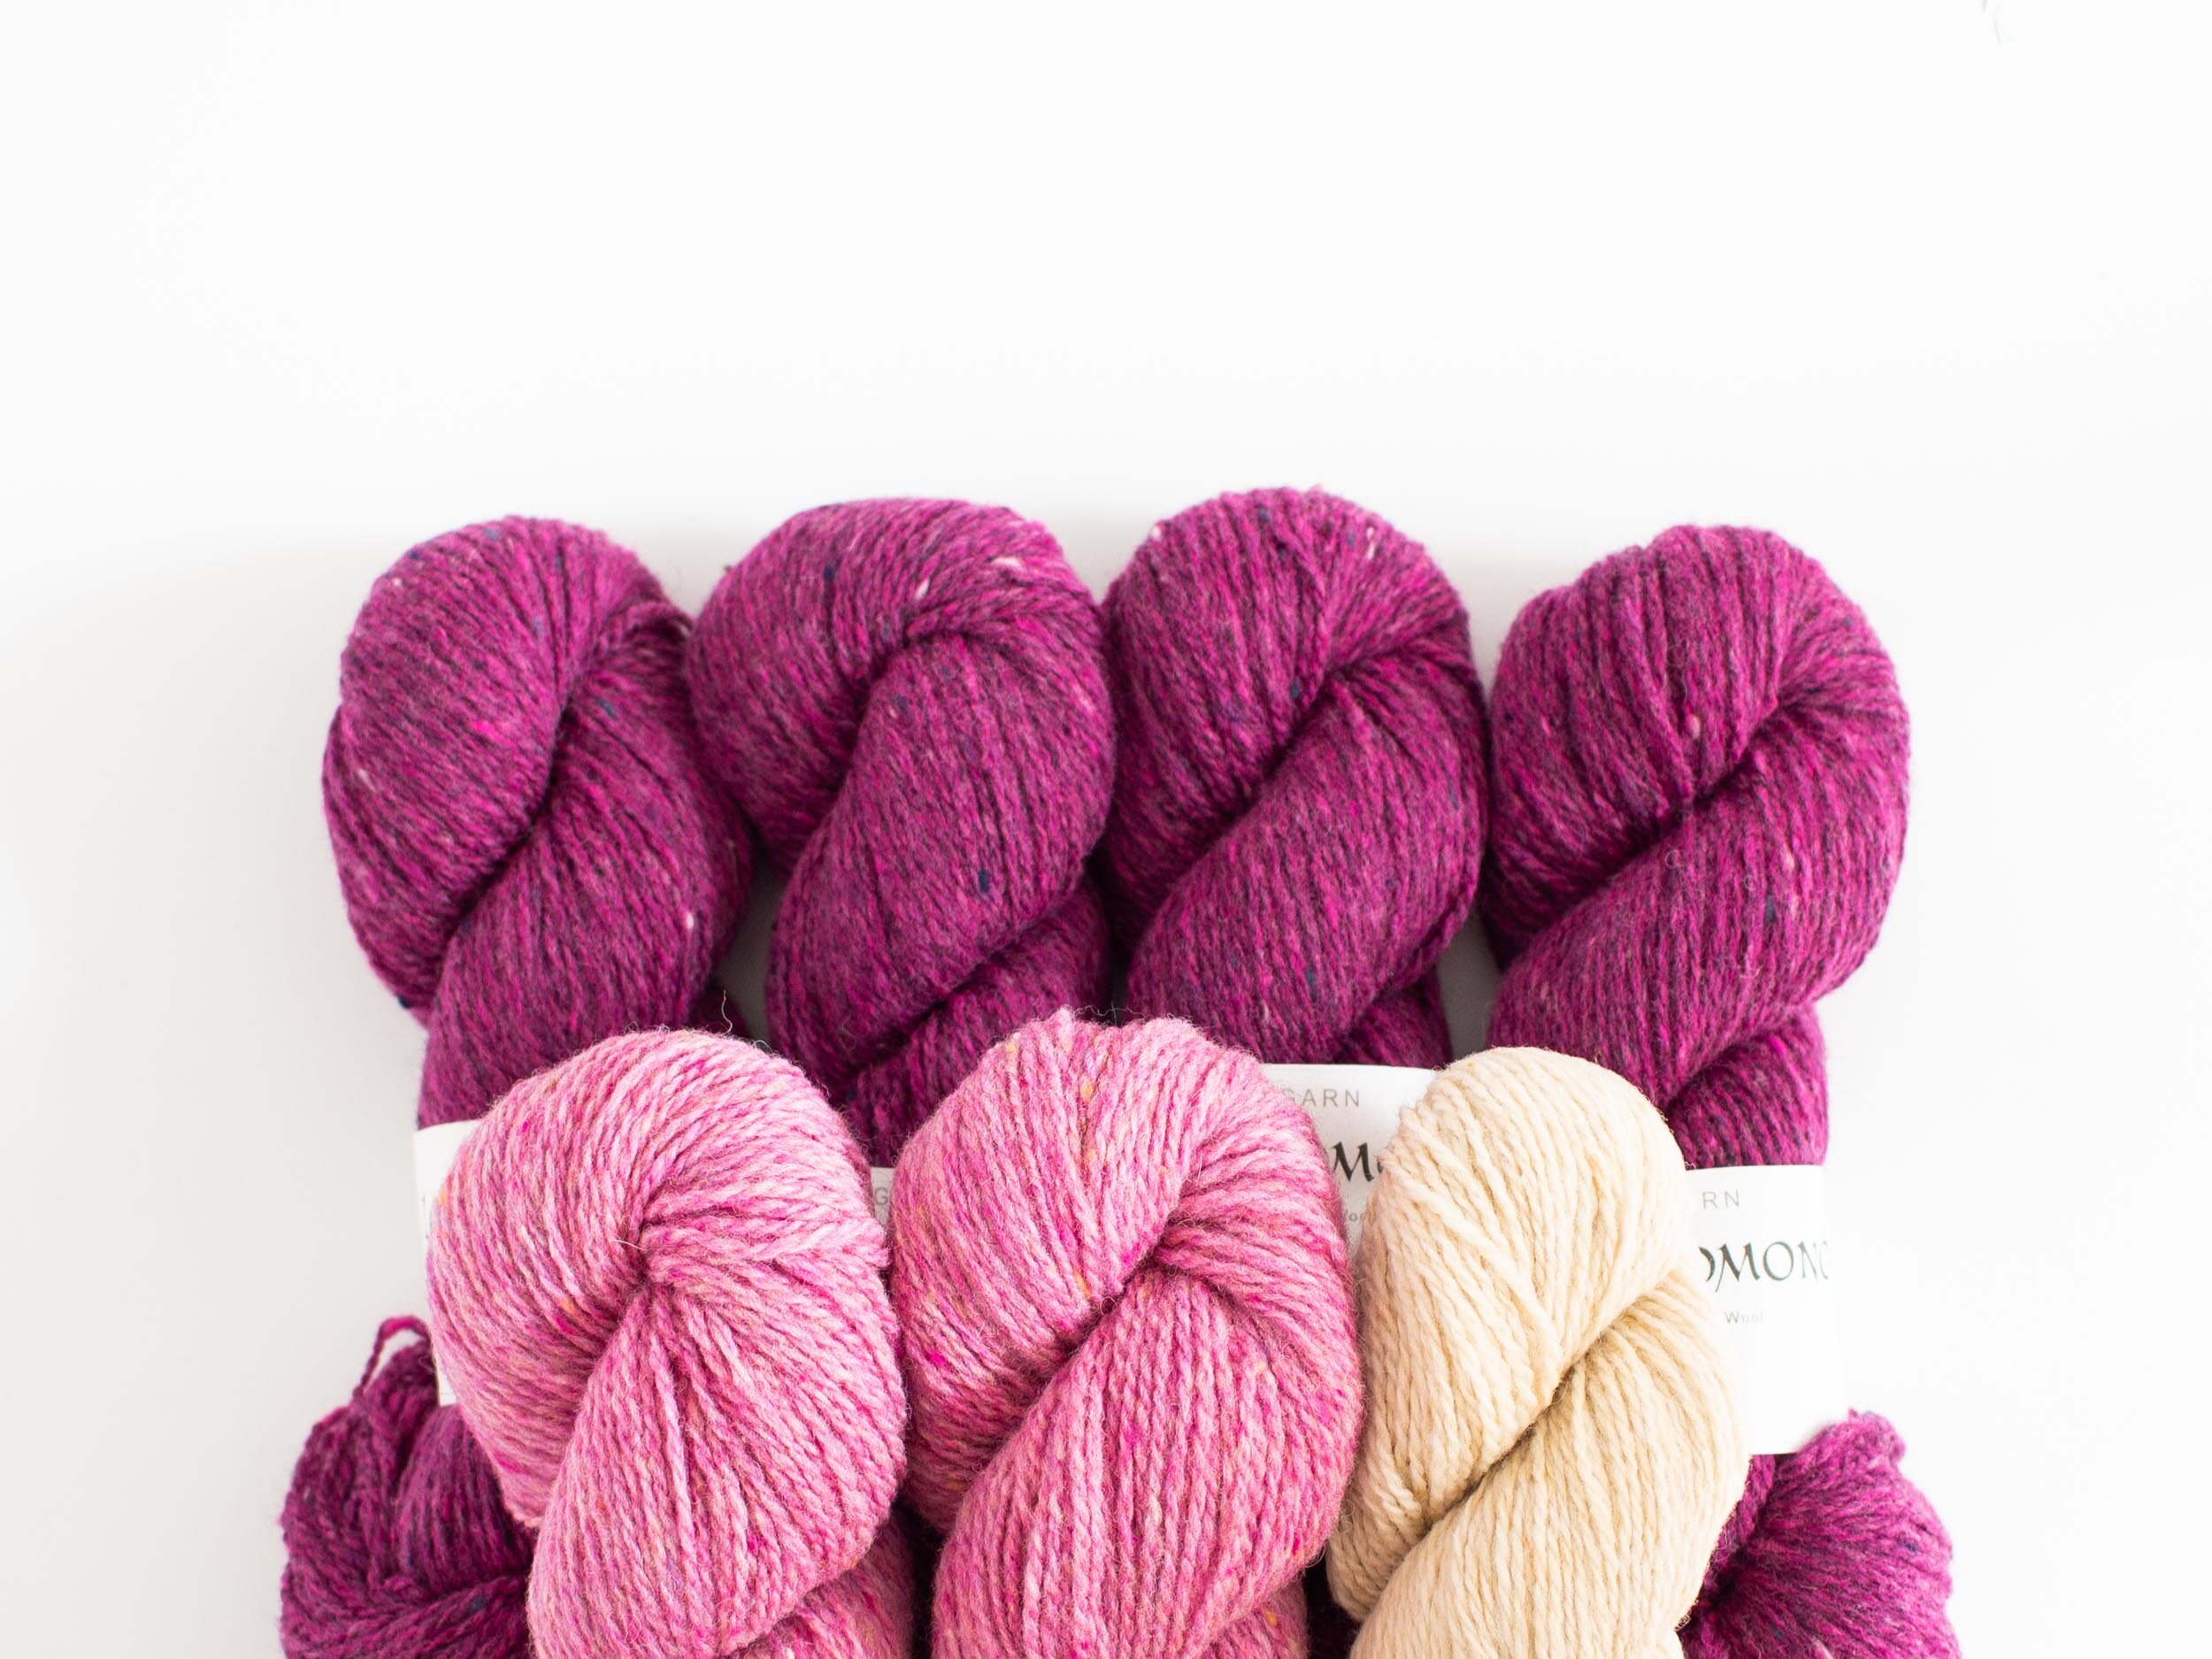

Colourways

THE YARN

FIBRE CONTENT: 100% Cotton
NET WEIGHT: 50g (1.7oz)
YARN WEIGHT EQUIVALENT: Worsted / 10 Ply
APPROX. YARDAGE: 100m (109yd)
CONSTRUCTION: Chainette
ORIGIN: Italy
CARE: Cold hand wash
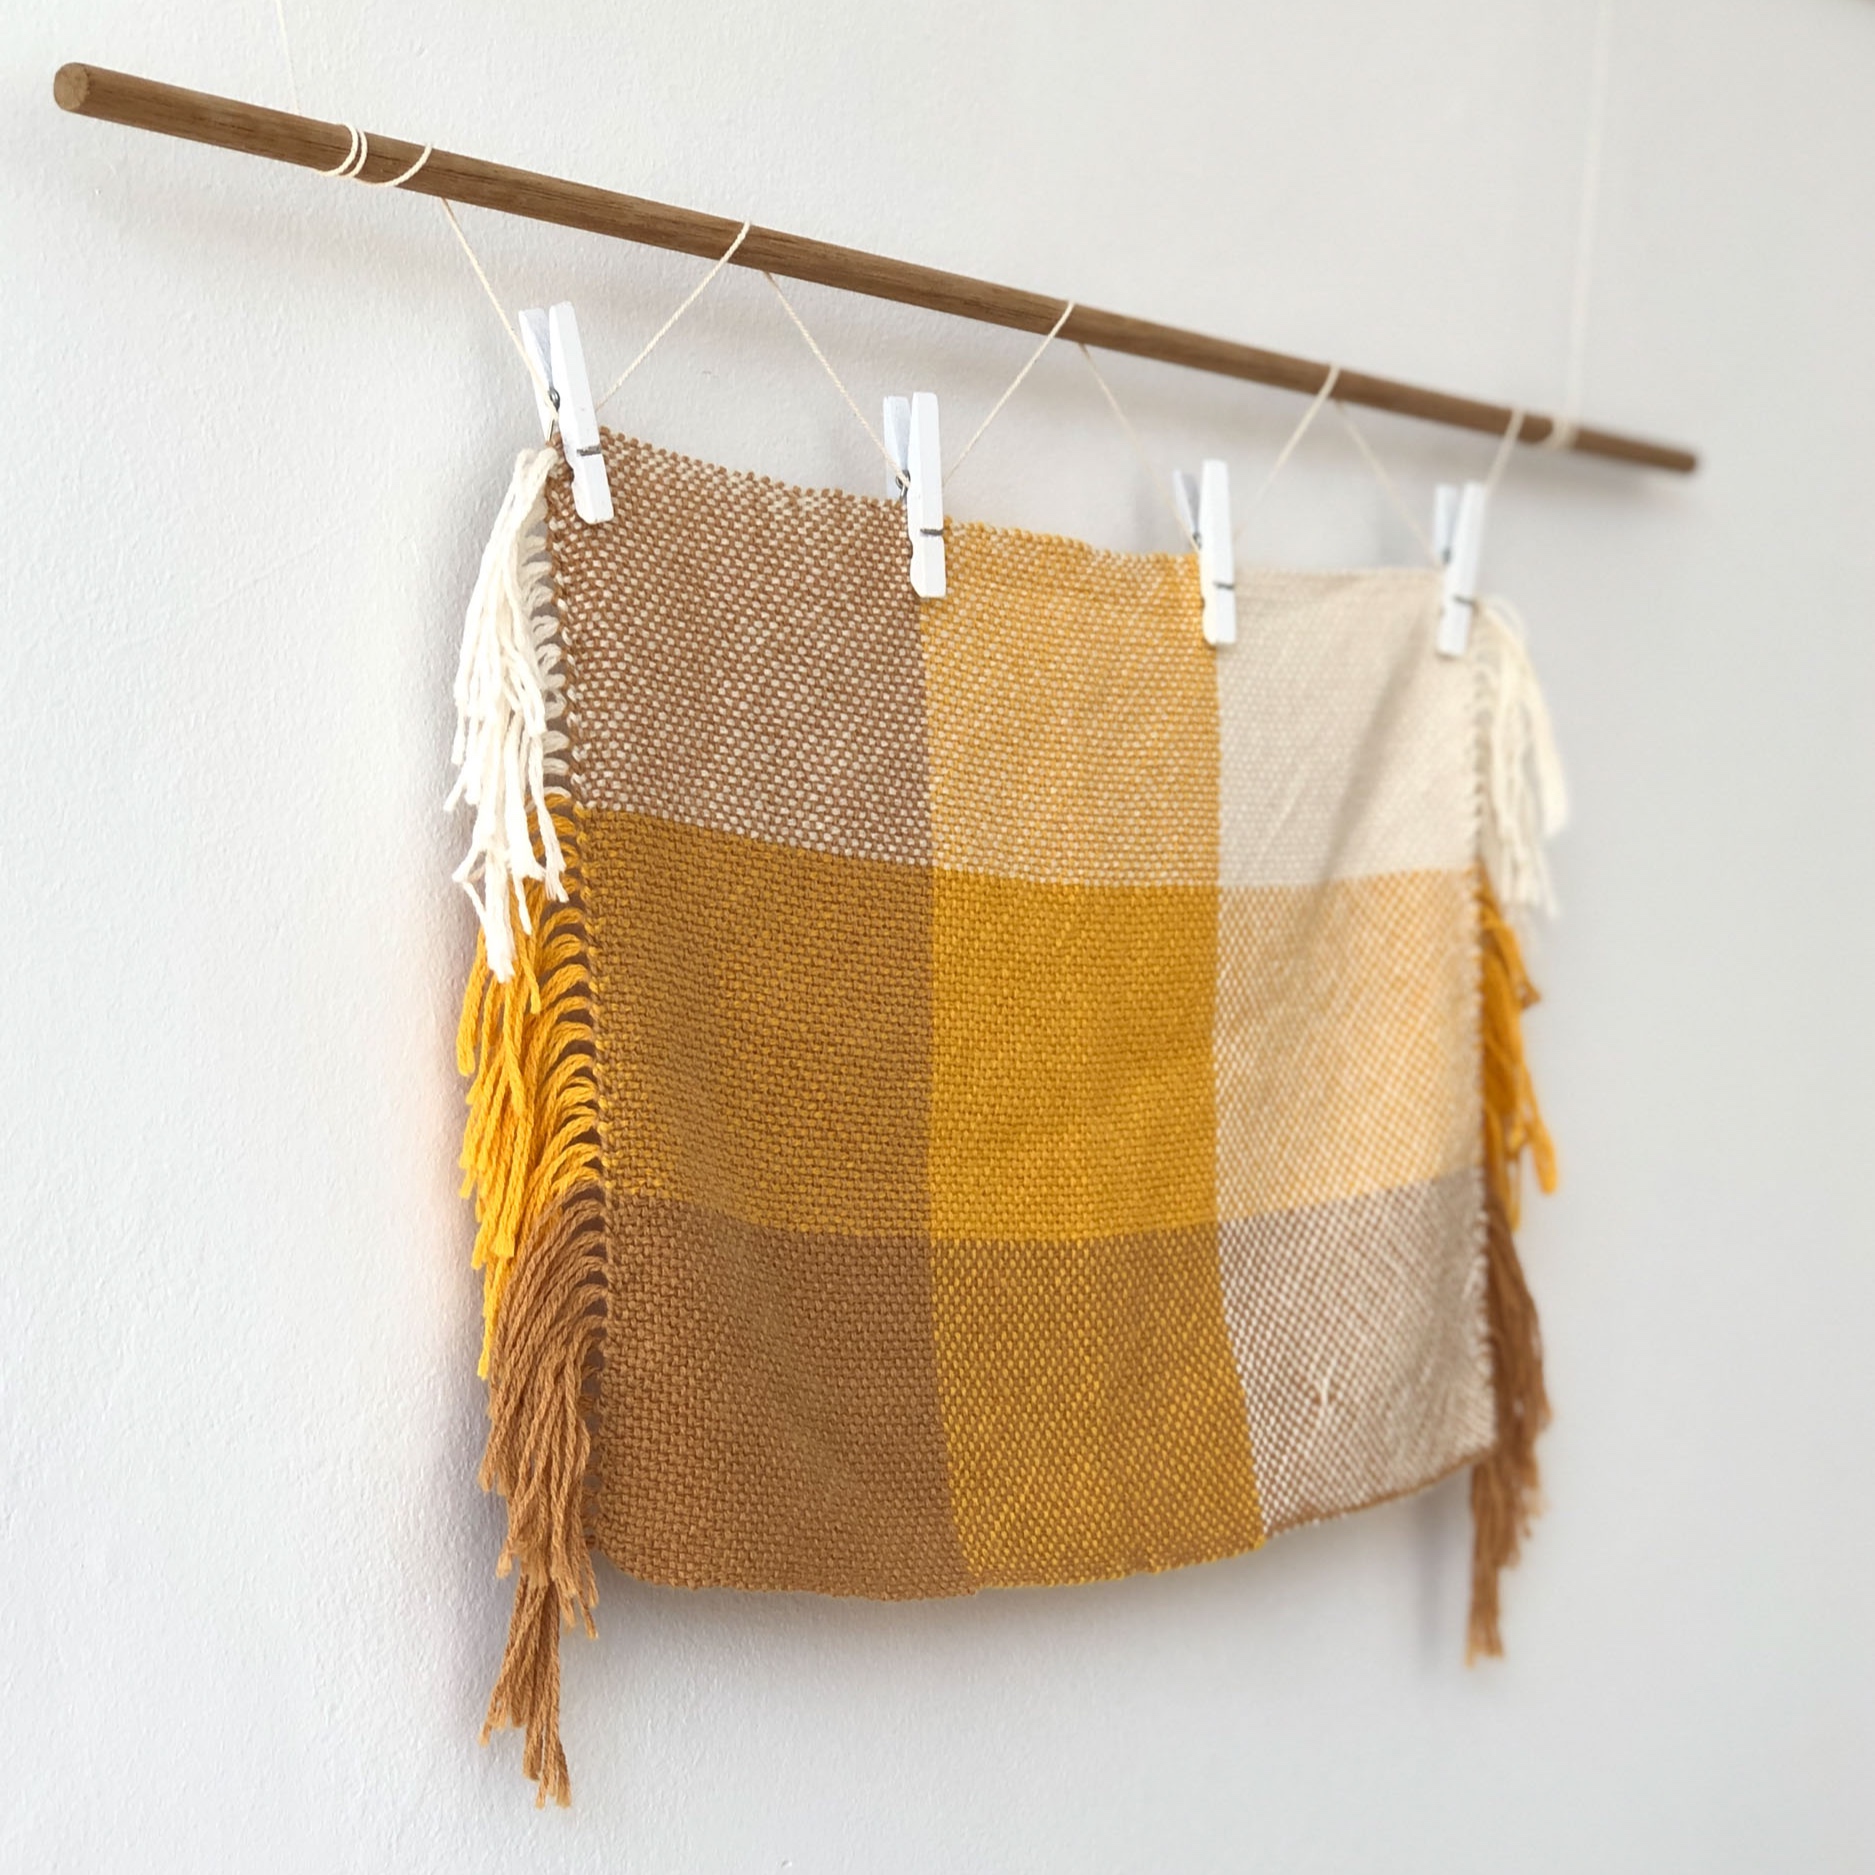
PROJECT SUGGESTIONS

Nourish is suitable for a range of knit and crochet pieces. For project inspiration check out our pattern favourites on RAVELRY.
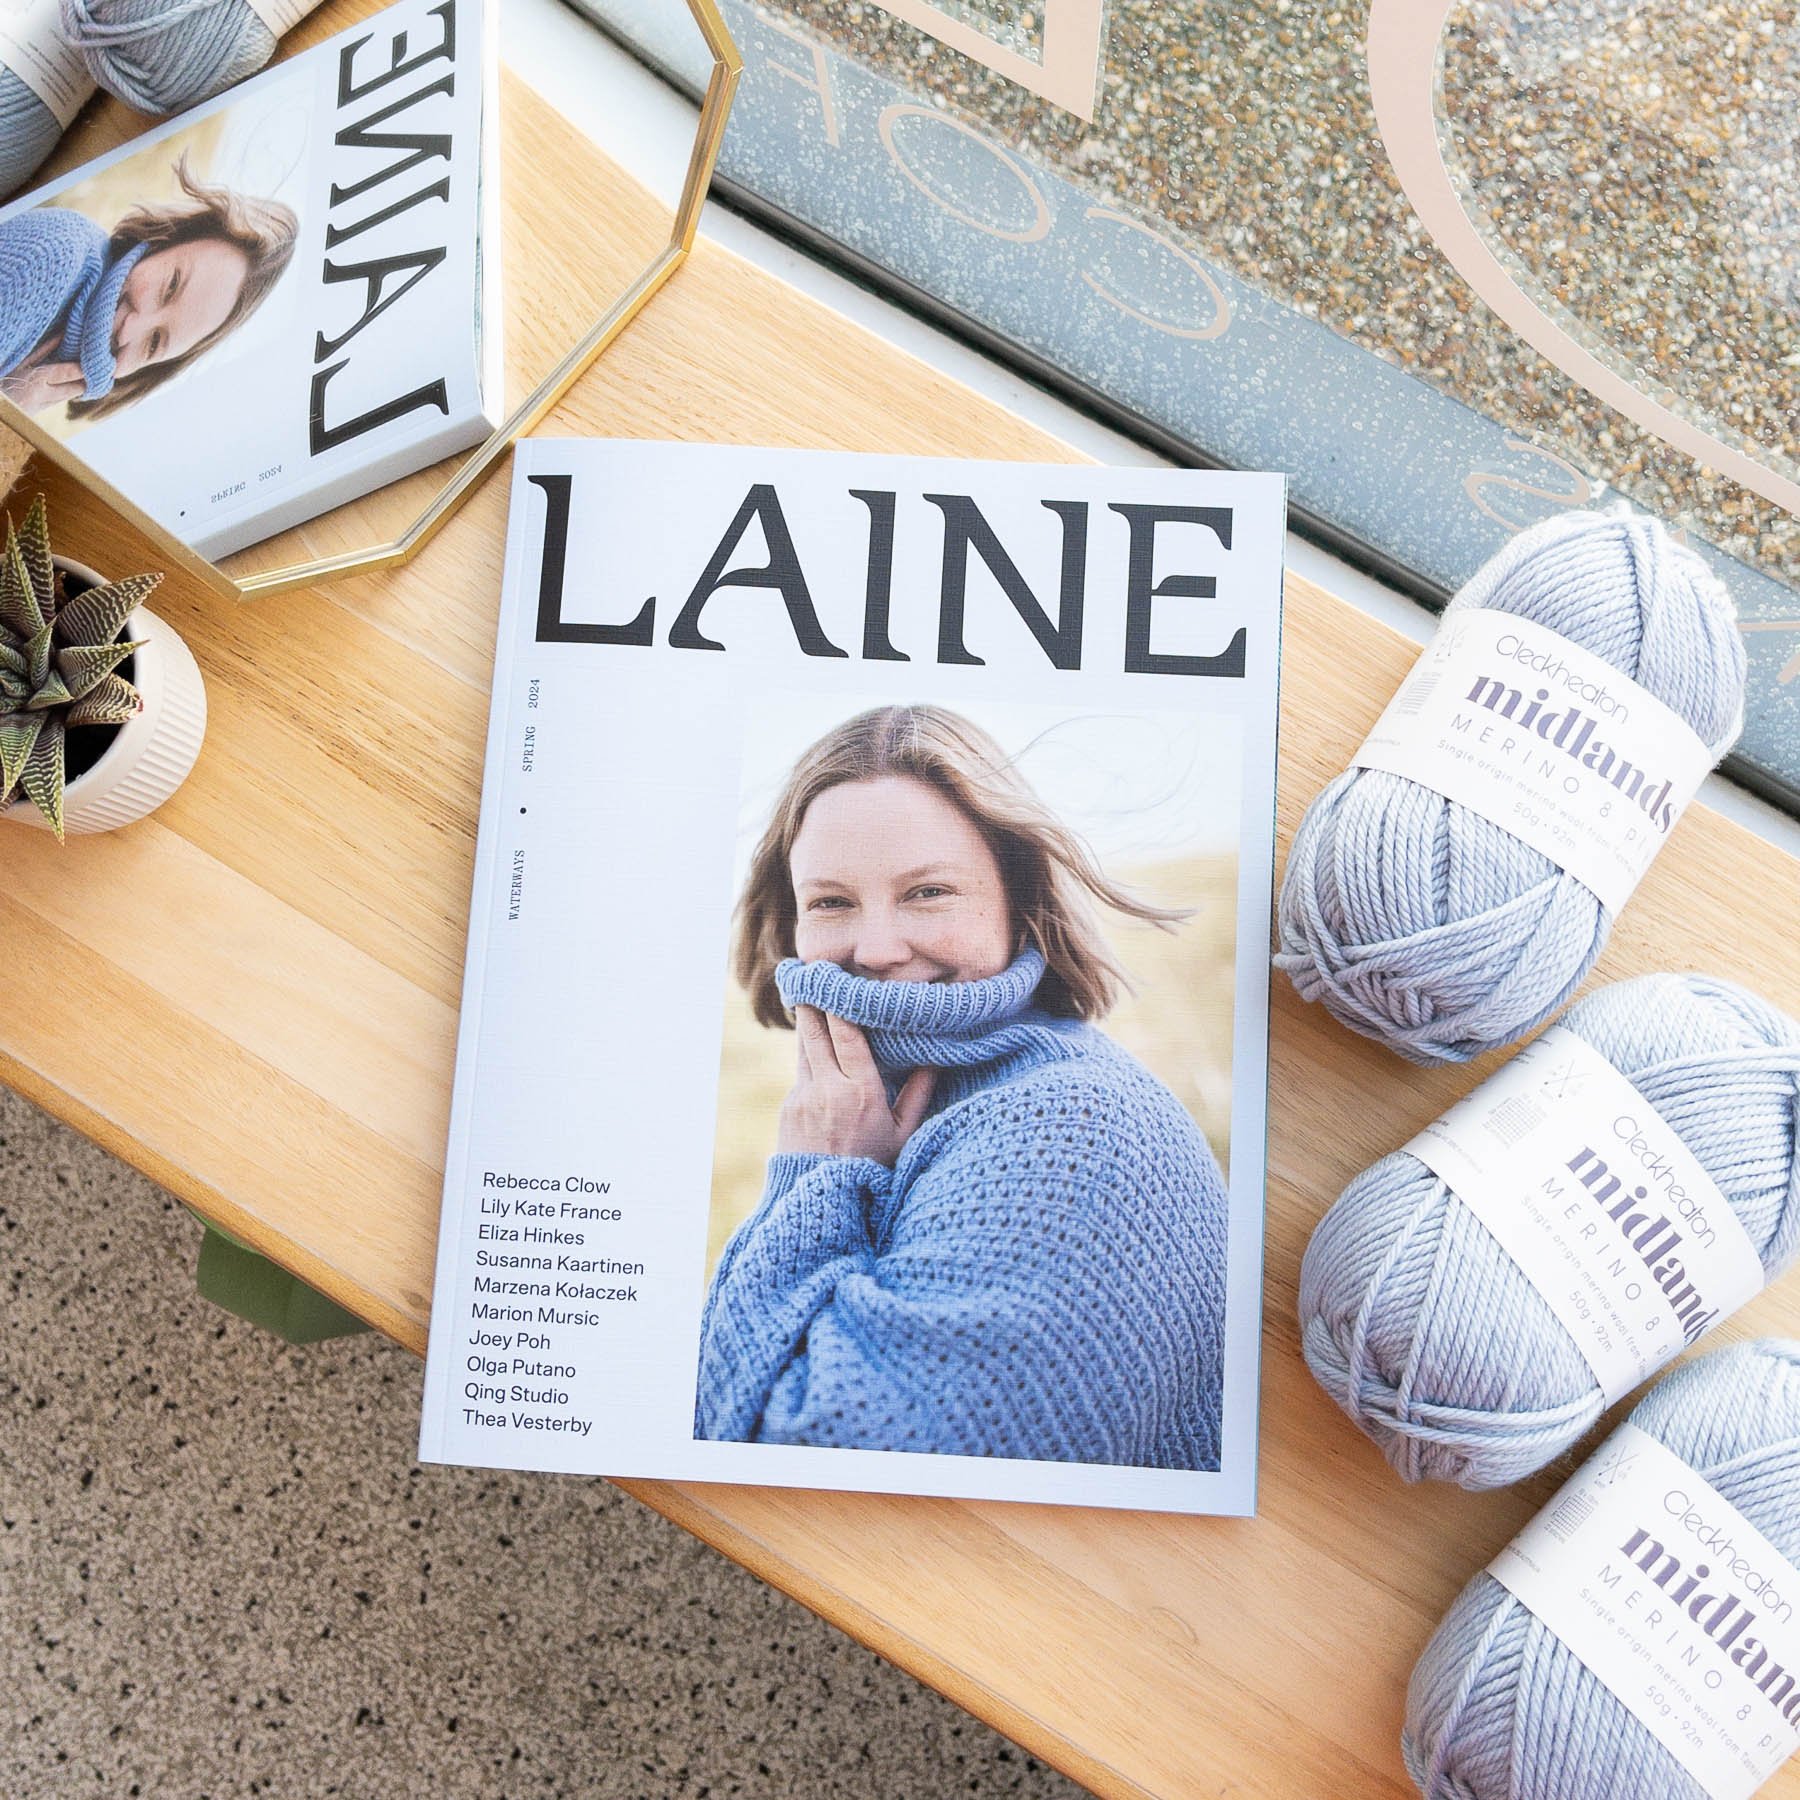
ABOUT CLECKHEATON

Cleckheaton began its Australian history in 1948, when the Cleckheaton Yorkshire mill, together with managers and mill hands, were transported 20,000 kilometres to Shepparton, Victoria. Cleckheaton has since earned the status as Australia’s premium quality hand knitting brand.


LET’S GET STARTED…

YOU MAY ALSO LIKE…

Truss, A Hand Knit Cardigan
Truss Cardigan in Loch Lomond Bio - Studio Project - Loom & Spindle-14.jpg

I knit this piece back in 2019 with the intention to eventually share it with you as a Studio Project.

My memory though is now a bit hazy so my project notes are a little more brief than usual.

I do remember what prompted the cast on though – I think you know the feeling - the one where you just have to have it!

The Truss cardigan is definitely a modern classic with some superb details.

Find out how it knit up in Loch Lomond GOTS below.

Enjoy!

Andrea - Loom + Spindle


STUDIO PROJECT | TRUSS

Truss Cardigan in Loch Lomond Bio - Studio Project - Loom & Spindle-13.jpg

INTENTION

Knit the Truss cardigan and explore:

  • Working with Loch Lomond Bio

  • Working a garment flat and in pieces

DESIGN

The Truss cardigan pattern was designed by Melissa Wehrle and first published by Brooklyn Tweed in June 2015. It’s currently available to purchase as a digital download at Ravelry.com or BrooklynTweed.com.

The pattern is available in 8 sizes. I knit size 3 with a finished bust circumference of 113.5cm (44.75’’).

Truss Cardigan in Loch Lomond Bio - Studio Project - Loom & Spindle-17.jpg

SKILLS

  • Tubular cast on

  • Knitting flat

  • Increasing and decreasing

  • Reading charts

  • Working buttonholes

  • Seaming

TOOLS

MATERIALS


PROCESS

YARN SELECTION

  • This one was easy; I love working with the light and lofty Loch Lomond GOTS. Gauge was a good fit too. A few projects that were already on Ravelry inspired the final ‘Curry’ colour selection.

Loom & Spindle - Loch Lomond Bio - 01 Curry-3.jpg

CONSTRUCTION

  • The garment is knit flat in pieces.

  • The decreasing rib pattern was engaging, and the body of the cardigan flew off the needles.

    *I know working flat is a bit old school, but I like to alternate my knitting projects between working in the round and working flat. I hold my needles and flick the yarn slightly differently between the two styles, it seems to help reduce my knitting related aches and pains – especially when I’ve been over doing it.

FINISHING

  • I blocked all pieces before seaming, taking care to match the seam lengths to the pattern. I did have to be a bit creative here while the pieces were wet to stretch everything out to the correct shape and size.

  • I used a baste stitch to hold and align the pieces for seaming. This kept everything in place while using back stitch to seam the selvages.

  • And I’ll fess up to one error in judgement. Rather than pick up stitches for the collar using circular needles I cast on the collar band as a separate piece. This got around the fact that I didn’t have circular needles on hand (and my dislike for picking up stitches). It did present problems when it came to buttonhole placement and sewing the band in place. But, with some careful counting and gauge measurements I think I got everything in the right place in the end.

Truss Cardigan in Loch Lomond Bio - Studio Project - Loom & Spindle-6.jpg
Truss Cardigan in Loch Lomond Bio - Studio Project - Loom & Spindle-11.jpg
Truss Cardigan in Loch Lomond Bio - Studio Project - Loom & Spindle-9.jpg
Truss Cardigan in Loch Lomond Bio - Studio Project - Loom & Spindle-20.jpg
Truss Cardigan in Loch Lomond Bio - Studio Project - Loom & Spindle-22.jpg
Truss Cardigan in Loch Lomond Bio - Studio Project - Loom & Spindle-23.jpg

INSIGHTS AND OPPORTUNITIES

YARN

  • Loch Lomond GOTS creates a wonderfully light fabric for a worsted weight yarn. Perfect for our Aussie climate. I love all the extra colours you get with the little tweedy flecks.

CONSTRUCTION + FINISHING

  • Little elements like the tubular cast, the decreasing rib pattern and seaming really gave this piece a professional finish. I highly recommend blocking the individual pieces before attempting to seam the garment.

FINAL THOUGHTS

The Truss cardigan is such a classic piece and relatively quick to knit at this gauge. What more can I say!

If you would you like to save this project for later add it to your Ravelry favourites HERE.

Truss Cardigan in Loch Lomond Bio - Studio Project - Loom & Spindle-13.jpg

Knitting Truss in Loch Lomond GOTS?

Here’s what you’ll need:

  • Size 1 - 6 Skeins

  • Size 2 - 6 Skeins

  • Size 3 – 7 Skeins

  • Size 4 – 7 Skeins

  • Size 5 – 8 Skeins

  • Size 6 - 9 Skeins

  • Size 7 - 10 Skeins

  • Size 8 – 11 Skeins


THANK YOU FOR READING!

GET 10% OFF YOUR NEXT LOCH LOMOND GOTS PURCHASE.

Simply join or confirm your subscription to the Loom & Spindle email newsletter to get your discount code.


Explore More Studio projects…

You may also like…

Tiger Lily, Steeking a Shawl
Tiger Lily Shawl - Pattern by Amirisu - Loom & Spindle-3.jpg

What is steeking?

If you hang around knitters long enough you may hear this term thrown around, often referred to with some trepidation.

But put simply, a steek is just the process of securing the cut edge of a knitted fabric. This allows the knitted fabric to be worked in the round and cut open without the ends unravelling.

I’ve been curious about this technique for a while and always watch with interest when my favourite YouTubers describe their experiences.

So, when Amirisu Issue 18 dropped in 2019 there was one piece in particular that caught my eye - the Tiger Lily shawl, a triangular colourwork shawl knit completely in the round and steeked!

Here’s my first-hand experience working a steeked shawl!

Enjoy!

Andrea - Loom & Spindle


STUDIO PROJECT: Tiger Lily

Tiger Lily Shawl - Pattern by Amirisu - Loom & Spindle-7.jpg

INTENTION

Knit the Tiger Lily shawl and explore:

  • Working with Loch Lomond GOTS

  • Working a triangular shawl in the round using steeking stitches

DESIGN

The Tiger Lily shawl pattern was designed by Amirisu Magazine, first published in Amirisu Issue 18: Summer 2019. It’s currently available to purchase as a digital download at Ravelry.com.

Tiger Lily Shawl Kit - Pattern by Amirisu - Loom & Spindle-1.jpg

SKILLS

Casting on
Knitting in the round
Decreasing stitches
Reading colourwork charts
Two colour colourwork
Steeking

TOOLS

4mm (US 6) and 4.5mm (US 7) circular needles.
I used Chiaogoo Spin Bamboo Interchangables.

MATERIALS

4 x Loch Lomond GOTS | Silver (06)
2 x Loch Lomond GOTS | Graphite (15)
1 x Loch Lomond GOTS | Schwarz (05)

*Tiger Lily yarn kits available HERE.

PROCESS

YARN SELECTION

  • The designer uses two colours of similar hue for the main chart, swapping in a high contrast colour for the smaller charts B and C.

  • Colourwork detail can occasionally be lost when adjacent colours are too similar. But I felt the designer had intentionally made this decision for Chart A , the similar hues creating a unique visual texture that adds to the rustic appeal of the piece.

  • With the designer’s colour-play in mind I experimented with a few different palettes. I used Loch Lomond Bio as I felt this yarn would be well suited to recreating the look and feel of the original piece.

  • I thought it would be fun to try a reverse palette of sorts and settled on a grey scale with two shades of light grey and a black for a dark contrast.

CONSTRUCTION

  • Working from the widest side of the triangle to the apex, the shawl began with a cast-on edge of around 300 stitches. This sounded daunting but using a long tail cast-on and counting stitches in groups of 50 as I went, it didn’t require too much effort.

    I used a needle larger than the pattern required for the cast-on edge. This was so I could make the stitches firm and even and provide the required ease for the selvedge stitches.

  • Following the pattern, the piece was joined in the round with steeking stitches added between beginning and end of row markers. This set-up is detailed in the pattern if you haven’t used this technique before.

  • At the beginning and end of each row I caught the non-working yarn in the edge stitches to secure both yarns and avoid any long floats at these points.

  • The colourwork charts are quite detailed and require some focus, particularly chart A with its wide repeat.

  • I worked the shawl as written.

Tiger Lily Shawl - Pattern by Amirisu - Loom & Spindle-4.jpg

FINISHING

  • I cut open the steek. Before unravelling the steek edges I blocked the shawl by giving it a short soak in a bath of cool water with a drop of wool wash. Pinning it out on a blocking matt, I gave attention to shaping the shawl and aligning the colourwork stitches.

  • To create the fringing, I unravelled the steek stitches and ironed the ends to remove the kinks. I tied off the ends in groups of four, ironing them flat again to align anything that was askew. I carefully cut the fringing to a 2.5cm (1'') length.

Once dry the gauge measured at: 

  • 22 stitches over 10cm (4'')

  • 28 rows over 10cm (4'')

  • Wingspan, 153cm (60’’)

  • The finished shawl weighed in at 256g (9oz)

Tiger Lily Shawl - Pattern by Amirisu - Loom & Spindle-6.jpg
Tiger Lily Shawl - Pattern by Amirisu - Loom & Spindle-8.jpg
Tiger Lily Shawl - Pattern by Amirisu - Loom & Spindle-15.jpg
Tiger Lily Shawl - Pattern by Amirisu - Loom & Spindle-14.jpg
Tiger Lily Shawl - Pattern by Amirisu - Loom & Spindle-9.jpg

INSIGHTS AND OPPORTUNITIES

YARN

  • What can I say? I just love this toothy tweedy yarn. Loch Lomond GOTS is built for colourwork and it certainly didn’t disappoint in this piece.

  • On soaking, the yarn bloomed to produce a light and woolly fabric.

  • The vast amount of colourwork creates almost a double layer of fabric, the resulting shawl feeling like a warm hug around the shoulders.

CONSTRUCTION

  • Using steeking stitches for a triangular shawl was quite unique but easy to set up and work.

  • Decreasing on every row and seeing the project shrink as you reach the apex was certainly satisfying.

FINISHING

  • Cutting open the steek to reveal the true shape and size of the shawl (and all my hard work) was certainly satisfying.

  • I was delighted with the fringe. I’m glad I took the time to iron and uncurl the ends to get that perfect straight edge.

  • Blocking revealed a slightly larger wingspan than the pattern intended. But all for the better as it sits perfectly on my shoulders without having to forever readjust it. 

Tiger Lily Shawl - Pattern by Amirisu - Loom & Spindle-1.jpg

FINAL THOUGHTS

Overall, this is a great design that worked up quickly.

I love the texture that the yarn and colourwork create.

Steeking is definitely a method I’ll incorporate into future projects.

I’ve been wearing this shawl all winter and heading into spring it won’t be leaving the wardrobe rotation any time soon!


THANK YOU FOR READING!

Would you like to save this project for later?

Add it to your Ravelry favourites HERE.


Like to knit Tiger Lily in Loch Lomond GOTS?


Stay in the loop

Receive updates from our studio, project inspiration and product news by joining the Loom & Spindle collective.


Explore More Studio projects…

You may also like…

Nightshift, A Hand Spun Shawl Project
Nightshift Shawl - Pattern by Andrea Mowry - Studio Project by Loom & Spindle-4.jpg

I often find it difficult to decide what to spin next, often overwhelmed by the many project variables – colour, fibre, plies and ultimately what to knit/weave/crochet…

Gradually I’ve realised that I just need to get the process started by making one key decision.

For a while I’ve wanted to spin for a shawl project and drawn in by the intense colour-play of the Nightshift shawl I knew it was time to commit.

I’ve detailed below how making this one decision had a positive cascading effect on the direction of the project, from how I selected the fibre and determined colour, to how I would spin the yarn and knit the shawl.

I hope you enjoy this exploration in fibre, colour and yarn, and maybe even inspire your next spin!

Andrea - Loom & Spindle


PROJECT: A Hand Spun Nightshift Shawl

Nightshift Shawl - Pattern by Andrea Mowry - Studio Project by Loom & Spindle-6.jpg

INTENTION

Hand spin yarn for a Nightshift shawl and explore:

  • Fibre selection and colour placement

  • Colour effects in the hand spun yarn

  • The resulting fabric and hand-feel

Nightshift Shawl - Pattern by Andrea Mowry - Studio Project by Loom & Spindle-27.jpg
Nightshift Shawl - Pattern by Andrea Mowry - Studio Project by Loom & Spindle-24.jpg

SKILLS

  • Hand spinning a two-ply worsted/10ply weight yarn

  • Knitted shawl construction

TOOLS

  • Spinning wheel - Louët S17 Spinning Wheel

  • Knitting needles - 5mm (US 8) circular needles (I used Chiaogoo Spin Bamboo Interchangables)

Nightshift Shawl - Pattern by Andrea Mowry - Studio Project by Loom & Spindle-31.jpg

MATERIALS

From my stash:

  • 50g, 21 micron Merino (yellow). Hand dyed by Created by Elsie B

  • 250g, 26 micron Warooka Station Merino x White Suffolk. Hand dyed by Shepherdess (no longer trading).

PATTERN

The Nightshift shawl pattern was published by Andrea Mowry of Drea Renee Knits in October 2018. It is available for purchase on Ravelry or dreareneeknits.com.

Nightshift Shawl - Pattern by Andrea Mowry - Studio Project by Loom & Spindle-1.jpg

PROCESS

FIBRE SELECTION

  • Spinning for a shawl project, my prerequisite when choosing fibre was for something that had a next-to-skin softness. Colour-play was also going to be a big part of this project, so I narrowed the fibre selection down further to just hand-dyed braids with interesting colour repeats.

  • Working from my stash, I pulled out hand dyed braids in Merino and similar fibres and started grouping compatible colourways.

  •  I settled on a braid of Merino and several braids of a Merino X Suffolk fibre, approximately 300g in total. I had previously sampled the Merino X Suffolk. The resulting yarn was soft and bouncy similar in characteristic to Merino.

  • Featuring heavily saturated shades of yellow, orange, red, purple and green, the resulting palette was definitely out of my comfort zone. Though, I considered the colour intensity and saturation of each shade would correspond well to the design elements of the Nightshift pattern.

Nightshift fibre.jpg

THE SPIN

  • The intention was to spin six, 2-ply yarns at a worsted/10ply weight to get a knitted gauge similar to what was specified in the pattern.

  • To prep the fibre I broke the fibre down into six 50g lots, carefully distributing colours to ensure I would end up with six colour differentiated yarns:

    • Yellow

    • Orange/Red

    • Red/Grey

    • Red/Purple

    • Green/Purple

    • Green

  • Then for my two plies I studied the colouring in each bundle and split each into two portions keeping the colour evenly distributed.

Nightshift Shawl - Pattern by Andrea Mowry - Studio Project by Loom & Spindle-22.jpg
  • For each colour bundle I spun one of the portions from the tip making the first ply. For the second ply I stripped down the remaining portions so the colours would repeat more frequently.

  • Each ply was spun in the Z direction at approximately 28-30 WPI, then plied together in the S direction to create a 2-ply yarn.

  • Each yarn was finished with a short soak in cool water, pressed in a towel to remove the excess and then hung to dry.

Nightshift Shawl - Pattern by Andrea Mowry - Studio Project by Loom & Spindle-20.jpg
Nightshift Shawl - Pattern by Andrea Mowry - Studio Project by Loom & Spindle-23.jpg

KNITTING

  • I knit a mini swatch on 5mm needles. I was happy with the resulting fabric. I didn’t fuss about gauge as the pattern was quite modular and could be made larger or smaller if needed.

  • The pattern was worked as written using Mowry’s suggested colour changes, with the exception of one colour repeat towards the end where I knit 10 extra rows.

  • My colours correspond to the pattern colours as follows:

    • Colour A – Green

    • Colour B – Green/Purple

    • Colour C – Yellow

    • Colour D – Orange/Red

    • Colour E – Red/Purple

    • Colour F – Red/Grey

    • Bound off in C and D.

Nightshift Shawl - Pattern by Andrea Mowry - Studio Project by Loom & Spindle-30.jpg

FINISHING

To finish, the shawl was immersed in a bath of cool water for around 10 minutes, the water was drained, and the shawl pressed between towels to remove the excess. The piece was pinned out on a blocking matt, attention given to the triangular shaping of the shawl.

Once dry the gauge measured at: 

  • 20 stitches over 10cm (4'')

  • 28 rows over 10cm (4'')

 Total yardage:

  • I’m not really sure as I didn’t do any strict yardage calculations before I started. Though, think I have enough left over to make a beanie!

Final measurements:

  • Wingspan - 65”/165 cm 

  • Centre Depth - 31”/79 cm

Nightshift Shawl - Pattern by Andrea Mowry - Studio Project by Loom & Spindle-14.jpg

INSIGHTS AND OPPORTUNITIES

FIBRE AND COLOUR SELECTION

  • The Nightshift was such a great stash buster, I was truly in my happy place mixing and matching fibres for this project.

  • I was immediately drawn to the warm saturated shades of some of my most treasured braids, I was delighted when the final palette came together.

THE SPIN

  • The worsted weight yarn spun up very quickly, I had everything spun up in under a month!

  • I felt that it was important to complete all the spinning before I started knitting for this project in order to determine colour placement within the knitted shawl. 

FABRIC AND HANDFEEL

  • I certainly wasn’t disappointed by the merino and Merino X fibres. They made for bouncy squishy yarns and a light and lofty shawl.

  • From far away you could easily say it’s just a colour block shawl, but with Mowry’s clever repeating mosaic stitch pattern the resulting fabric is a kaleidoscope of colour with subtle gradients over every row that I could study for hours.

Nightshift Shawl - Pattern by Andrea Mowry - Studio Project by Loom & Spindle-10.jpg
Nightshift Shawl - Pattern by Andrea Mowry - Studio Project by Loom & Spindle-17.jpg

FINAL THOUGHTS

  • There’s good reason why this pattern has 3800+ projects on Ravelry. The colour-play is highly engaging, and the piece works up quickly as you’re always itching to get to the next colour section.

  • The modular stitch repeat makes for a forgiving pattern, handy when yardage or gauge is not always spot on.

  • The colour shifting characteristics of hand-spun yarn make it the perfect substitution for the patterns suggested yarn.

  • Knitting with your hand spun yarn and feeling every bump and seeing every colour change is so satisfying. I would highly recommend all skill levels giving it!

Nightshift Shawl - Pattern by Andrea Mowry - Studio Project by Loom & Spindle-7.jpg

THANK YOU FOR READING!

Would you like to save this project for later? Add it to your Ravelry favourites HERE.

STAY IN THE LOOP

RECEIVE UPDATES FROM OUR STUDIO, PROJECT INSPIRATION AND PRODUCT NEWS BY JOINING THE LOOM & SPINDLE COLLECTIVE.

Nightshift Shawl - Pattern by Andrea Mowry - Studio Project by Loom & Spindle-2.jpg
 

Explore Spinning…

You may also like…

Knitting Lydia Gluck’s Woodwardia Pullover
Loom & Spindle - Woodwardia Swaeter-1.jpg

A Spring Project

Heading into Spring we’re enjoying the warming weather. Though, with crisp mornings and cool evenings we’re still seeking out layering pieces to transition the day.

The Woodwardia pullover by Lydia Gluck (co-founder & editor of Pom Pom Quarterly) is the perfect spring staple. With its relaxed fit and understated silhouette, it offers both comfort and warmth all with a lightness in hand.

We recently added this piece to our spring wardrobe, having worked it up in Hamelton No. 1 by BC Garn. With its top-down in-the-round construction and botanical design details it was an enjoyably simple knit.

Below, we take a closer look at some of the finer details of Woodwardia and review Hamelton No. 1.

Enjoy!


PROJECT

Knitting Woodwardia By Lydia Gluck in Hamelton No. 1 by BC Garn

Loom & Spindle - Woodwardia Swaeter-2.jpg

AIM

Knit the Woodwardia pullover to explore:

  • Top-down, in-the-round construction

  • Knitting with Hamelton No. 1, its suitability and yarn characteristics, and

  • The resulting fabric and hand-feel

SKILLS

  • Knitting in the round

  • Simple increases and decreases

  • Casting off in pattern

  • Wet blocking

TOOLS

  • Body: 4.5mm (US 7) circular needles (we used Chiaogoo Spin Bamboo Interchangables)

  • Ribbing: 4mm (US 6) circular needles (we used Chiaogoo Spin Bamboo Interchangables)

MATERIALS

Loom & Spindle - BC Garn - Hamelton 1 - Baby Pink-2.jpg

Hamilton No. 1 by BC Garn
Colourway BABY PINK (112)


PATTERN

The Woodwardia pullover pattern by Lydia Gluck was first published in Pom Pom Quarterly, Issue 28: Spring 2019 and subsequently in Ready Set Raglan in 2020. It is available to purchase HERE, on RAVELRY or the POM POM website.

Loom & Spindle Woodwardia Pattern.jpg

Process

The pattern was worked as written with one design modification to the neckline.

Loom & Spindle - Woodwardia Swaeter-14.jpg

SIZE

We knit a size 3 for a finished bust circumference of 120cm (47.25'') – to be worn with 20cm (8'') positive ease.

SETUP

We knit the pattern as written for the body and sleeves and modified the neckline.

MODIFICATIONS

As the Australian spring can be relatively temperate we thought the rolled neck collar might be a bit too warm for our climate.

We opted for crew-neck style neckline. The modification was simple, we followed the instructions for the collar as written and cast-off in pattern after 9 rows of ribbing was complete.

Adding short rows to the back neck was briefly considered. However, having tried on the pullover before the neckband was started it was deemed unnecessary as the neckline was quite generous and sat evenly around the shoulders.

Loom & Spindle - Woodwardia Swaeter-3.jpg
Loom & Spindle - Woodwardia Swaeter-6.jpg
Loom & Spindle - Woodwardia Swaeter-8.jpg
Loom & Spindle - Woodwardia Swaeter-7.jpg

FINISHING

To finish, the garment was immersed in a bath of cool water for around 10 minutes, the water was drained and the pullover pressed in a towel to remove the excess. The piece was pinned out on a blocking matt, attention given to shaping the jumper to the dimensions provided in the pattern and aligning the stitches.

Once dry the gauge measured at:

  • 18 stitches over 10cm (4'')

  • 28 rows over 10cm (4'')

 The total yarn used:

  • 482g (17oz) / approx. 964m (1054y), or

  • 10 balls Hamelton No. 1

Loom & Spindle - Woodwardia Swaeter-17.jpg

INSIGHTS AND OPPORTUNITIES

CONSTRUCTION

Being comfortable reading knitting patterns, we found the top-down in-the-round construction easy to follow. And, being familiar with the pattern skills, the garment was straightforward to knit. The purl stitch detail on the raglan sleeves was intuitive and easy to remember.

Though the styling was simple, the design included some smart design elements for a relaxed and comfortable fit – lots of positive ease, a longer back hem and generous neckline.

Knit in a worsted weight yarn and with some dedication to the project the pullover worked up quickly.

Loom & Spindle - Woodwardia Swaeter-15.jpg
Loom & Spindle - Woodwardia Swaeter-16.jpg

THE PULLOVER

Using Hamelton No. 1 and the needle sizes suggested, we were able to achieve the gauge specified. The measurements of the finished garment matched those stated in the pattern. Yes!

Our modification - the crew neckline, sits flat and evenly around the shoulders. 

We came in just under 500g to complete the project. The resulting pullover is lightweight and warm, and we can confirm very wearable throughout the day!

Loom & Spindle - Woodwardia Swaeter-11.jpg

THE FABRIC

We love the look of Hamelton No 1 in the knitted fabric. The worsted 2-ply construction results in a somewhat textured surface, reminiscent of handspun yarn in hand-feel and appearance.

The slight lustre of the yarn remains bright in the fabric. We have experienced some pilling on the elbows, but this can be expected on a worsted spun 2-ply yarn with moderate twist. We think after a few brushes this will settle, making for a hard-wearing sweater.

Our tester did note a slight pique to the yarn. Though wearable against the skin, they did prefer to wear a long sleeve garment under this yarn.

Loom & Spindle - Woodwardia Swaeter-18.jpg

FINAL THOUGHTS 

For those new to knitting garments, the Woodwardia pullover would make a great introduction to top-down in-the-round construction.

The skills required, and the layout of the pattern would be approachable for those interested in extending their knitting skills.

Hamelton No. 1 produced a light yet warm fabric with interesting surface texture.

The piece itself is extremely wearable with lots of positive ease for layering-up on those spring days that start cool, and warm as the day progresses.

Loom & Spindle - Woodwardia Swaeter-13.jpg

THANK YOU FOR READING!

Would you like to save this project for later? Add it to your Ravelry favourites HERE.

Knitting Woodwardia? You’ll need a worsted / 10 ply weight yarn with the following meterage:

  • Size 1  - 730m

  • Size 2 - 845m

  • Size 3 - 940m

  • Size 4 - 1035m

  • Size 5 - 1130m

  • Size 6 - 1225m

  • Size 7 - 1345m

  • Size 8 - 1500m

  • Size 9 - 1590m

  • Size 10 - 1720m


Let’s Keep Knitting…

You may also like…