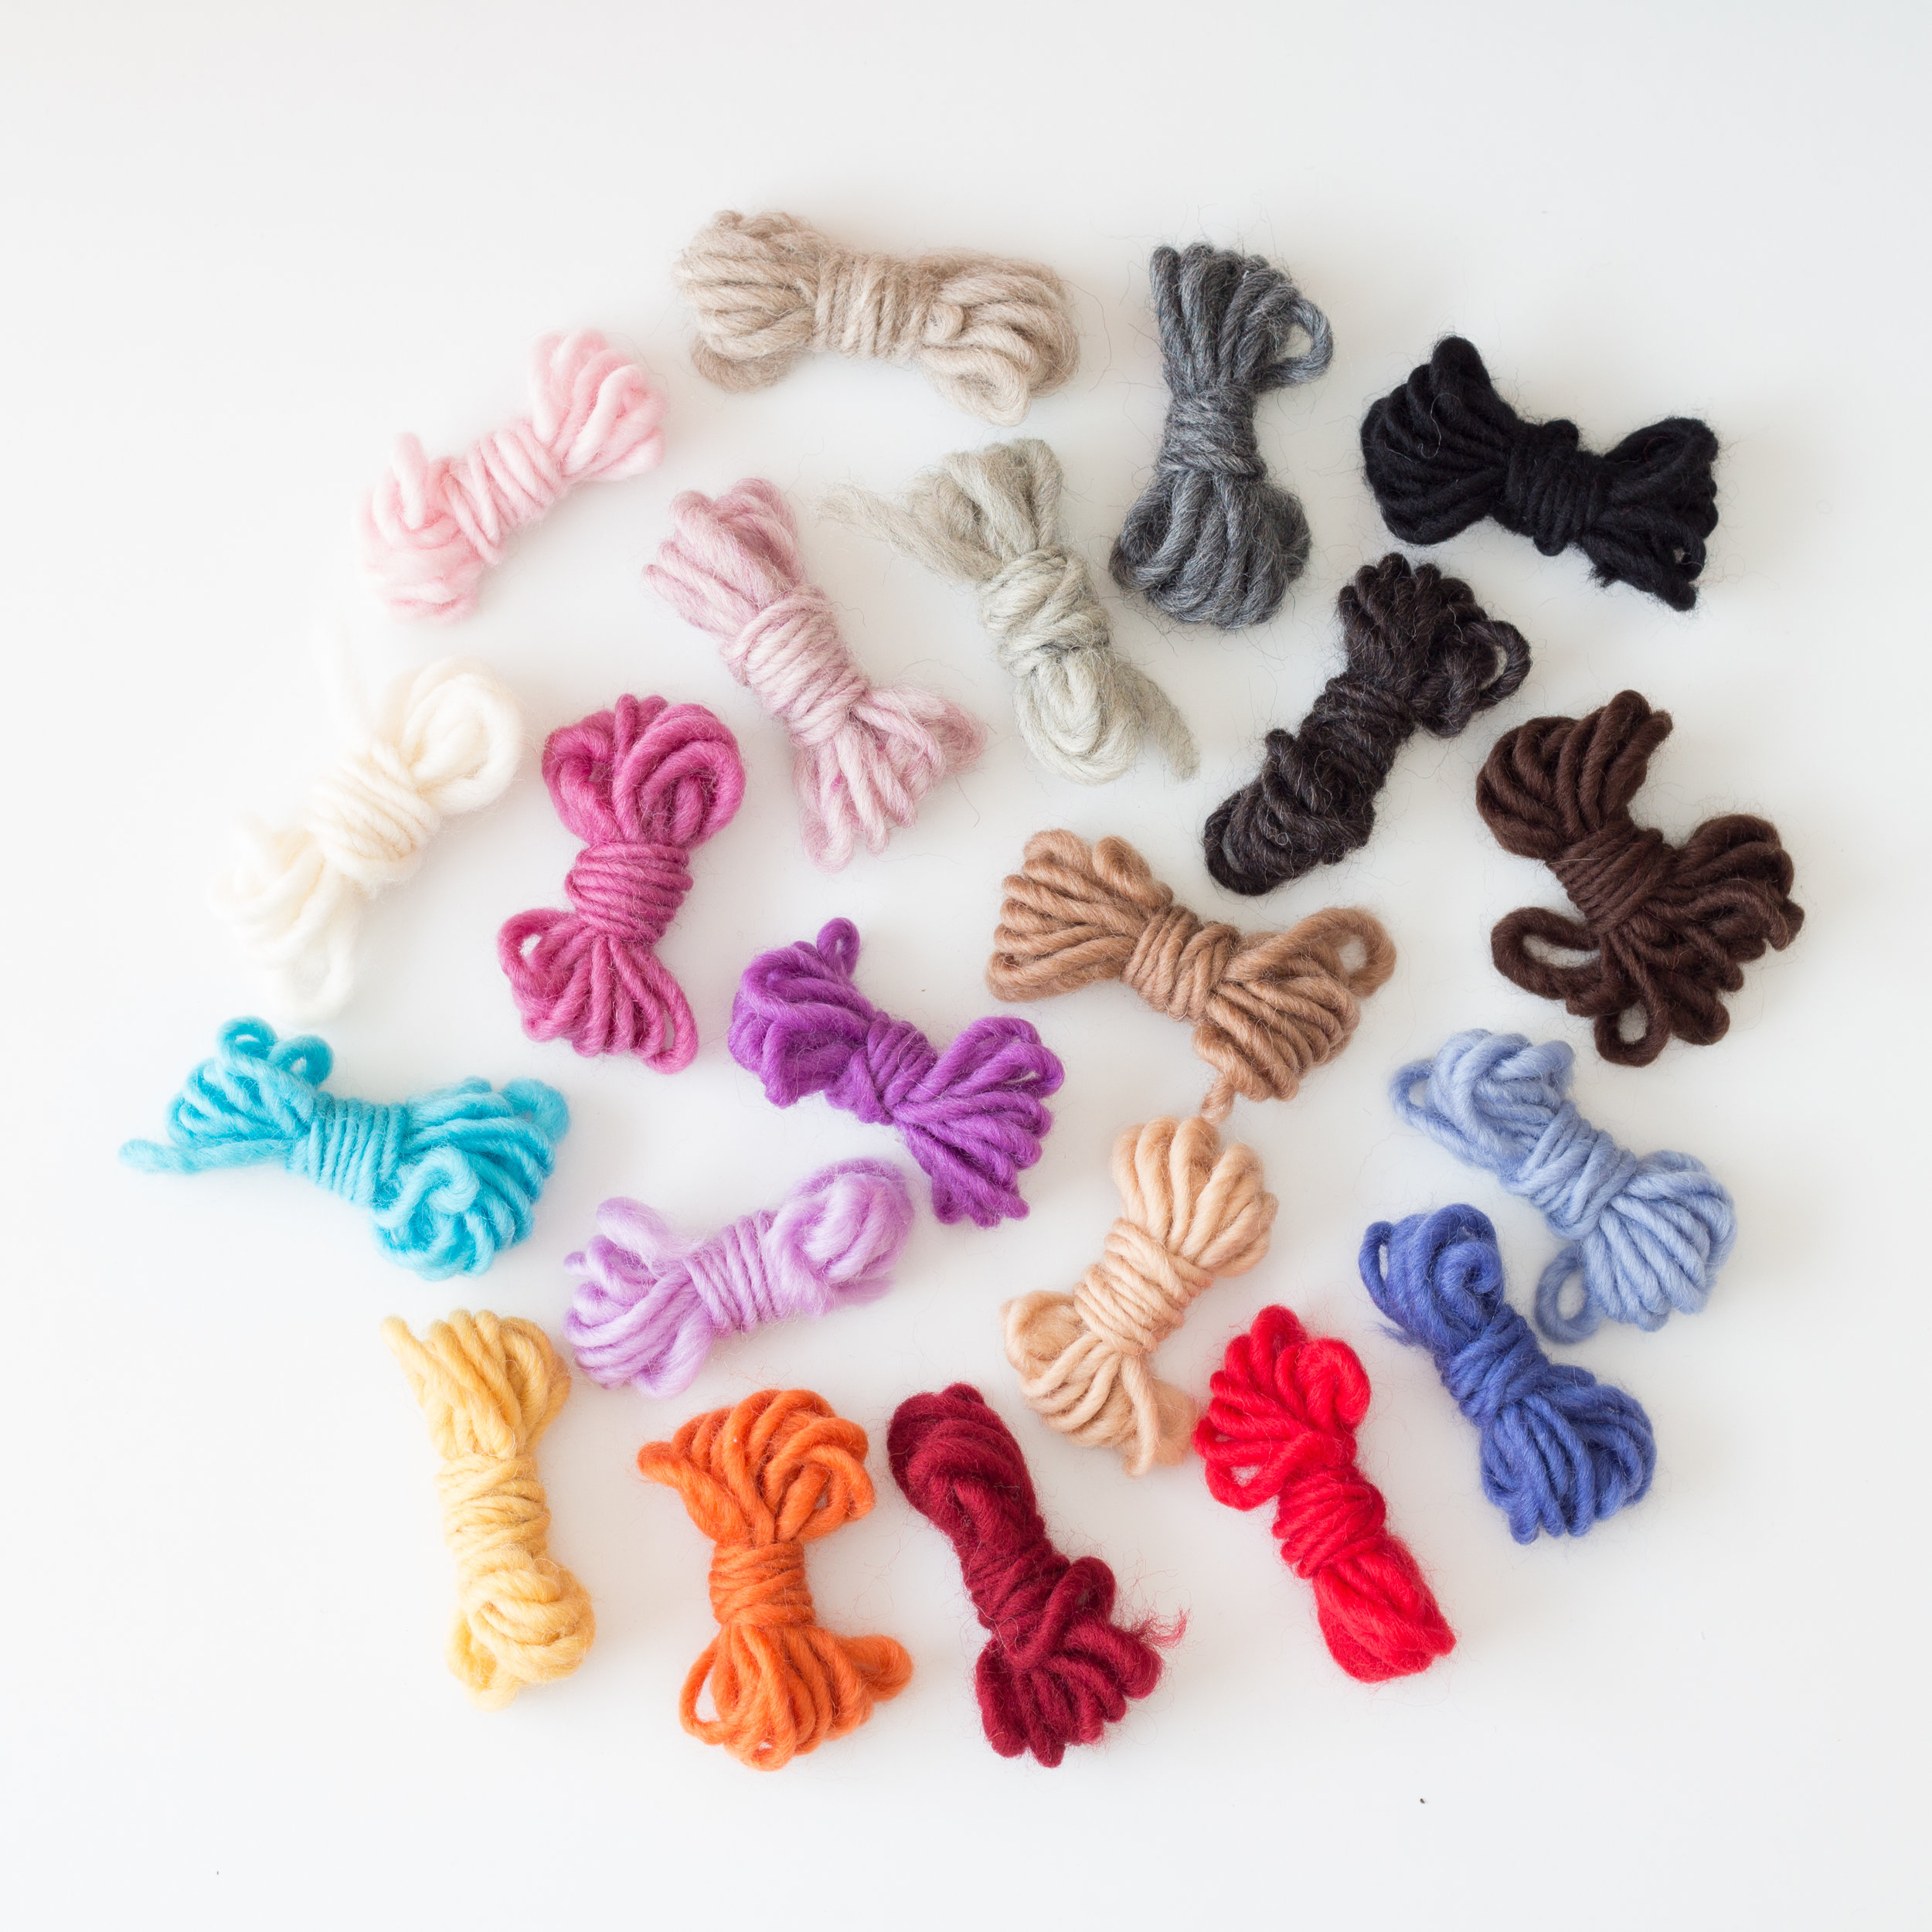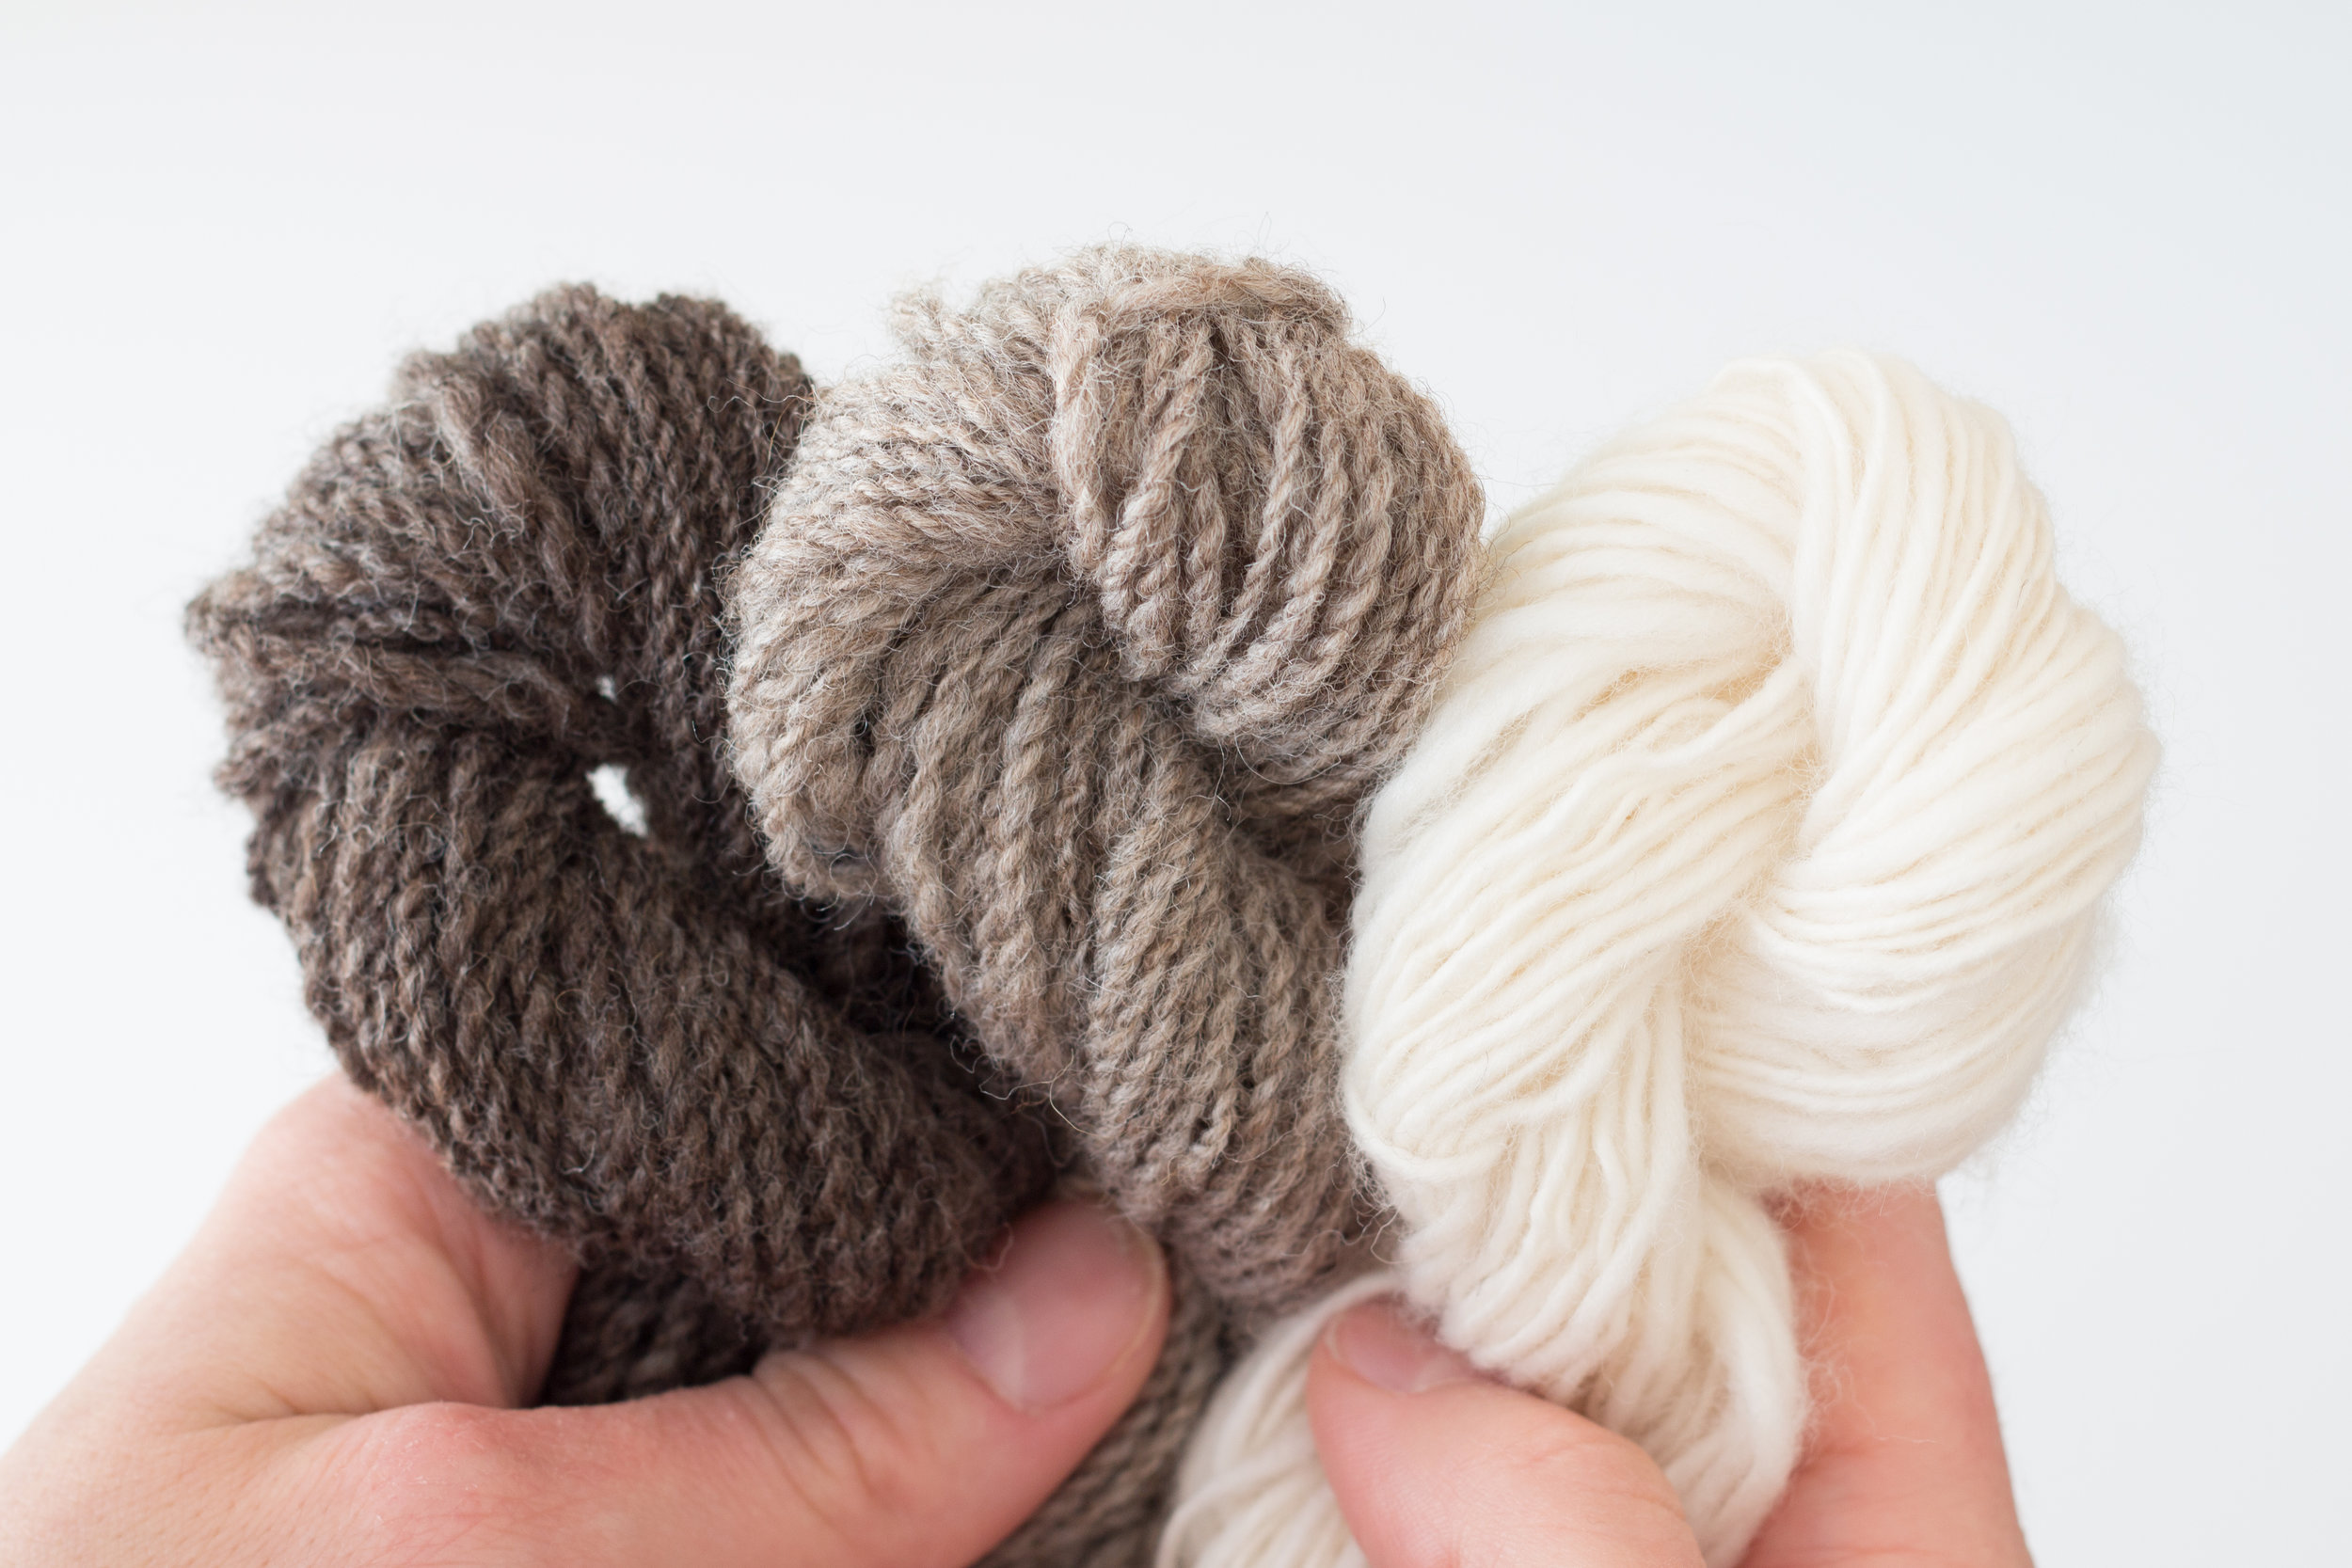


Last week we welcomed Woolsey, the first weaving yarn by Loom & Spindle.
But more notably, we welcomed COLOUR to the Loom & Spindle range - 8 glorious shades to be precise!
I’d thought we’d continue our exploration of Woolsey as a weaving yarn with a tapestry workshop in colour transitions.
It’s a technique I developed for working soft transitions between two solid weft colours.
It requires the weaver to visually divide up the area of colour transition and assign a ratio of weft colour to each section.
By determining the metric - how many times per row the weft rises over the warp, we can establish a percentage for each colour that’s to be woven and create the visual effect.
Once the intention of the technique is understood, the technique itself is quite freeform and can be woven without rigid structure.
So, grab a pair of your favourite Woolsey colours and let’s start weaving!
TAPESTRY WORKSHOP: Weaving Colour Transitions
INTENTION
Soften the transition between two solid weft colours by alternating weft threads over the horizontal plane.
SKILLS to practice and develop
Plain weave
Double half-hitches to secure weft
Weft changes using the half-hitch method
Maintaining weave sequence while alternating wefts
*To learn more about these skills you might like to check out our book - LINE SHAPE TEXTURE.
THE PLAN
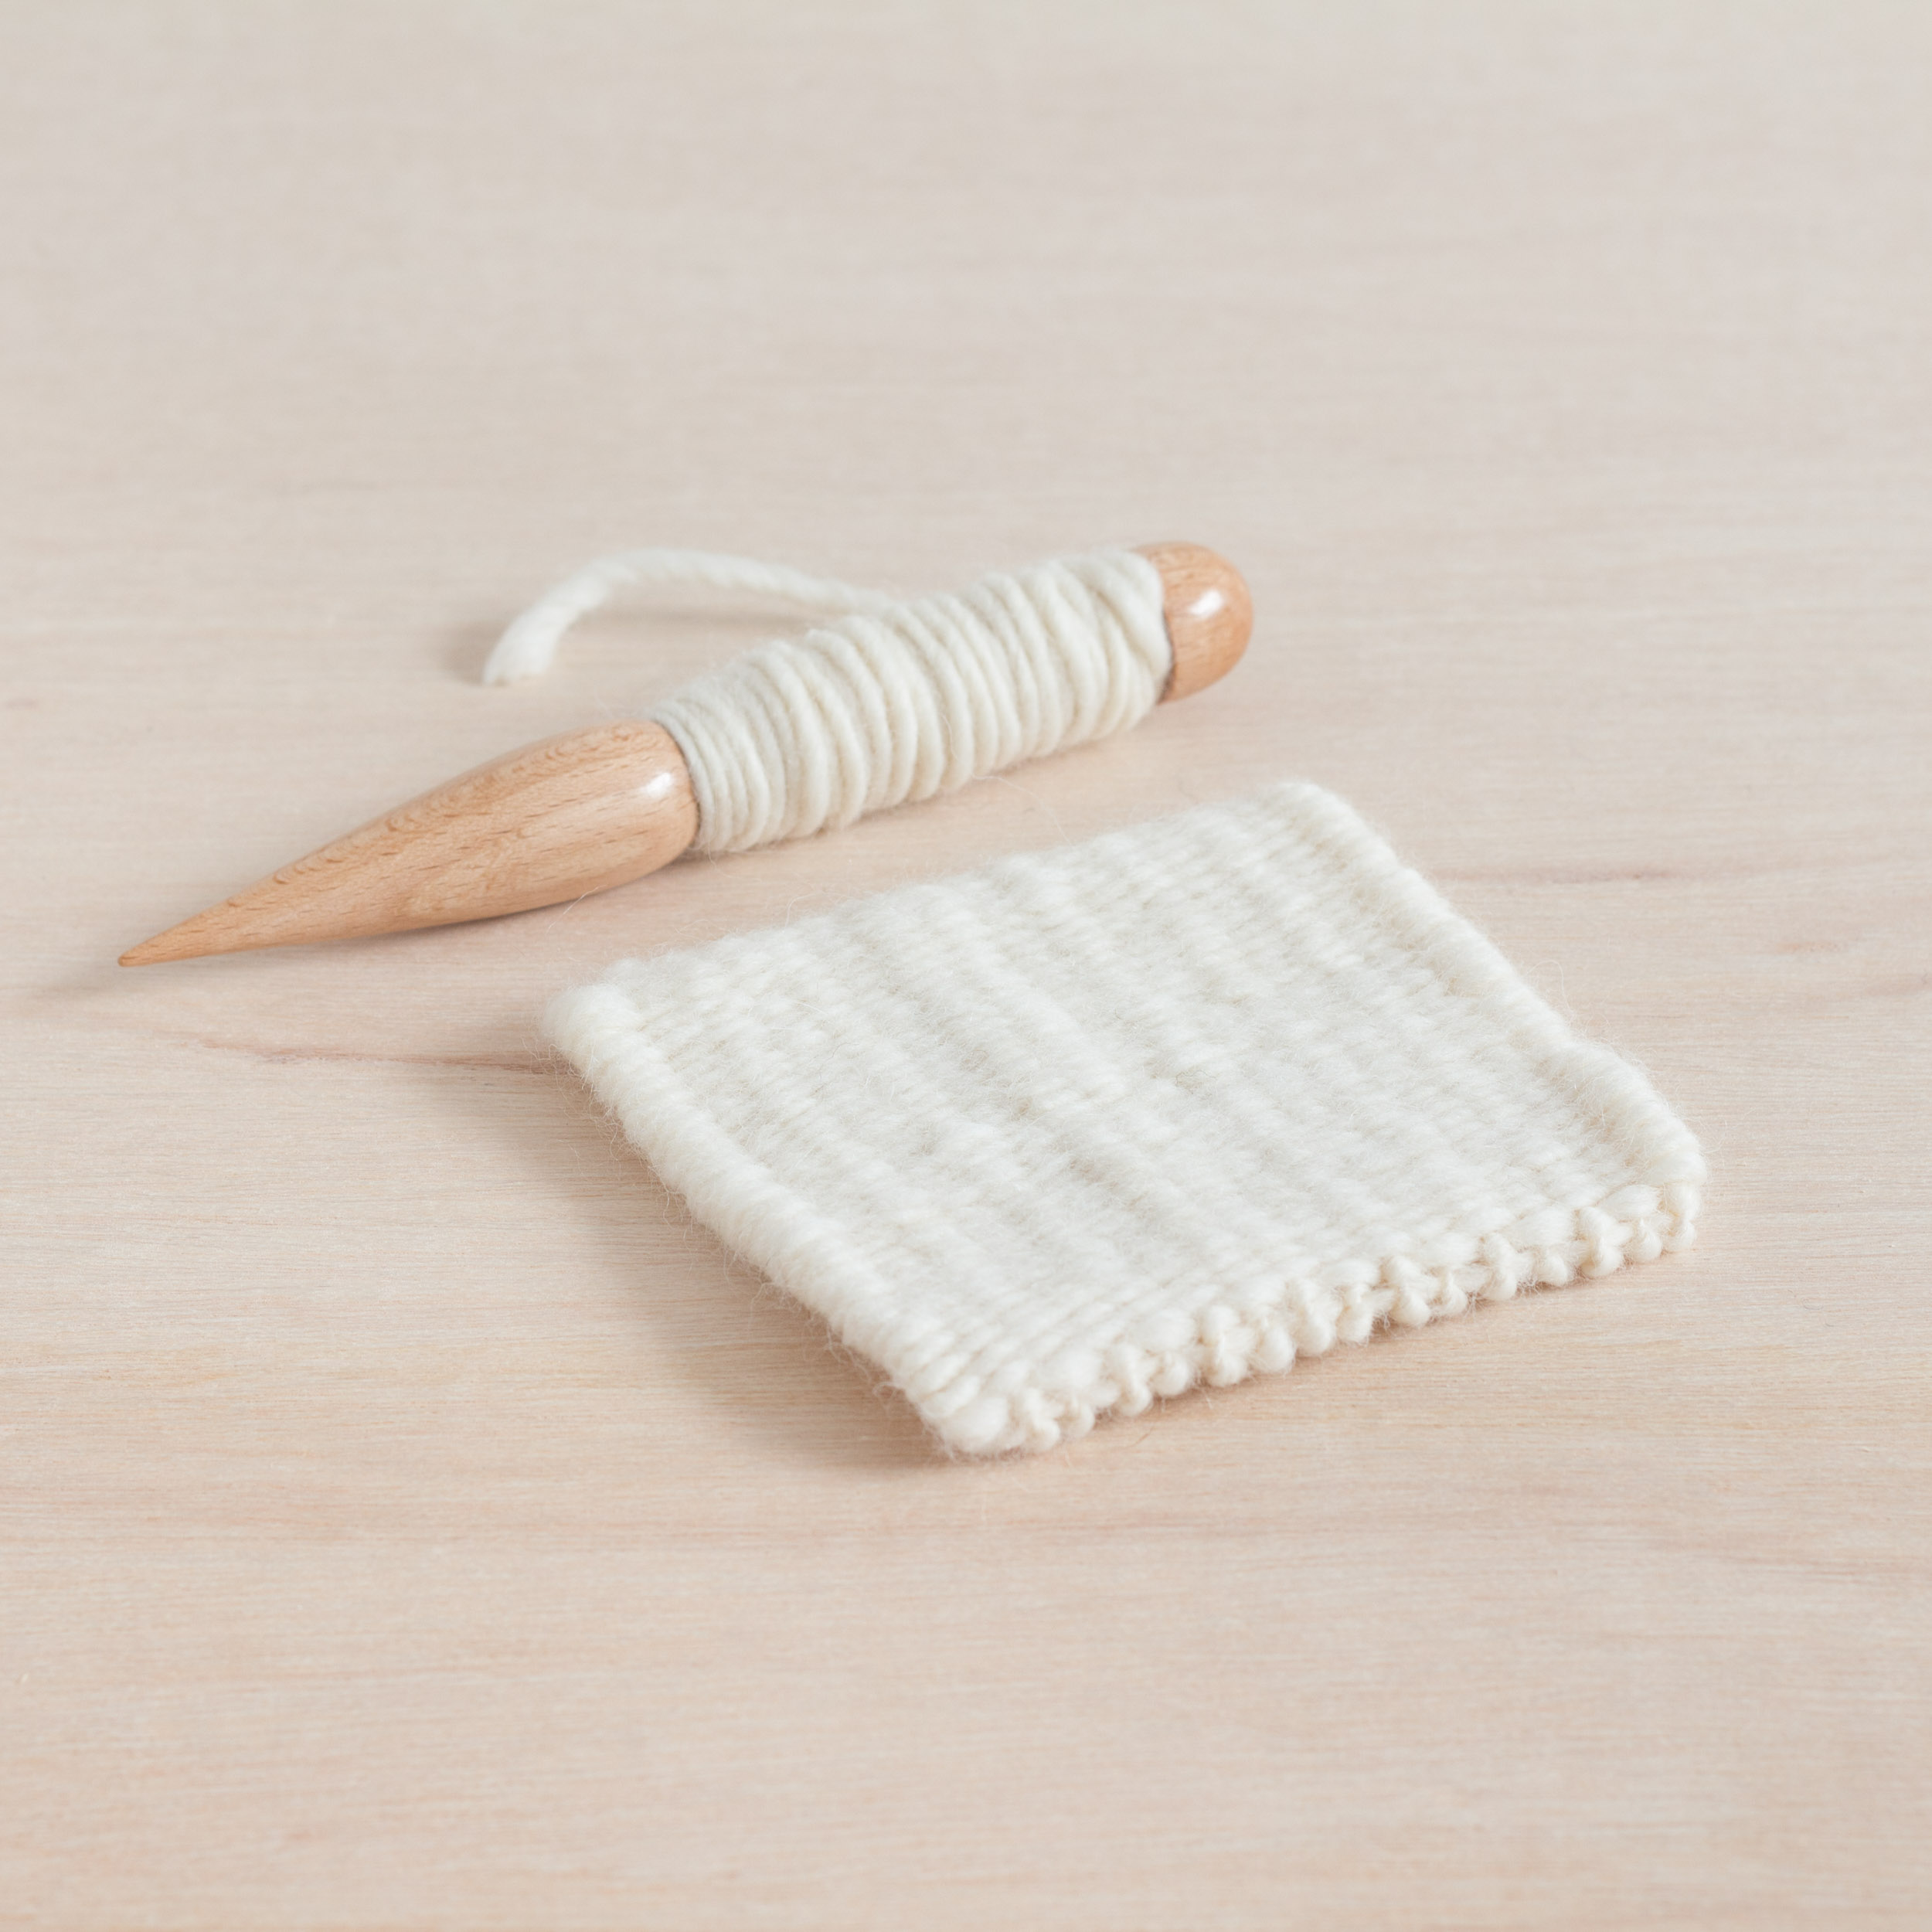
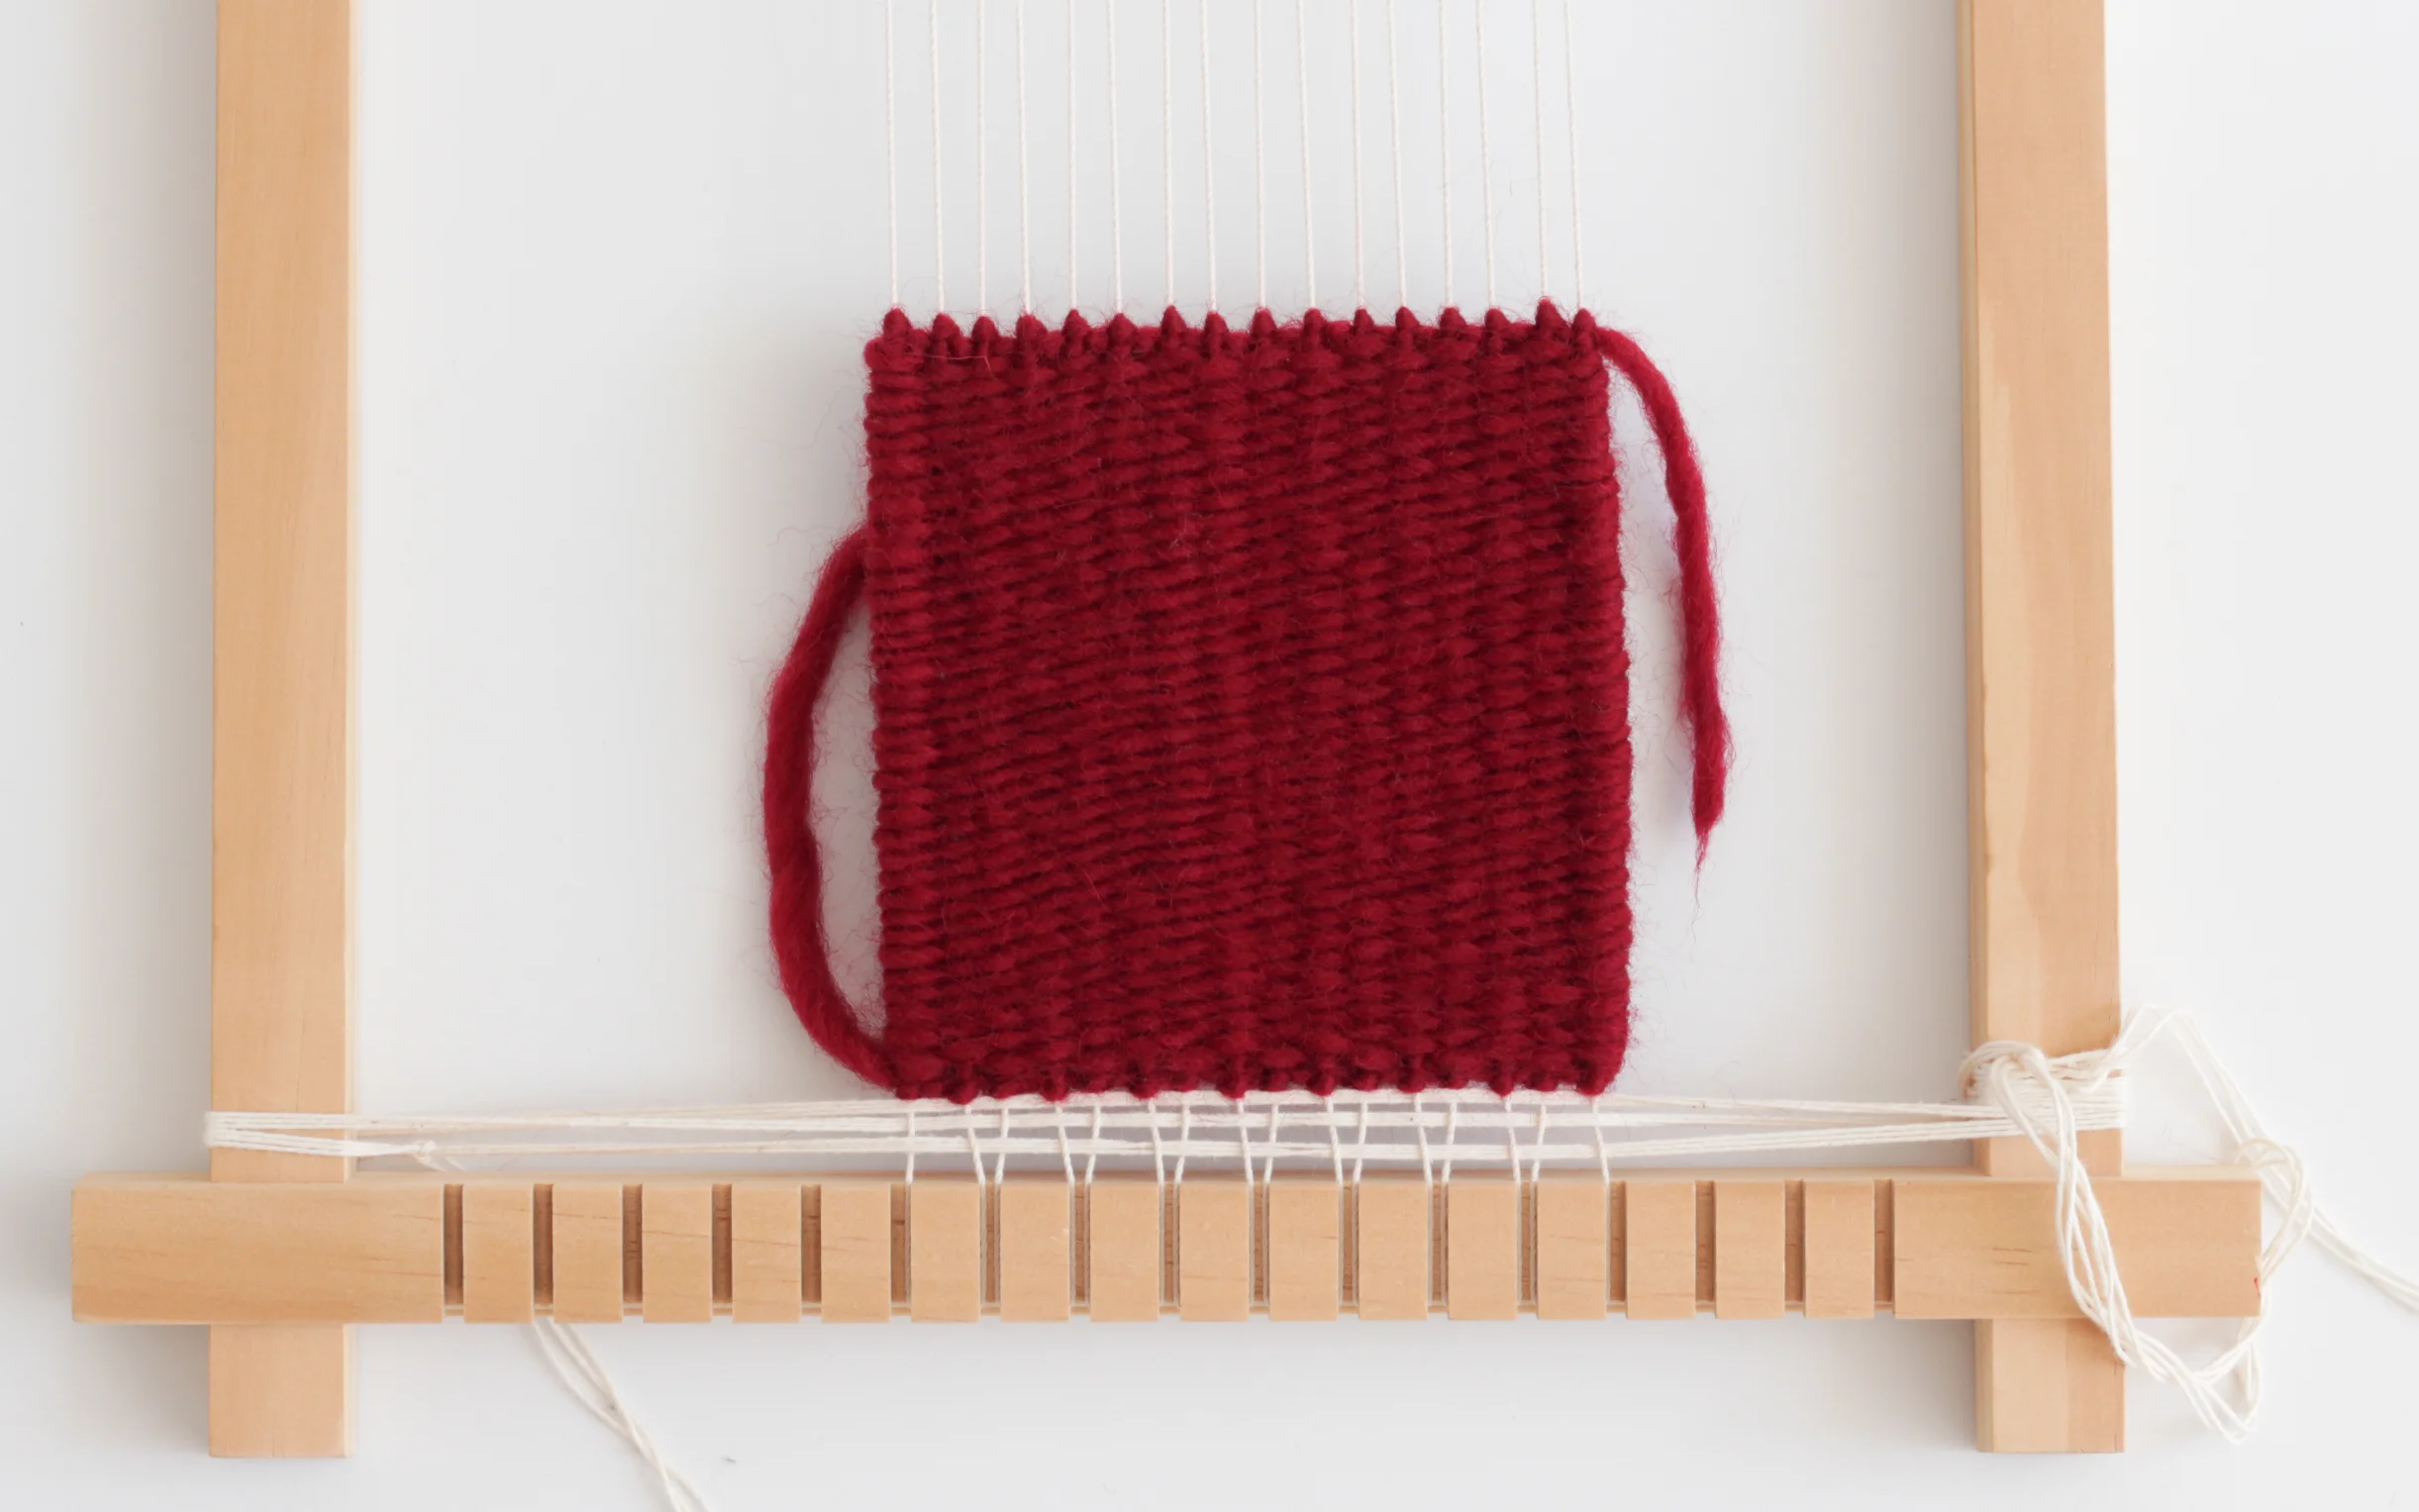
Make a tapestry sampler that will measure 10 cm x 10cm (or 4" x 4").
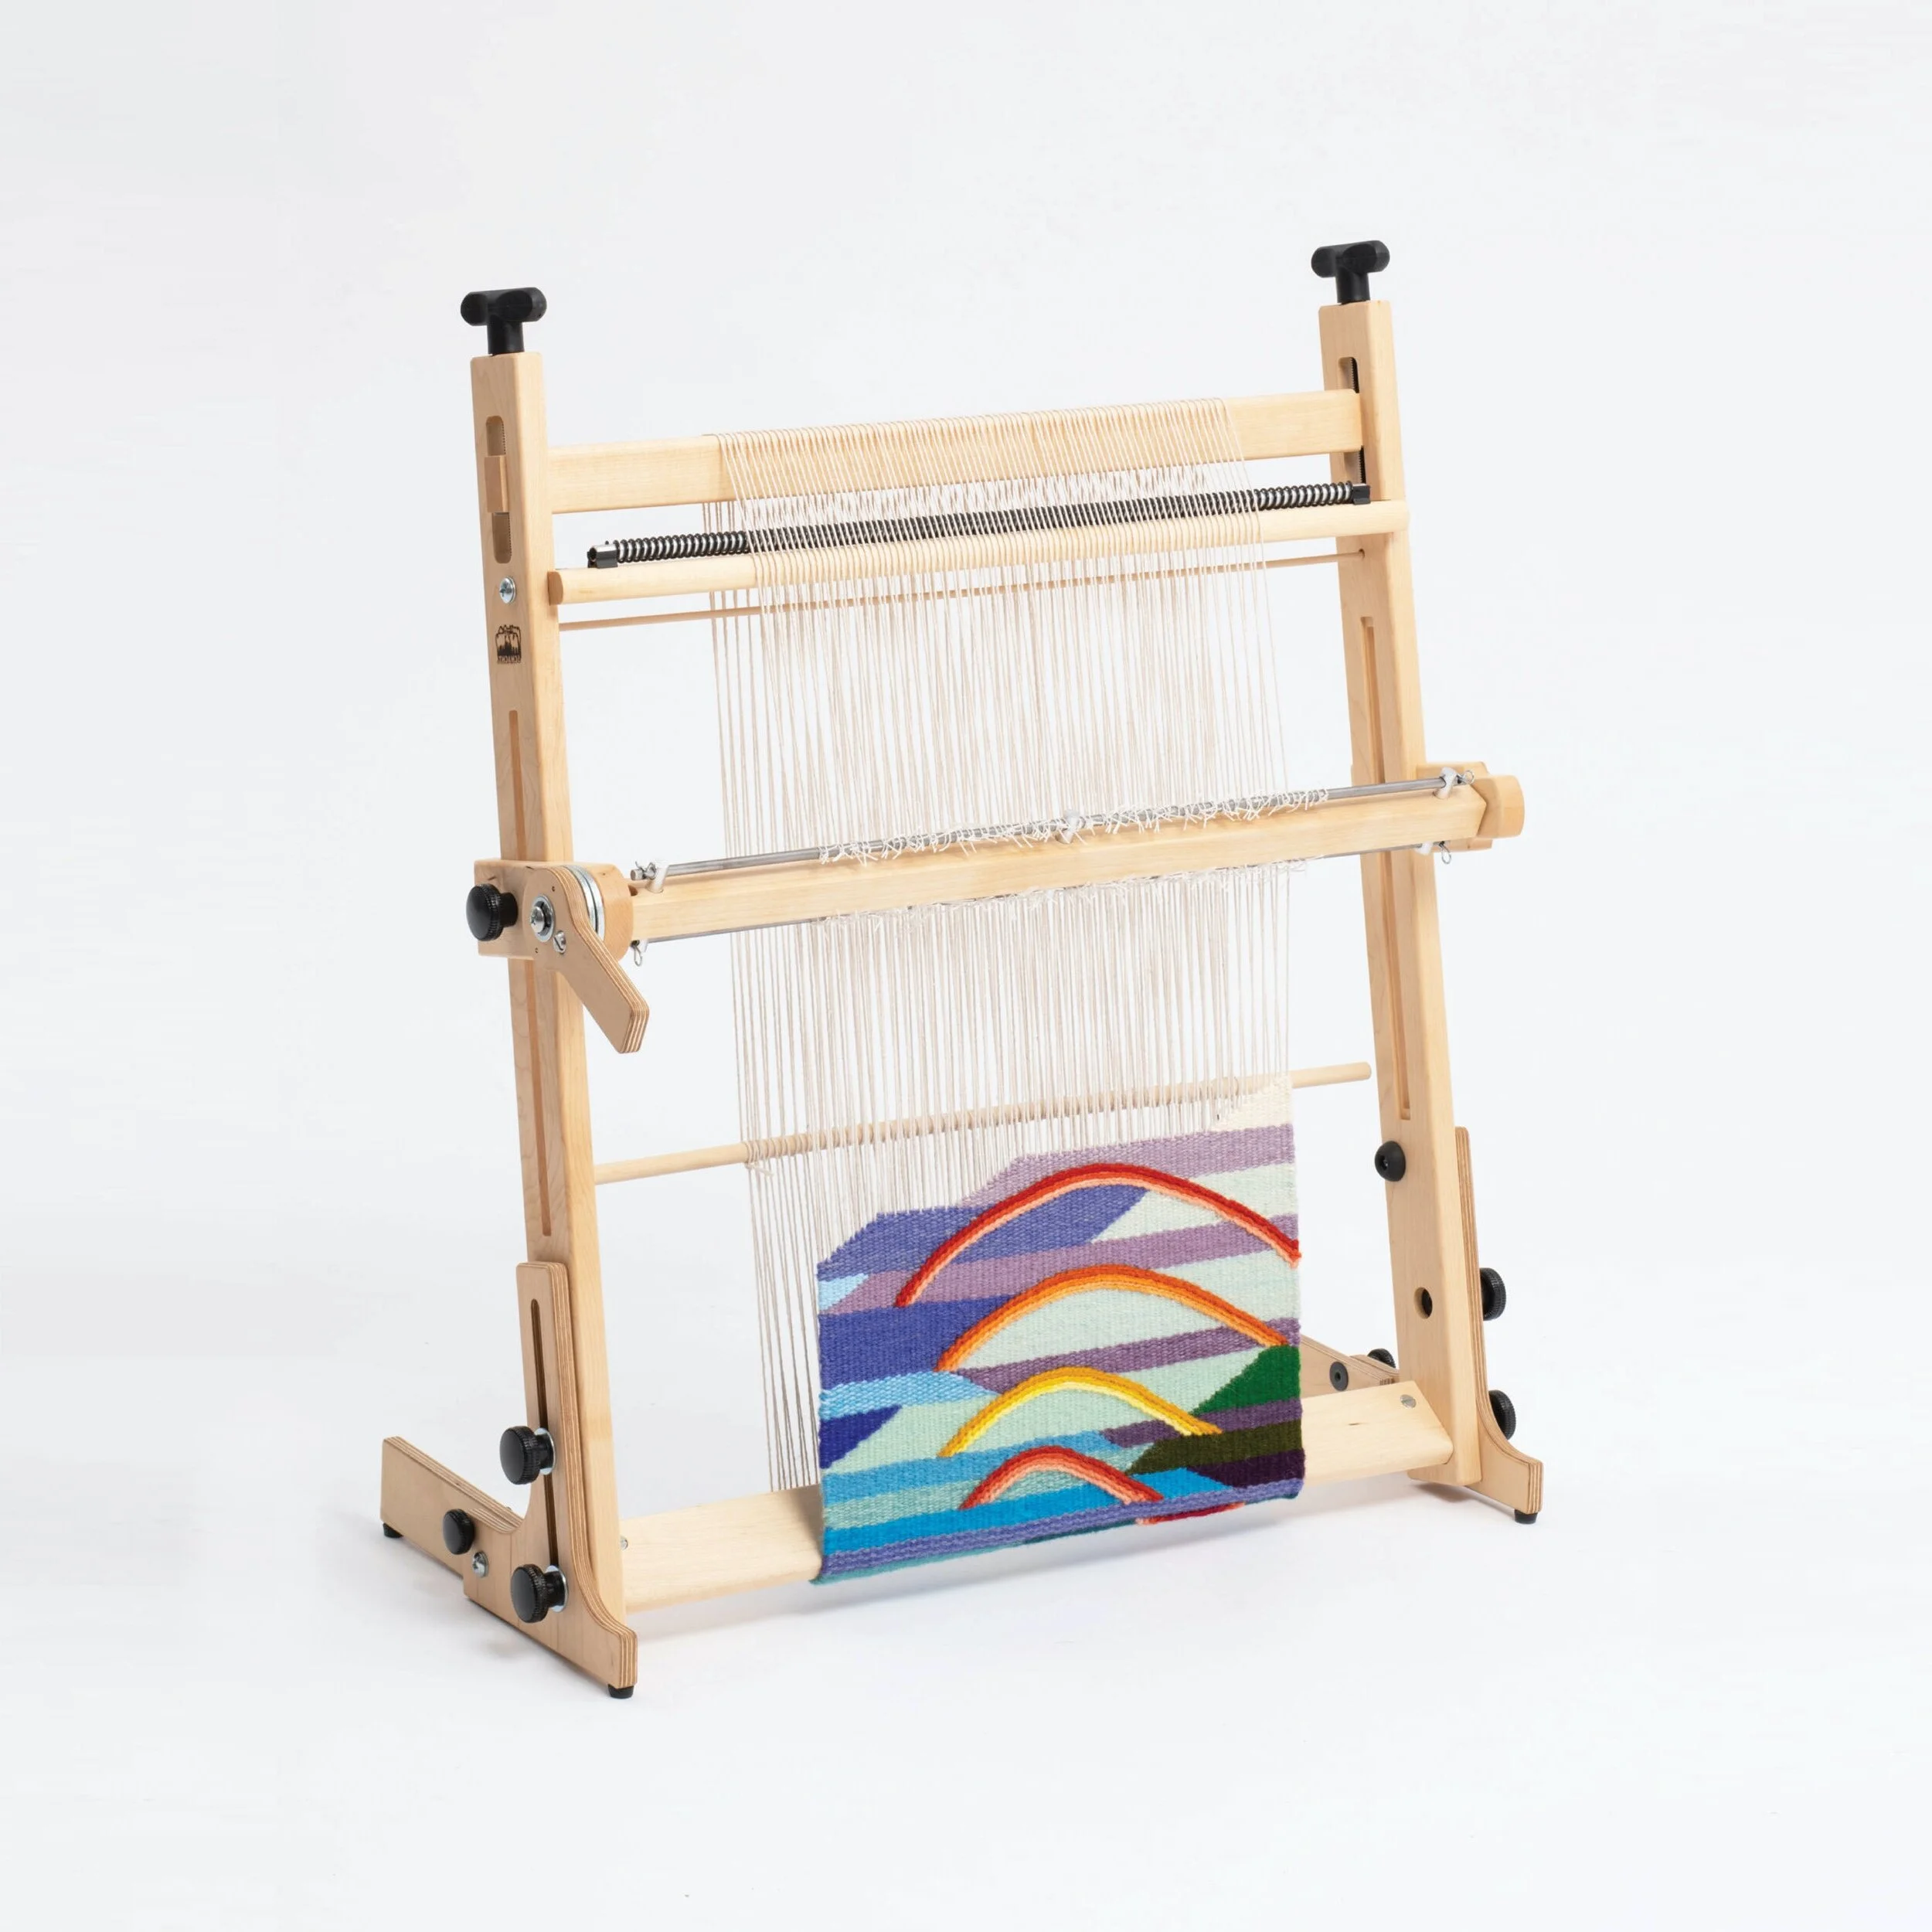
The set-up will comprise a frame-loom warped with cotton thread at 16 ends over 10cm (4 ends per inch).
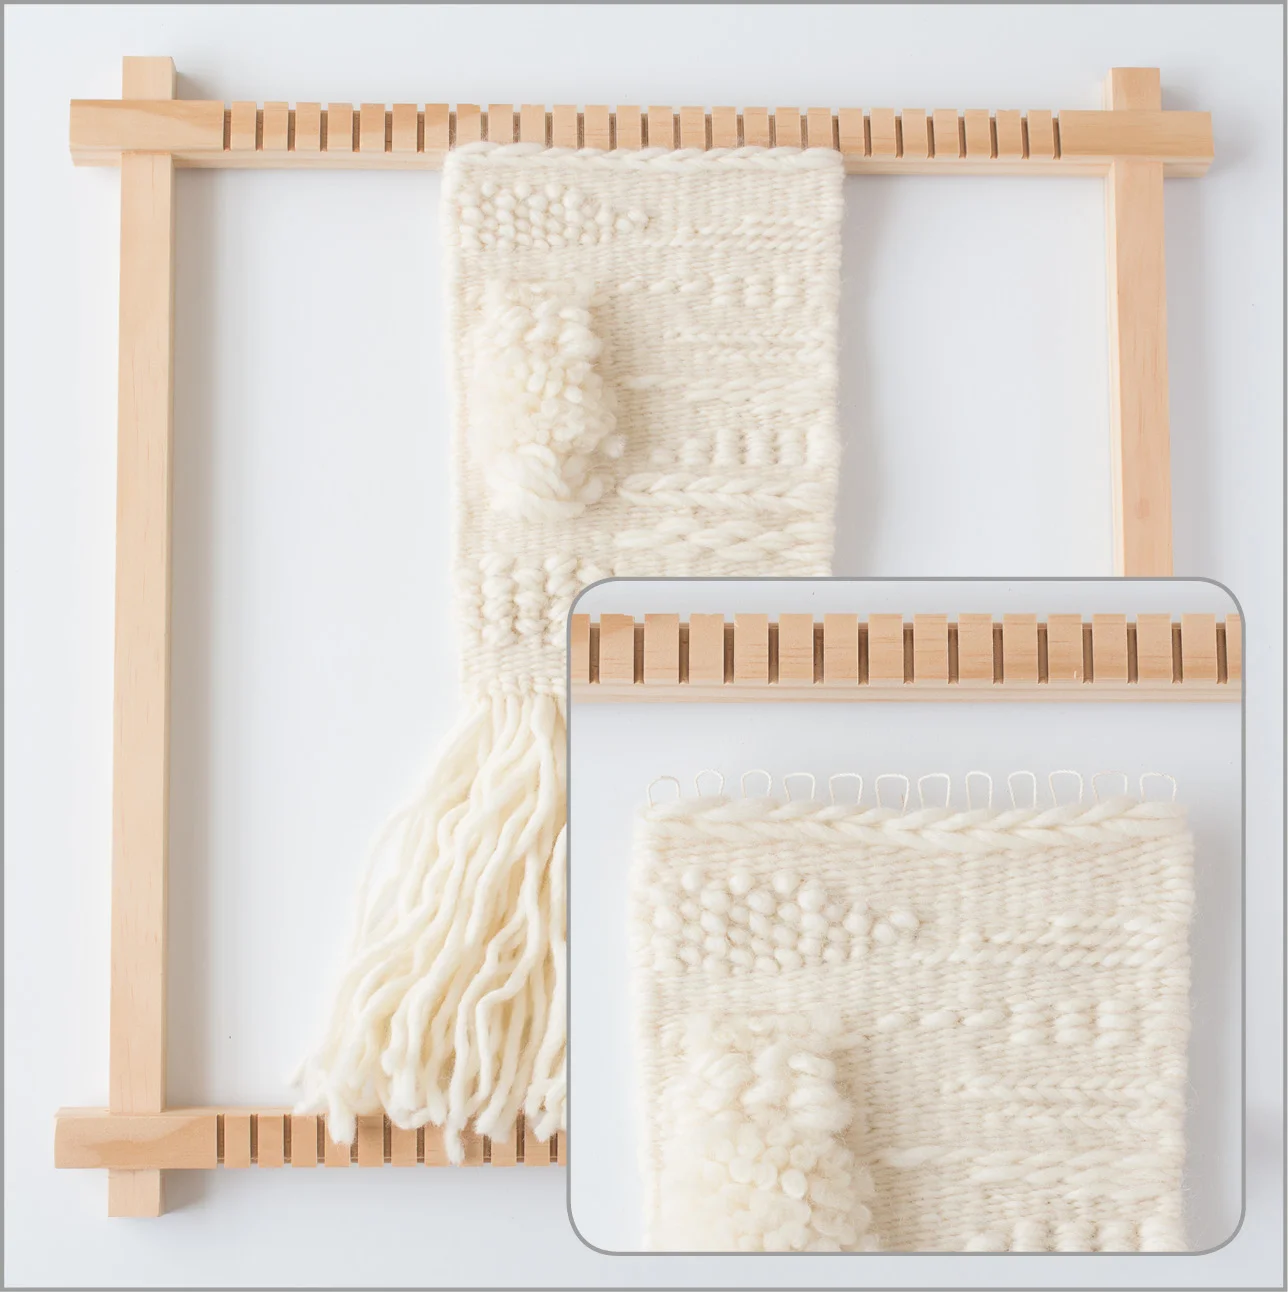
Establish a ground weave using spare thread to evenly space the warp and provide a firm base to begin the sample.
The weft will be secured with a row of double half –hitches at either end.
Use half-hitches and weft-floats (behind the work) to manage wefts as the colour transition is worked.
MATERIALS
Warp: Warp Thread, 100% Cotton
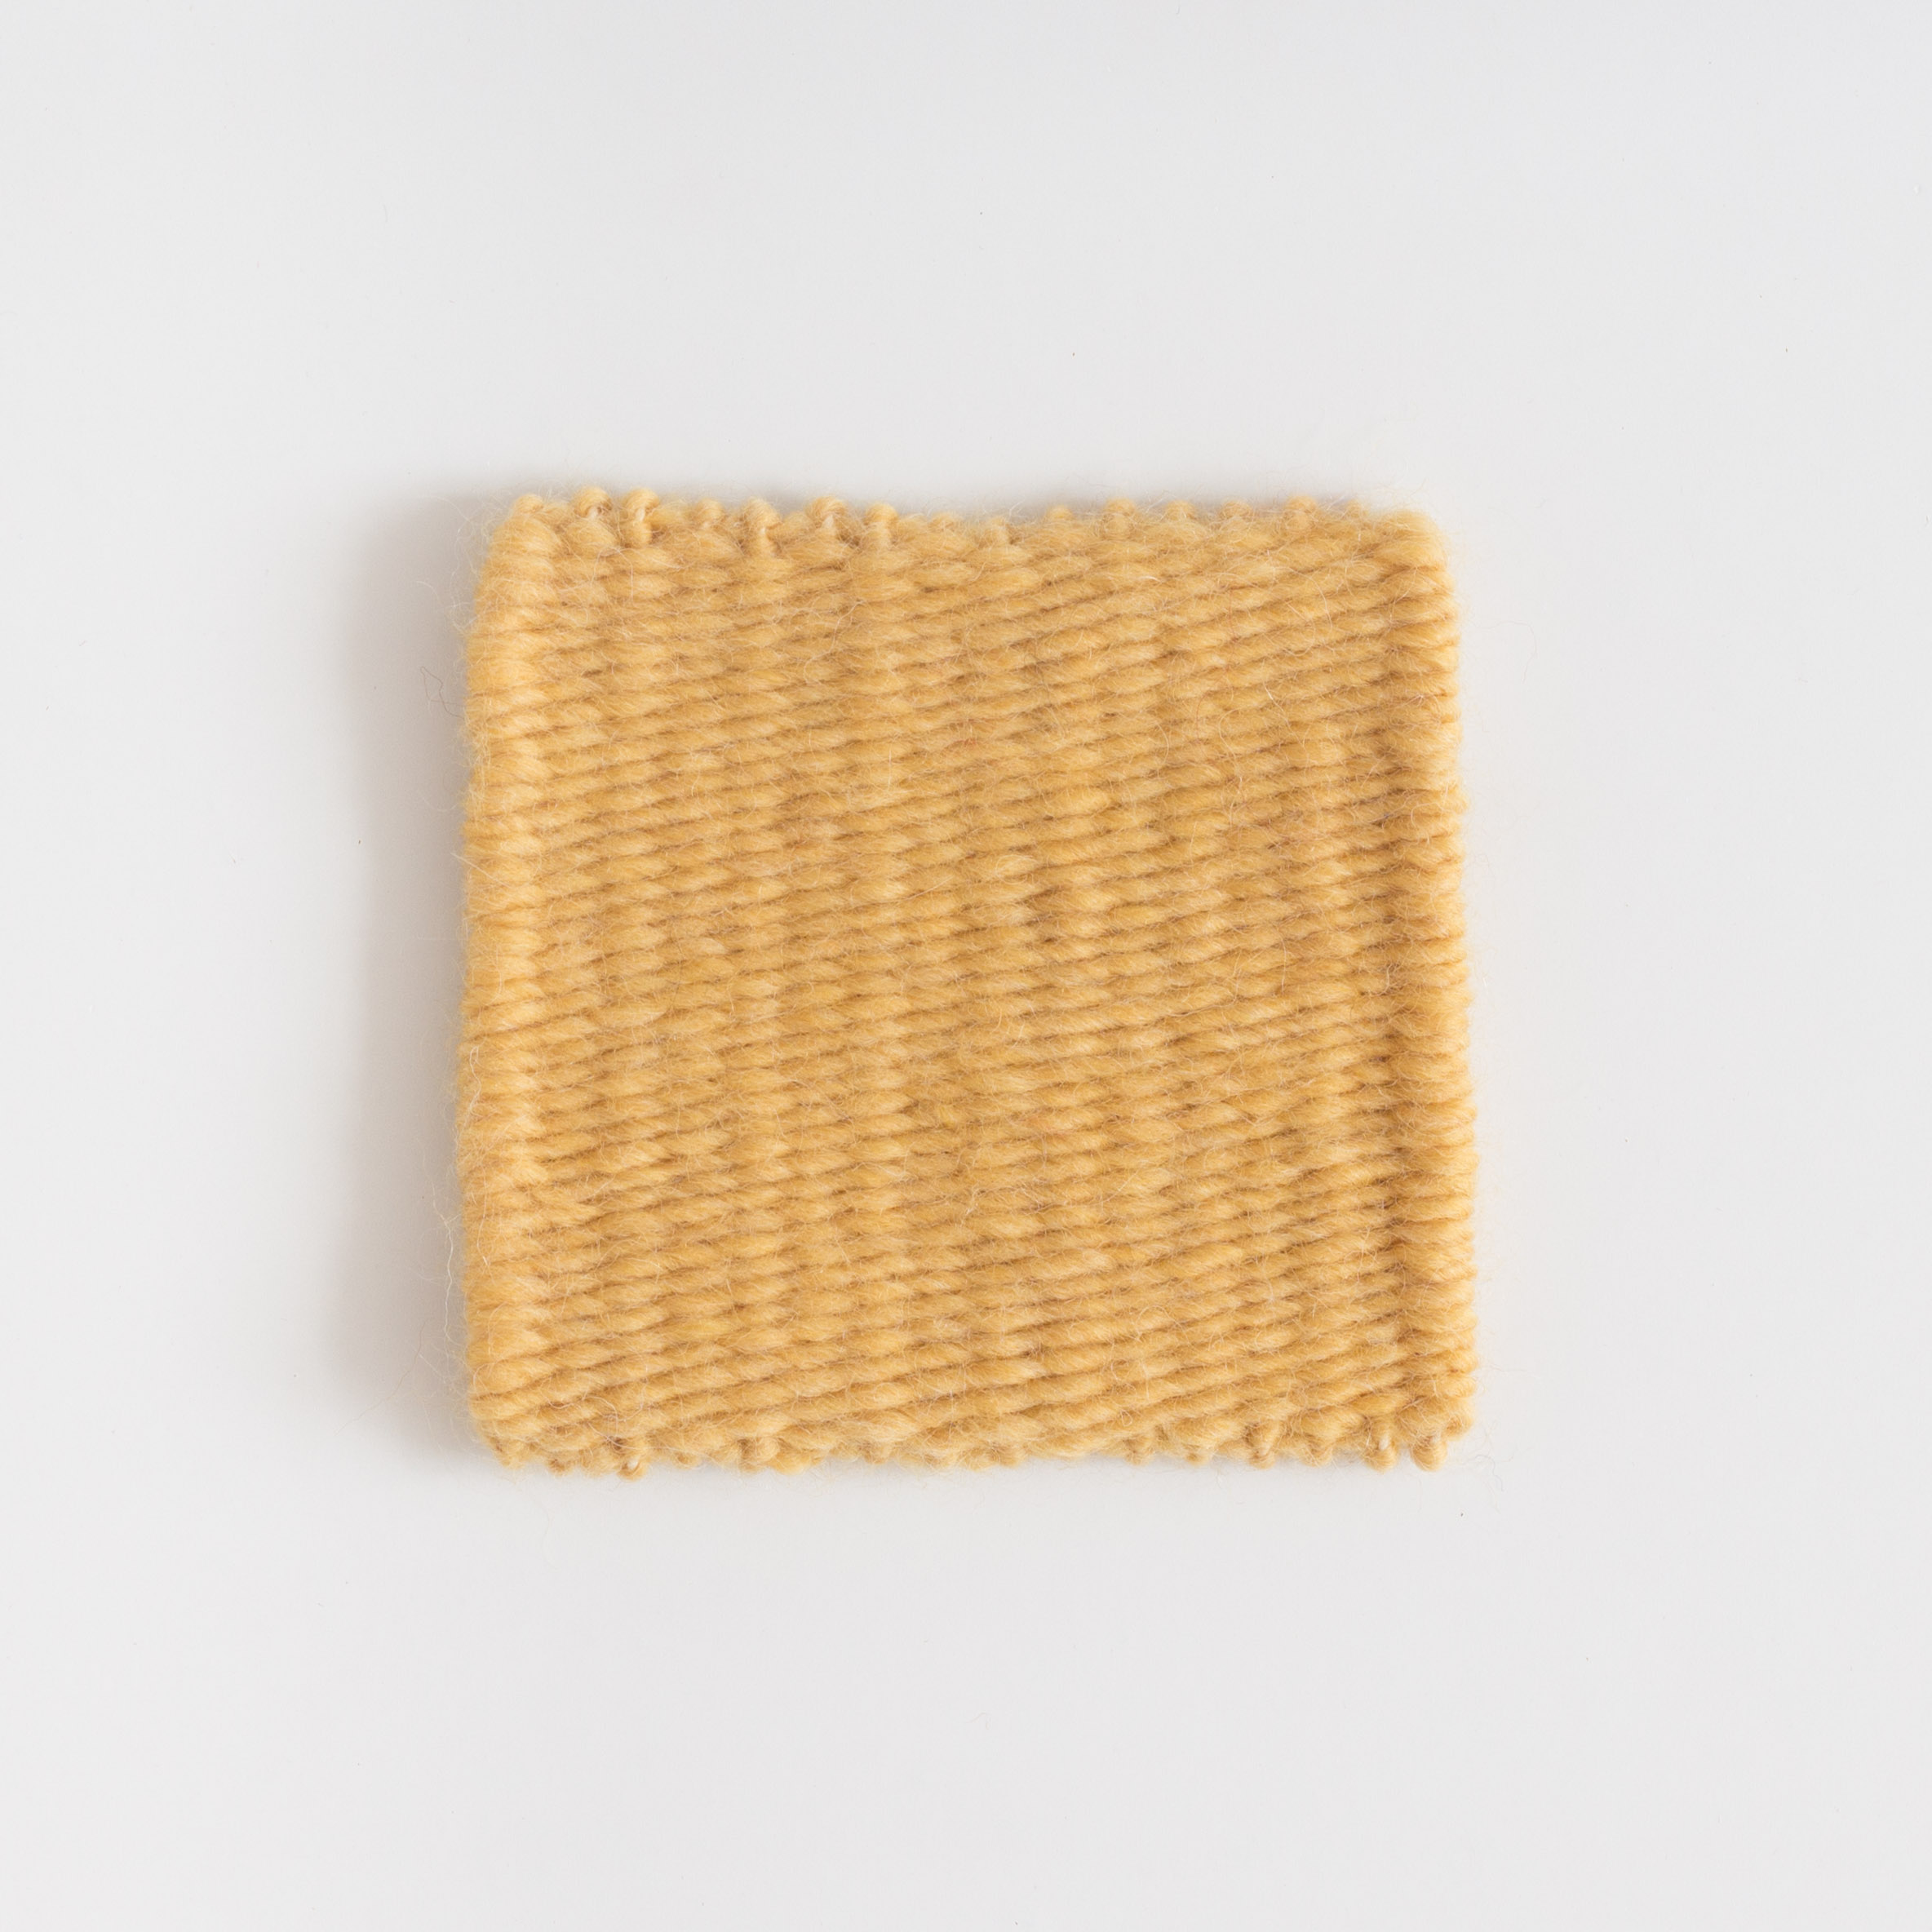
Weft: Colour 1, Woolsey Yellow; Colour 2, Woolsey Natural
METHOD
STEP 1
Sketch out and dimension the weaving area, or area of colour transition. I've used our Weaver's Graph Paper (which is available as a free download here) to sketch out the sample.
In this instance, the weaving area is 10cm x 10cm and we’re creating a transition over the horizontal plane.
Divide the piece into five equal horizontal sections (see diagram below).
STEP 2
Plan out and assign a percentage for each section that will create a uniform transition between colours over the weaving area.
For this workshop, I've chosen a five-section transition to keep the weaving comfortable and percentages to be worked somewhat intuitive.
Referencing the diagram below, sections 1 and 5 establish the transition colours and will be woven at 100% ‘saturation’.
The actual transition of colour occurs between sections 2, 3 and 4, the percentages for each section are detailed in the diagram below.
STEP 3
Using colour 1 (Yellow), begin the sample by establishing a row of double half-hitches. Ensure each hitch is knotted firmly to secure weft to warp.
Using plain weave, weave in Section 1.
I’ve attached a loop of thread to the warp to mark the end of the section.

STEP 4
Hold-on to your bobbin, get ready to embrace your numbers…
In STEP 2 we established a colour percentage for each section. We now need to work out how many times the weft will pass over the warp and use this number to translate the percentages to actual weft coverage.
We know that the piece has 16 warp threads, so for each row woven in plain weave the weft will pass over the warp 8 times.
With this information we can convert each colour percentage to the corresponding weft coverage for each row.
This is the formula we use:

Using our formula here are the weft coverage stats for each section:

STEP 5
Armed with our weft coverage stats we can now break away from the scientific method and begin weaving the colour transition with a bit more feeling.
Beginning with Section 2 and utilising the half-hitch method for colour changes, weave-in (maintaining the established weave sequence) the first row by randomly placing two dots of Colour 2 (White).
Then, complete the first row by filling in the remaining sequence with six dots of Colour 1 (Yellow).
Our first row now reflects the colour percentage we specified for Section 2, 75% of dots are Yellow and 25% are White.
Repeat this step, row-by-row, maintaining the colour percentage and complete Section 2.
STEP 6
Continue working the piece row-by-row, changing the percentages of weft colour as you progress through each section.
Again, use a loop of thread or stich marker to mark each section as you progress.
STEP 7
Once Section 5 has been woven, finish the sample with a row of double half-hitches to secure the fabric.
Cut the piece from the loom and finish as desired.
A FEW TIPS
I recommend that you work row-by-row and keep both wefts working in the same direction. This will make it easier to monitor the weave sequence, it can be quite easy to get lost once the second weft colour is introduced.
Use the progression of colour in previous rows to influence how you ‘randomly’ place colour in the next row.
As we’re using a small amount of Colour 2 in this first progression, it can be handy to use short cut-lengths of weft that wrap (half-hitch) around just one or two warps.
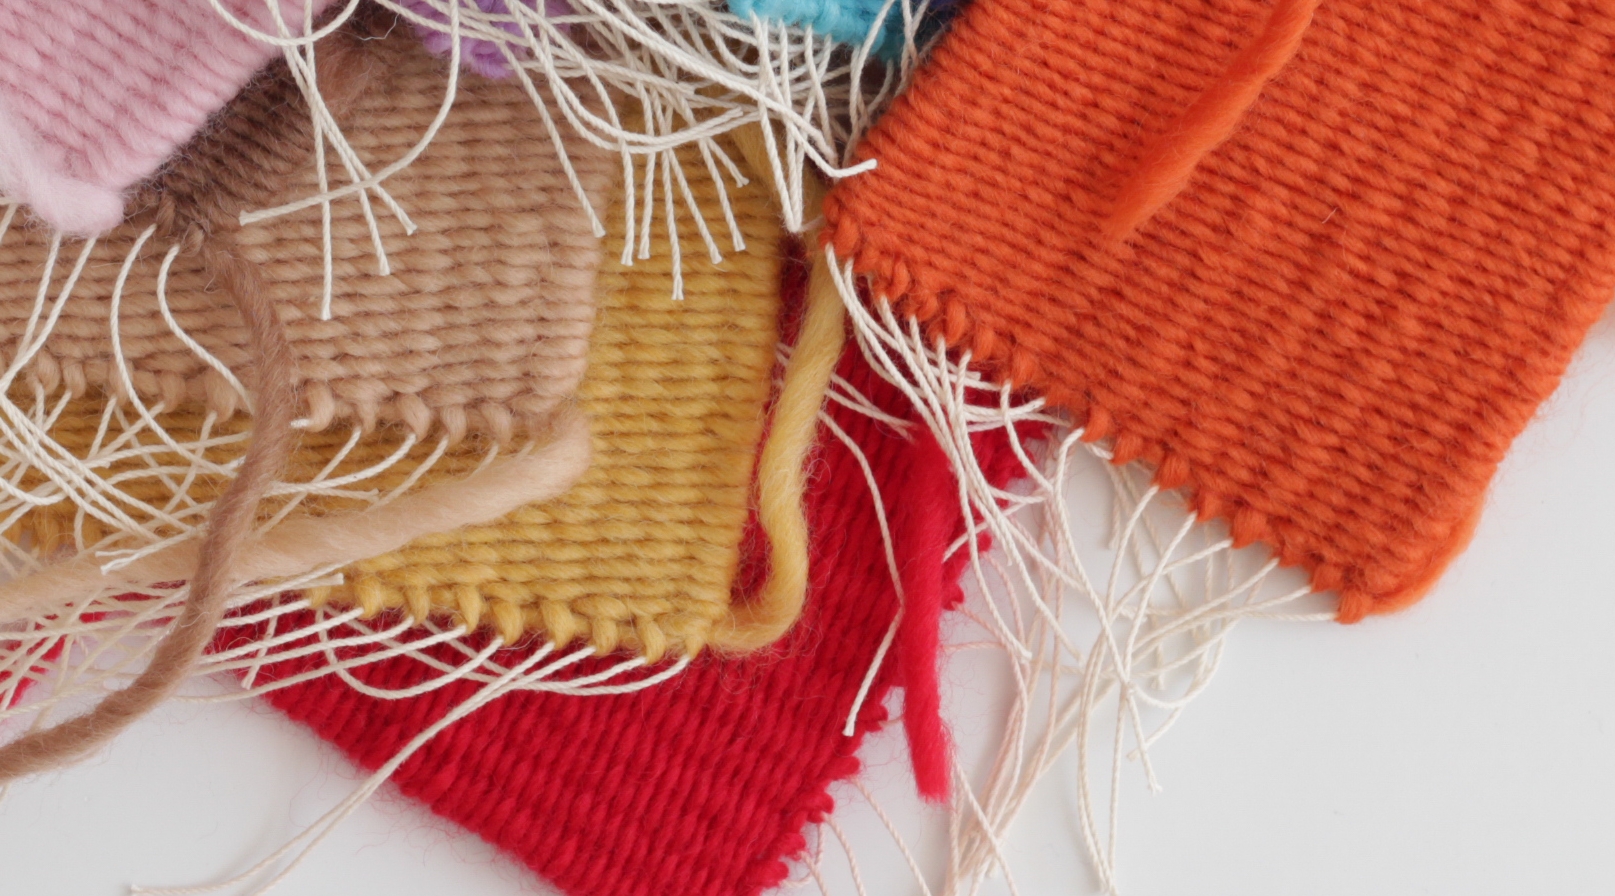
Don’t feel bound by the colour percentages, they are a guide. Monitor the fabric and place the colour where it feels right for you. You’ll notice in my sample weft colours clump together, I felt this added to the randomness of the transition and contributed a certain character to the piece.
INSIGHTS AND OPPORTUNITIES
The length of the colour transition and the frequency at which the weft colour percentages change is highly adaptable.
Ideas for further experimentation might include – working over a much broader area, working in more percentages to progress the colour change more gradually, or perhaps even making the percentages non-linear.
This method is not limited to the horizontal plane either. You could work this technique over almost any angle and with a bit of planning even apply it to more complex rectangular and radial colour transitions.
Oh, so many possibilities!
More experiments await…