Six gift ideas to inspire holiday crafting
Loom & Spindle GIFT IDEAS

With the gift-giving season now upon us, it can be a daunting challenge to find that special gift for the passionate maker in your life. To inspire your search I’ve put together a handy list of some of our favorite gift ideas. Whether they’re young or old, a beginner or an experienced crafter, I think we’ve got your loved one covered with our Six Gift Ideas To Inspire Holiday Crafting!


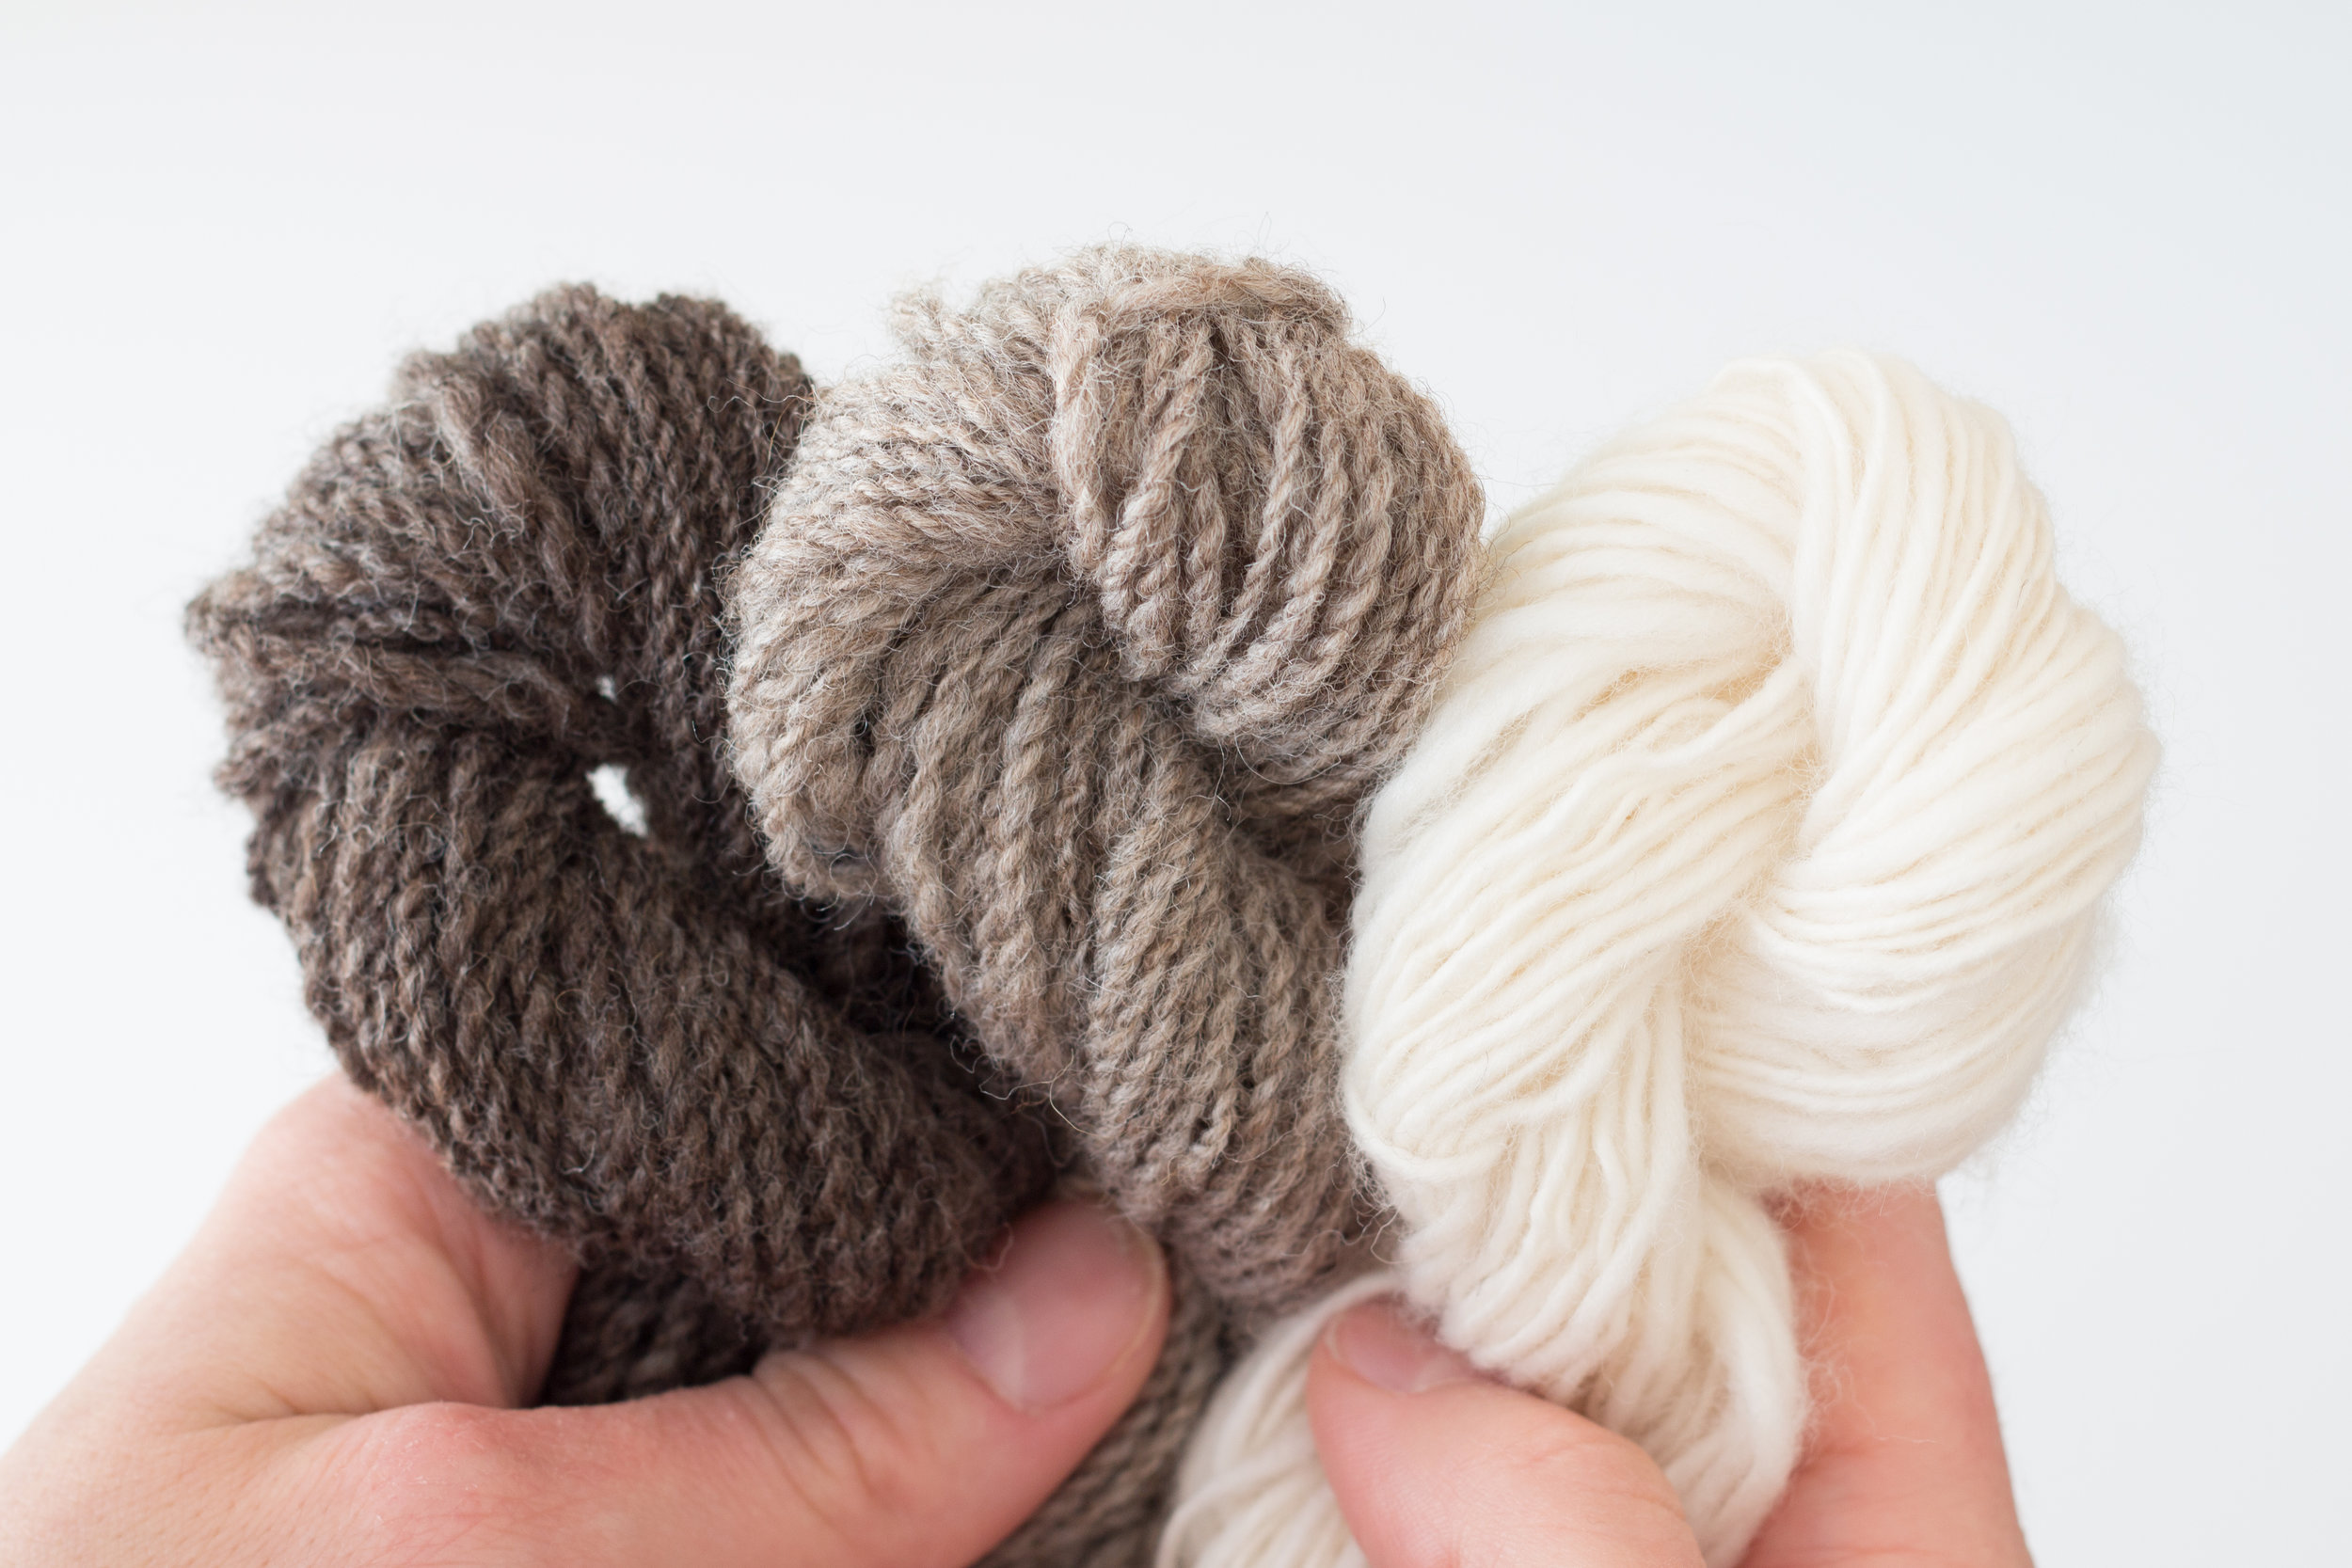
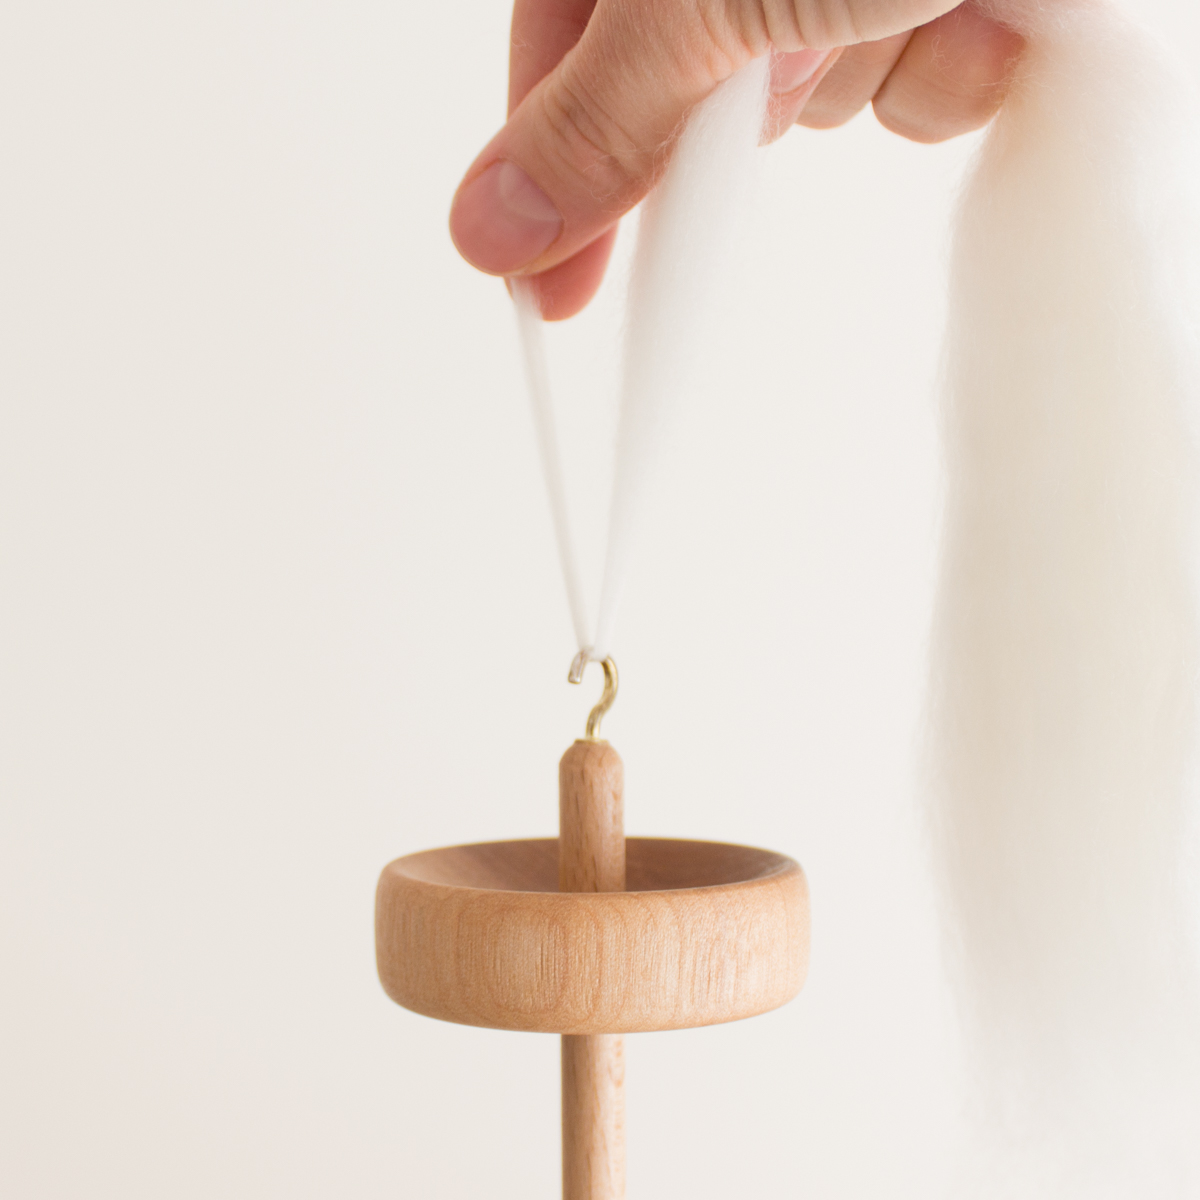
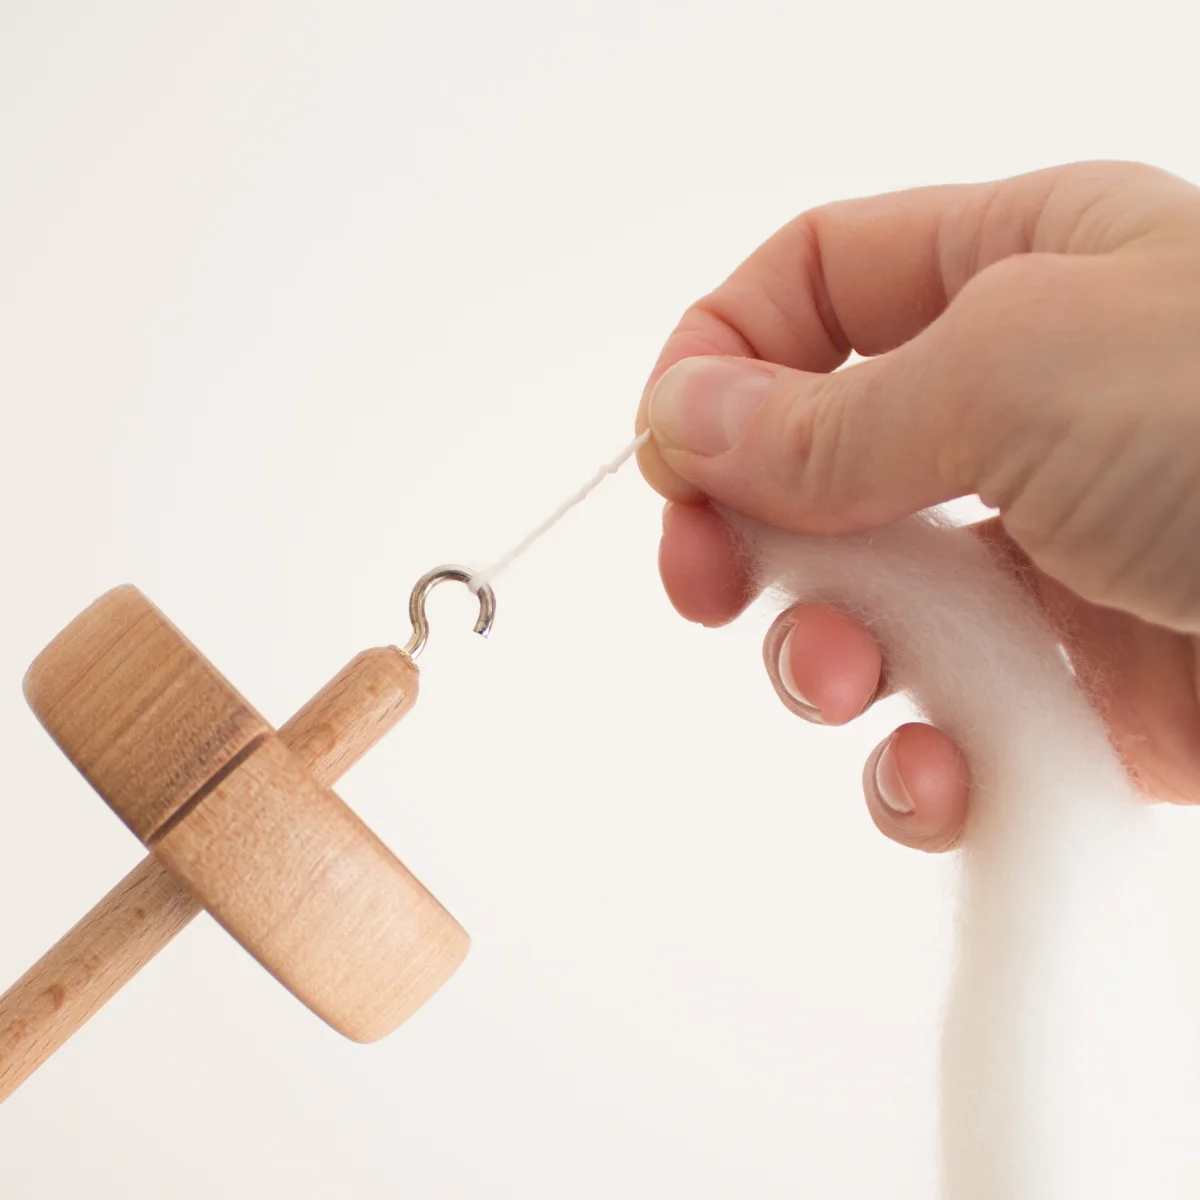
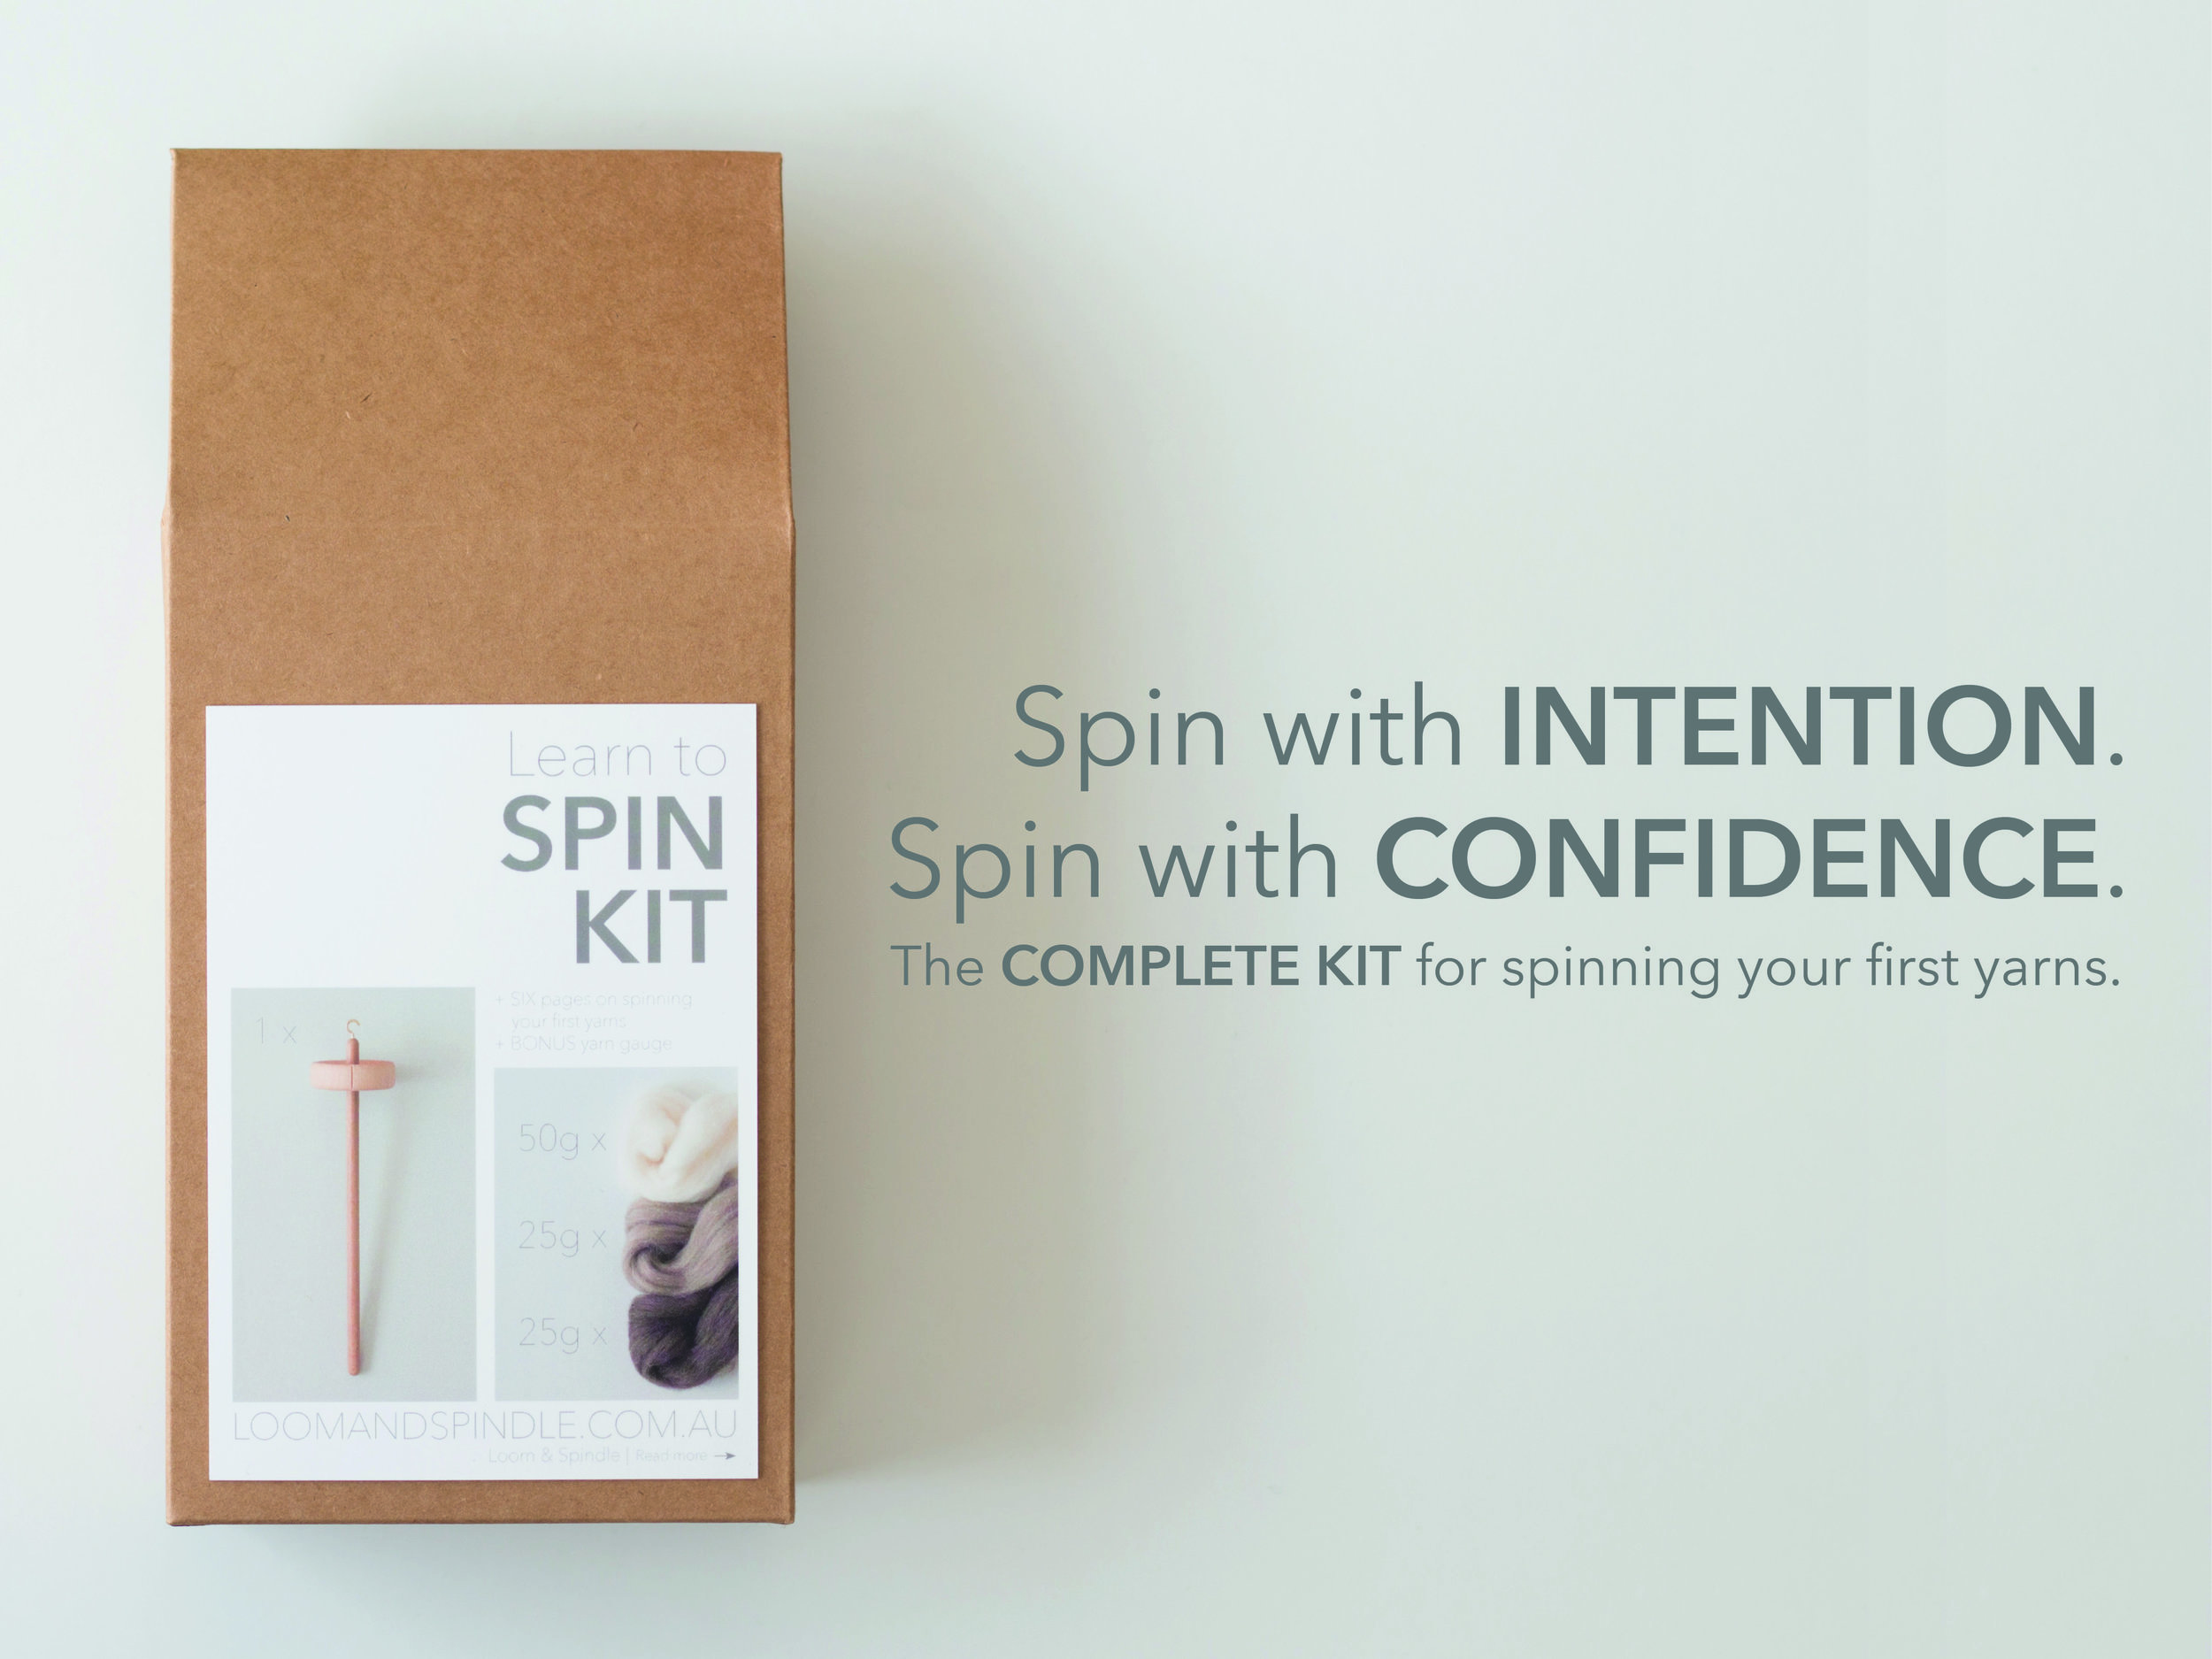
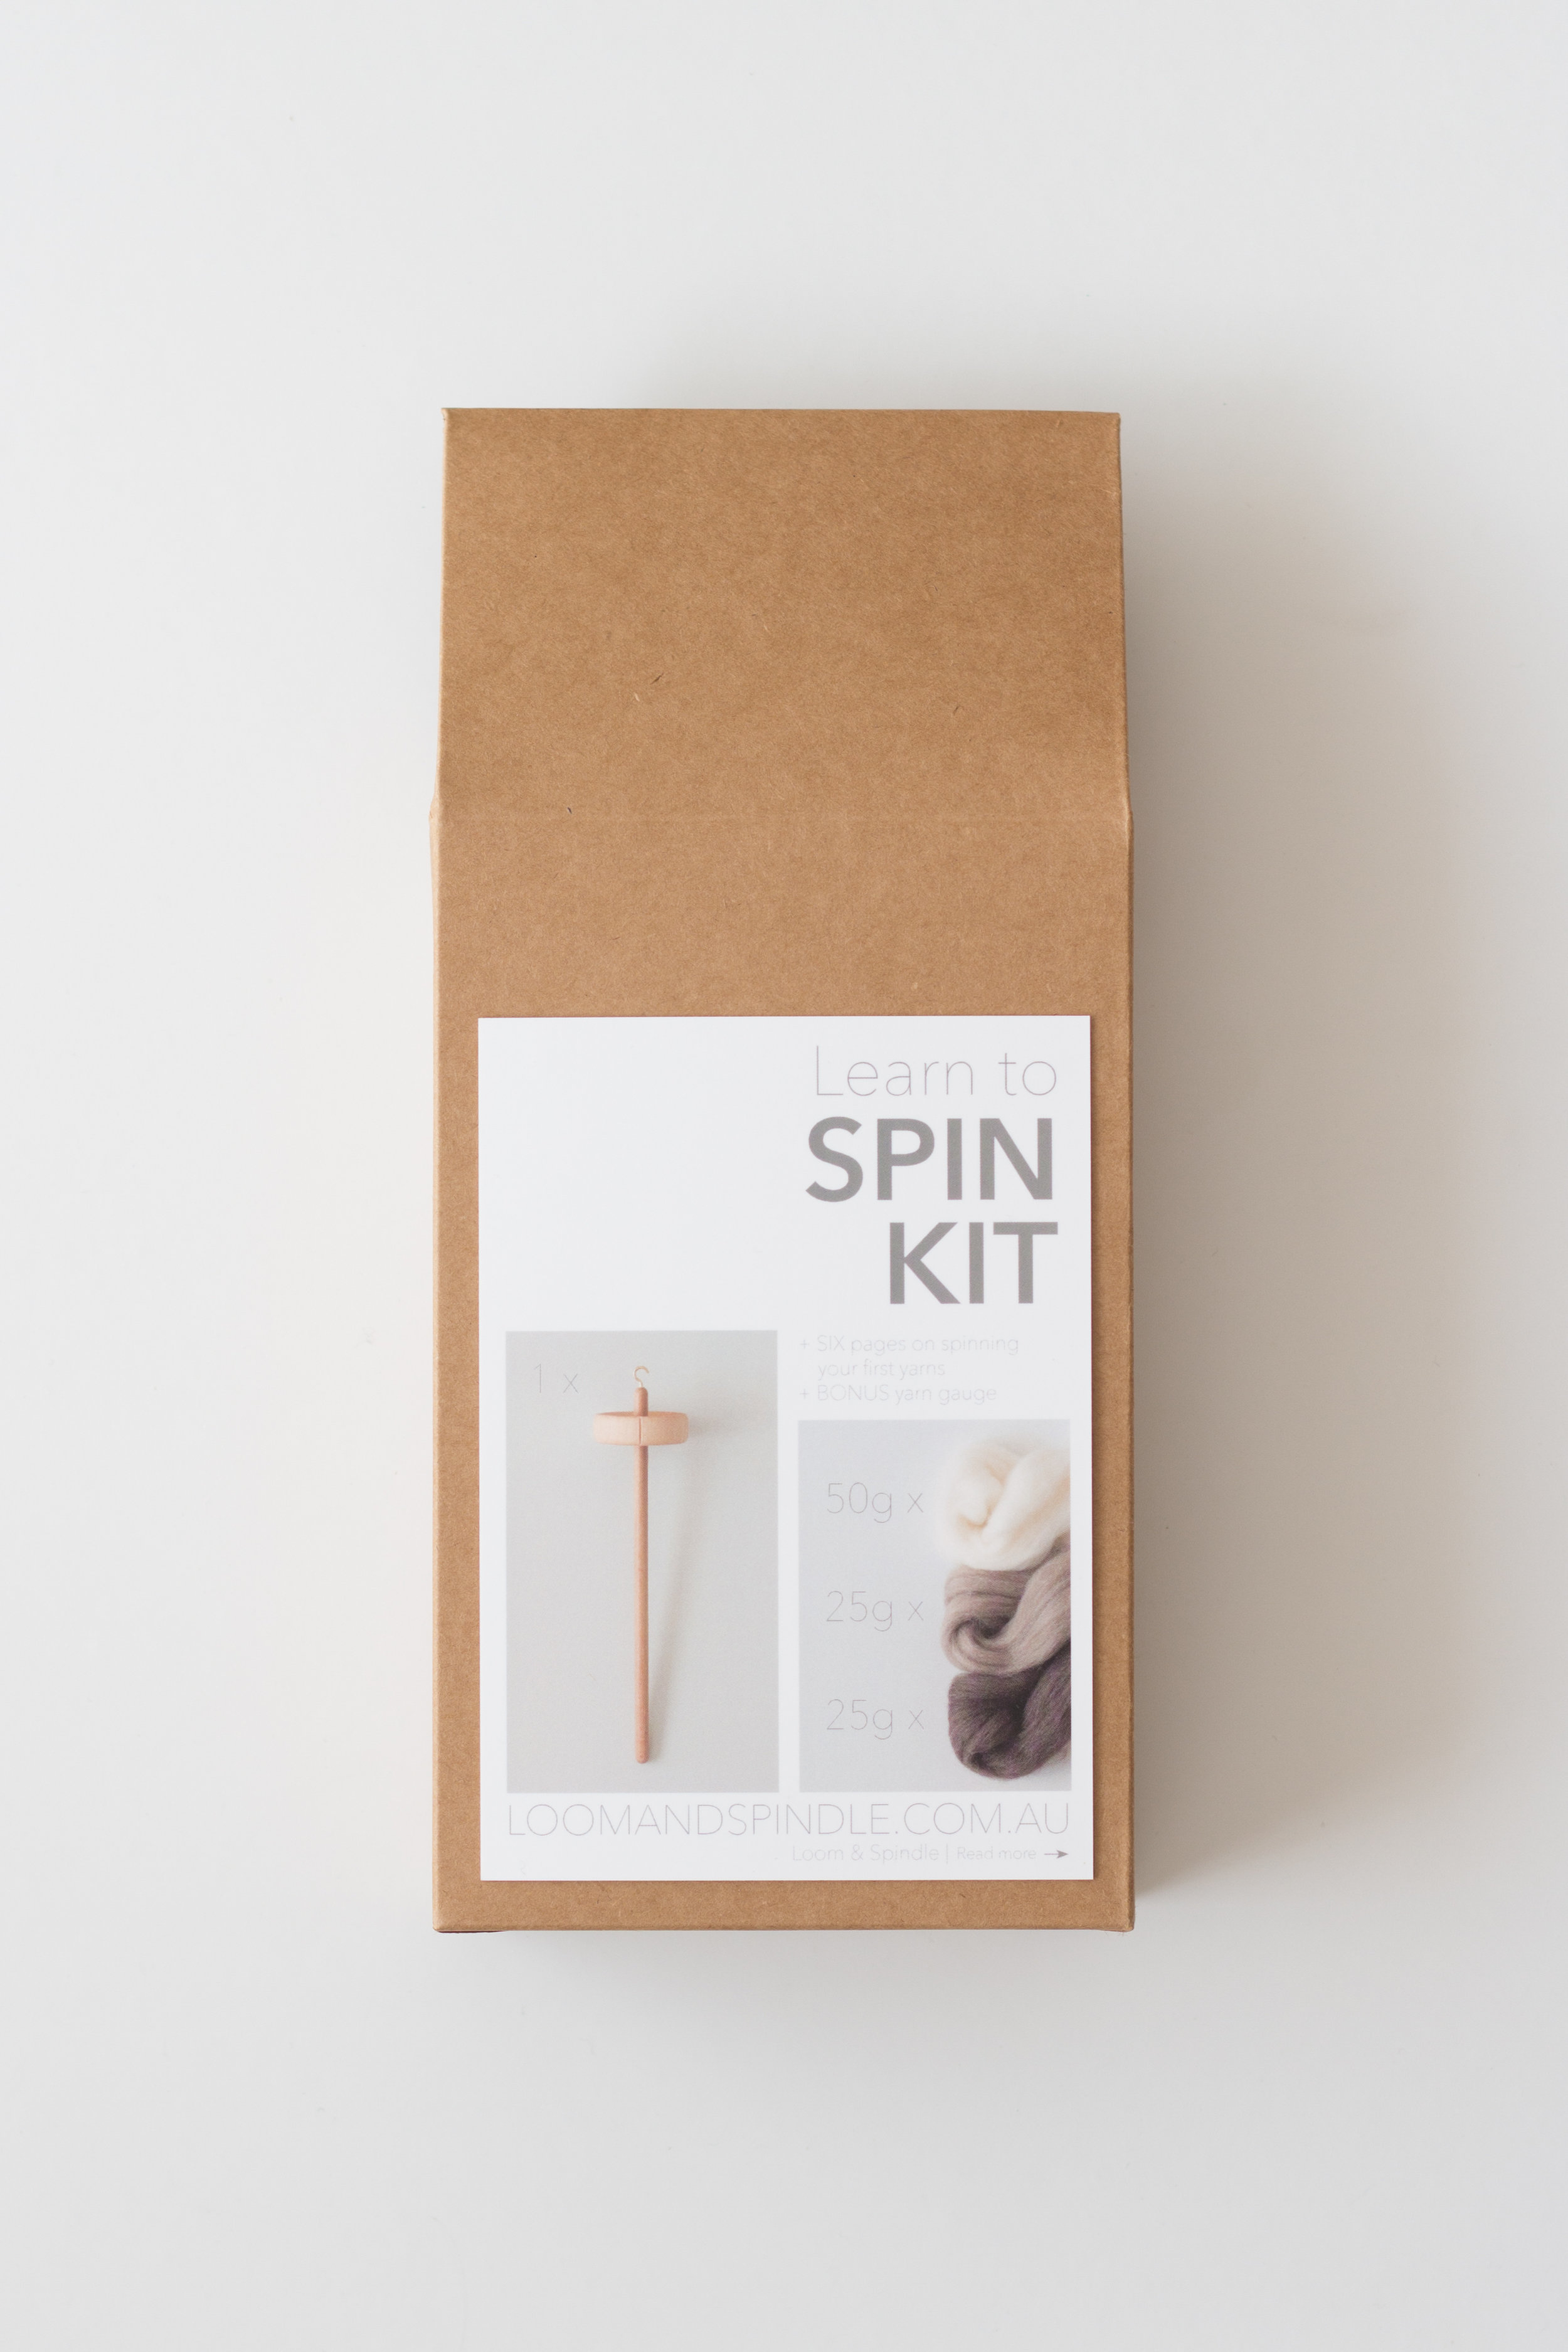
1. Learn to Spin Kits

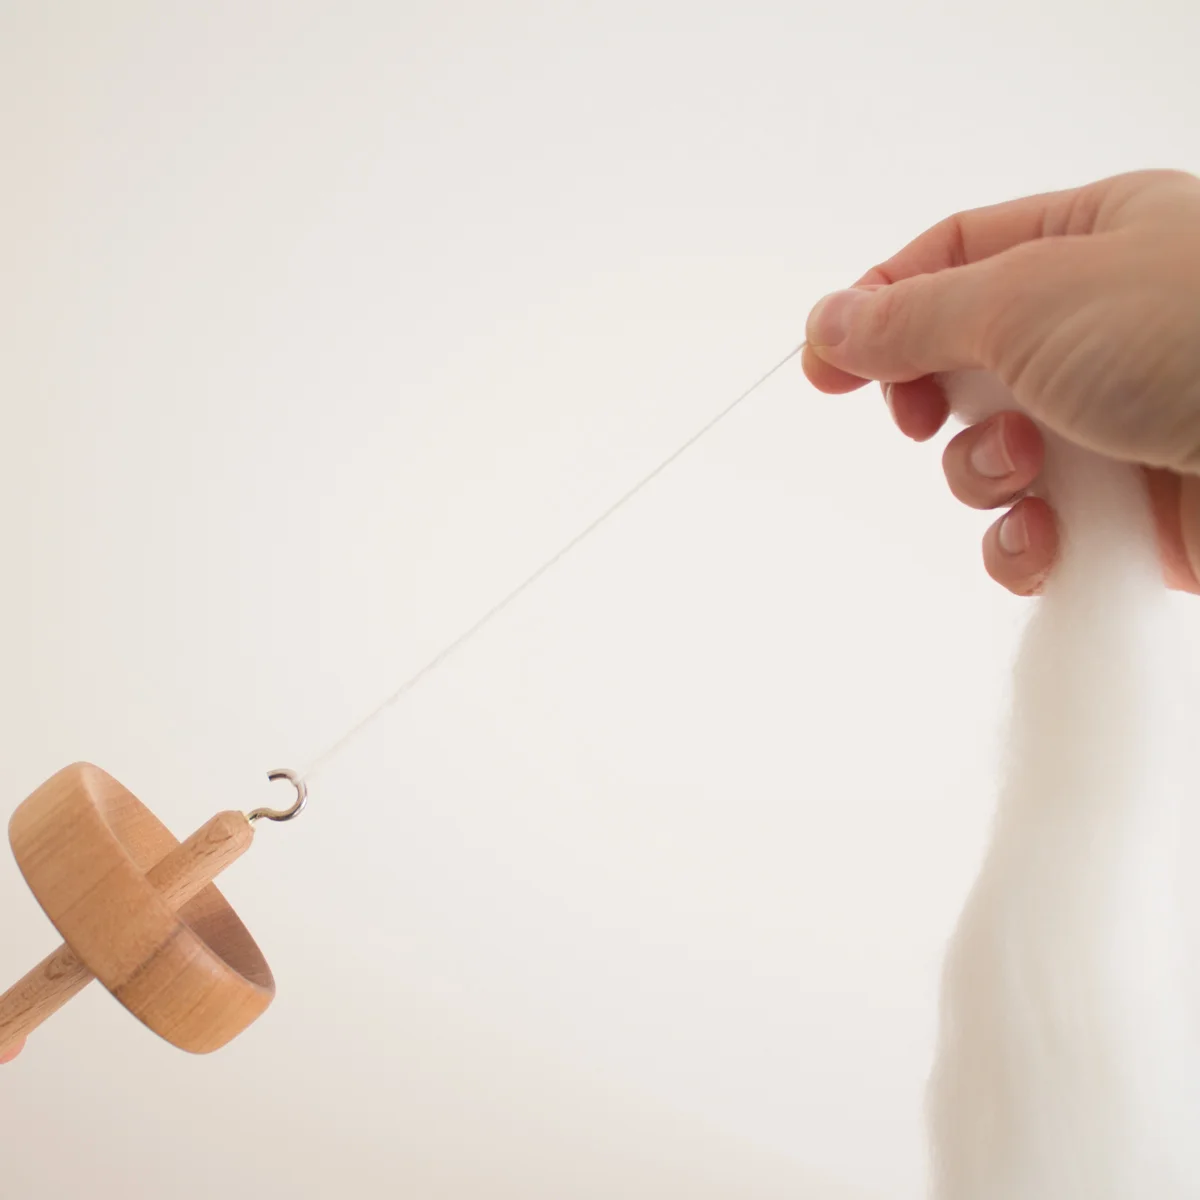
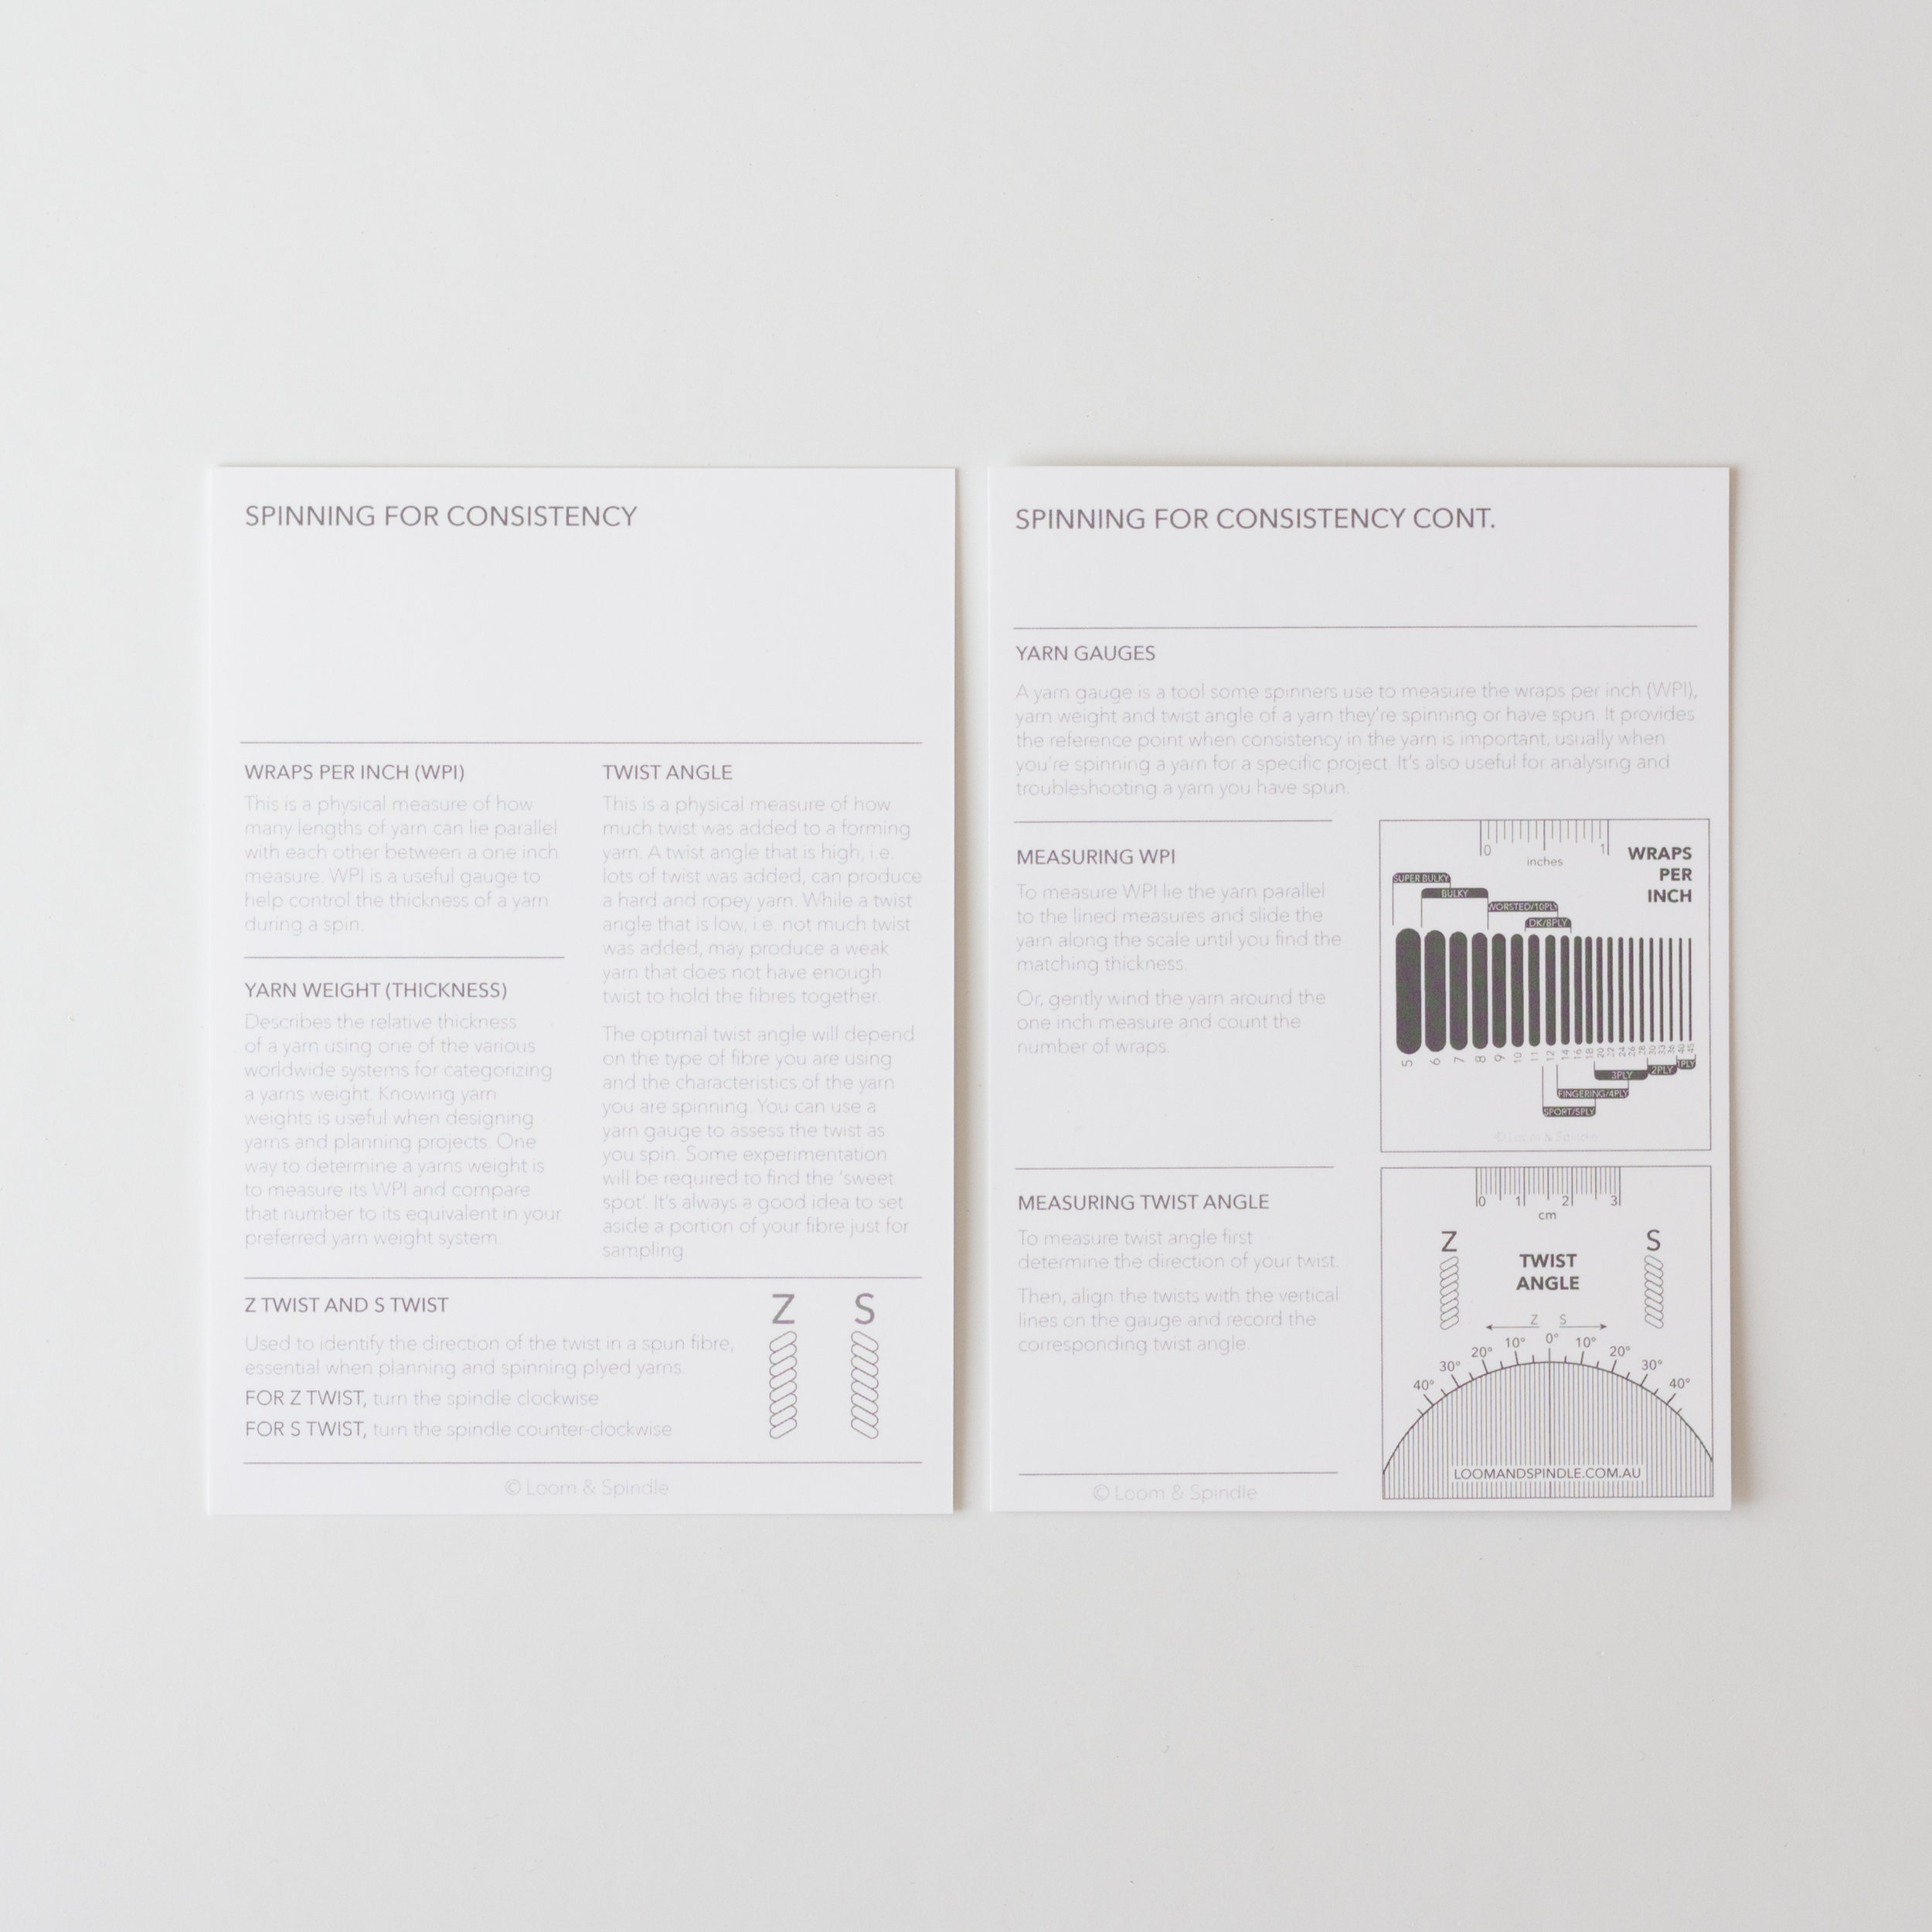
This one’s for your adventurous crafter keen to experiment with textiles and fibre. The kit provides all the necessary inclusions for spinning their first yarns. It makes for a great new way to get creative with yarn and fibre and extend your loved one’s passion for making.


2. Weaving Kits

A frame-loom weaving kit is brilliant for those with a special interest in exploring tapestry or free-form weaving styles. Frame looms lend themselves to a range of projects and the inclusion of our tool kit will give them the opportunity to try various weaving styles.  Loom & Spindle also offer a range of free resources to get your new weaver started.


3. Tapestry Bobbins

Support your experienced weaver to take the next step in their work with these beautifully handcrafted tapestry bobbins. Made from beech wood these bobbins are hand turned and polished with a smooth clear finish. They’re perfect for those wishing to explore more traditional tapestry techniques.


4. Mini Looms

This one’s perfect for the little crafter in your life. It makes an ideal learning tool for hands-on discovery. It's small size makes for quick and easy projects that can be completed in no time at all.


5. Cotton Warp Thread

Craft in colour with our new range of vibrant cotton warp threads. This would be a welcome addition to any weaver’s stash. With a palette of neutrals, bright primaries and softer hues to choose from, there’s sure to be a shade that’s right for your maker.
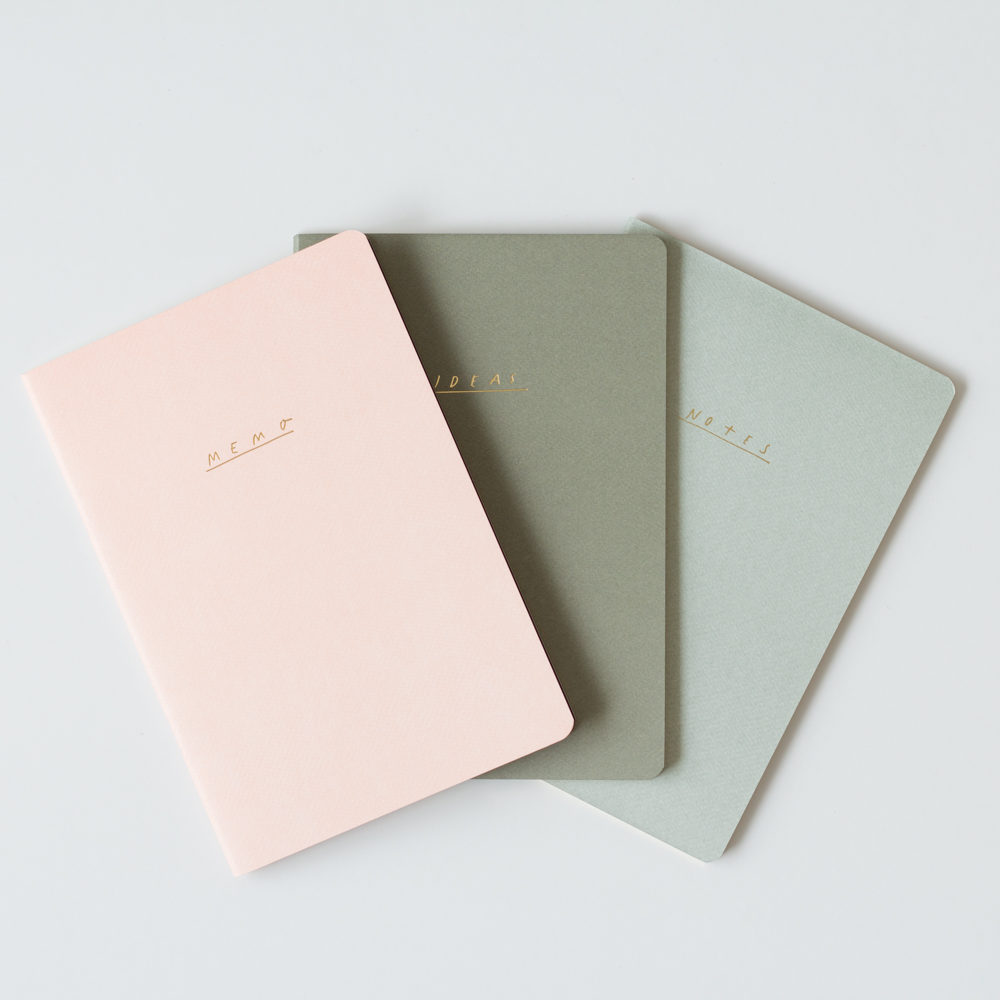
 

6. Notebook Set

Encourage your maker to take time out for journaling and creativity with a notebook set. They can record their daily inspiration and ideas for new projects. Offering them a personal space for reflection for more intentional crafting. 


How To Spin Yarn: Six Simple Steps
Loom & Spindle - Spinning Your First Yarns

Last week I launched the first Learn to Spin Kit for Loom & Spindle. I shared my journey on learning how to spin yarn (HEREand some of the frustrations I experienced.

Part of these early frustrations were the result of not having a clear method for spinning yarn on a drop spindle, and not fully understanding how each action influenced the yarn I was spinning.

Over time one key insight emerged, I found it much easier to regulate the yarn I was producing when I had an understanding of the process and mechanics of making yarn.

The resulting method I developed for the Loom & Spindle Learn to Spin Kit builds on this by teaching you the sequence for spinning yarn on a drop spindle, and importantly explaining how each action can be used to control the process of forming a yarn - giving you confidence through understanding!

I’ve shared my method on how to spin yarn on a drop spindle below and included a FREE ‘take-home’ copy for you to download. You’ll find the link at the end of the post.

Good luck!

PS: Remember, your first yarns might not be exactly what you envisioned, but they will be your most important lessons.


How To Spin Yarn: Six Simple Steps


Step 1

Draft a small amount of fibre and loop it under the spindle’s hook. 
Using your thumb and index finger, PINCH together the pre-drafted end and main fibre supply.

Loom & Spindle - Spinning your First yarns

Step 2

Spin the spindle storing TWIST in the length of fibre between the hook and your fingertips.
PARK the spindle.

Loom & Spindle - Spinning Your First Yarns

Step 3

With two hands, DRAFT from the fibre supply using your thumbs and index fingers. Carefully allow twist to enter the newly drafted fibre.
When the twist energy reduces, pinch the fibres and stop any further twist entering the fibre supply.

Loom & Spindle - Spinning Your First Yarns

Step 4

Repeat steps two and three until the length of yarn is no longer comfortable to manage.

Loom & Spindle - Spinning Your First Yarns

Step 5

Remove the yarn from the hook and wind it around the shaft of the spindle, leave enough length to wrap the yarn over the whorl and under the hook.

Loom & Spindle - Spinning Your First Yarns

Step 6

Repeat the PINCH-TWIST-PARK-DRAFT sequence for the remaining fibre supply.
As the yarn forms, you will need to monitor the fibre carefully for your intended characteristics –Yarn weight, optimal twist, etc.


THE PINCH-TWIST-PARK-DRAFT SEQUENCE


PINCH – The action of locking the fibres between your fingers to hold the twist energy back from the fibre supply.

TWIST – The energy added to the fibre when the you turn or spin the spindle. The twist holds the fibres together in the forming the yarn.

PARK – Refers to the action of setting down and securing the spindle so you have both hands free to draft the fibre. Suggestions for parking the spindle include holding the shaft of the spindle under your arm or between your knees.

DRAFT – This is the process of thinning the fibre supply by drawing fibres apart lengthwise. A suggestion for beginner spinners is to use two hands to draft the fibre. The hand closest to the spindle controls the amount of twist that enters the fibre supply. The other hand controls the draft, how much fibre is drawn out of the fibre supply.

Loom & Spindle - How to spin yarn

REATTACHING THE FIBRE SUPPLy

Loom & Spindle - How to Spin Yarn - Reattaching the Fibre Supply

It’s likely at some stage during the spin you’ll need to reattach the fibre supply to the forming yarn. This can be challenging at first but with practice you’ll gain confidence.

To reattach the fibre, begin by untwisting the last bit of spun fibre. Pinch behind the unspun end so the twist can’t re-enter the fibre. Add any extra twist to the length of yarn behind your pinching fingers. This extra twist will be needed to reattach the fibre supply.

Place the drafting end of the fibre supply onto unspun end. Pinch the two ends together and gently draw back the fibre supply. Allow the twist to enter the drafting zone, locking the unspun end and fibre supply together.


THANKs FOR READING!


This method is also available as a neat little PDF package.
Click the button below and get your FREE copy!

Loom & Spindle - Spinning Your First Yarns A Method.jpg

SAMPLE

Share your work, #loomandspindle

NEW: The complete kit for spinning your first yarns

My Journey to intentional and confident crafting

Crafting with yarn and fabric has always been a part of my life. Though it wasn’t until 2013, when I took time out for myself and my new-born, that I started getting serious about the crafts I was most passionate about.

While experimenting with knitting and weaving and exploring various fibres, I stumbled across the craft of hand-spinning my own yarns. Being someone who naturally desires to know how EVERYTHING works, I was eager to give it a go.

Though navigating this new world of hand-spinning was more difficult than I’d anticipated.

I knew I didn’t want to spend a lot of money just to try it and find out I didn’t like it. And without knowing where to start I lacked confidence in making those first decisions – spindle or wheel, raw fleece or prepped fibre… the list could go on.

When I did finally make these choices and got my first spindle and supply of fibre, my first hand-spun yarns were dense and lacked consistency. This in its self is not unusual for a beginner spinner and these early lumpy bumpy yarns are part of the learning process.

Though, without knowing how to evaluate my yarns and where to make improvements in my next spin I was seeing little progress.

I became frustrated…

… but still determined! 

I set out to learn as much as I could. I gathered books, watched videos, read magazines, and listened in to the various online forums. I attempted to distil all this information, applying the elements that I thought might help me.

With time this effort paid off, I learnt the mechanics of fibre and twist, the importance of preparation and finishing techniques, and the tools I could use to measure and evaluate my yarns.

These insights provided the necessary framework to intentionally plan and spin yarns, evaluating my progress with each experiment. With practice, I was seeing improvements in my technique and more consistency in my spun yarns. I was planning and spinning yarns for specific projects. I was finally starting to see the results I was after.

I was spinning with intention. I was spinning with confidence.

And most of all, being a diehard maker of all things, I was getting great personal satisfaction to see my fibre-to-finished projects finally come to life.


ON Designing the KIT


I’ve since documented and refined this four-year journey to create the first Learn to Spin Kit for Loom & Spindle – The complete kit for spinning your first yarns.

In addition to the necessary inclusions of a spinning kit, a drop spindle and a 100% Aussie grown and processed fibre supply, I’ve carefully put together a series of notes and tools to introduce you to the language and mechanics of spinning your first yarns. This includes:

  • A simplified method for spinning your first yarns, highlighting the four easy-to-remember action steps: PINCH-TWIST-PARK-DRAFT.

  • Guidance on how to prepare for a spin, for a more enjoyable spinning experience. And,

  • An introduction to the language of spinning and tools you can use to measure and evaluate your yarns for more intentional spinning.

By offering this kit my hope is that I can provide you with a new opportunity to be creative with yarn and fibre, and extend your passion for making.


The complete kit for spinning your first yarns

Loom & Spindle - Learn to Spin Kit - portrait.jpg
Spindle Kit - Drop Spindle.jpg
Loom & Spindle Spin Kit wool
Loom & Spindle Spin Kit Inclusions
Spindle Kit - Inclusions-2.jpg
Spindle Kit - Inclusions-3.jpg
Spindle Kit - Inclusions-4.jpg
Making Woven Design More Intuitive + A FREE TOOL
Weaver's Graph Paper By Loom &  Spindle
Loom & Spindle

IN THIS ARTICLE

- Understanding the effects of warp spacing.

- Sizing and aligning shapes for best results.

- How to design using warp spacing as your guide.

+ Get our FREE tool ‘Weaver’s Graph Paper’

I’m really passionate about weaving. Have you noticed?

I’ve spent several years now immersed in frame-loom weaving and tapestry. I’m a little obsessed.

Something that’s been on my mind lately is how can I test my design before committing weft to warp?

Loom & Spindle

The problem I’ve found is that designing specific shapes and then weaving them accurately can be quite tricky.

You might have had this experience - you have your design idea, it’s great by the way, you throw in the variables of your warp sett and chosen weft yarn, and you start weaving.

Suddenly that eye-pleasing shape you envisioned, with its faultless proportion and symmetry, starts to get a little wonky.

Your shape becomes too wide, or maybe too narrow. You push the weft around, try and straighten things up, but you just can’t get it to sit right.

You stare at it, it stairs back at you. You lose interest, it gathers dust. This one was never going to cut it, you’re a perfectionist after all.

This experience has left me with the question - How can I ensure my designs are going to translate to weaving and can I make the design process more intuitive?

So, let’s get right down to the cause of the problem – the warp sett.

The warp sett or spacing of the warp, often described by the number of warp ends per inch (epi), determines the position of each dot of weft as it passes over the warp.

For example, if you have a warp spacing of 4 ends per inch (4 epi), for each full pass (two rows) of weft you have four dots of weft. So, for every horizontal inch of fabric you weave you have four dots that you can use to control the placement of colour, and in turn control the formation of shapes.

The limitation imposed by the warp spacing means you can’t weave shapes in infinite detail. Every predefined angle and curve of your design must correspond to one of these ‘dots’ of weft.

This can be  challenging to get your head around at first but stay with me. The diagram below might help you better visualize the concept. 

A. First woven row, creates two dots of weft and leaves two warp threads exposed.

B. Second row of weft completes the pass, creates four dots of weft per horizontal inch.

C. Six full passes of weft completed, colour changes are incorporated and weave sequence is maintained.

Loom & Spindle

By carefully scaling and aligning your design to your chosen warp sett, or choosing a sett that compliments your design, you will be able to make the most of any pattern or shape.

To further illustrate this I’ve drawn up some examples that show you how the alignment of a shape against the warp might affect its proportions.

I’ve purposefully scaled the shape at 1 inch (2.5cm) as I know this has the potential to produce a round circle at either 4 or 8 epi.  For more notes on weaving circles I’d suggest checking out LINE SHAPE TEXTURE.

The differences in each illustration are subtle, but as you can see, the alignment of the circle does affect the the symmetry of the shape.

Loom & Spindle

So, to overcome that problem I described earlier your design must be carefully dimensioned to fit the spacing of the warp and positioned to maximize the use of those ‘dots’ per inch.

So that’s the theory, how can I help you make it work in practice?

Loom & Spindle

I had the idea when I was developing the shaped weaving blog post. To get this design right and ready for weaving the sizing and placement of the shape against the warp had to be just right.

My first step was to draw up a series of carefully spaced vertical lines to represent my warp sett. From there I could sketch out and proportion the shape.

Having defined the warp spacing I was able to map out the angles and curves of the shape while visualizing the placement of weft to achieve symmetry within the design.

To help you sketch your own designs I have taken this concept one step further and developed what I call - Weaver’s Graph Paper.

Essentially, it's a precisely lined graph paper that replicates the warp spacing so you can sketch elements of your designs and accurately size and position these elements against the warp. Once you have your design perfected on the graph paper you can transpose it directly onto the warp and start weaving.

I really believe that sketching with warp sett in mind will help improve the way you plan key elements in your pieces. And with practice, it will become an intuitive part of your design process. 


THANK YOU FOR READING!

Our 'Weaver’s Graph Paper' is available as a FREE pdf download.
Click button below and get sketching now!

Graph Paper Notes:

  • In this first version of Weaver’s Graph Paper, I have used a warp spacing of 4 and 8 epi, reflecting the warp spacing on the Loom & Spindle range of frame-looms.

  • To make the graph paper as functional as possible I’ve included both a metric and imperial scale where practical to reference as you sketch.

  • I’ve included the following printing notes on the graph paper: Paper Size, A4; Set scale to 100%; Page orientation, Landscape.

  • Using the graph paper does take practice! I would suggest starting with a rough sketch to help you define your concept. Then sketch out your design again, this time on the graph paper, being mindful where your design sits in relation to warp.

  • Please feel free to print it as many times as you need :)

With your help this will be an ongoing project that we can refine together. I’m hoping it will establish a way in which we can consistently develop and share design ideas for frame-loom weaving.

If you have any thoughts, questions or suggestions on Weaver’s Graph Paper I’d love to hear from you!

PS: Tag your sketches #loomandspindle so I can follow your progress!

Shop Loom & Spindle


Insights: Note-Taking and Sketching for Woven Design

As I type this I have at least five notebooks scattered around me, each one with its own specific purpose. If you were to open one, you would find a disorganized and almost unreadable scrawl that is my handwriting, usually embedded under layers of important notes (read: scribbles) my toddler, JoJo, has decided to contribute while my back is turned.

For me, note taking is an informal process that encompasses many things:

  • The jotting down of random thoughts that have suddenly evolved into new ideas
  • Sketching an element that might have potential in a new project
  • Visually mapping a process to clarify an outcome I want to achieve
  • And of course, humble reminders and the ever-important daily to-do list.

I’ll leave you now with a few insights on note taking and sketching that I’ve collected from some of my favourite books on weaving and textile art.

Theo Moorman, Weaving as an Art Form - Image Via Loom & Spindle
The roughest of sketches, incomprehensible to anyone except myself, done, maybe, on the spare of the moment, on the back of an envelope or the spare page of the car handbook, helps me more than a photograph, even when referred to after a lapse of years, to recreate my first response to things seen and to provide a jumping-off ground for a design. When we try to record this response in the form of a sketch, we instinctively select the salient points and omit others which have no place in our theme.
— Theo Moorman, Weaving as an Art Form
Laya Brostoff, Weaving a Tapestry - Image Via Loom & Spindle
Notebooks are of infinite importance to the handweaver…
Such a notebook acts as an inspiring springboard for endless sources of ideas and variations…
As long as the sketch or doodle is understandable to you, that is sufficient. The very act of putting a fleeting thought down, even if you never look at that note or sketch again, seems to retain the thought far back in your mind until such a time as it is needed.
— Laya Brostoff, Weaving a Tapestry
Irene Waler, Thread: An Art Form - Image Via Loom & Spindle
When we are young every image is new but often in later years we look with preconceived ideas certain that we have seen an object before, and often not really seeing it all. Drawing, painting and recording in any medium or manner trains one’s powers of observation. Having drawn an object one knows it intimately, and that knowledge will never be lost. With each successive effort one’s skill and visual knowledge increase. Nothing can replace either the act of drawing based on observation, or the discipline it requires.
— Irene Waler, Thread: An Art Form

We've teamed up with Blacklist to bring you a classic notebook set. With 120gsm uncoated paper stock and gold foil edging details, they embody a sophisticated style and elegant way to record your adventures in weaving.


Shop Loom & Spindle