

I never thought I'd become a hand spinner, it just didn't appeal to me much. I guess I thought you needed expensive equipment, access to fleece and it always seemed, well, just a little bit daggy. It all changed for me though during those long hours spent nursing my baby and armed with my iPad. My imagination was ignited by all the possibilities that spinning your own yarn provided. Determined to learn more, I spent my time absorbing as much as I could about fibre, how it's processed, how it's prepared, and ultimately what makes yarn, yarn. And do you know what I discovered? It's all about twist.

Twist is the glue that holds fibre together. It gives yarn its strength and it enables you to create one continuous strand of yarn from a single mass of fibre. Twist is really fun to experiment with and you don't need any special tools or equipment. Without giving you a full science lesson on the physics of twist I'll share one of my techniques which will help you explore twist in your own projects.
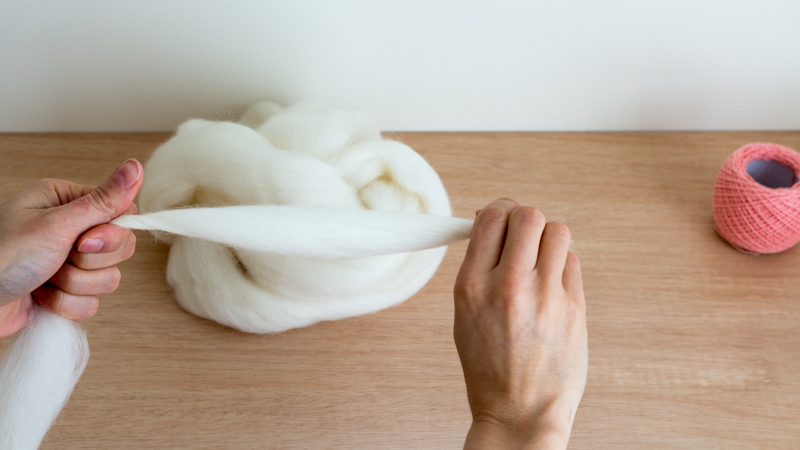
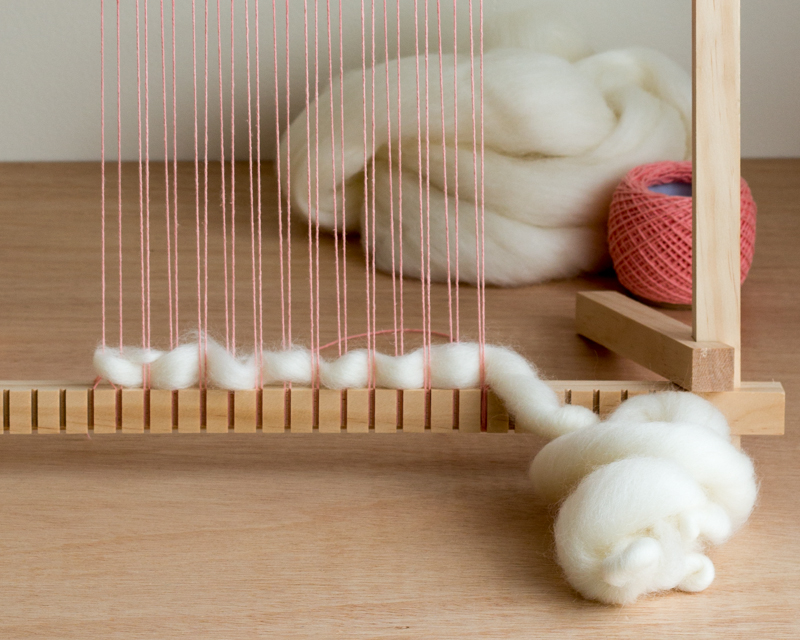
For this technique I've used wool roving which is a ready-to-spin wool fibre. The wool fibre has been combed so all the individual fibres sit parallel to each other. This preparation allows for easy drafting, the process of pulling fibres past each other before adding twist to hold them all in place.
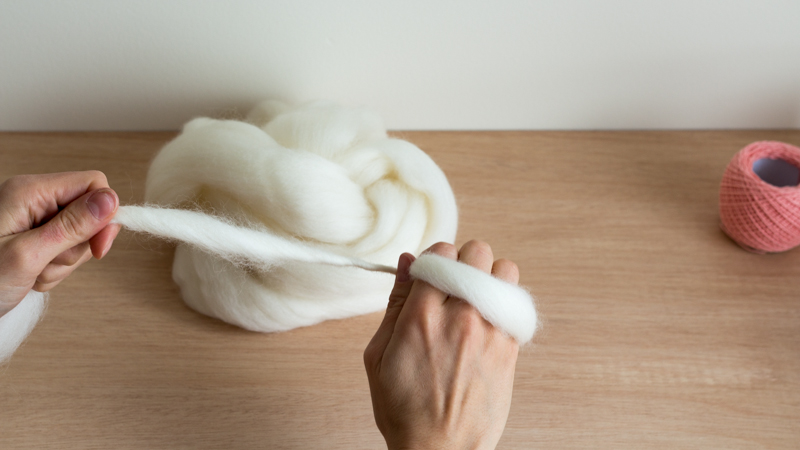
To get started I pre-drafted my roving.
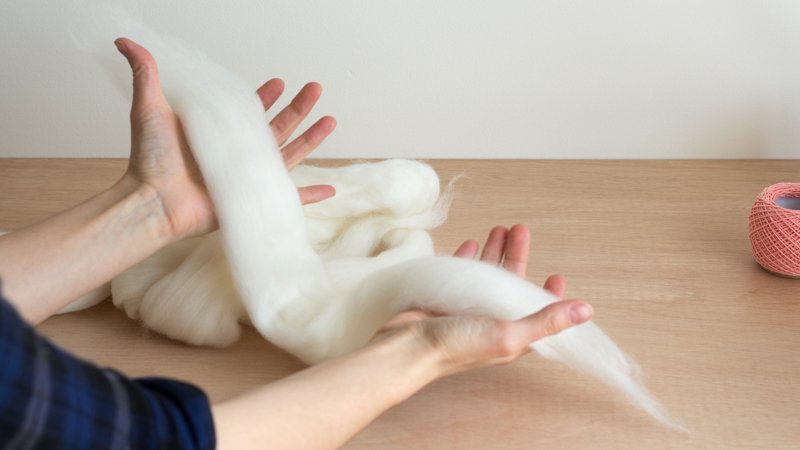
Drafting the roving doesn't have to be uniform. I left some areas thick and made some areas thin as it will create a more bubbly woolly texture in the final piece.
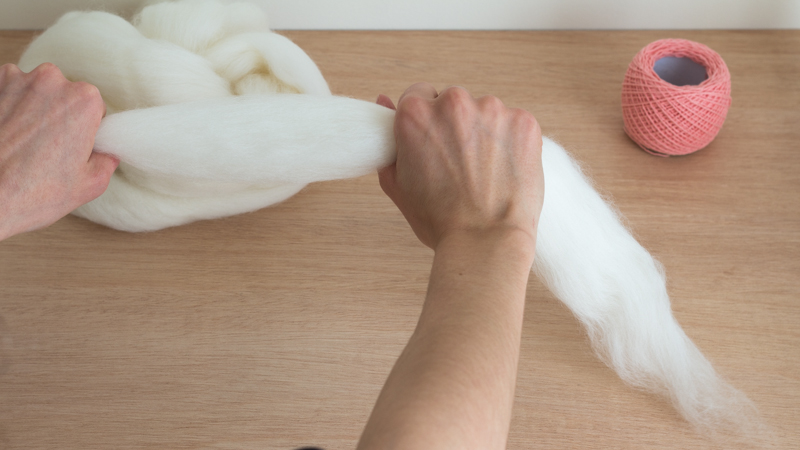
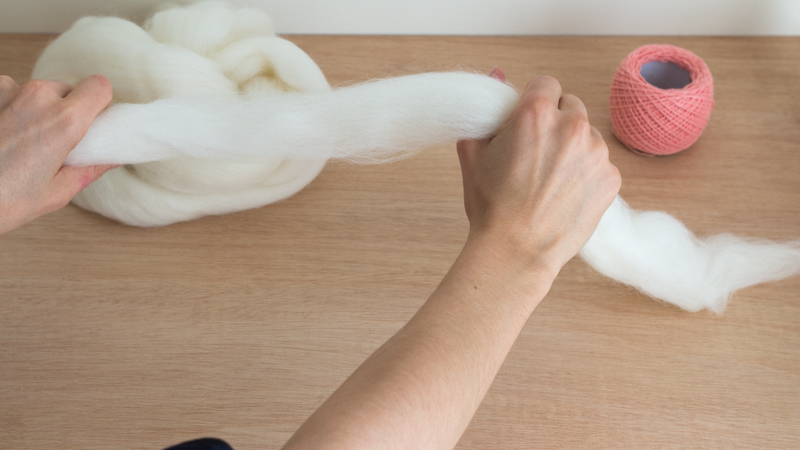
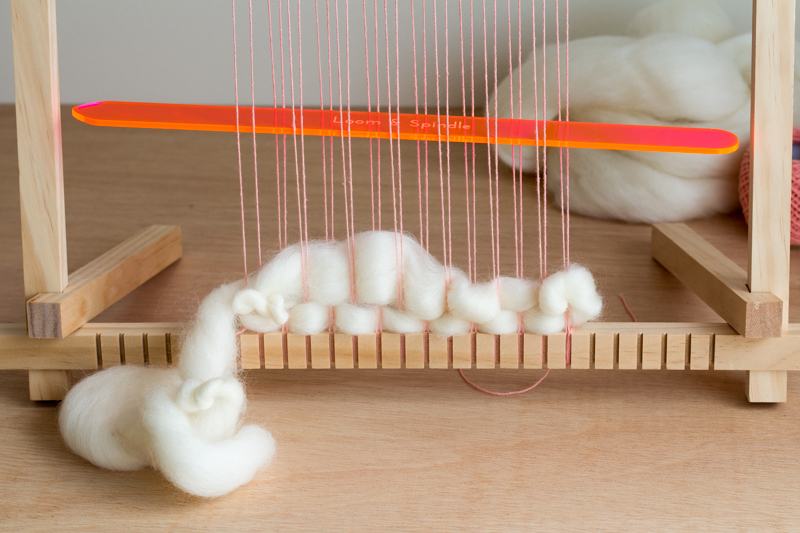
I then added twist to the pre-drafted roving.
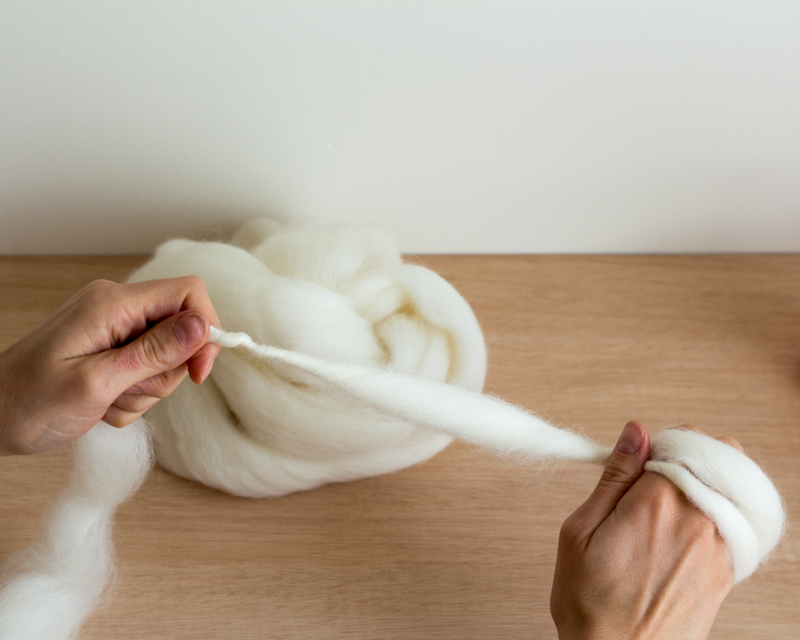
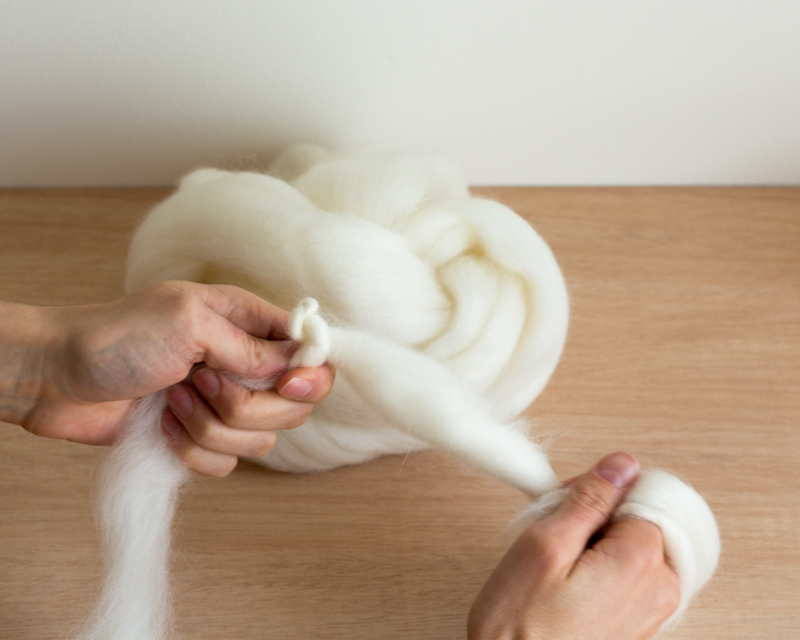
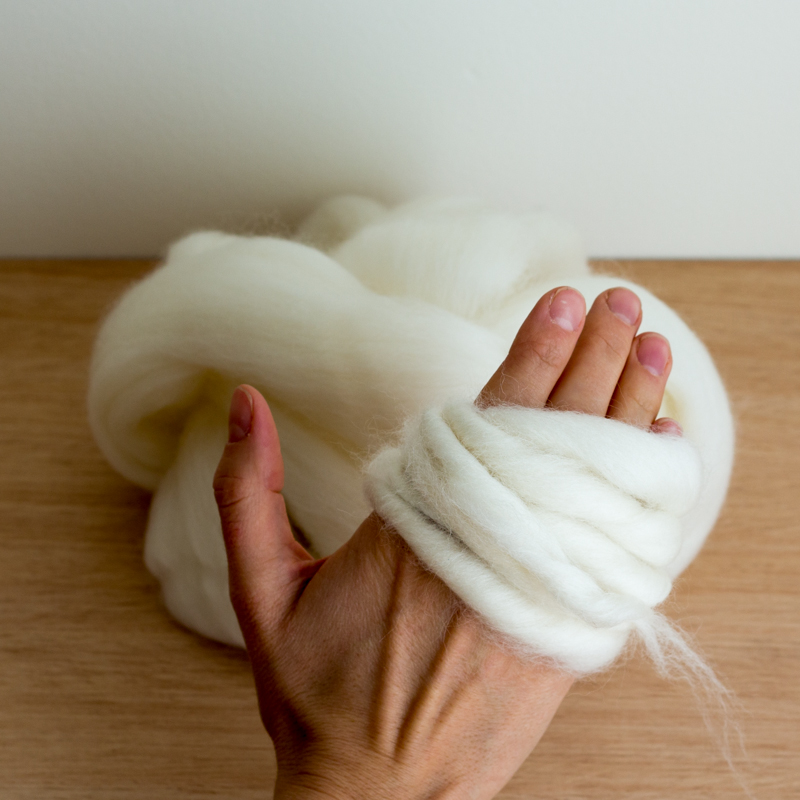
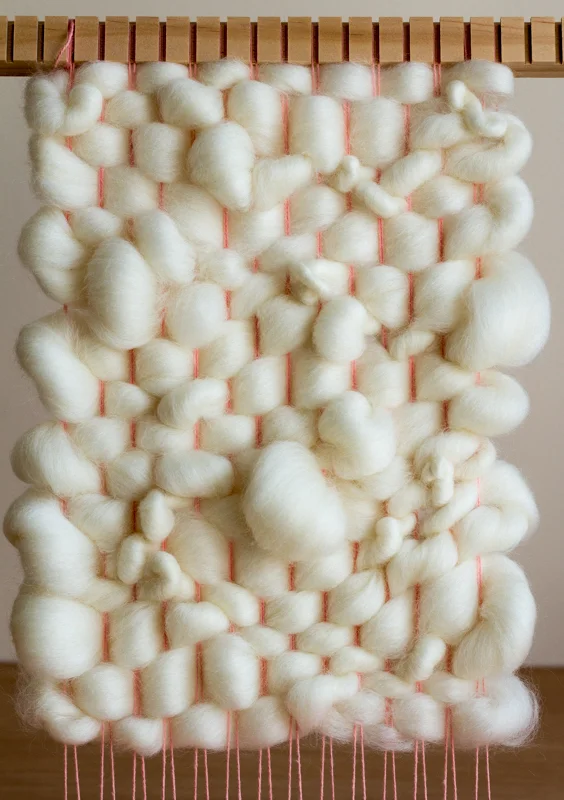
When you take the roving off your hand it begins to look a bit more like yarn. You'll notice the energy created by twisting has been released through the yarn. The result is a light and airy woolly yarn that's really fun to weave with.

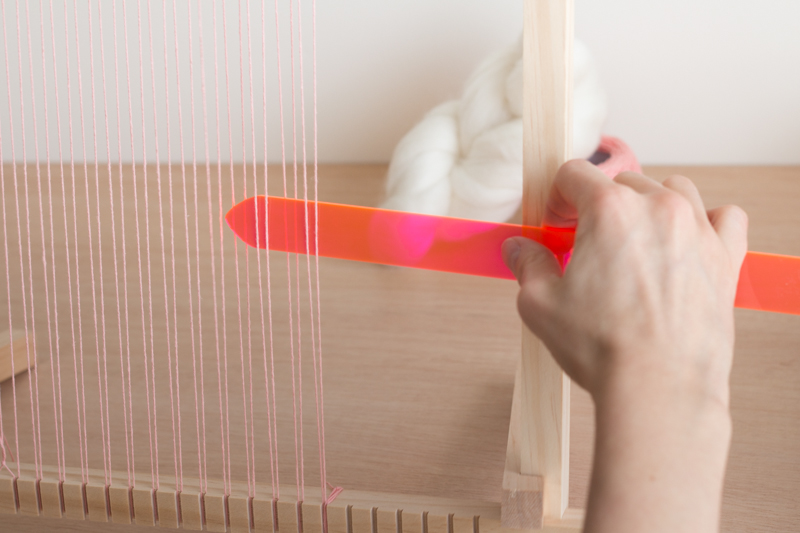
When it comes to weaving with hand spun roving it can be handy to have a shed stick or weaving sword on hand. The shed is the opening between warp threads through which the weft is passed. A shed stick can be any flat, smooth stick that's used to create an opening between warp threads. Loom & Spindle have designed a range of shed sticks which can be found here in our shop. If you don't have access to a shed stick try using an old ruler or thick piece of card board cut to size.
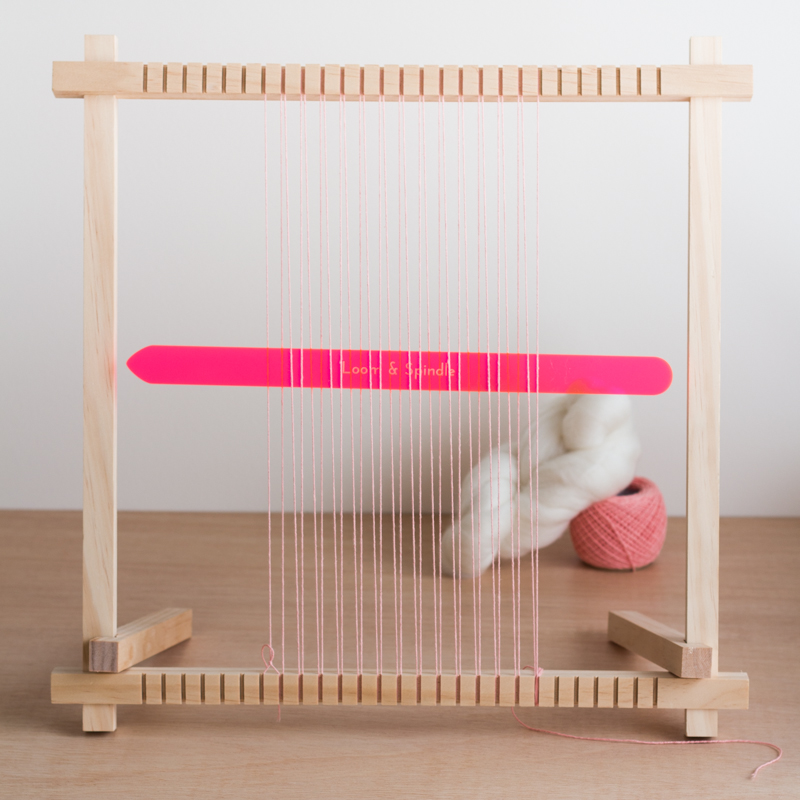
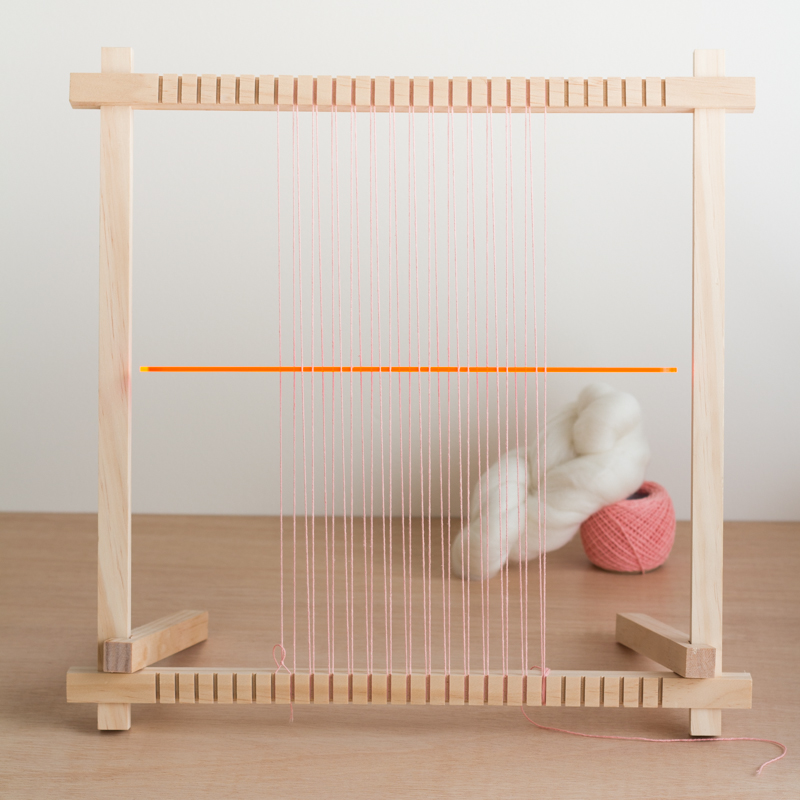
To begin weaving I warped my frame loom with a pink 4 ply crochet cotton and used the Loom & Spindle shed stick to open the first shed.
To finish, keep building up the fabric row by row as I've shown you above. You''ll soon develop a feel for the roving and how twist interacts with the fibre. You can pull out the thicker bits to make big puffy fibre clouds or let the thinner areas twist back on themselves to make little spirals. Play around with it and have fun.

If your looking for roving or other fibre to experiment with I've found that Etsy is a great resource. There are some really interesting shops speciallising in hand dyed and hand prepared fibres. My favourites right now are Hey Lady Hey, One Handmade Life and Just a Day Dream. I've also added the roving I've used in this tutorial to the Loom & Spindle shop to help get you started.
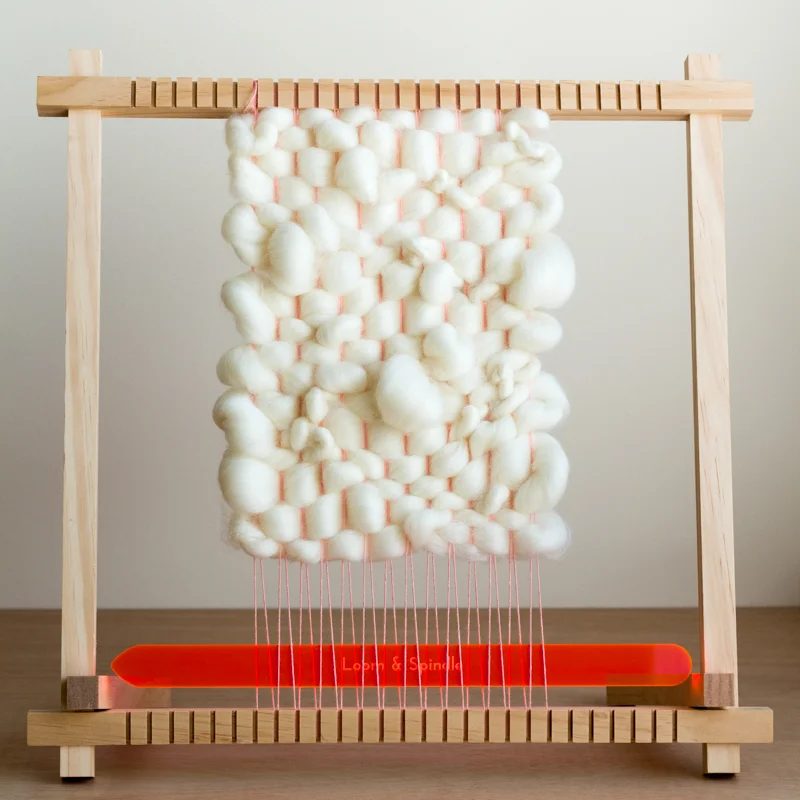
You'll find that weaving with hand spun roving is a lot of fun. It covers really quickly and creates very textural weave. I hope you've enjoyed this little introduction to spinning and will perhaps try it yourself.