Posts in How To's
How to Weave a Heart: A Method for Shaped Weaving
Woven Hearts-14.jpg
 

As Valentine’s Day will soon be upon us, I was compelled to show you a method for weaving a woven heart.

A heart may seem complex at first, high and low stepping must be combined carefully to form both horizontal and vertical curving lines. Though, through careful planning this seemingly complex shape can easily be achieved.

I’ve outlined a simple foundation method for you below, it draws on the skills you’ve learnt in LINE SHAPE TEXTURE. You’ll also find a FREE heart template at the end of the post to get you started straight away.

Shaped weaving is a lot of fun. There are endless possibilities. I can’t wait to see how you incorporate this technique into your own pieces!

Project: Woven Ombré Heart

Intention

  • Construct a heart shaped woven piece to test a methodology for shaped weaving.

  • Gradually blend two colours across the surface of the fabric to produce an effect reminiscent of ombré – previously sampled here.

Skills

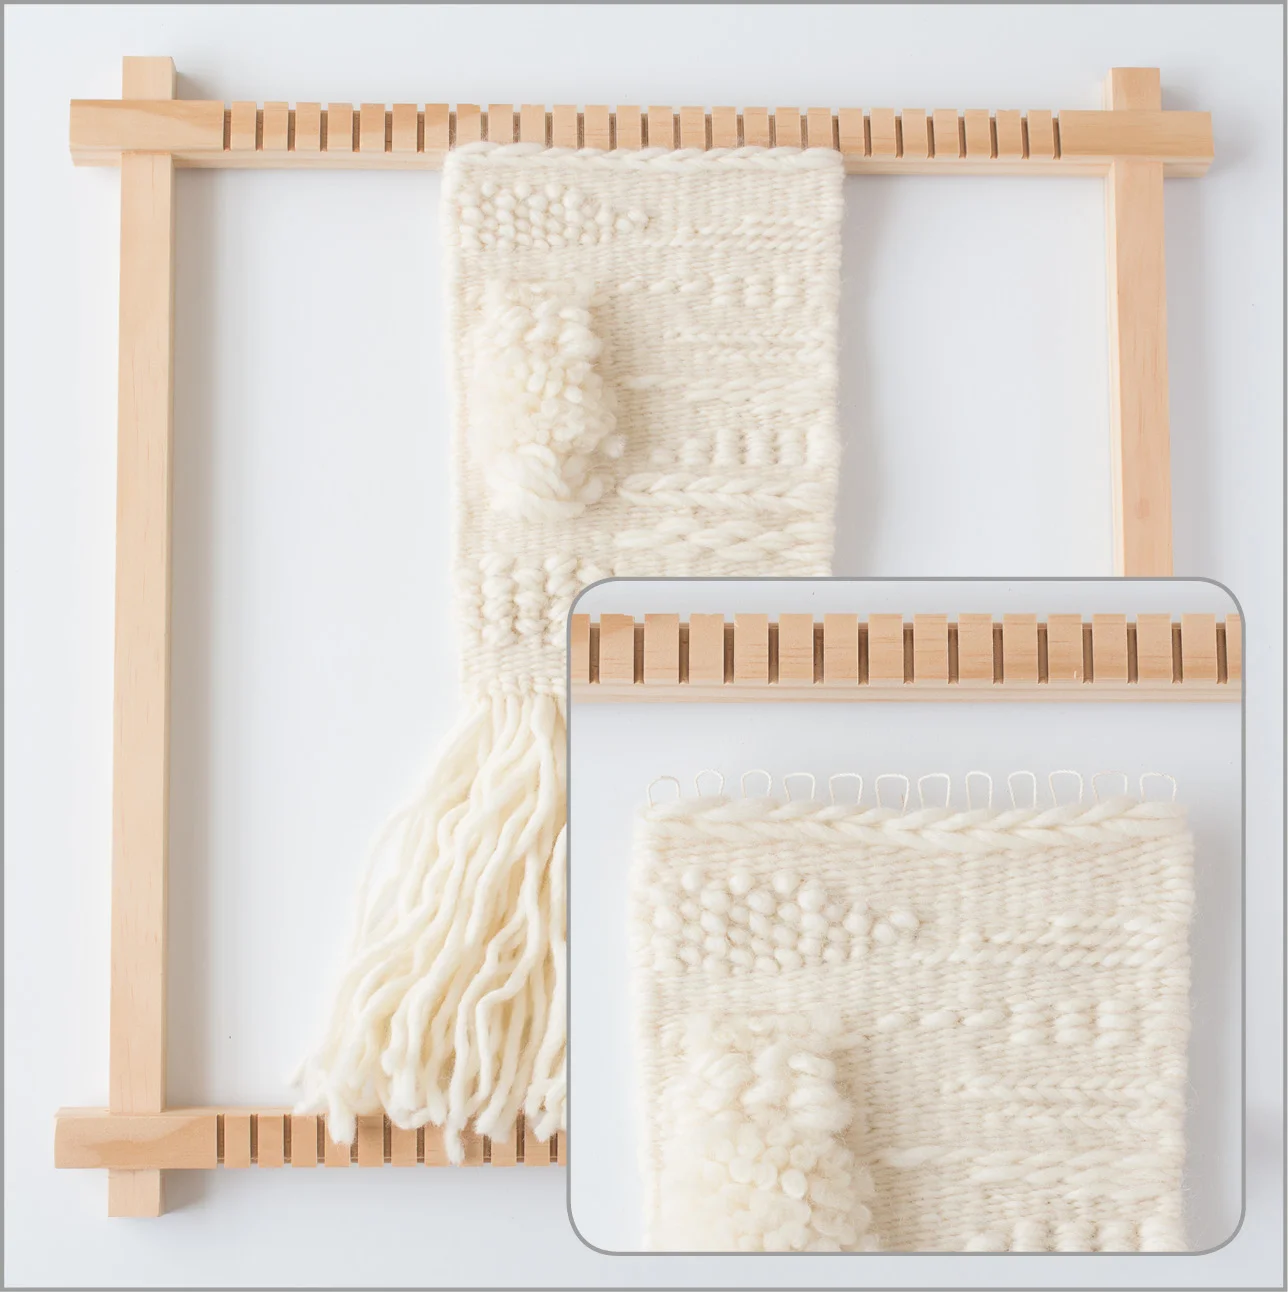
  • Inserting a ground weave – To prepare the loom and evenly space the warp prior to weaving

  • Double half-hitch - To secure the warp and weft

  • Plain weave – For the filling

  • Half-hitch - To secure weft threads as you start and finish a weft thread

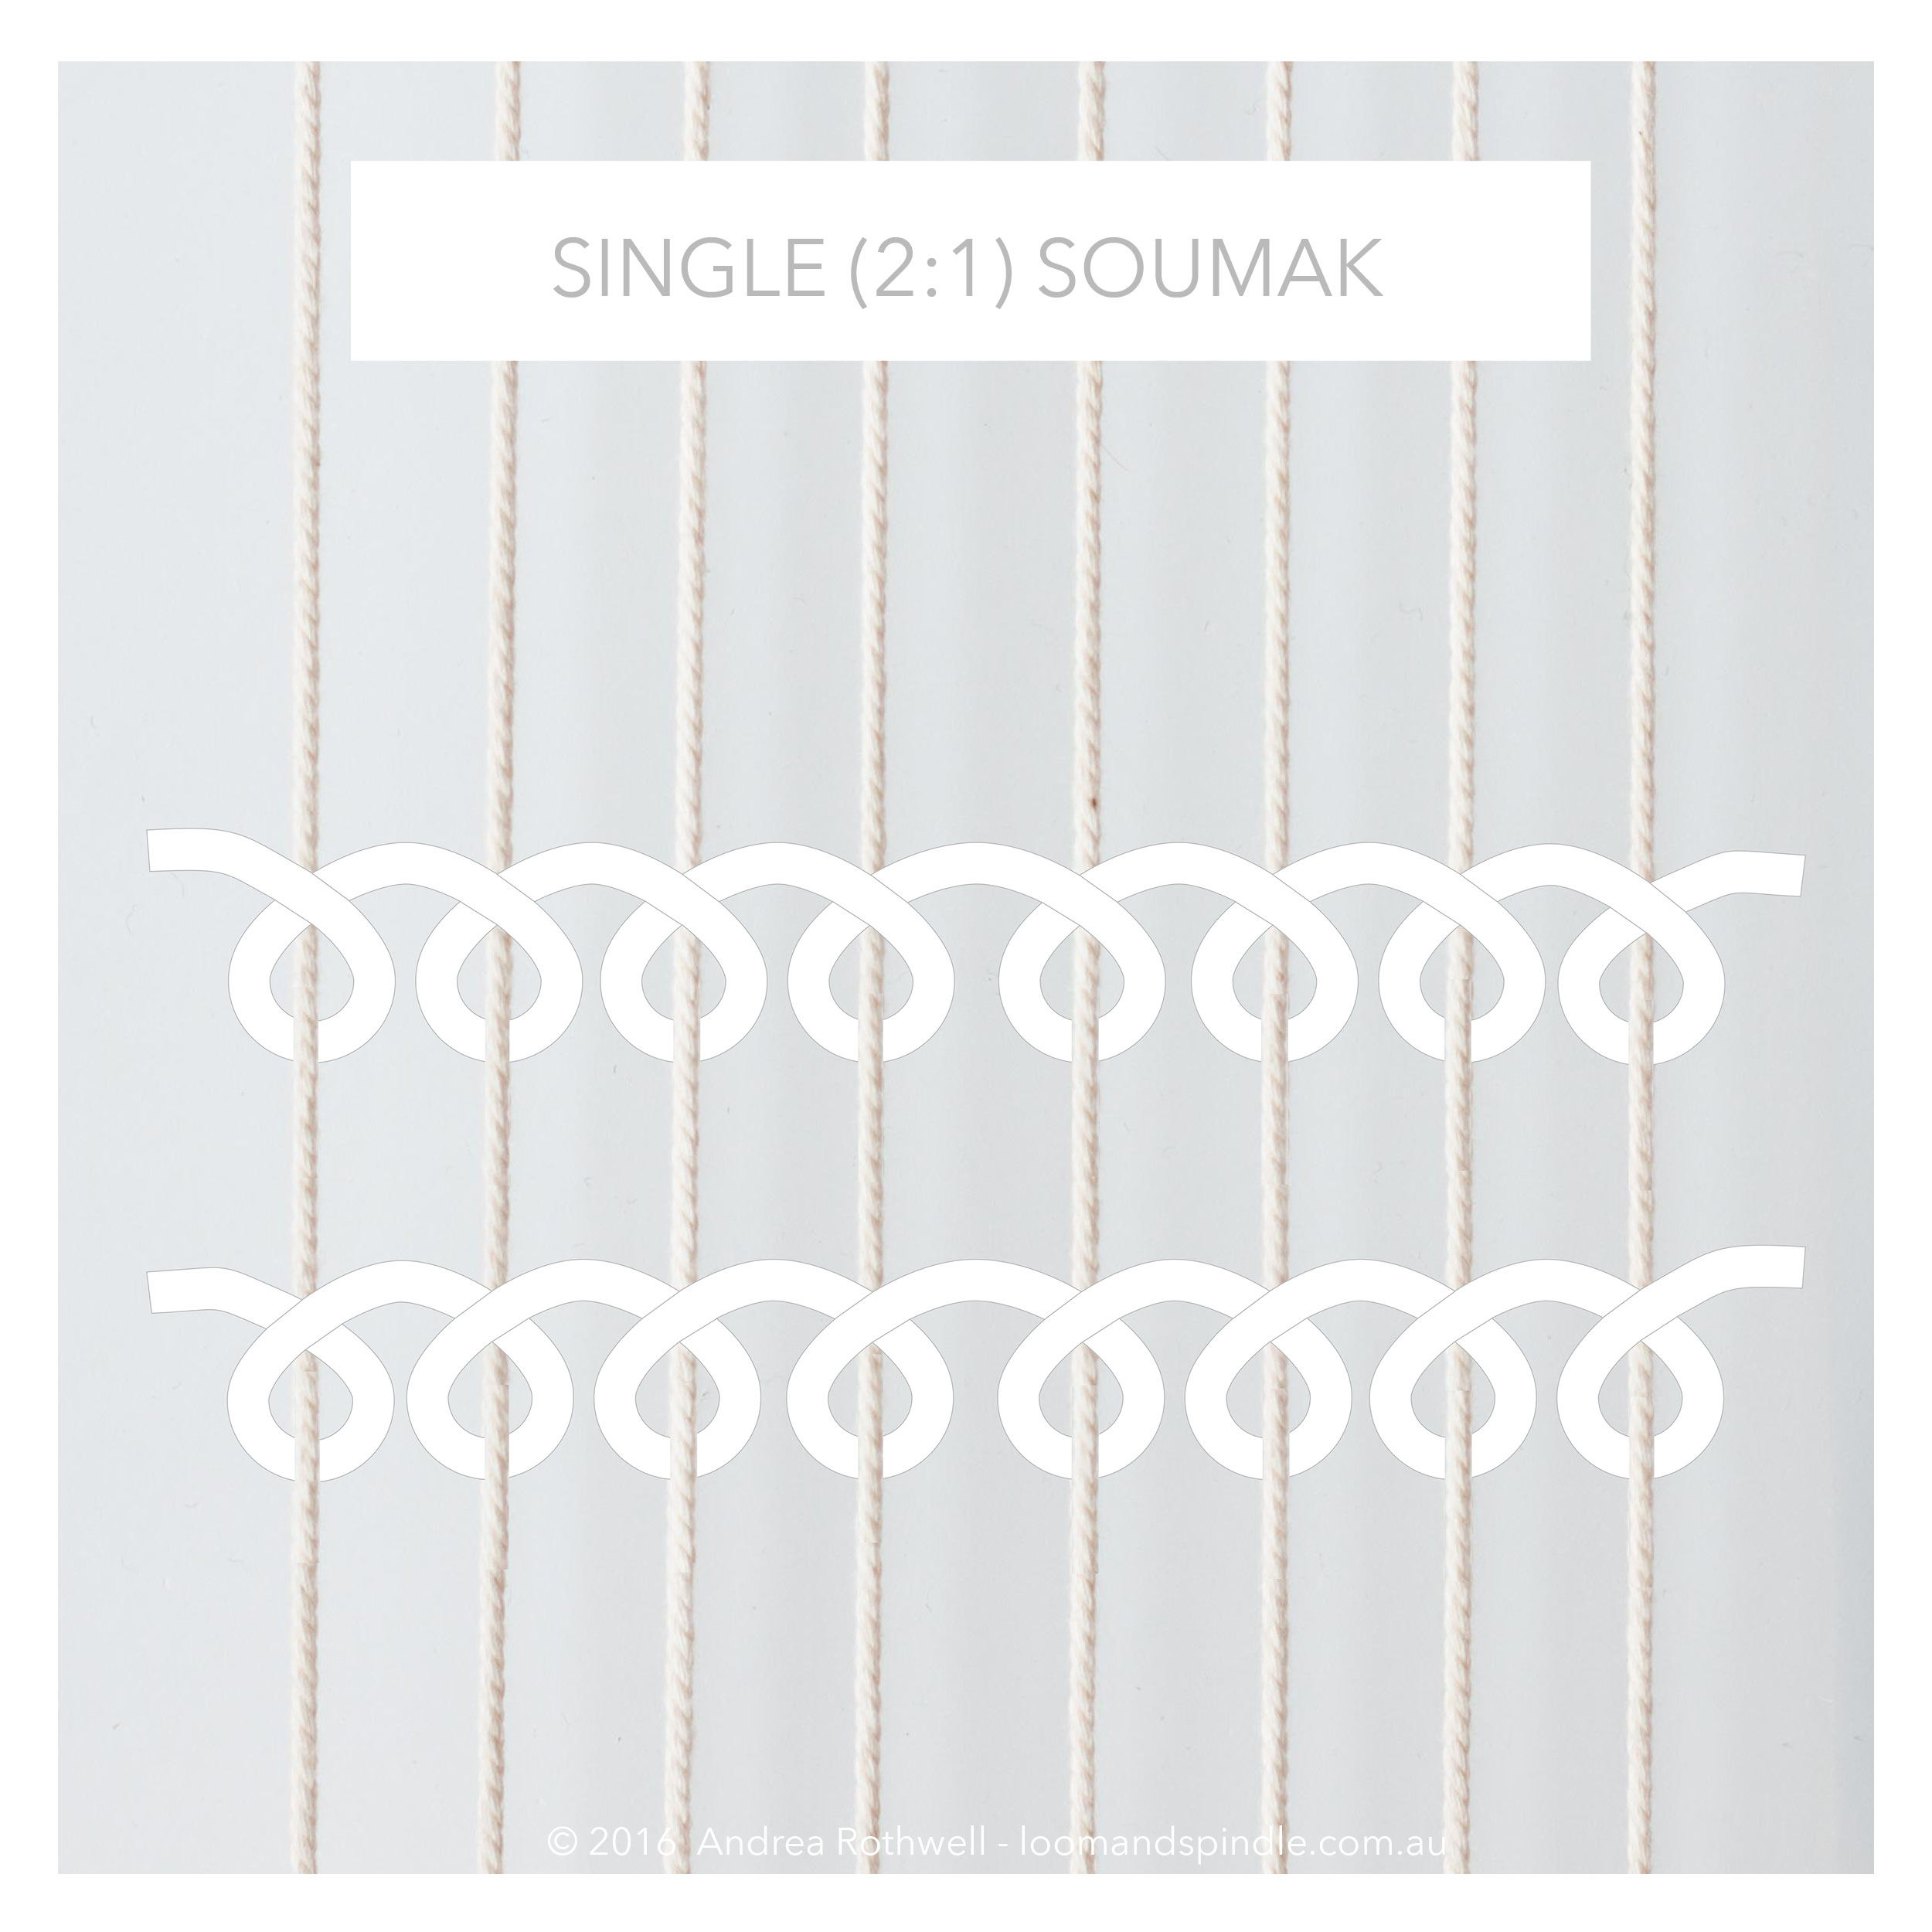
  • Low and steep-angle stepping - To work horizontal and vertical curving lines

    *To learn more about these skills and please check out my book - LINE SHAPE TEXTURE. It’s available to download now!

Planning

  • My first step was to define the shape and prepare a template. It was important to consider the warp sett and how best to plot the shape to achieve the centre-line points of the heart, would I use an odd or even number of warps and how would that affect the design.

  • I referred to my own notes in LINE SHAPE TEXTURE to refresh my skills on forming curved shapes. I noted in particular that curved shapes would work better over an even number of warp threads. Though, I concluded that an odd number of threads would be required to achieve the centre-line points. This led me to the assumption that if I pictured the heart as two overlapping circles that shared a common warp thread on their outer edge I could achieve both outcomes!

  • On drawing up the design, I sketched out the warp sett first. I marked the dimensions I wanted to work with ensuring that I marked an odd number of warp threads to align the shape.
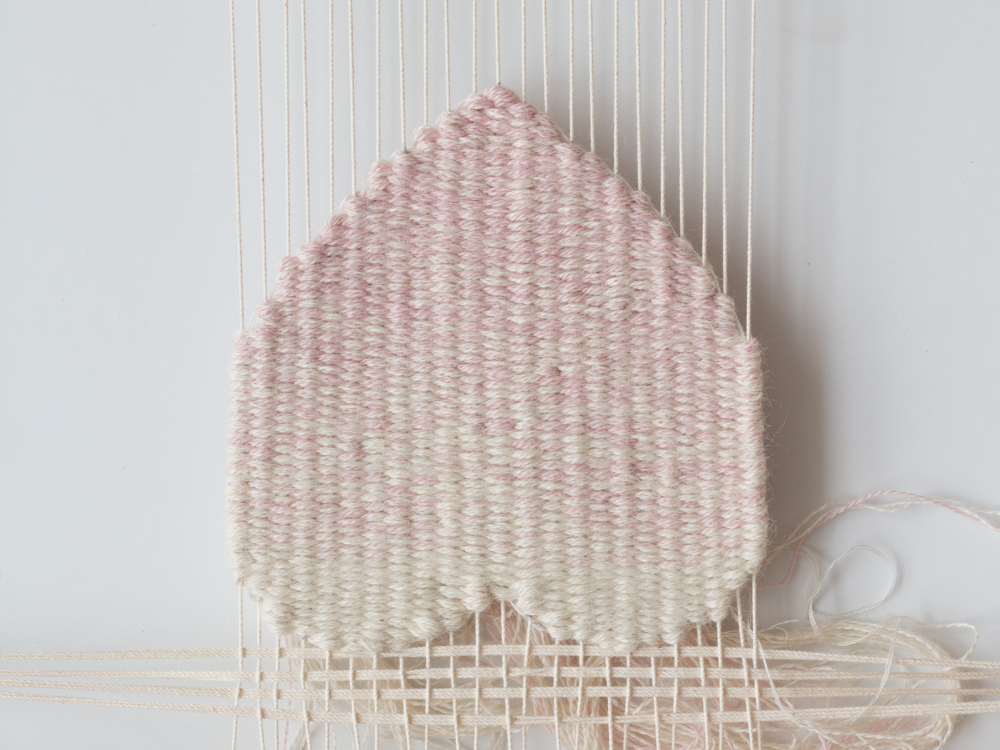
Woven Heart

Sampling

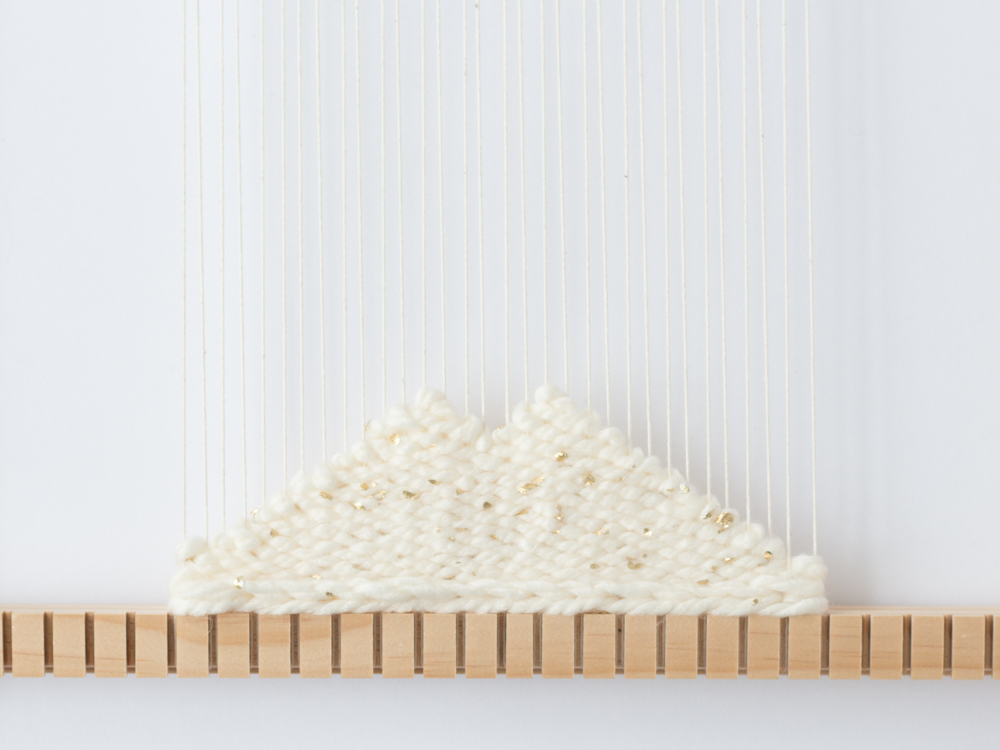
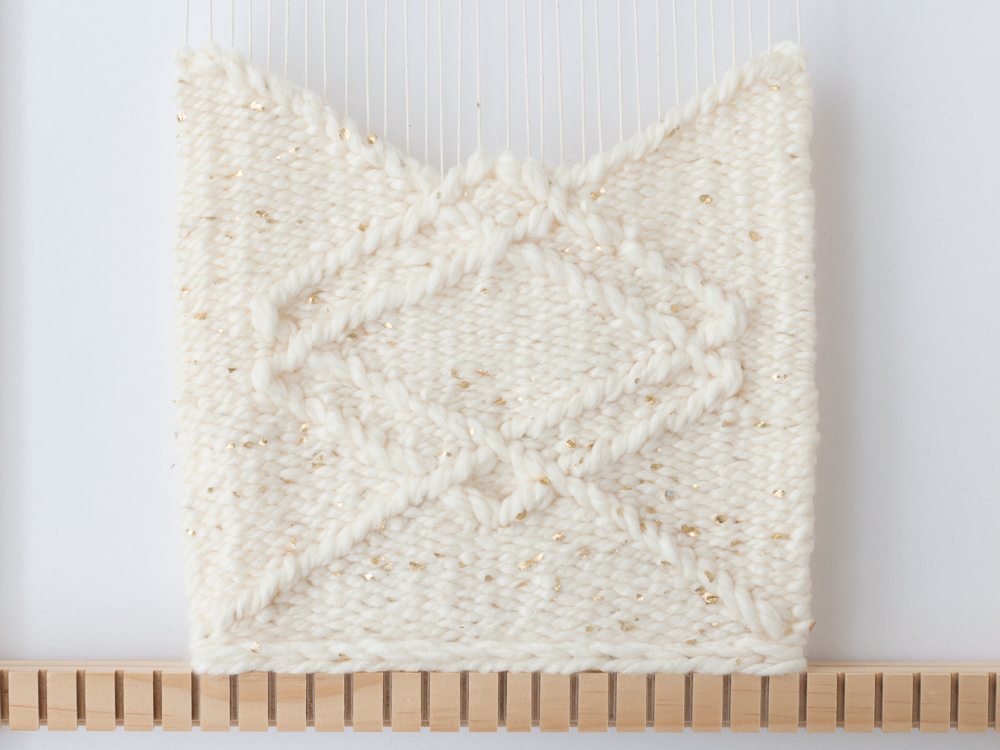
  • I wove a small sample heart, approximately 10cm (4’’) wide, to test the methodology and determine a procedure.

  • I tested the assumption that double-half hitches would be viable for securing the warp and weft, particularly its durability once the piece was removed from the loom.

  • I had previously tested weaving gradients of colour, swapping out two threads at a time. From this sampling, I decided to weave the gradient by swapping out one colour thread every couple of rows to see how this affected the gradient.

Materials

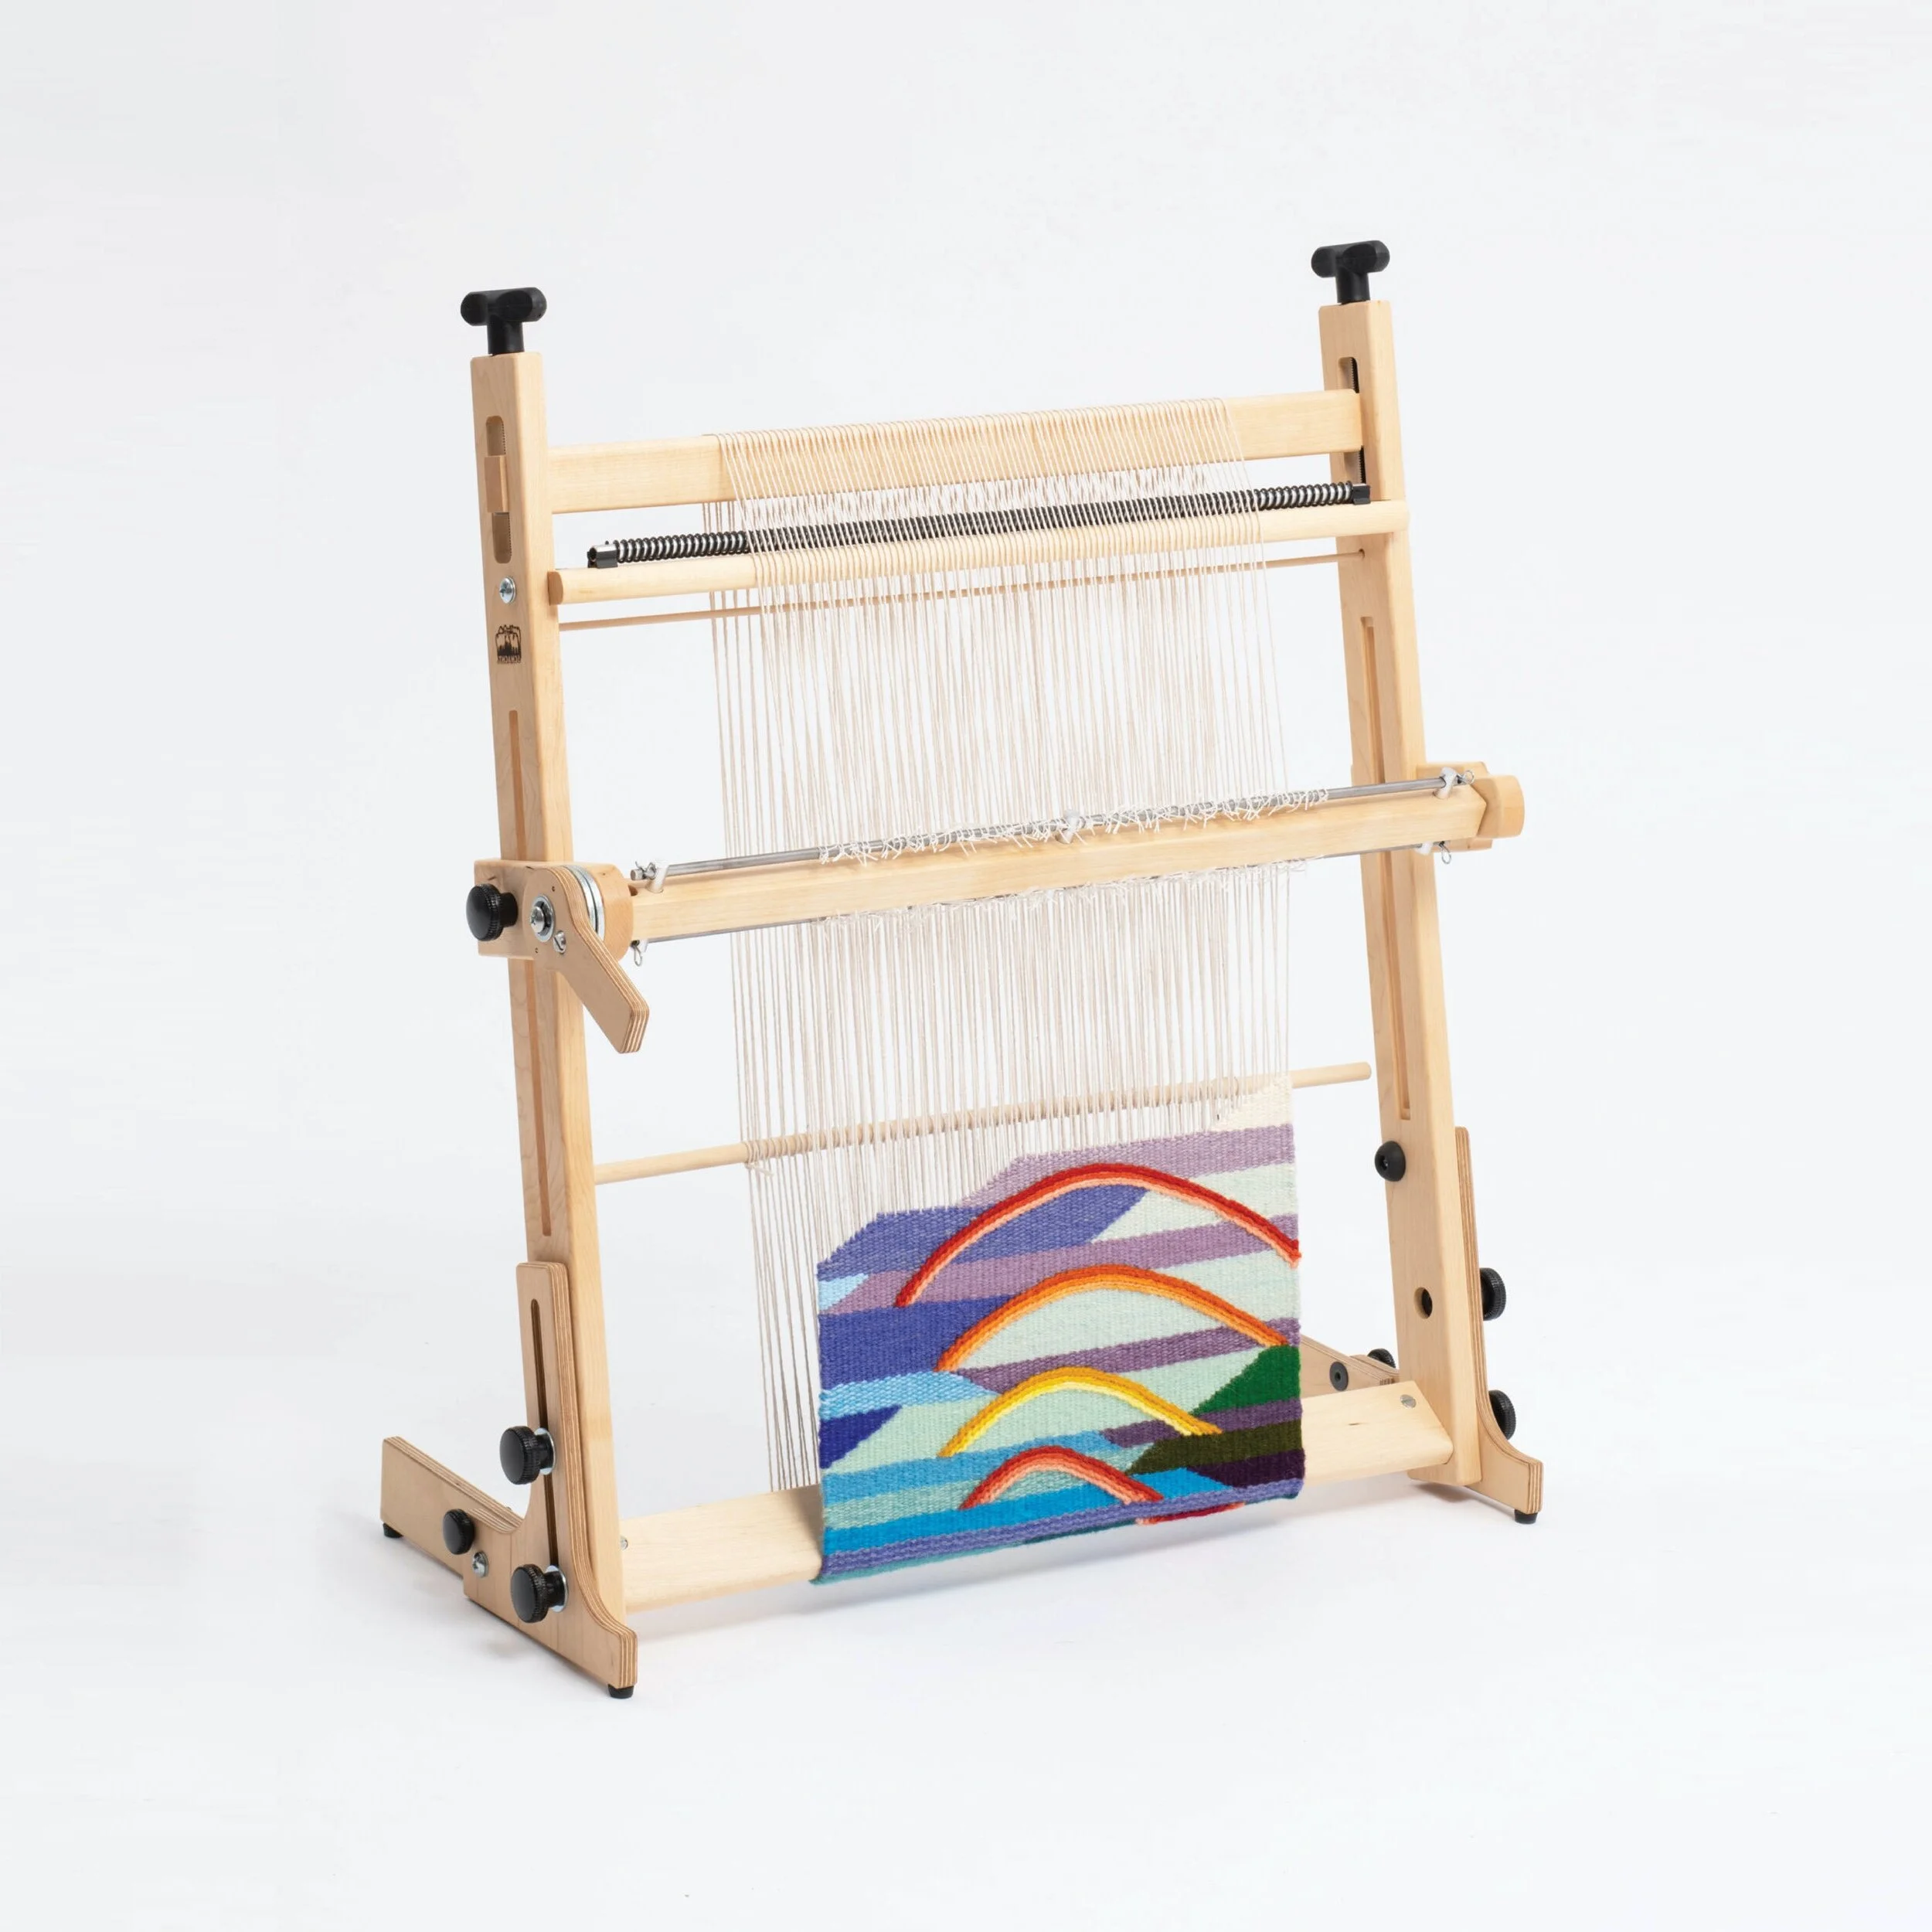
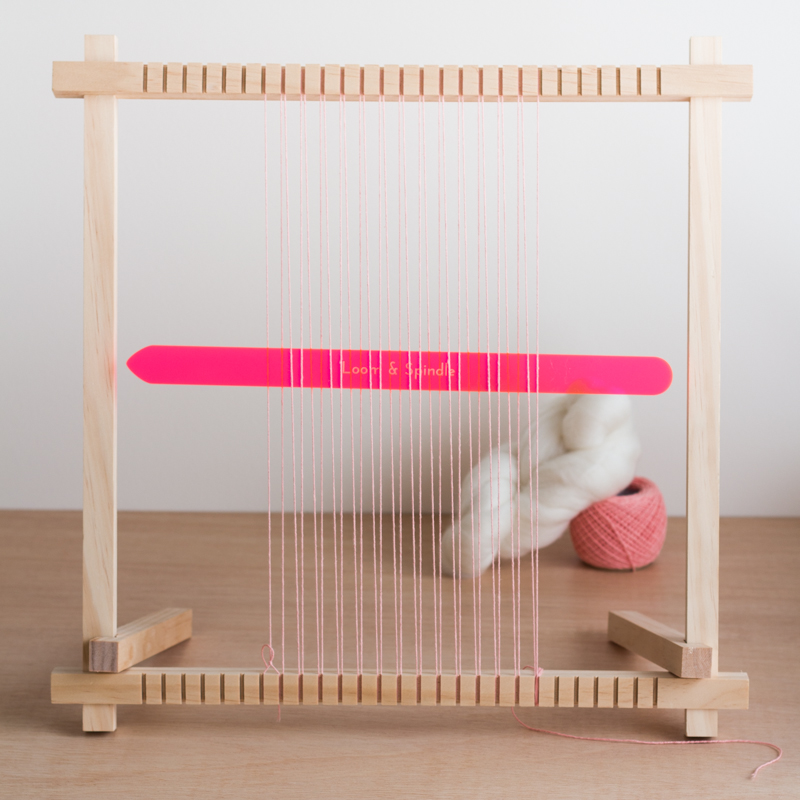
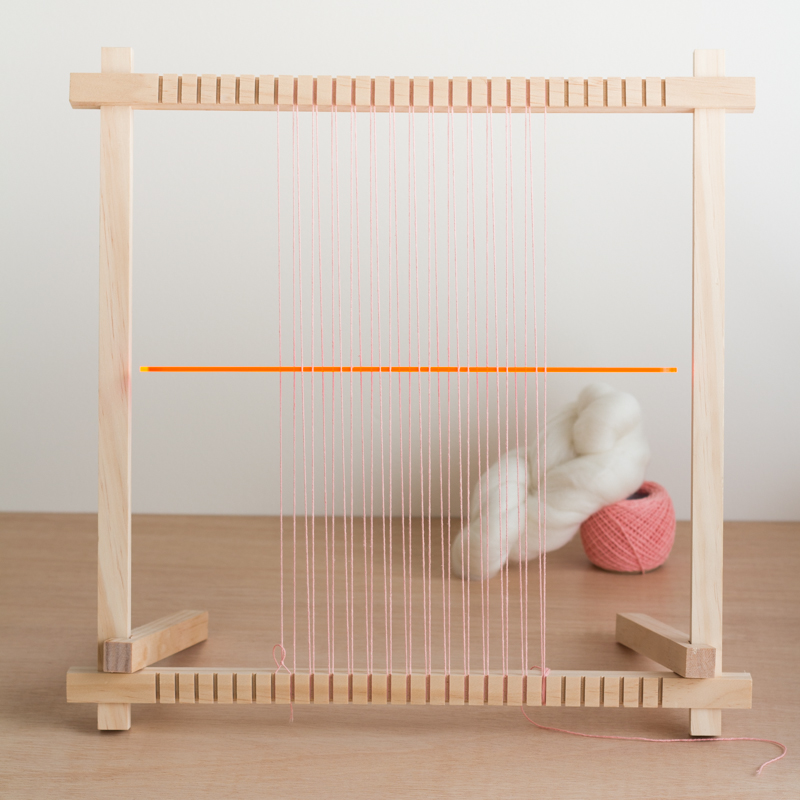
  • Frame Loom – I used a Loom & Spindle 44cm Loom with a pre-defined warp sett of 4 ends per 2.5cm (4 ends per inch)

  • Warp – Cotton Warp Thread

  • For the double half-hitches - I used three strands of a cream coloured sewing thread. This fine thread will help hide the hitches from view.

  • Weft - I chose a lace weight (2 ply) yarn in two neutral tones that were of similar contrast. I had used this yarn previously in my gradient samples so had a good idea of how they would behave when woven.

Method


STEP 1
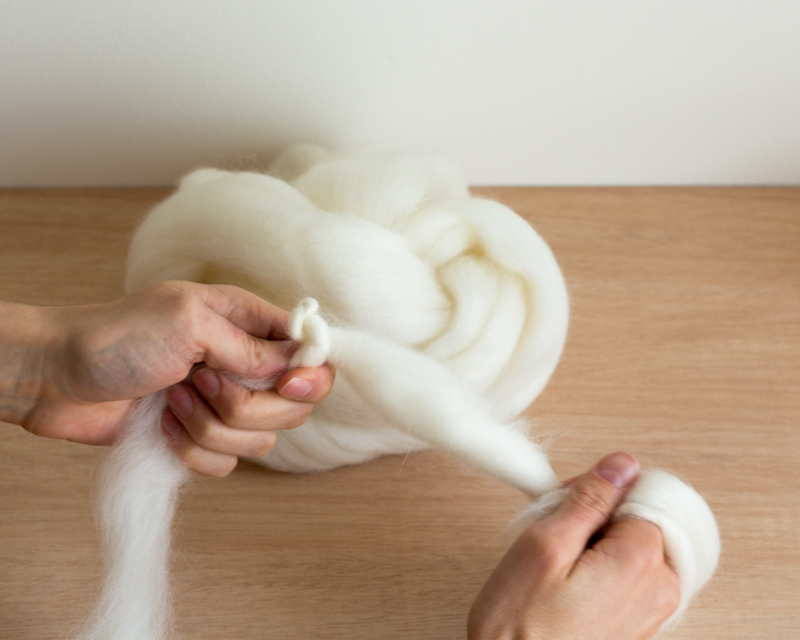
Define the dimensions of your shape and warp the loom to a width that will accommodate your design.
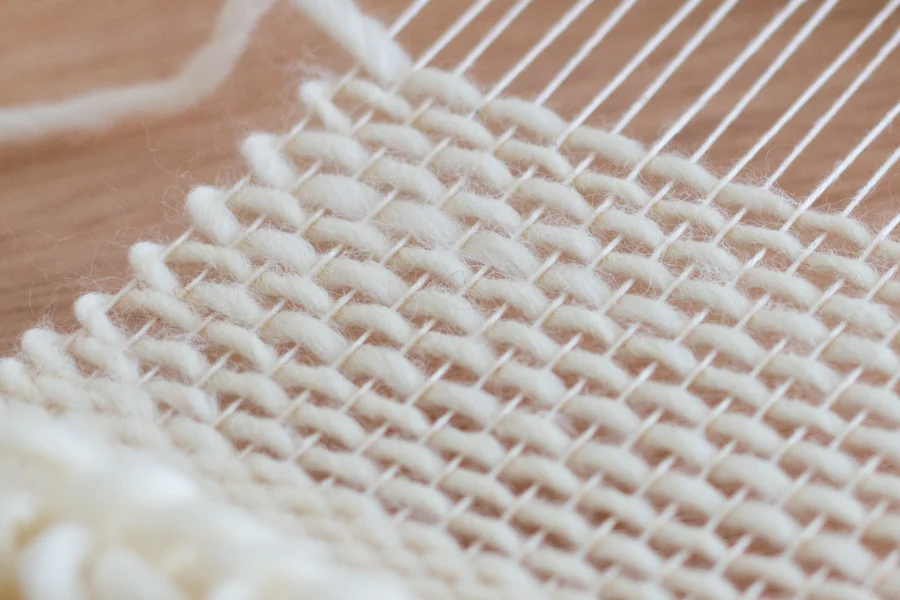
STEP 2
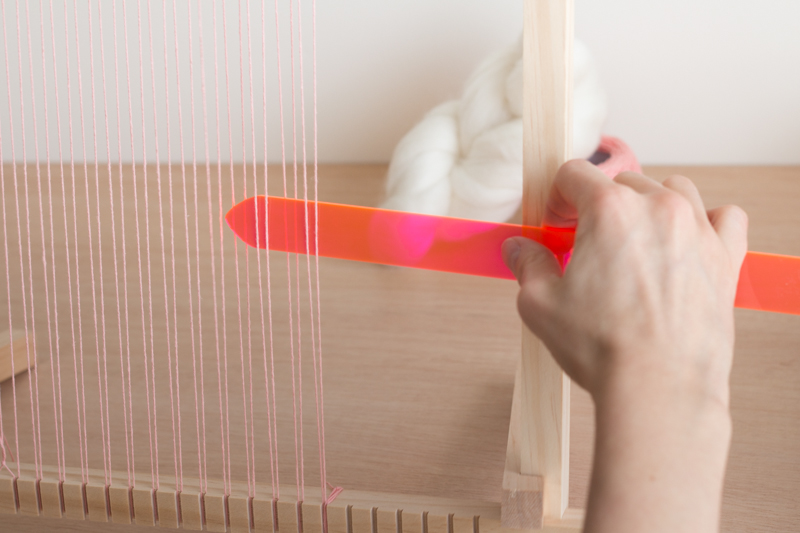
Weave in a ground weave to establish a firm base on which to begin your piece, distribute the warp evenly.

STEP 3
Using a marker, trace your shape onto the warp. I have placed the heart shape upside-down.

  • Mark your centre thread so you have a reference point as you align your shape against the warp.

  • Orientate your shape so you have the fullest part of the design at the base. This provides a firmer and flatter base on which to weave, this will help you control the curves and establish that all important weave sequence.

STEP 4
Using three strands of sewing thread, about an arm’s length long, secure the warp by outlining the base of the shape with a series of double half-hitches.

  • Work steadily and carefully, maintaining the warp spacing.

  • Ensure the hitches are secure by tying the double half-hitches tightly on each warp thread.

  • Keeping the tension on the sewing thread as you work the double half-hitches will help control the positioning the hitch.
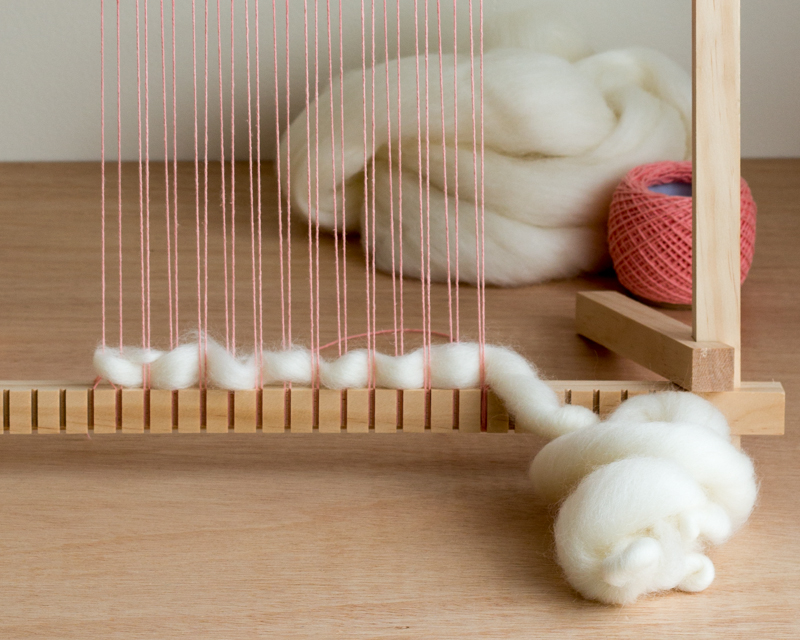
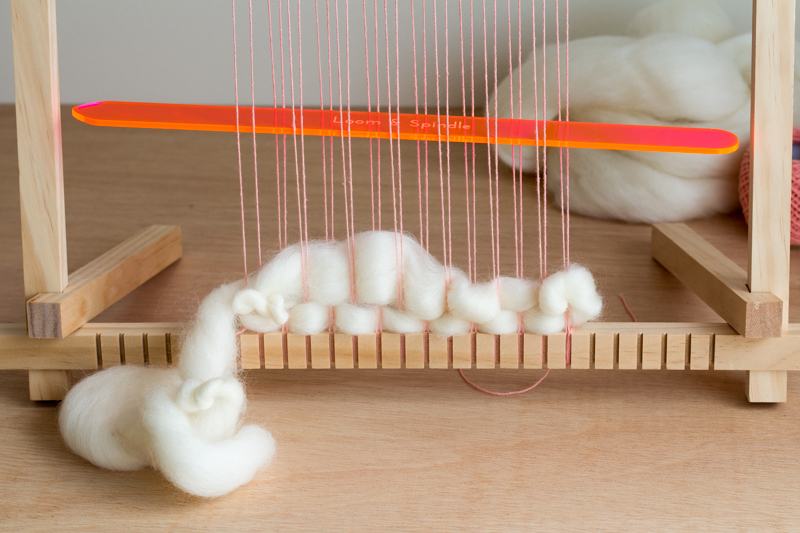
Woven Hearts-5.jpg

STEP 5
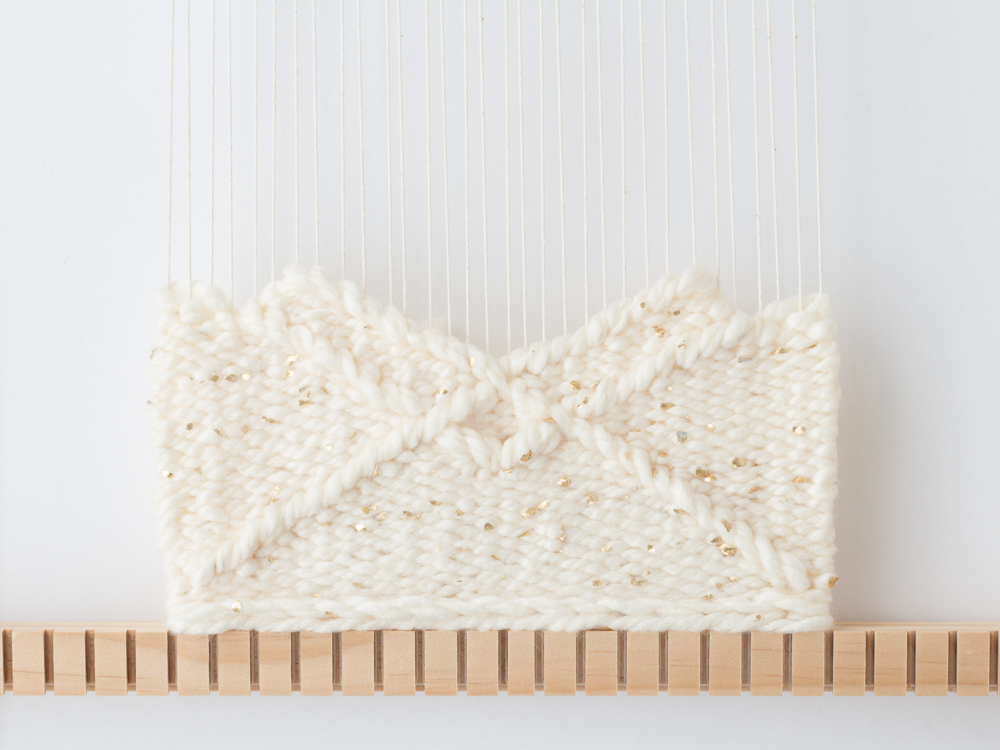
Using plain weave or other desired stitch, fill in the body of the shape working your passes and stepping the weft as the shape requires.

  • If using plain weave, weft direction can be utilised to maintain weave sequence to create a seamless appearance on the face of the fabric.

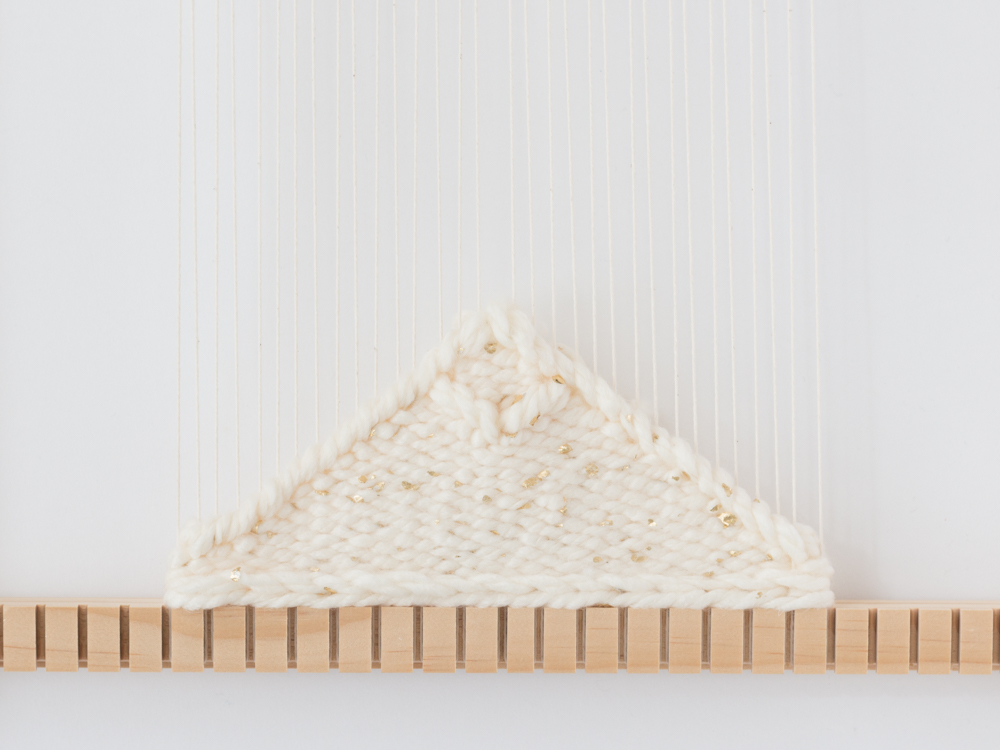
  • In my piece, I began by weaving-in the base of each horizontal curve. I wove each side as if they were a mirror image. This ensured my weft threads would be travelling in opposite directions, very important when working adjacent shapes.

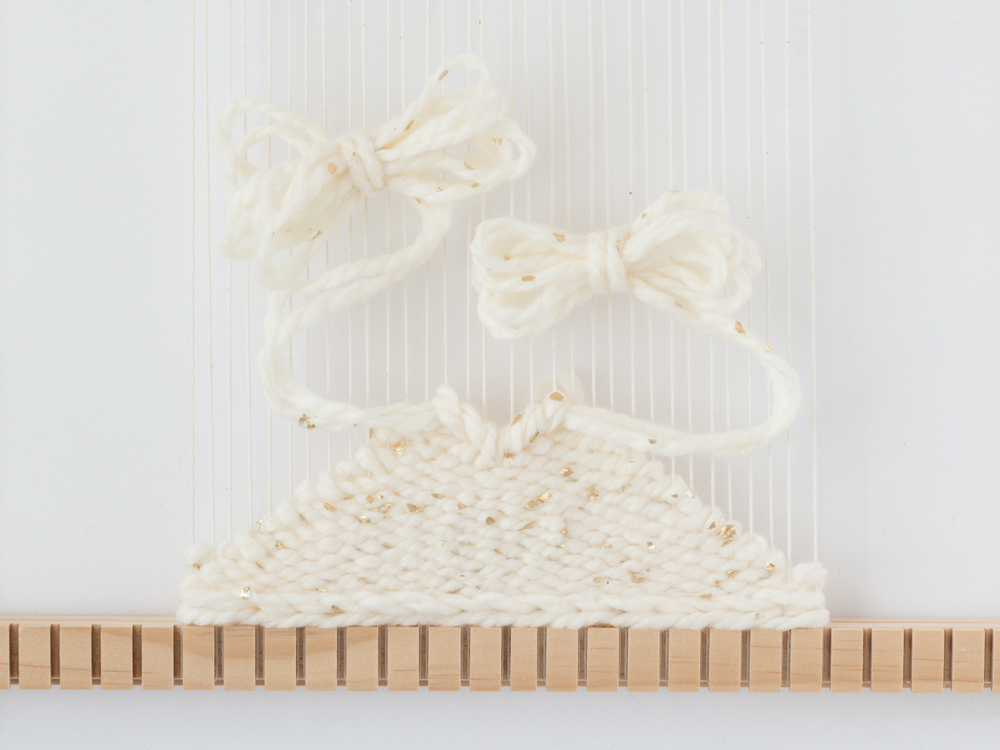
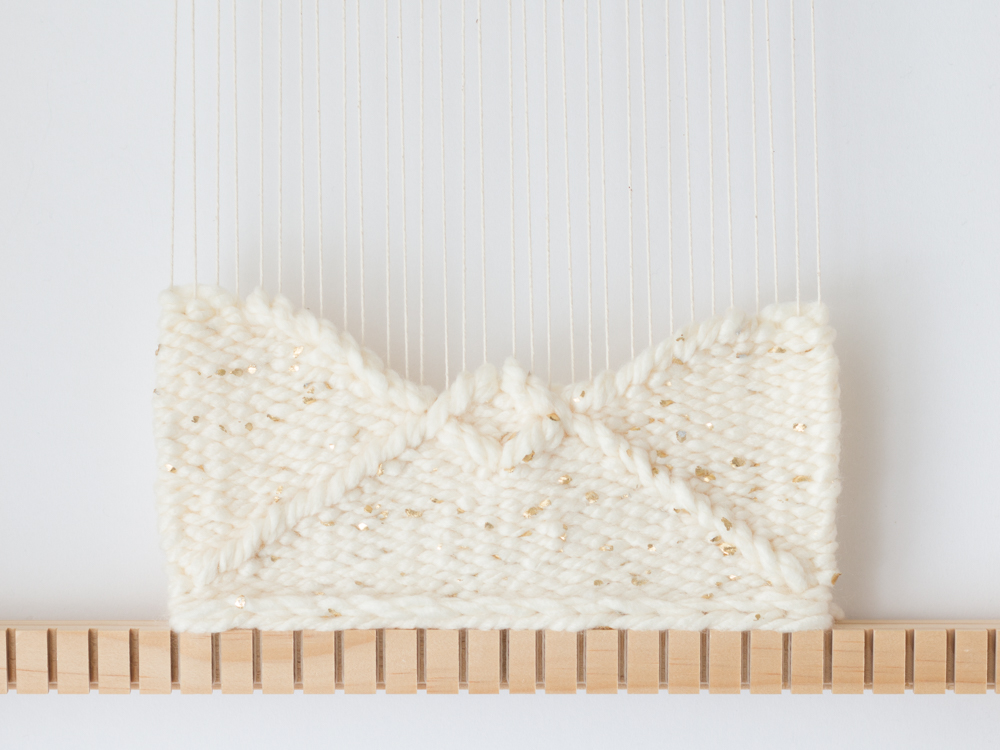
  • I had to play around with the passes to figure out how to bring the wefts together seamlessly. I found that if I kept the passes on one side lower than the other I was then able to bring the weft over from the right side and pass seamlessly over the left side of the shape. Play around with it and you should be able to find the sweet spot on your piece too.
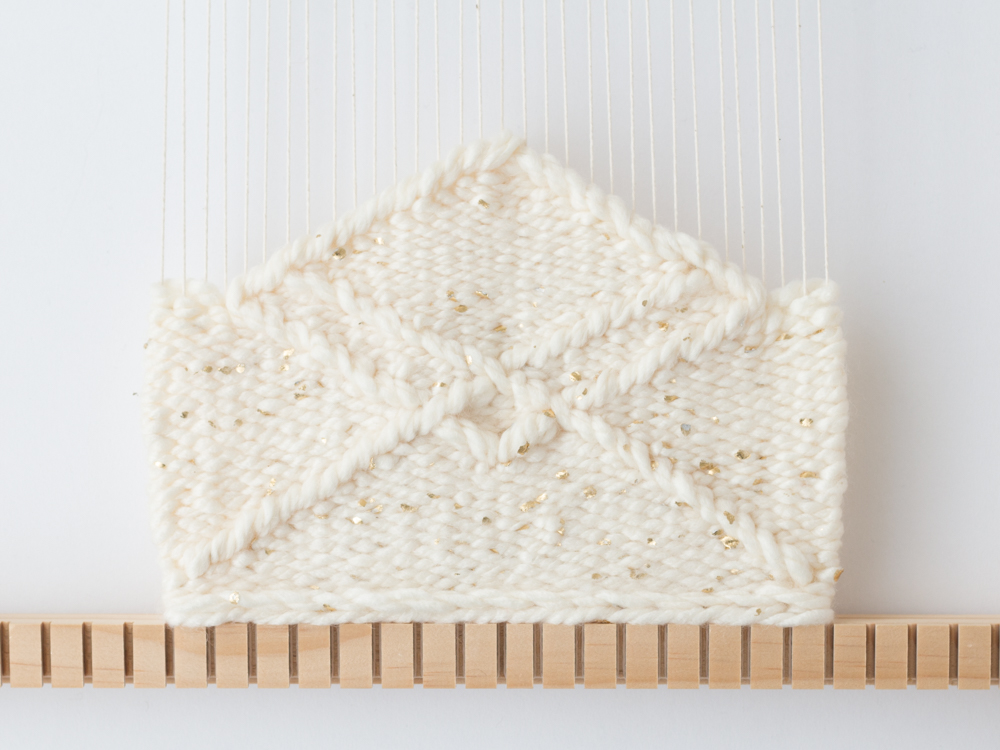
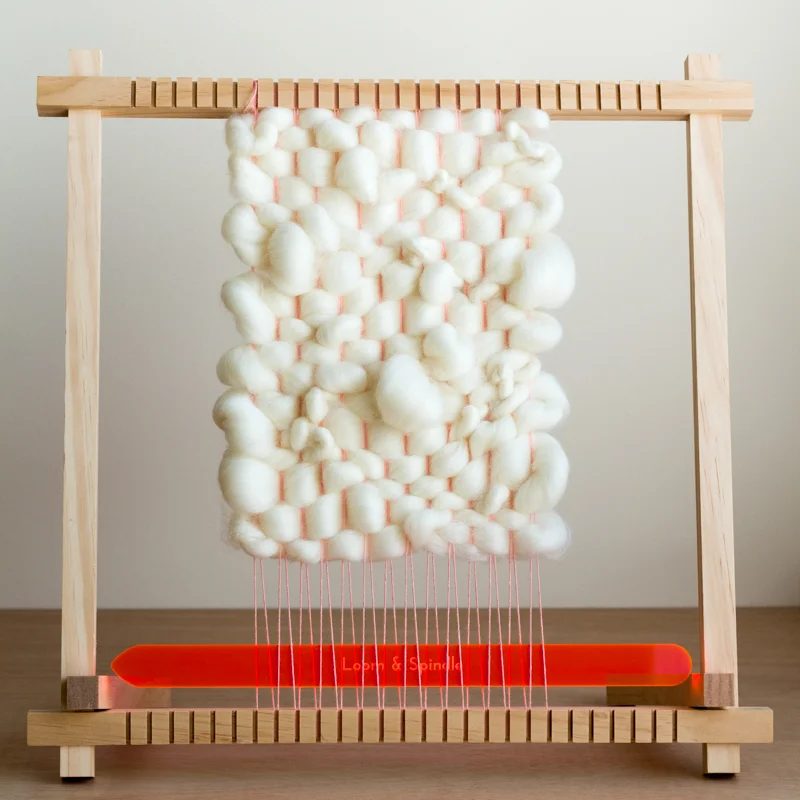
STEP 6
Once the shape is complete secure the warp and weft by outlining the shape with a series of double half-hitches. The piece is now ready to cut from the loom.

Finishing

  • The warp and weft ends can be secured against the back of the piece using a sewing needle and thread. I found that by incorporating some hitches into the sewing stitches I could grip the warp threads and anchor them down more firmly.

  • As there is not a lot of natural spring in alpaca fibre and the yarn is quite dense, I didn’t feel the need to steam block the pieces in this instance.

Insights and Opportunities

  • Sampling the project and working through the challenges this piece presented helped reinforce the theory behind weaving curved shapes.

  • The method proved very versatile and I can see that it has endless opportunity for further experimentation!


Thank you for reading!

I’ve put together a template so you can try this technique for yourself. 
The template contains three heart sizes and features positioning points for the outer warp threads.
This will help you align and orientate your template for best results!


FOR MORE INFO ON THE SKILLS USED IN THIS TUTORIAL, CHECK OUT OUR BOOK LINE SHAPE TEXTURE.

WHY NOT CHECK OUT OUR FREE SAMPLE VIA OUR BOOK PAGE!

Outlining Angular shapes with Soumak + FREE Pattern Download
 

My first book, LINE SHAPE TEXTURE, is very much a technical guide in which I introduce you to the key skills and methods of frame-loom weaving.

Having provided a comprehensive framework, I feel that we can now begin to explore how these various elements come together to create unique woven pieces.

This week we’ll be taking a look at a simple wall-hanging project that uses angular shapes and soumak outlining to create an elegant geometric design.

I've drawn on the Weaver's Methodology to show you the framework I used to develop this project.

You'll find a FREE pattern download at the end of the post so you can recreate this piece for your self!

Intersecting Diamonds - Loom & Spindle

DESIGN

This piece incorporates a geometric design of intersecting diamonds. Outlining with soumak produces a slightly raised surface delivering a subtle relief of the angular shapes.

Intersecting Diamonds - Loom & Spindle

SKILLS

  • Plain weave

  • Forming angular shapes using the diagonal slit method

  • Single (2:1) soumak

PLANNING

The design was roughly sketched on paper and the proportions translated to the weaving area of my loom.

SAMPLING

A small piece was woven to test the concept and proportions of the design.

Angular shapes and sumac outlining - Loom & Spindle

MATERIALS

The final piece was woven in an off-white acrylic novelty yarn with gold flecks. It was chosen for its calming neutral tone, the gold flecks adding some warmth and interest to the piece.

CONSTRUCTION

APPLICATION

Simple angular shapes were woven and then outlined using a variation of Oriental soumak.

The soumak variation I used is commonly known as single (2:1) soumak. The ‘2’ in (2:1) refers to the number of warp threads the weft travels over before returning and encircling, in this case,  ‘1’ warp thread.

Single 2-1 Soumak - Loom & Spindle

On completion of each shape, the Soumak stitches were applied to the decreasing slope of the shape (see pattern download).  

Two strands of weft were used for the soumak stitches as this produced a slightly bulkier stitch, allowing the soumak to rise above the plain weave surface. 

FINISHING

Simple steam blocking was used to set the fibres and straighten the edges (see page 53, LINE SHAPE TEXTURE)

Intersecting Diamonds - Loom & Spindle

INSIGHTS

  • The success of this design really relied on working the decreasing shapes first. I needed to ensure I always had a base on which to apply the soumak outlining.

  • Sketching my design was really useful in working out the order the shapes had to be woven.

  • Knowing the weaving order then helped ensure I was mirroring the design on each side and that the proportions were even as the piece progressed.


To find out more about the skills and techniques used in this project and to learn how to make your own soumak variations check out LINE SHAPE TEXTURE. It’s in store now!

$11.99
Add To Cart
HOW TO CONSTRUCT A WOVEN PIECE

In my up coming eBook I deconstruct the methods of frame-loom weaving and explore the foundation skills that make up a woven piece.

In my last post I shared an excerpt from the book showing the anatomy of a woven wall hanging.

This week I break down the woven structure even further and present a straightforward recipe for constructing a simple woven piece.

It is a unique method in that the design will be woven upside down and only turned the right way up at the end to add the finishing touches.

It is particularly suited to woven wall art as it results in evenly spaced loops at one end to hang the piece. Though, the method can easily be manipulated to accommodate other projects such as home furnishings or personal accessories.


This tutorial is an excerpt from LINE SHAPE TEXTURE - A Creative's Guide to Frame-Loom Weaving. Download a free sample of our book to read the full excerpt!


Just Add Twist - Weaving with Hand Spun Roving
Weaving with hand spun roving

I never thought I'd become a hand spinner, it just didn't appeal to me much. I guess I thought you needed expensive equipment, access to fleece and it always seemed, well, just a little bit daggy. It all changed for me though during those long hours spent nursing my baby and armed with my iPad. My imagination was ignited by all the possibilities that spinning your own yarn provided.  Determined to learn more, I spent my time absorbing as much as I could about fibre, how it's processed, how it's prepared, and ultimately what makes yarn, yarn.  And do you know what I discovered? It's all about twist.

Twist is the glue that holds fibre together. It gives yarn its strength and it enables you to create one continuous strand of yarn from a single mass of fibre. Twist is really fun to experiment with and you don't need any special tools or equipment. Without giving you a full science lesson on the physics of twist I'll share one of my techniques which will help you explore twist in your own projects.

For this technique I've used wool roving which is a ready-to-spin wool fibre. The wool fibre has been combed so all the individual fibres sit parallel to each other. This preparation allows for easy drafting, the process of pulling fibres past each other before adding twist to hold them all in place.

To get started I pre-drafted my roving.

Drafting the roving doesn't have to be uniform. I left some areas thick and made some areas thin as it will create a more bubbly woolly texture in the final piece. 

I then added twist to the pre-drafted roving.

When you take the roving off your hand it begins to look a bit more like yarn. You'll notice the energy created by twisting has been released through the yarn. The result is a light and airy woolly yarn that's really fun to weave with.

Hand spun roving

When it comes to weaving with hand spun roving it can be handy to have a shed stick or weaving sword on hand. The shed is the opening between warp threads through which the weft is passed. A shed stick can be any flat, smooth stick that's used to create an opening between warp threads. Loom & Spindle have designed a range of shed sticks which can be found here in our shop. If you don't have access to a shed stick try using an old ruler or thick piece of card board cut to size.

To begin weaving I warped my frame loom with a pink 4 ply crochet cotton and used the Loom & Spindle shed stick to open the first shed.

To finish, keep building up the fabric row by row as I've shown you above. You''ll soon develop a feel for the roving and how twist interacts with the fibre. You can pull out the thicker bits to make big puffy fibre clouds or let the thinner areas twist back on themselves to make little spirals. Play around with it and have fun.

Building up the fabric row by row.

If your looking for roving or other fibre to experiment with I've found that Etsy is a great resource. There are some really interesting shops speciallising in hand dyed and hand prepared fibres. My favourites right now are Hey Lady Hey, One Handmade Life and Just a Day Dream. I've also added the roving I've used in this tutorial to the Loom & Spindle shop to help get you started.

Weaving with hand spun roving

You'll find that weaving with hand spun roving is a lot of fun. It covers really quickly and creates very textural weave. I hope you've enjoyed this little introduction to spinning and will perhaps try it yourself.

Weaving on Your Frame Loom – And The Most Common Problem And How To Fix It

In this post I’ll explore some basic weaving techniques that will help get your first weaving project started. I also have some tips on how to prevent one of the most common problems that all new weavers will experience.

Getting Started With Plain Weave

Plain weave, also referred to as tabby weave or tabbing, is one of the oldest and most basic weaving techniques. You'll find that it forms the basis of most projects and through incorporating colour and texture the design possibilities of plain weave are endless. Here are a few examples of wall hangings that use plain weave as their foundation.

Woven Wall Hangings

Plain weave is formed by passing a thread, referred to as the weft, horizontally over and under alternating warp threads. As you repeat this pattern over every row a strong woven fabric is formed.

Weaving close-up

There are several methods for conveniently carrying your weft yarn across the warp. The simplest method is to tie your yarn into a butterfly bobbin (shown below) and lift warp threads by hand as you pass the bobbin across the fabric. A large blunt tapestry needle is also useful when working on small or detailed areas as it allows you to quickly pass the needle over and under warp threads. More specialised tools include tapestry bobbins, shuttles and weaving sticks. I'll cover weaving tools in more detail in a future post.

Butterfly Bobbin

Getting the Weft Right

As you begin weaving you might find that the selvage, or edge of the fabric, has a tendency to draw in and tighten. It’s a common problem that many weavers experience and is generally caused by the weft thread being pulled to tightly across the warp. The problem is easily remedied with a few simple techniques and a bit of practice.

The photos below illustrate different techniques for passing the weft across the fabric:

Slanting

Slanting the Weft

Arching

Arching the Weft

Bubbling

Bubbling the Weft

Once you’ve made your slant, arch or bubble proceed by carefully beating the weft into place with your fingers or a weaving comb.

Weaving - Loom and Spindle

With a bit of practice and a little bit of patience you’ll have straight salvages in no time. If your slanting, arching or bubbling results in to much ease and the salvage loops are a bit bubbly you can carefully pull the threads back in place from behind the work.