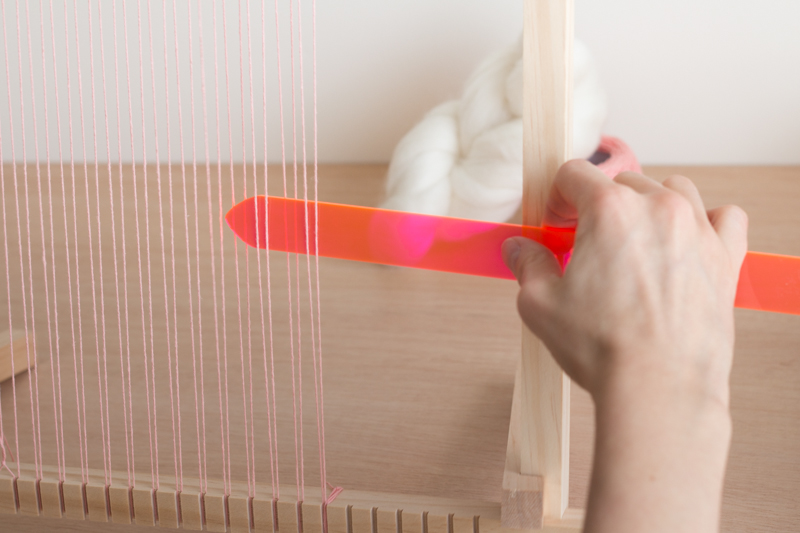

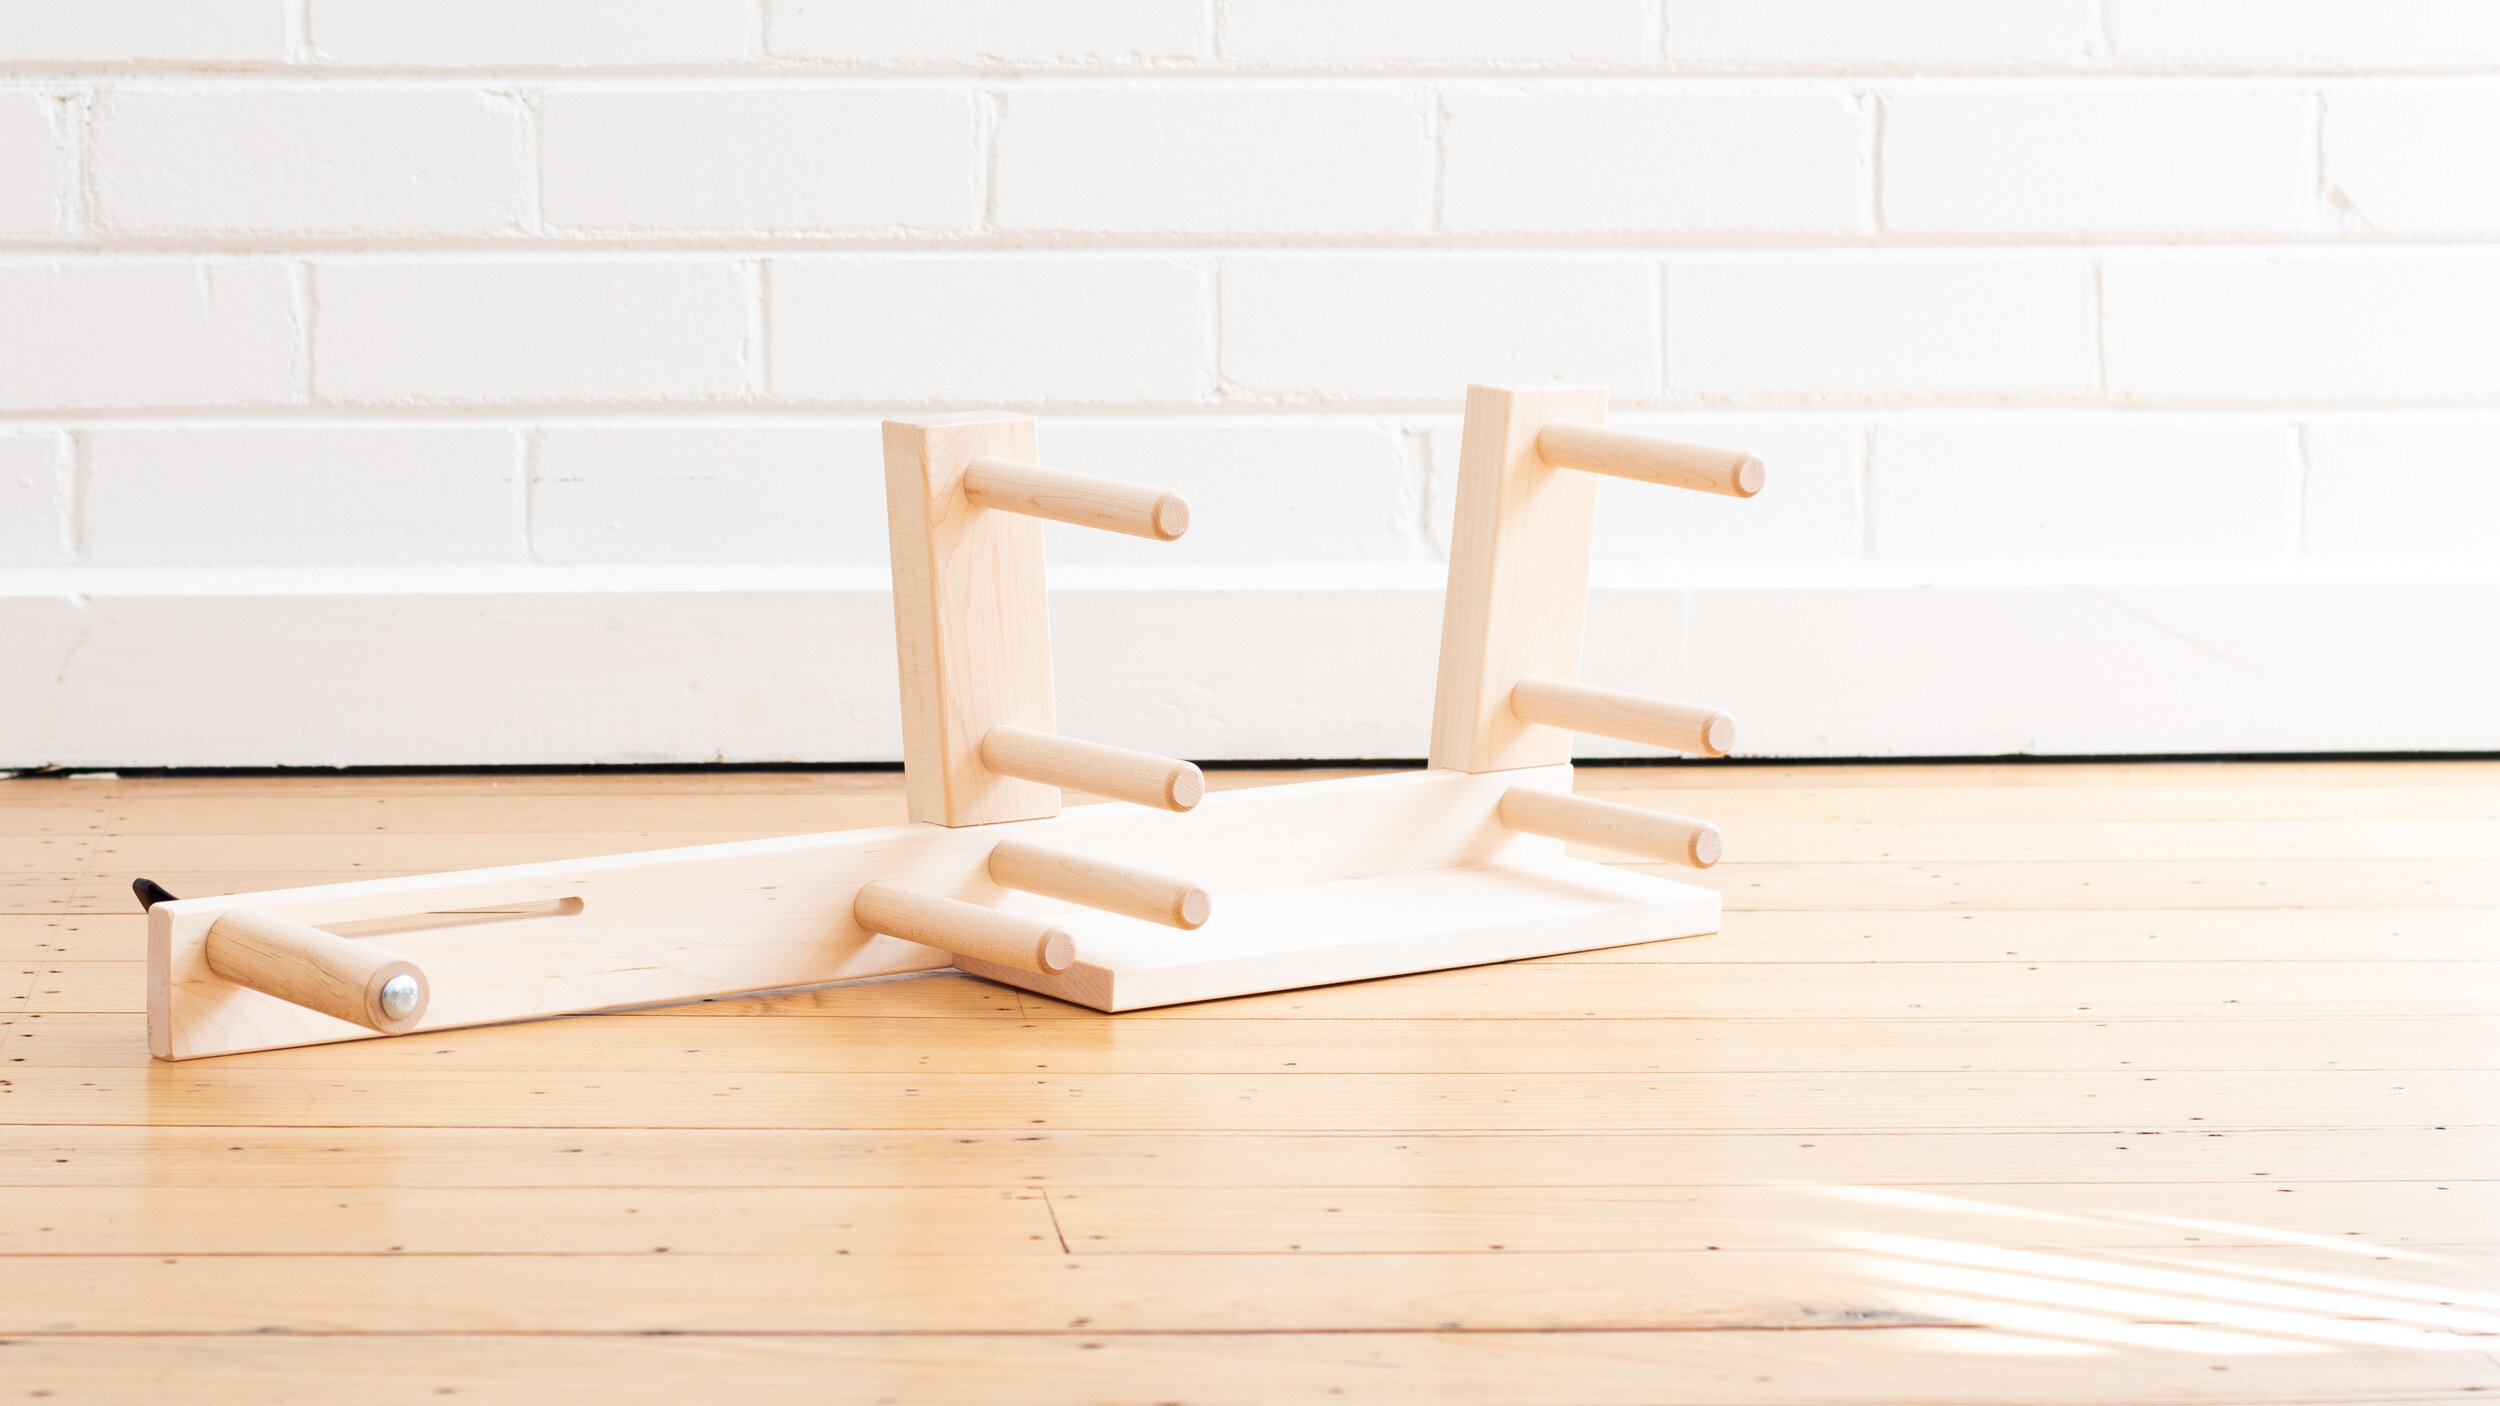
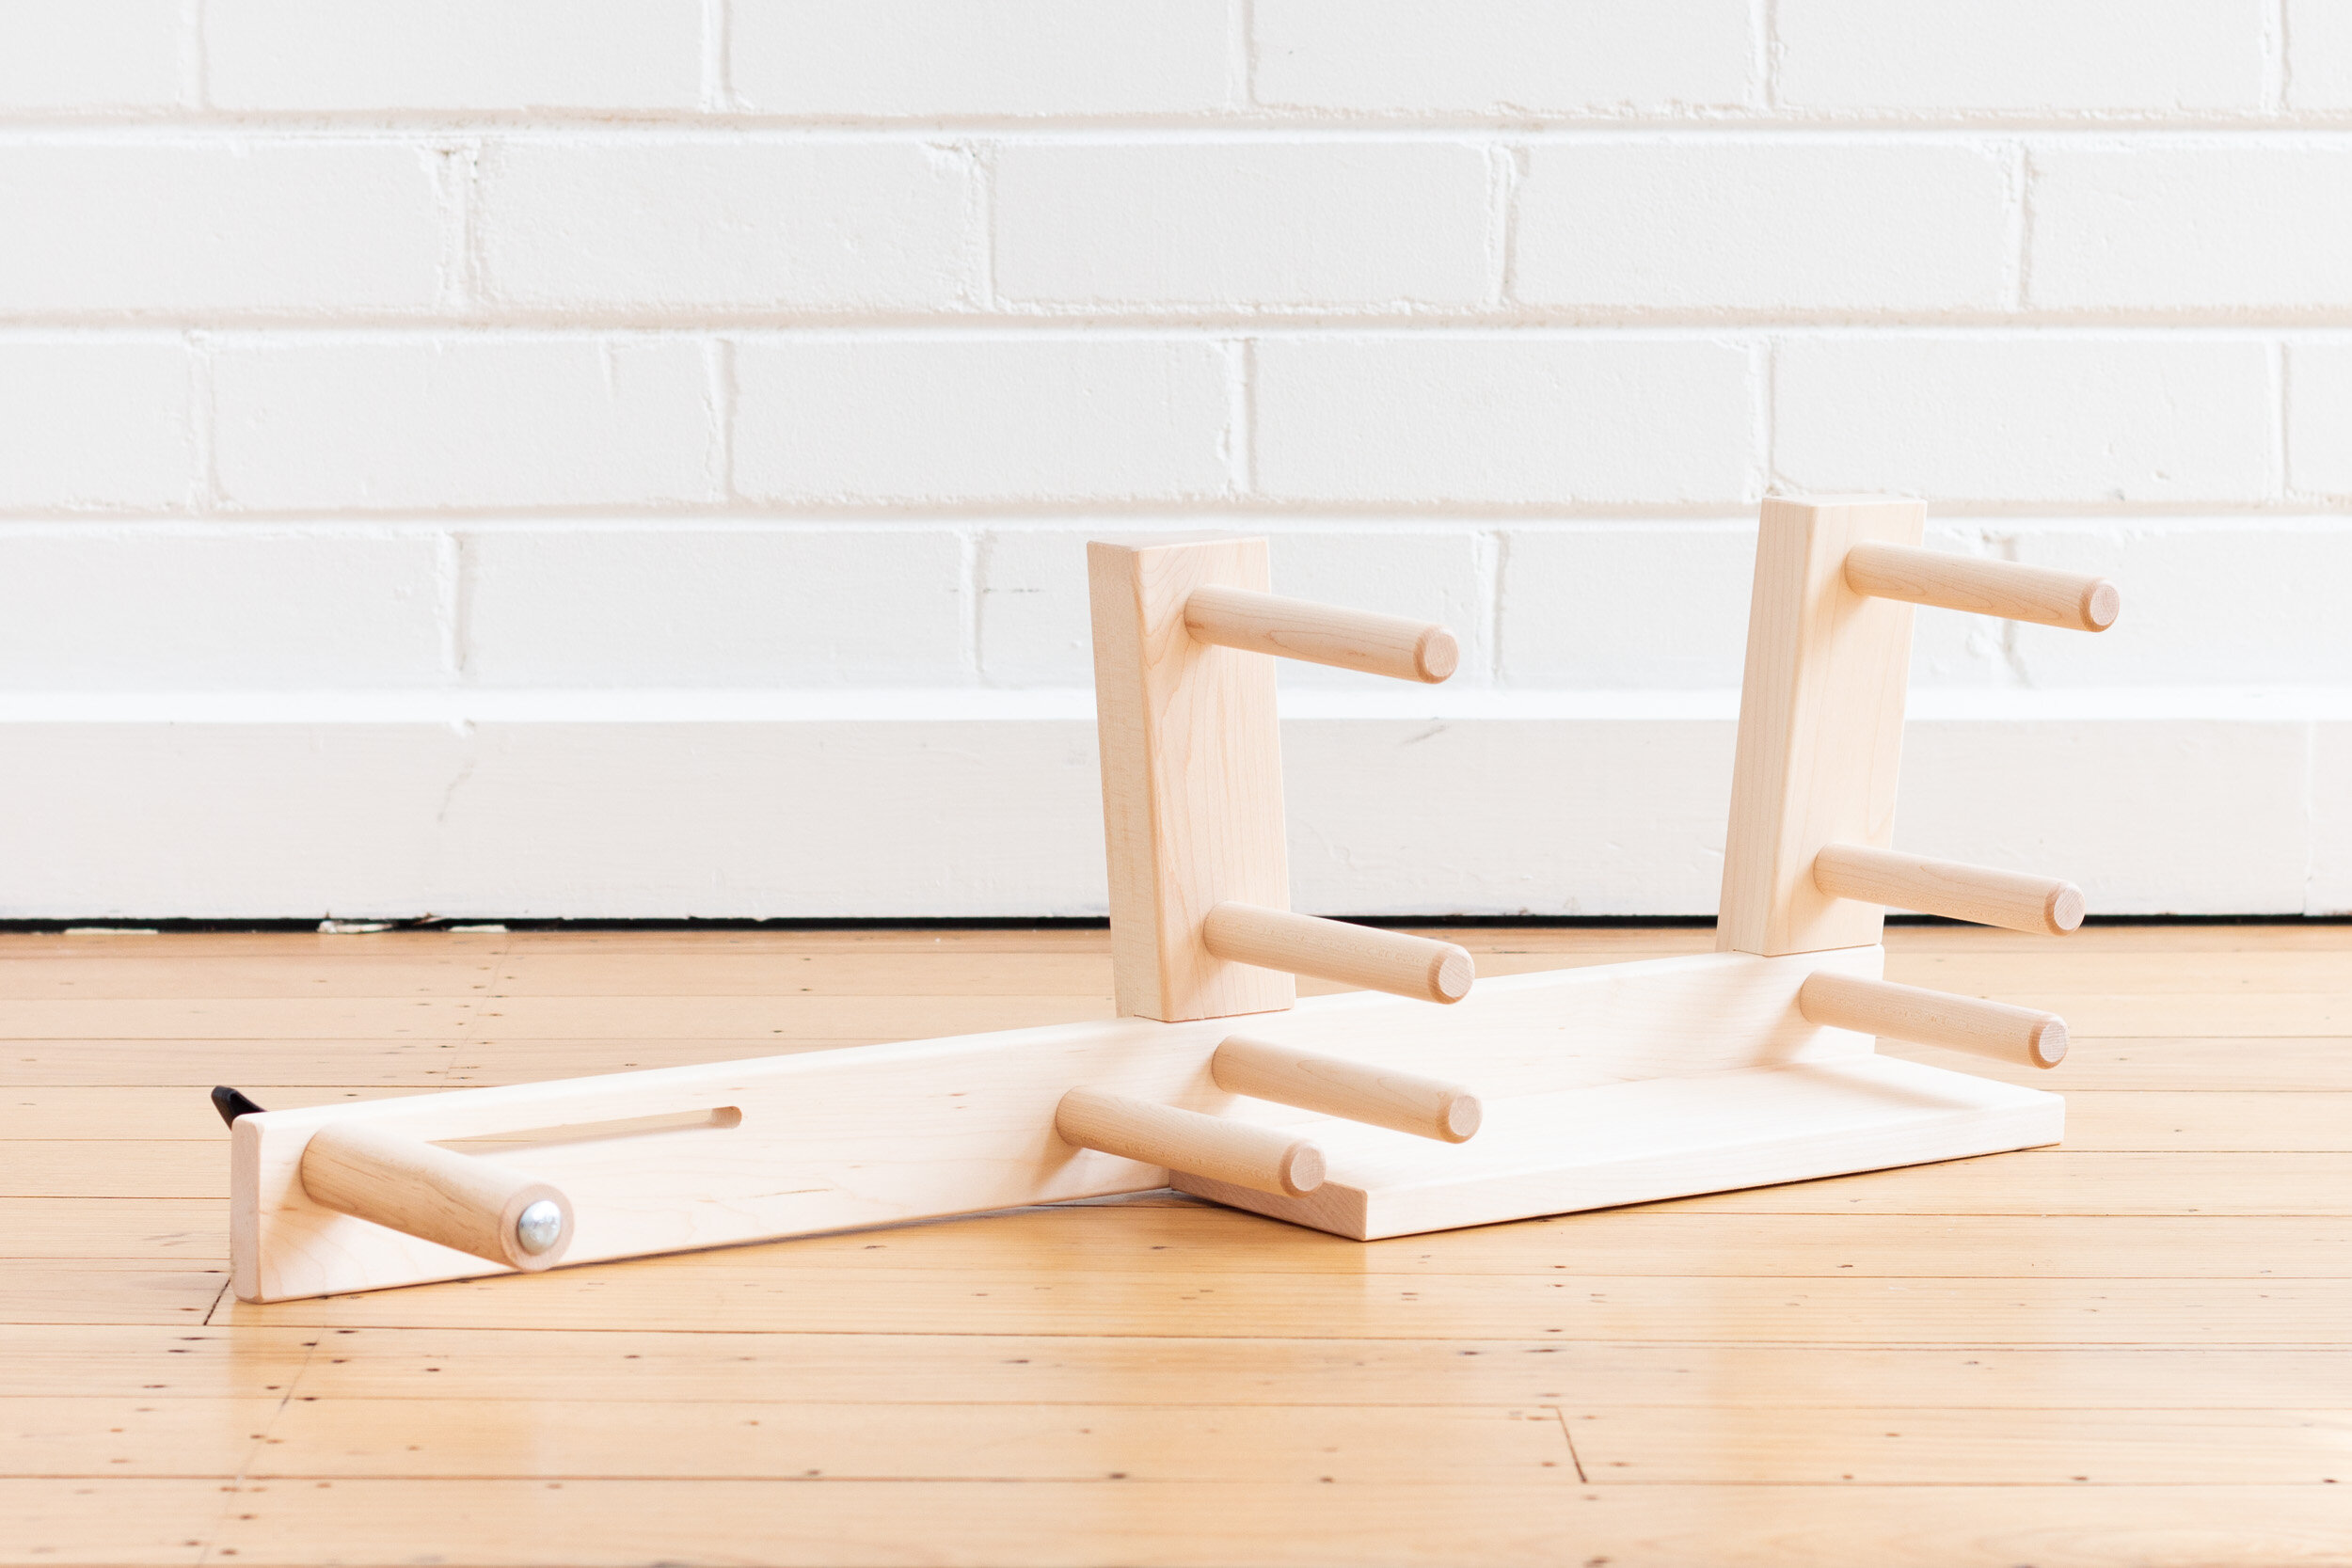
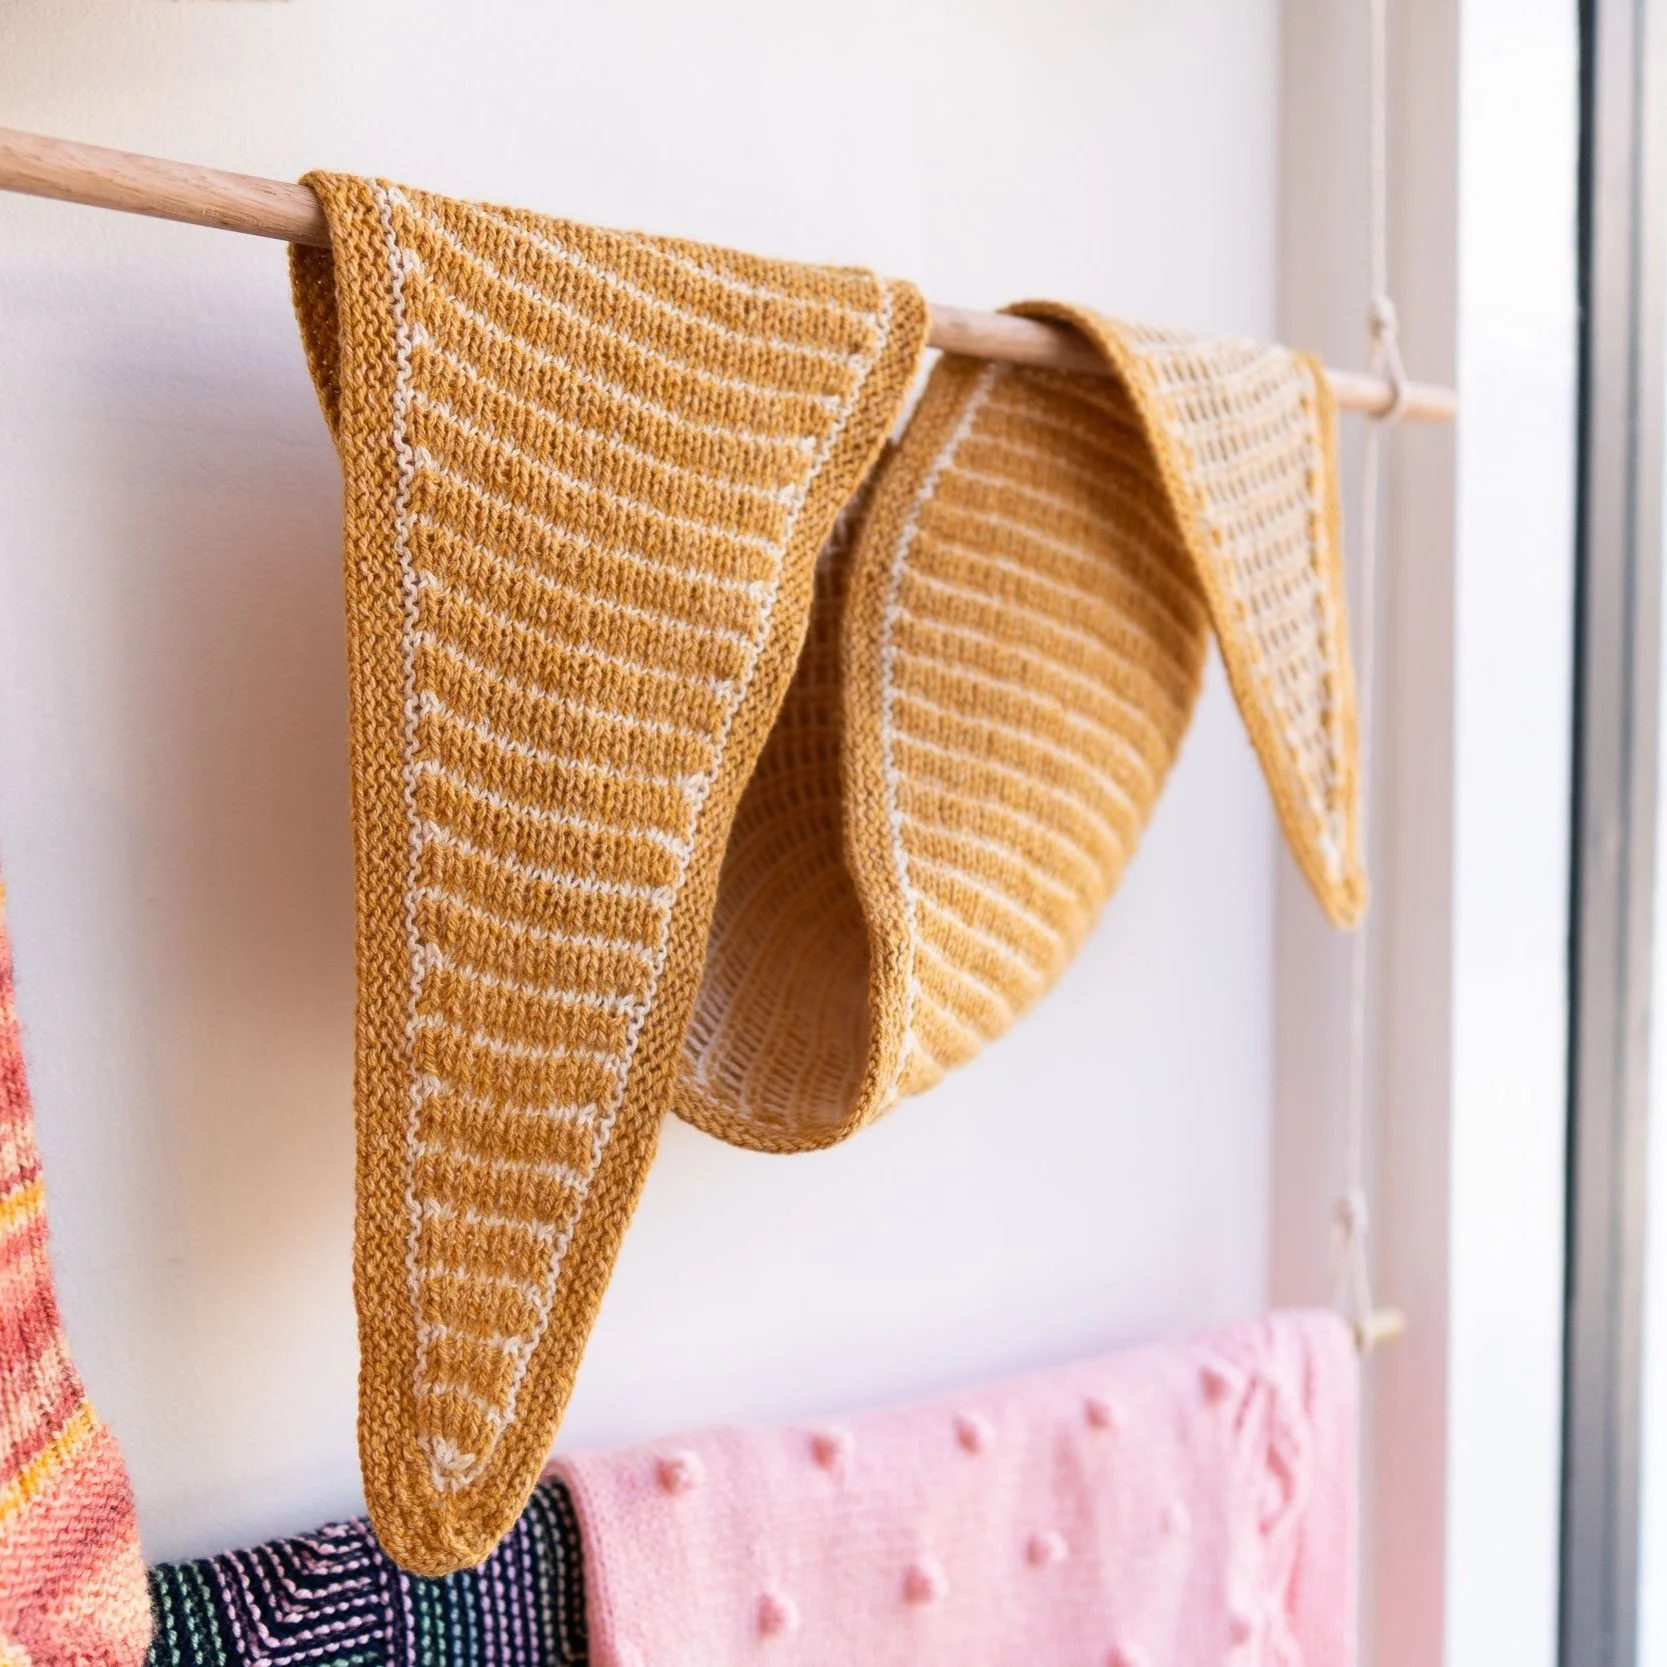
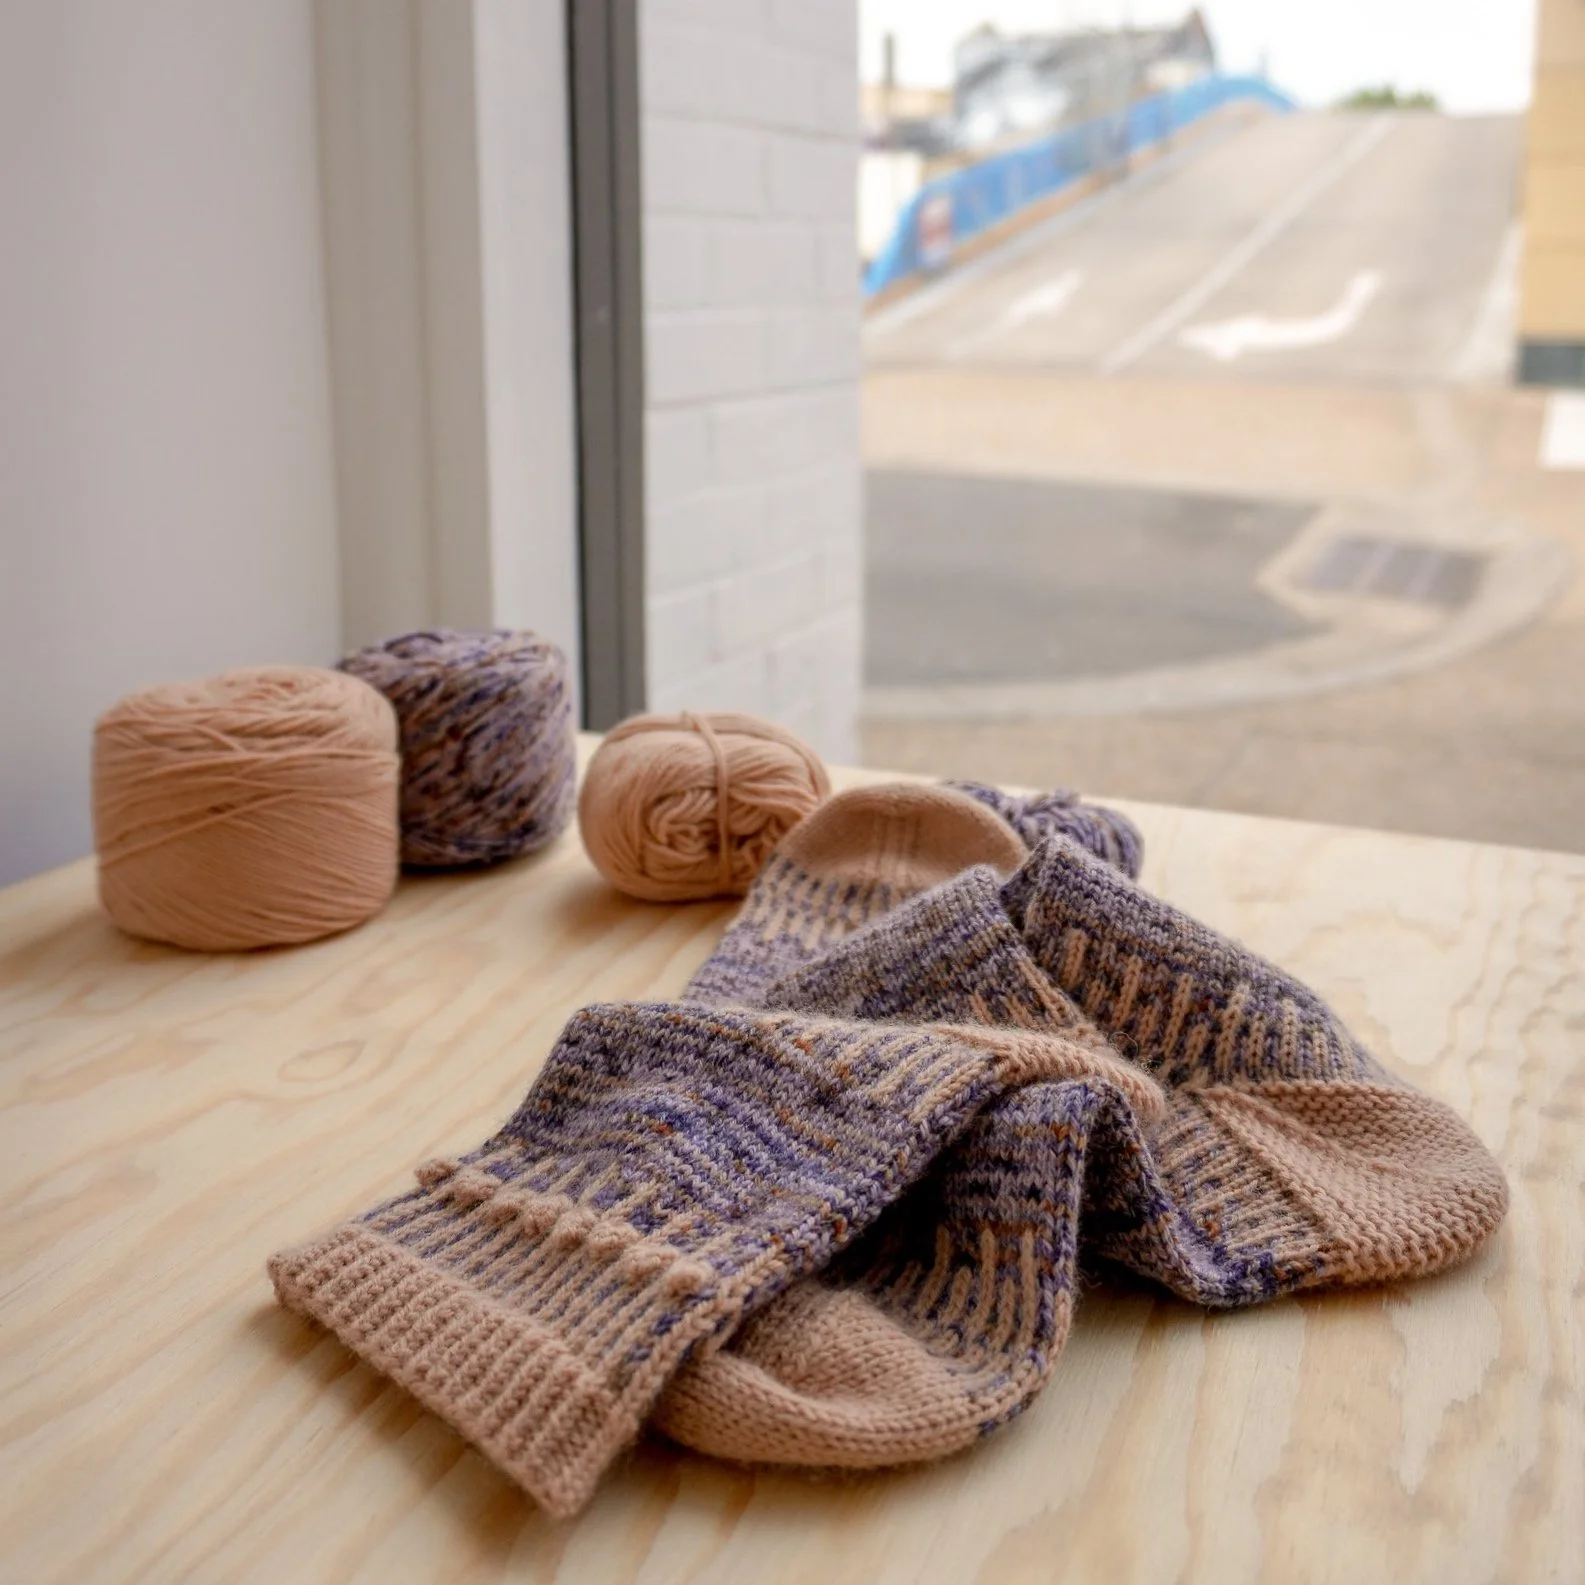
Introducing Schacht Spindle Co.’s Inkle Loom, perfect for weaving bands and belts.
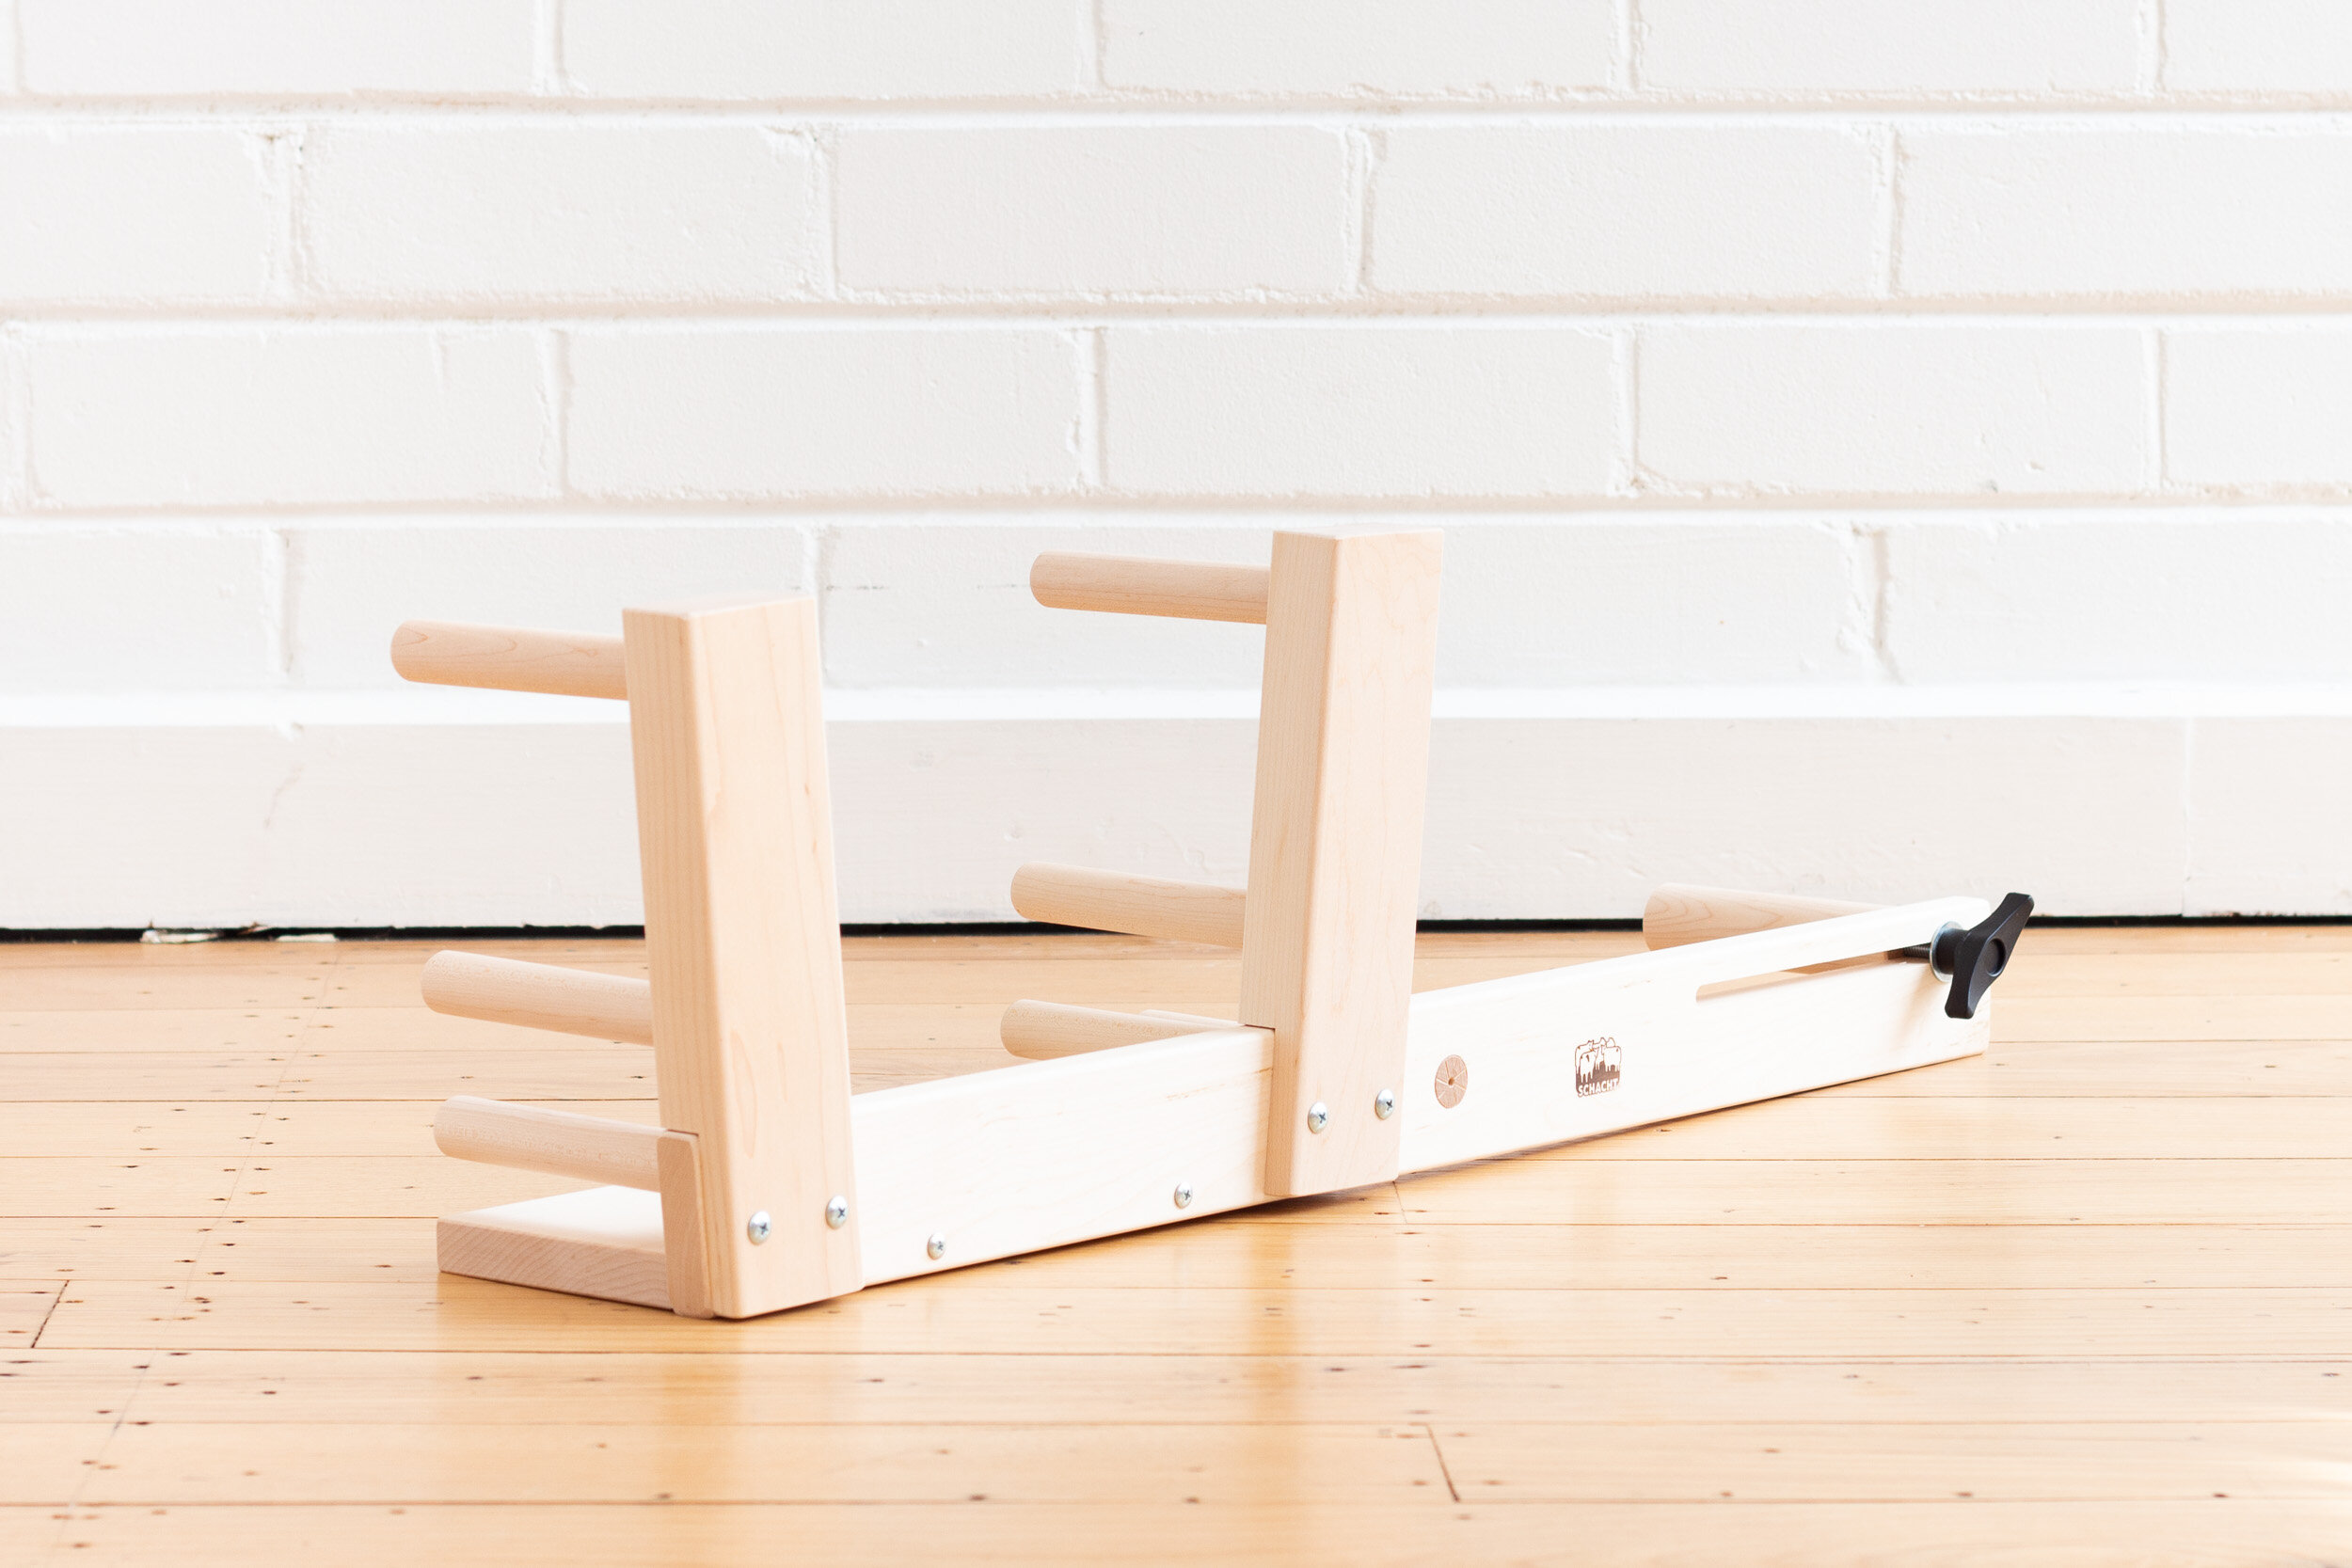
We were impressed by the generous warp length of 2.5 meters, open side for ease of warping, and a tension bar with an easy-grip knob for fine adjustments as you weave.
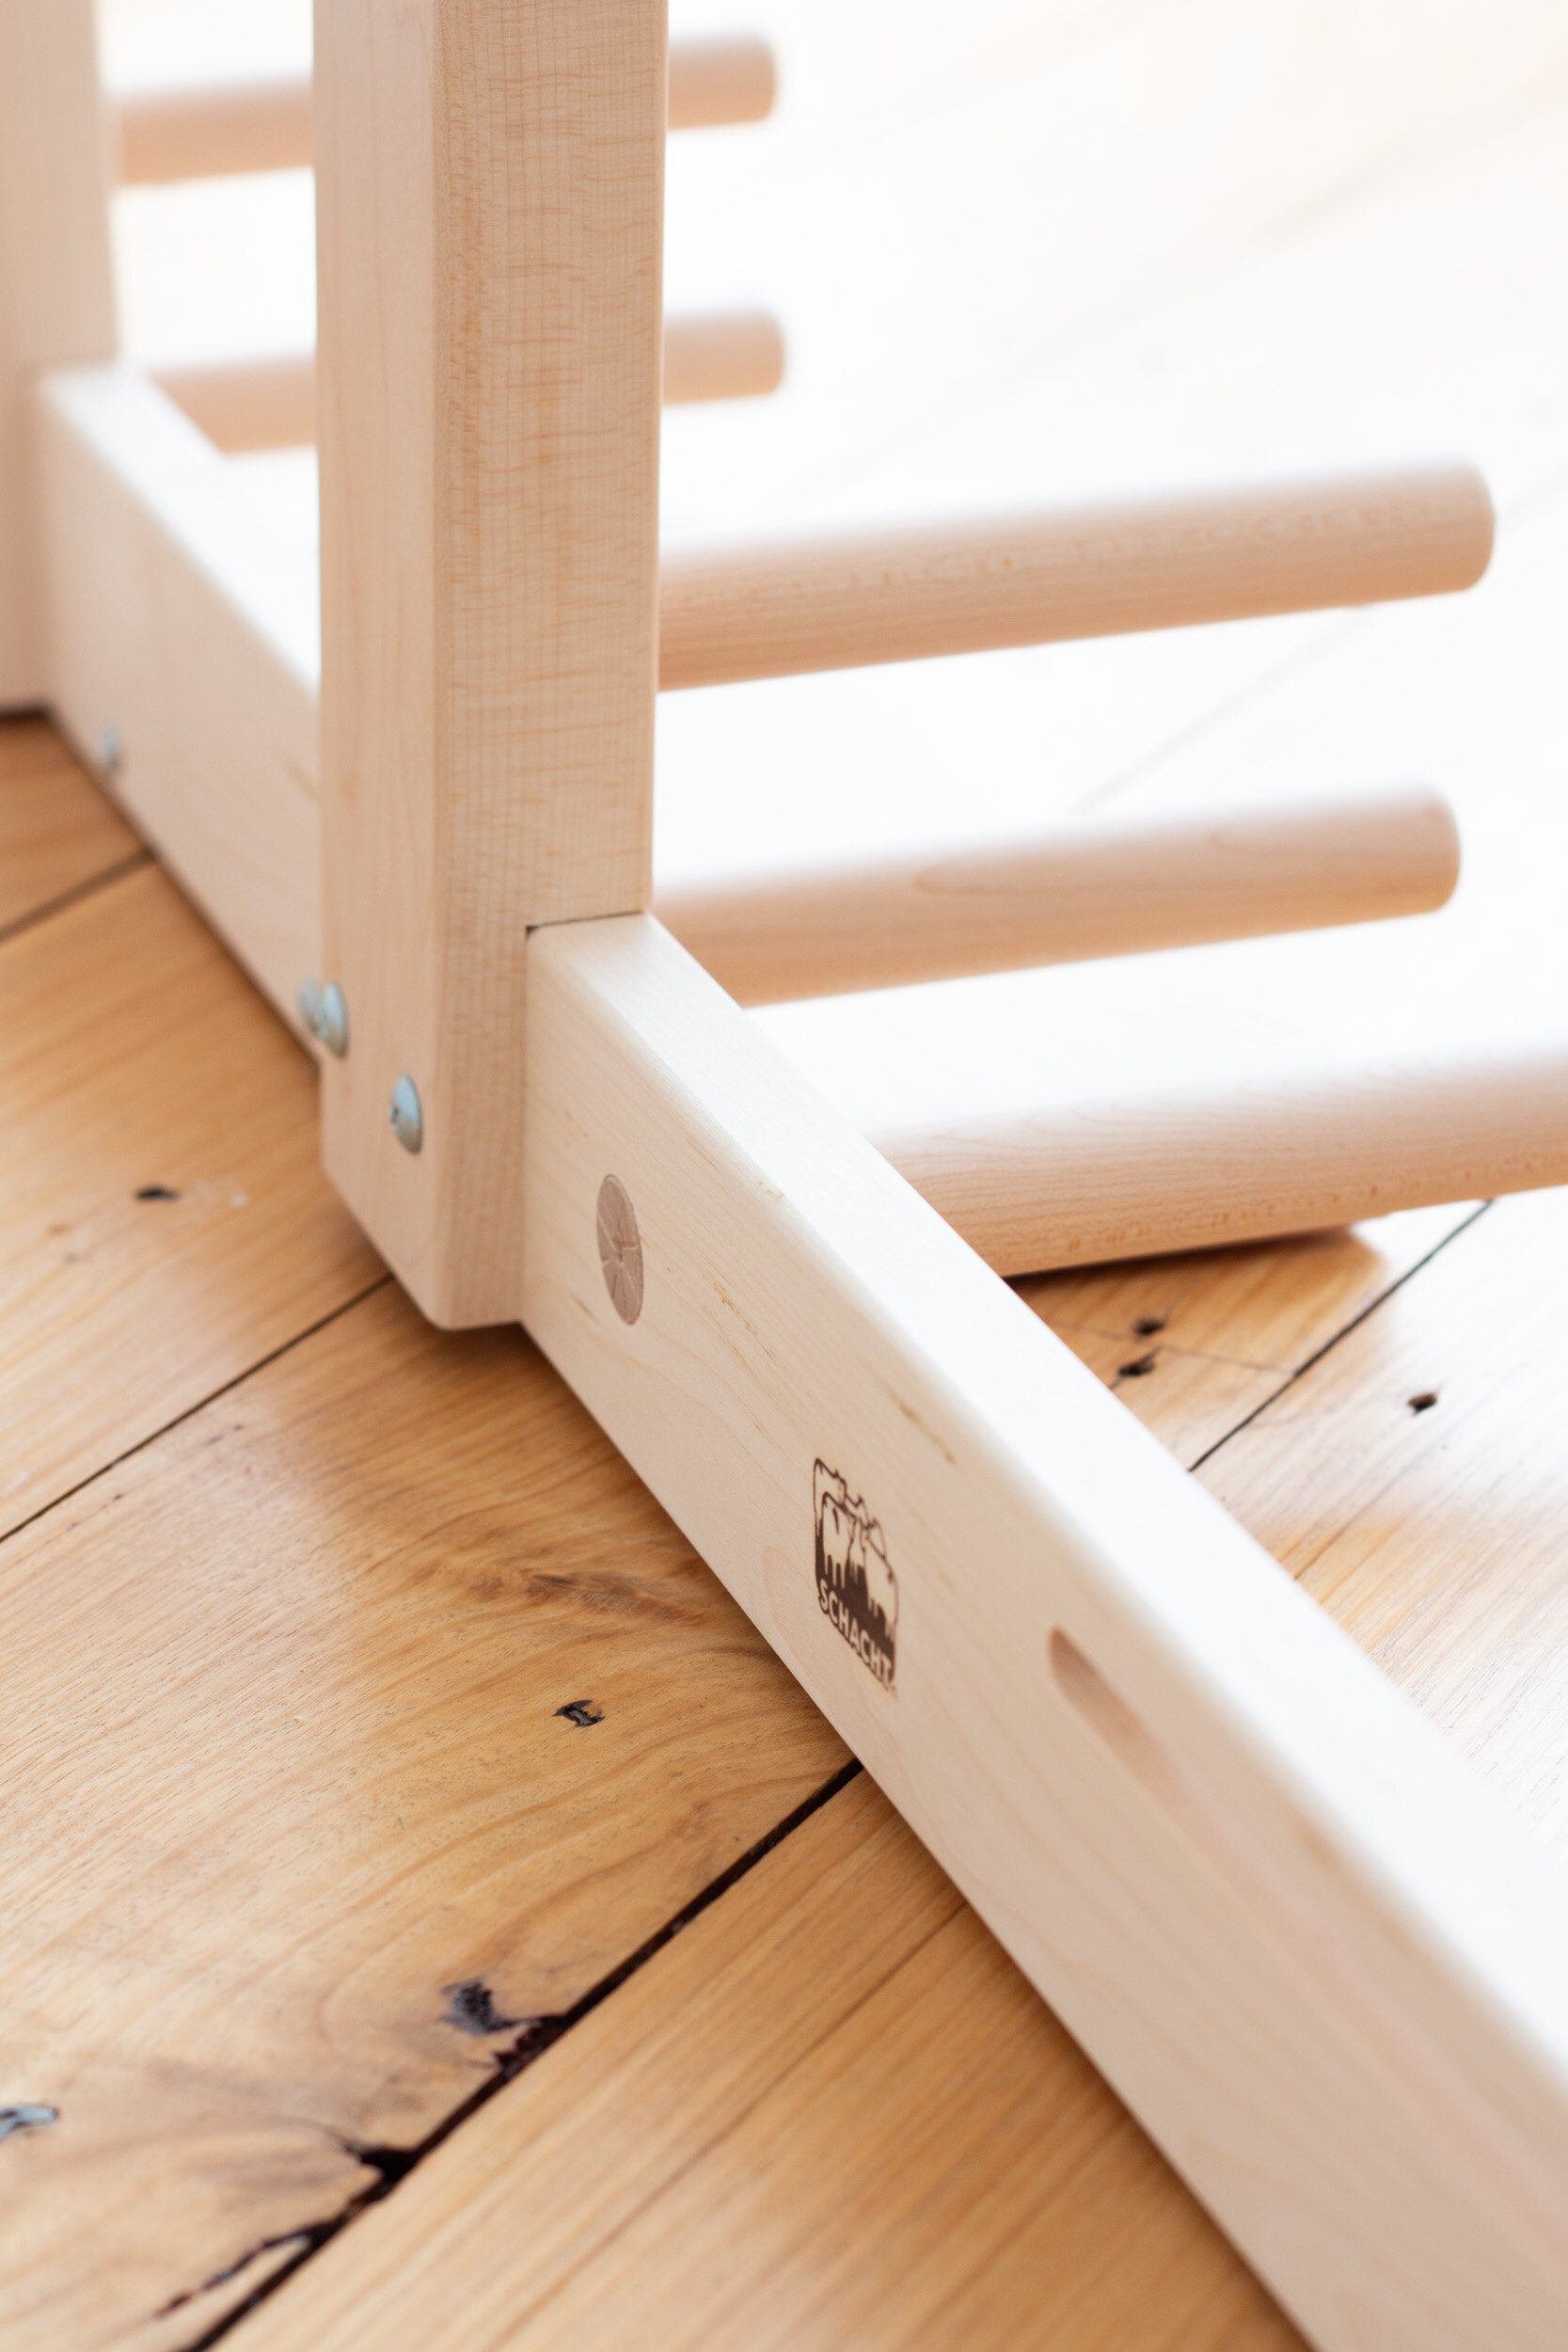
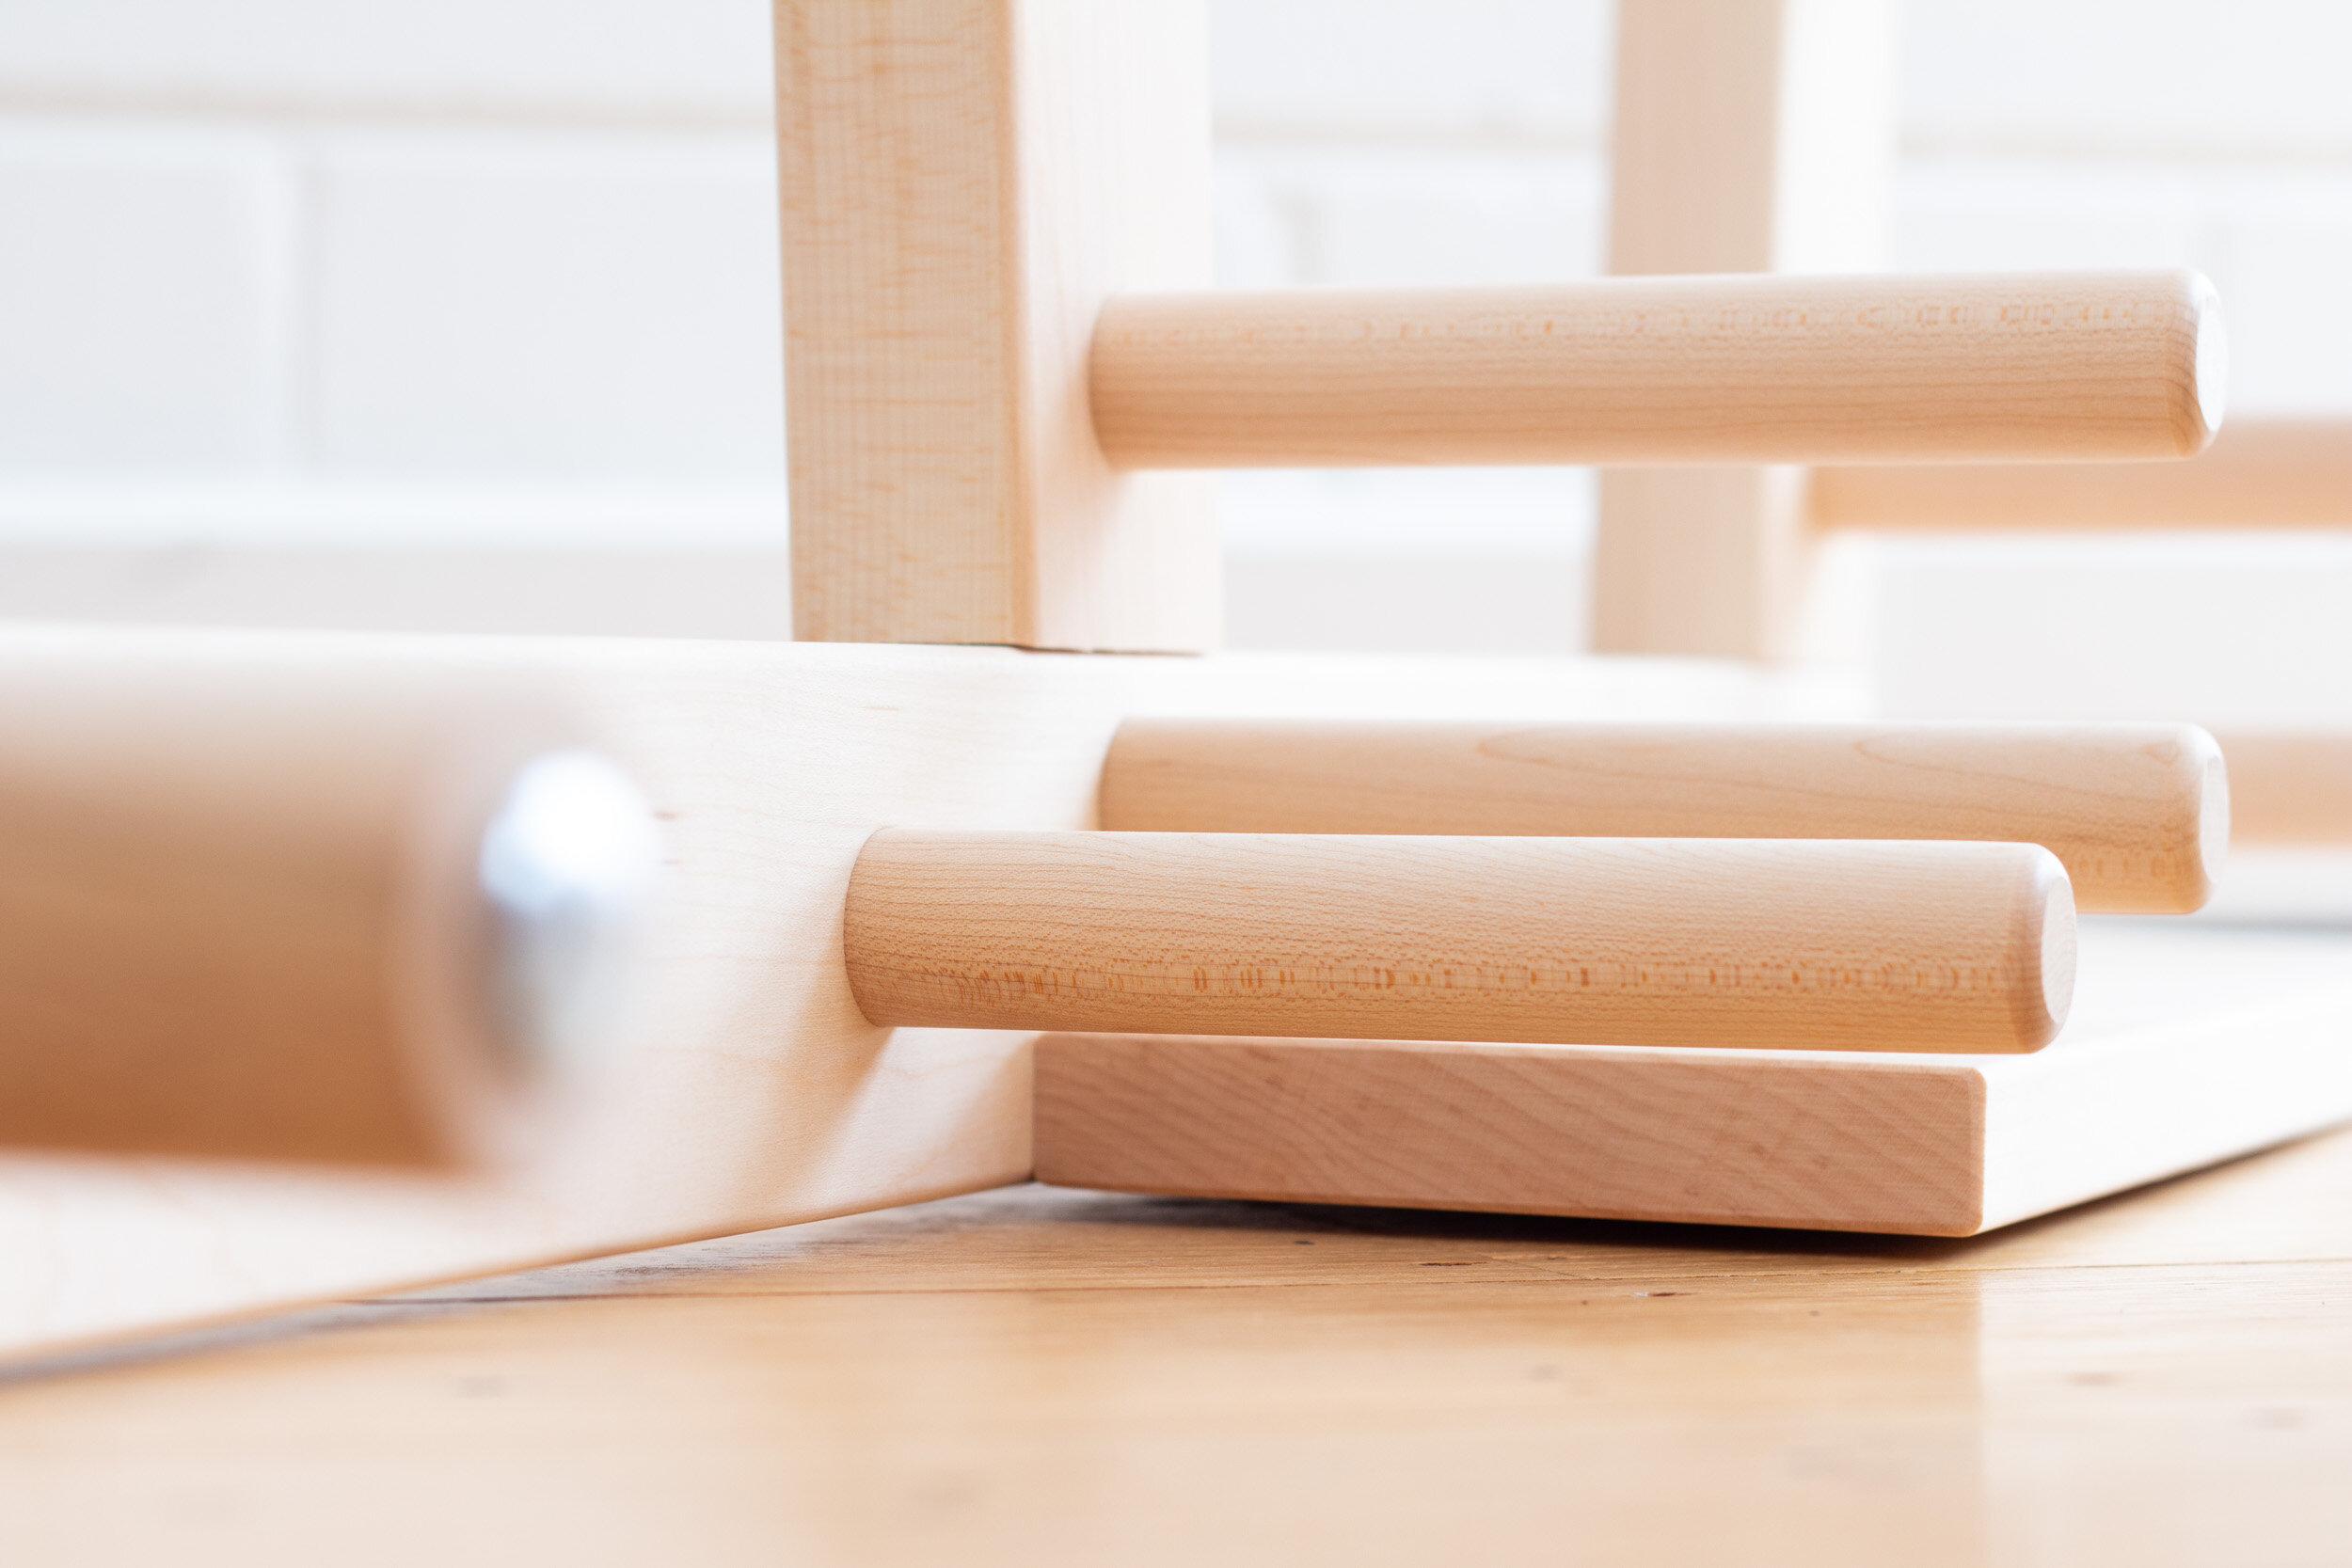
The all timber construction is second to none and built for years of heavy use. We love the silky smooth hard maple that is left unfinished for a clean and crisp aesthetic that will appeal to the modern weaver.
It arrives fully assembled and we’ve included a Schacht belt shuttle and a 25 pack of weaving cards so you can use it straight out of the box!
FEATURES YOU’LL LOVE
Warp width of 11cm (4.5")
Generous warp length of up to 2.5m (8.5') when using continuous warp method
Warp tensioning knob
Made from silky smooth hard maple timber
Made in USA

OUR INKLE LOOM KIT INCLUDES…
1 x Inkle Loom with adjustable warp tensioning bar
1 x Belt Shuttle
1 x Weaving cards, 25 pack
1 x 8 Page instruction booklet
Find the complete specifications HERE.
SCHACHT INKLE LOOM

Let’s Get Started…


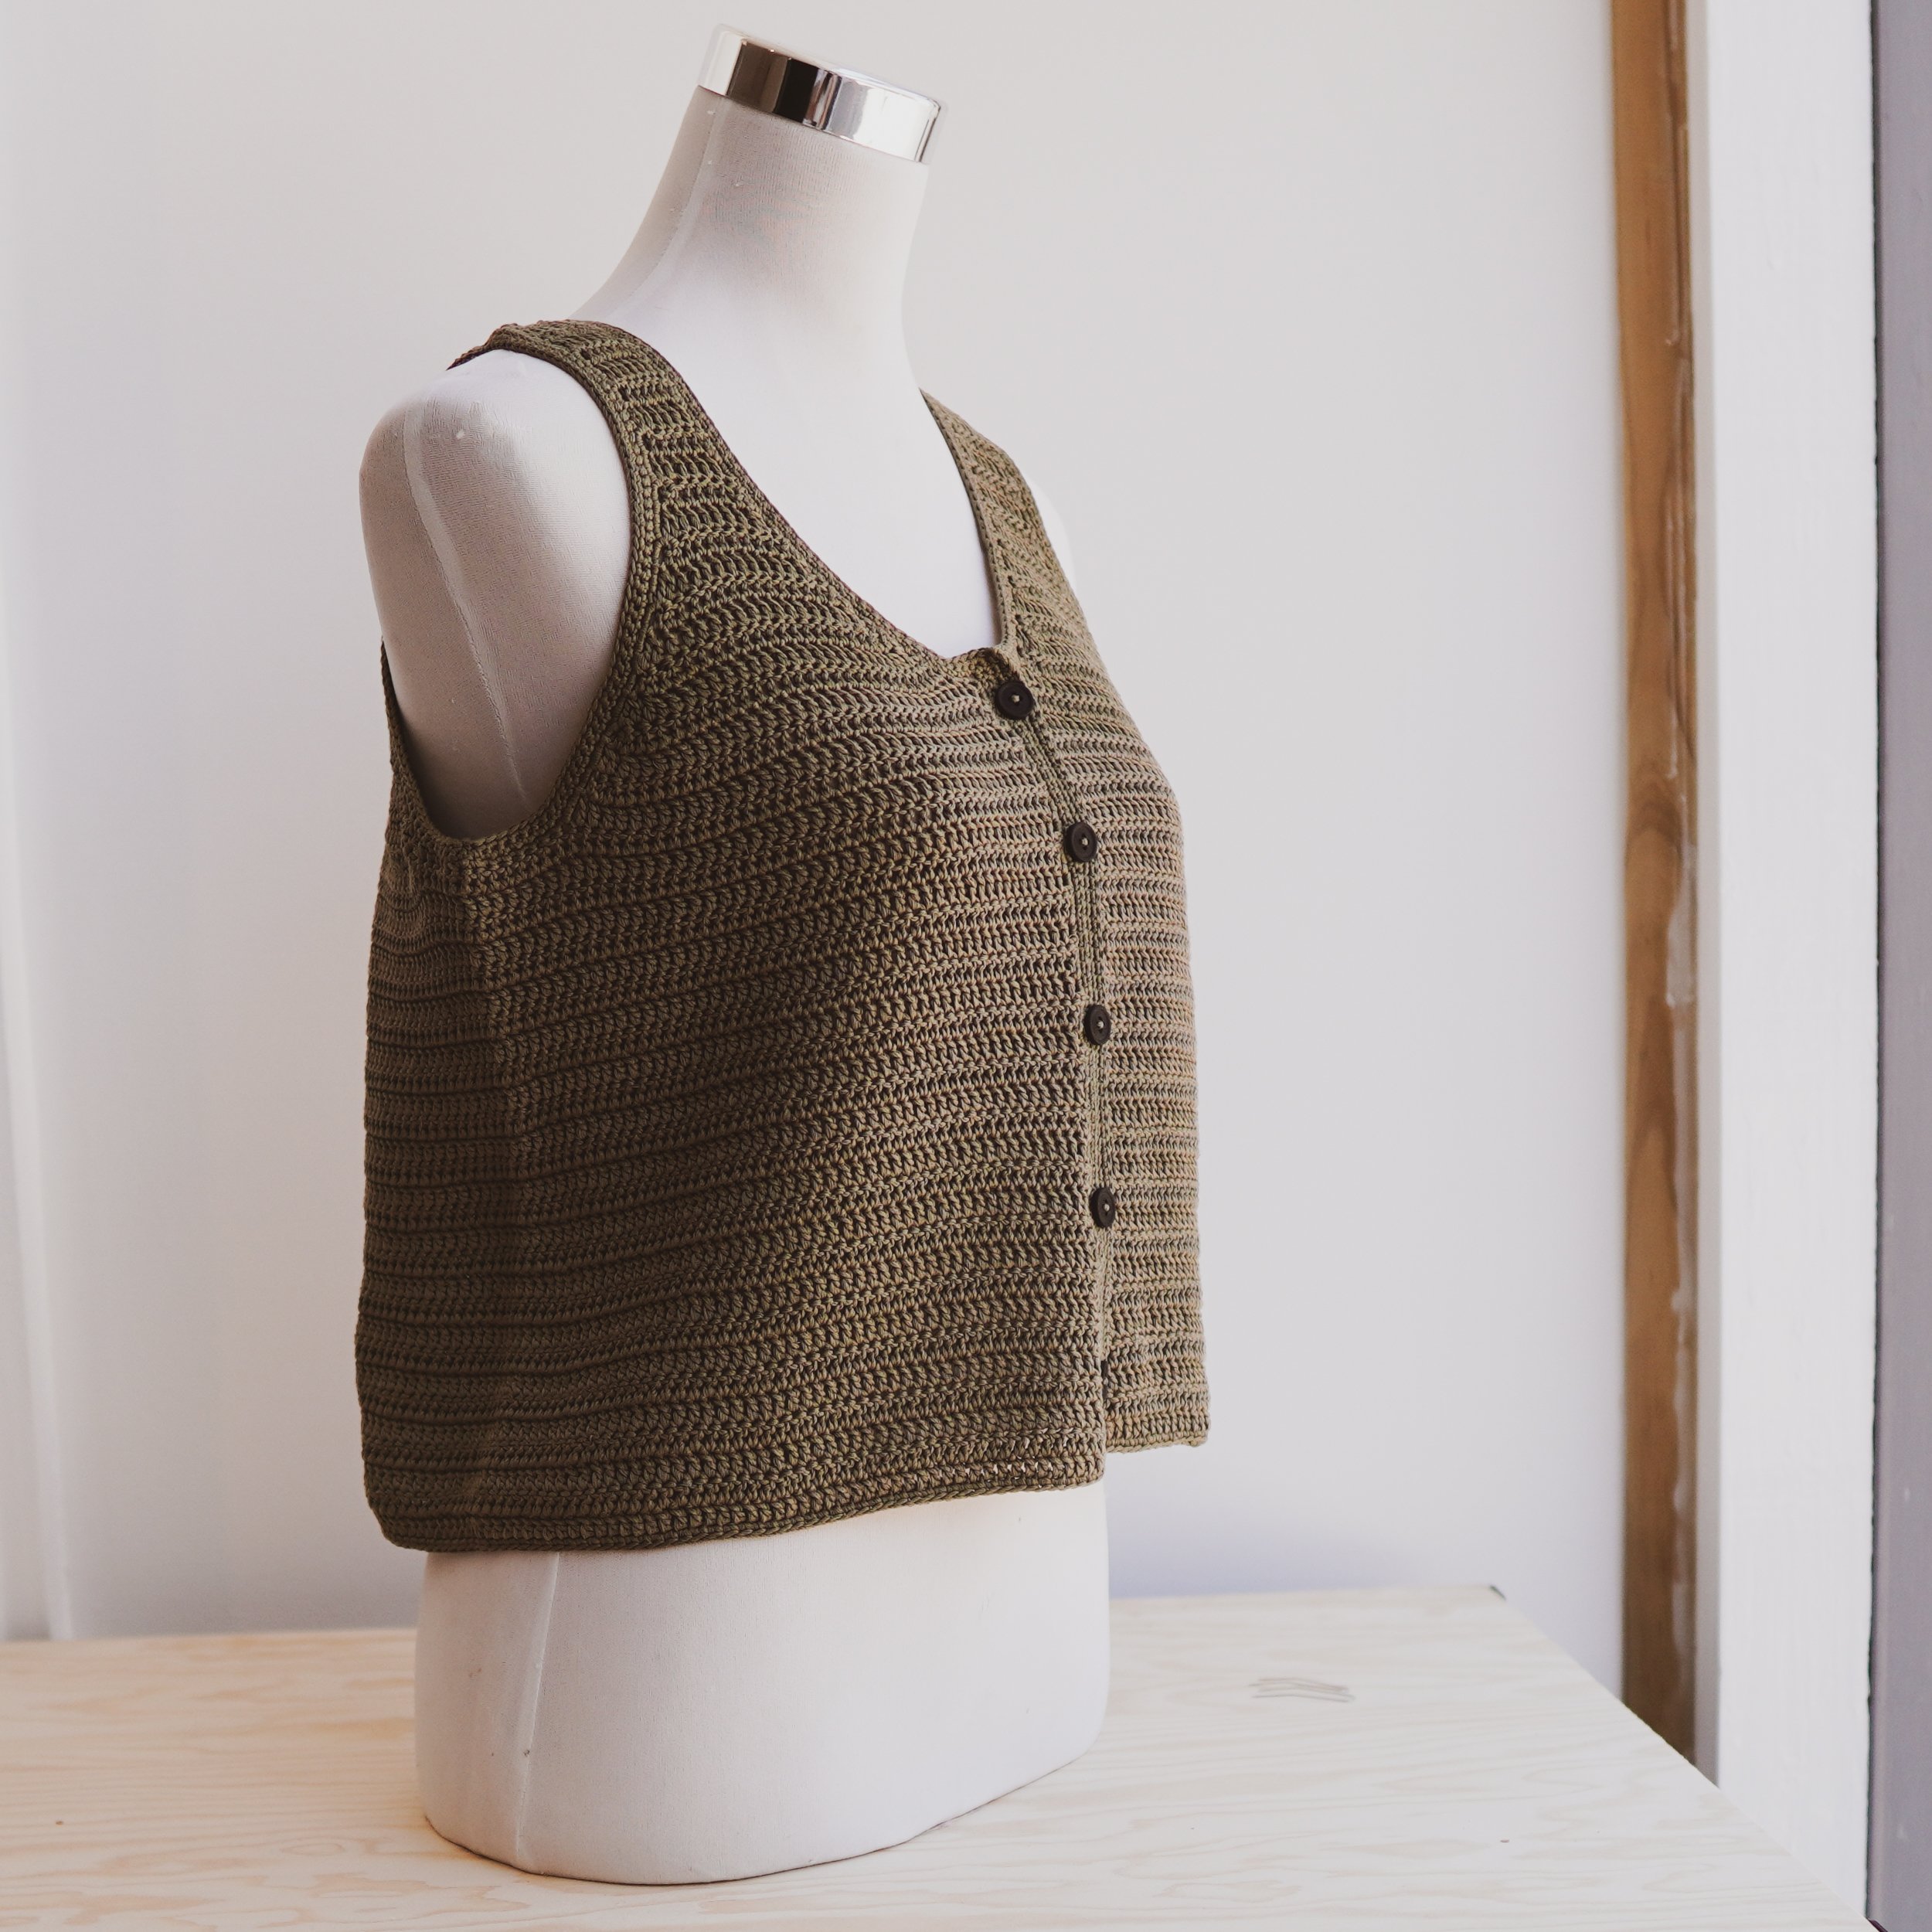


You May Also Like…