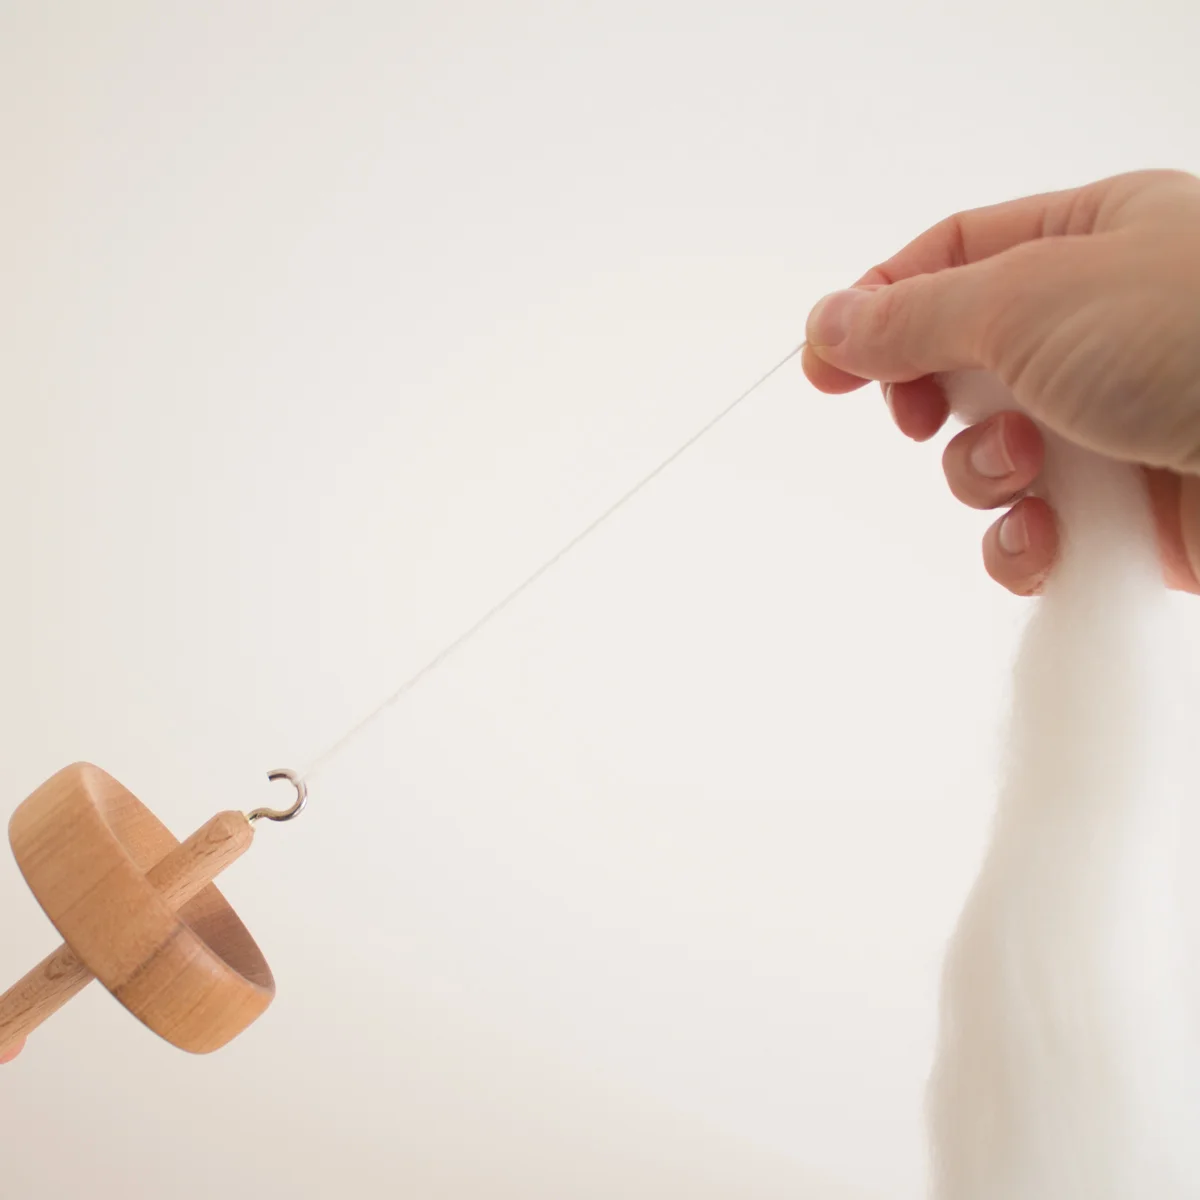

For a while now I’ve been working on a special project for Loom & Spindle, a weaving yarn that's structure and composition has been carefully considered and selected specifically for tapestry weaving.
Exciting, I know! I’ll have all the details for you in coming weeks.
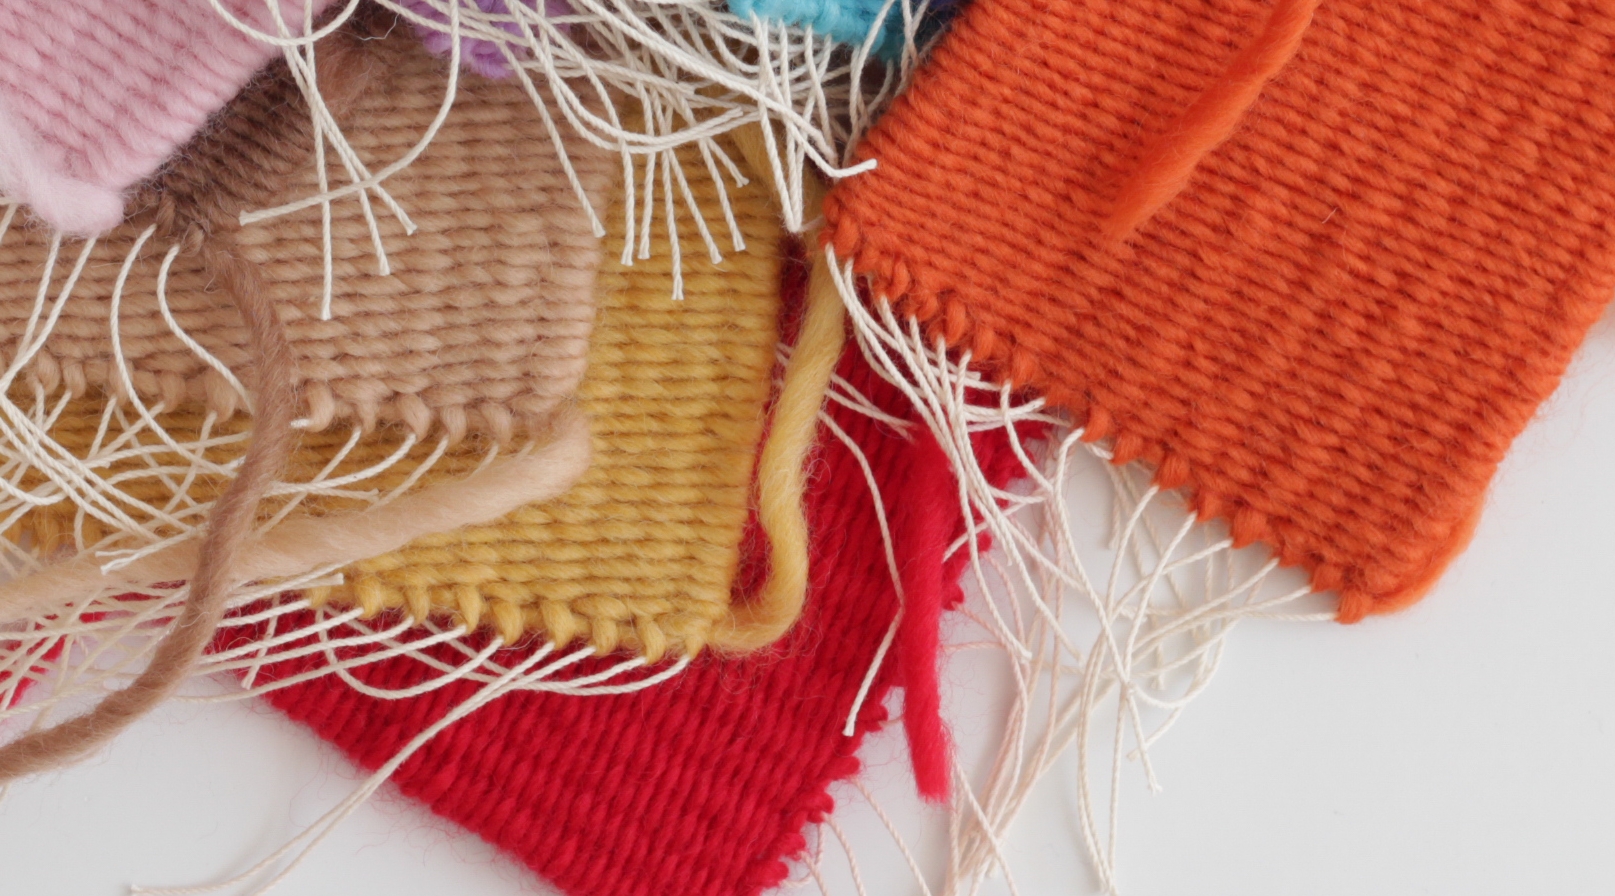
But for now, I’d like to focus on one element of the project, weaving samples (or samplers, or swatches or whatever you’d like to call these tiny woven fabrics).
Sampling has been an important part of the project as it’s given me the opportunity to work with this yarn on a small scale and test the arrangement of elements that form the tapestry fabric – things like warp sett, weft weight, and colour harmony or disharmony.
Weaving a test fabric can be the defining moment in a new tapestry project. This little experiment between fibre and form will help you decide whether or not your configuration will work cohesively and convey the feeling you intended.
In preparing for the upcoming yarn launch I thought it would be useful to weave a sample of each new yarn colour to explore and share the fabric each produced. My thoughts were that this will help us both choose colour palettes and determine the suitability of the yarn for any future projects you or I might have in mind.
Here’s my method for weaving a tapestry sampler…
PROJECT: Tapestry SAMPLER
INTENTION
Make a small woven tapestry sample using Woolsey: A Weaving Yarn, to study the colour and texture of the woven fabric produced.
SKILLS
Plain weave.
Double half-hitches to secure warp and weft.
Weft changes using the half-hitch method.
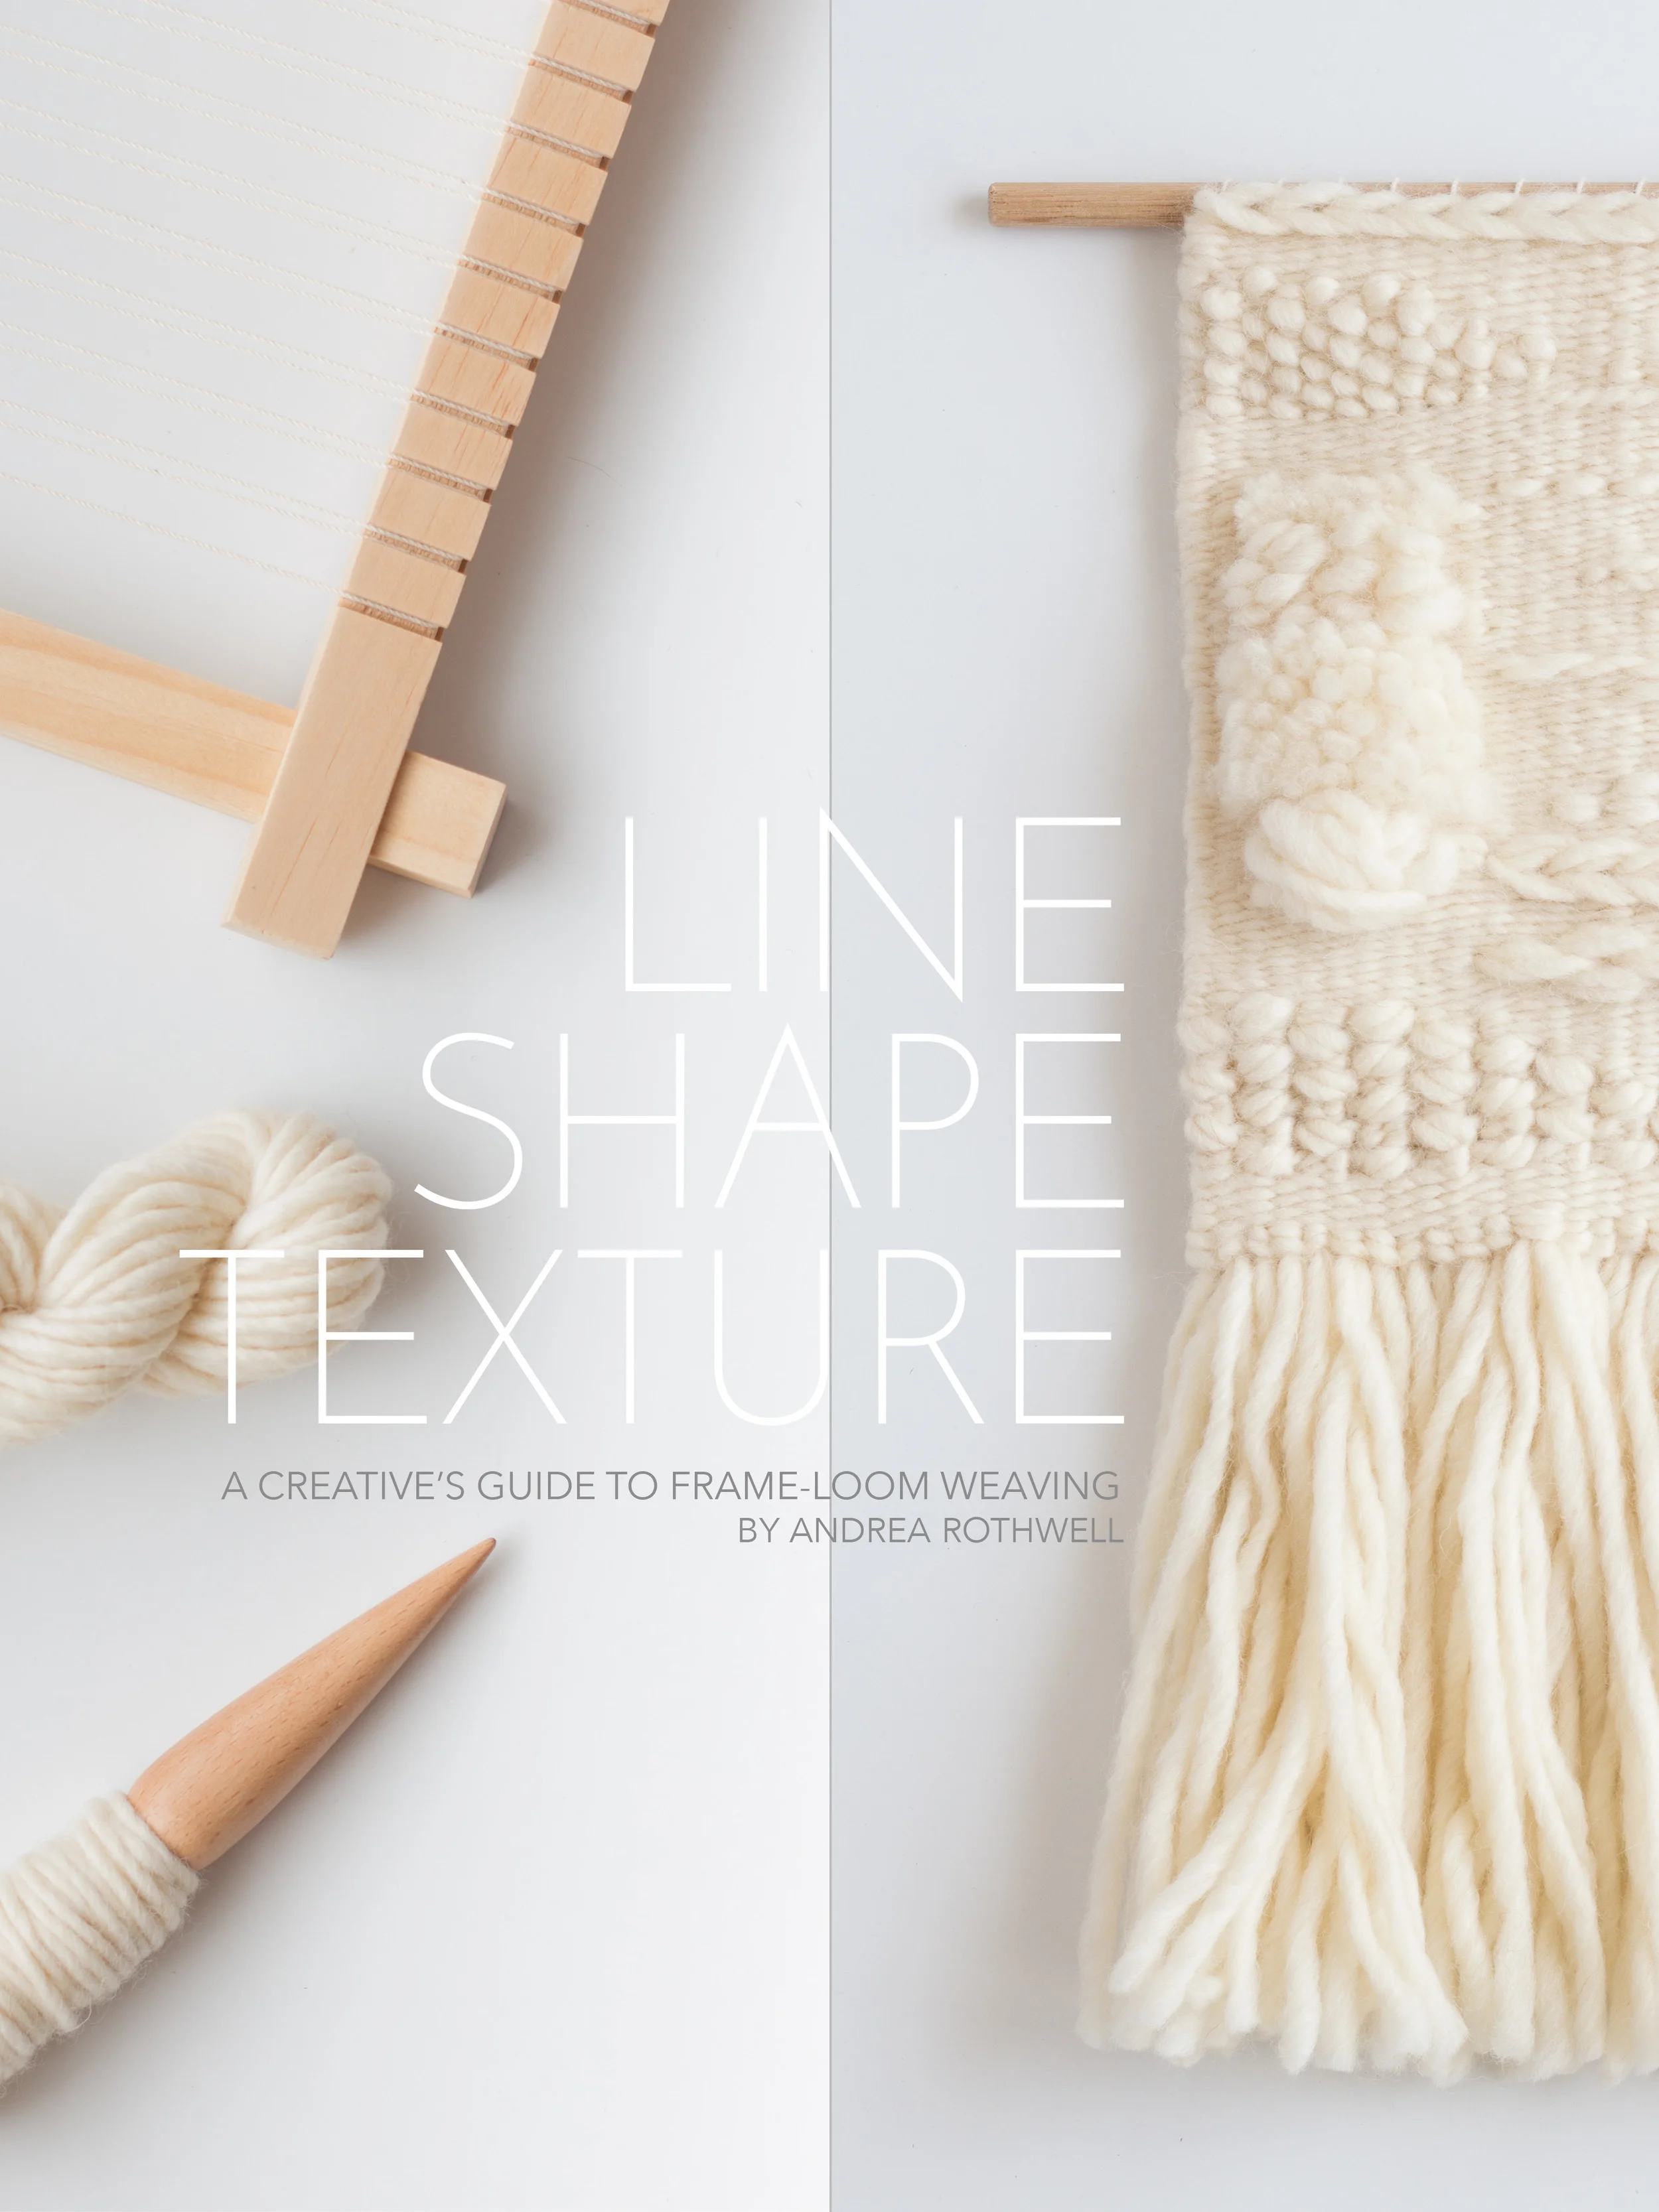
*To learn more about these skills you might like to check out our book - LINE SHAPE TEXTURE.
PLANNING
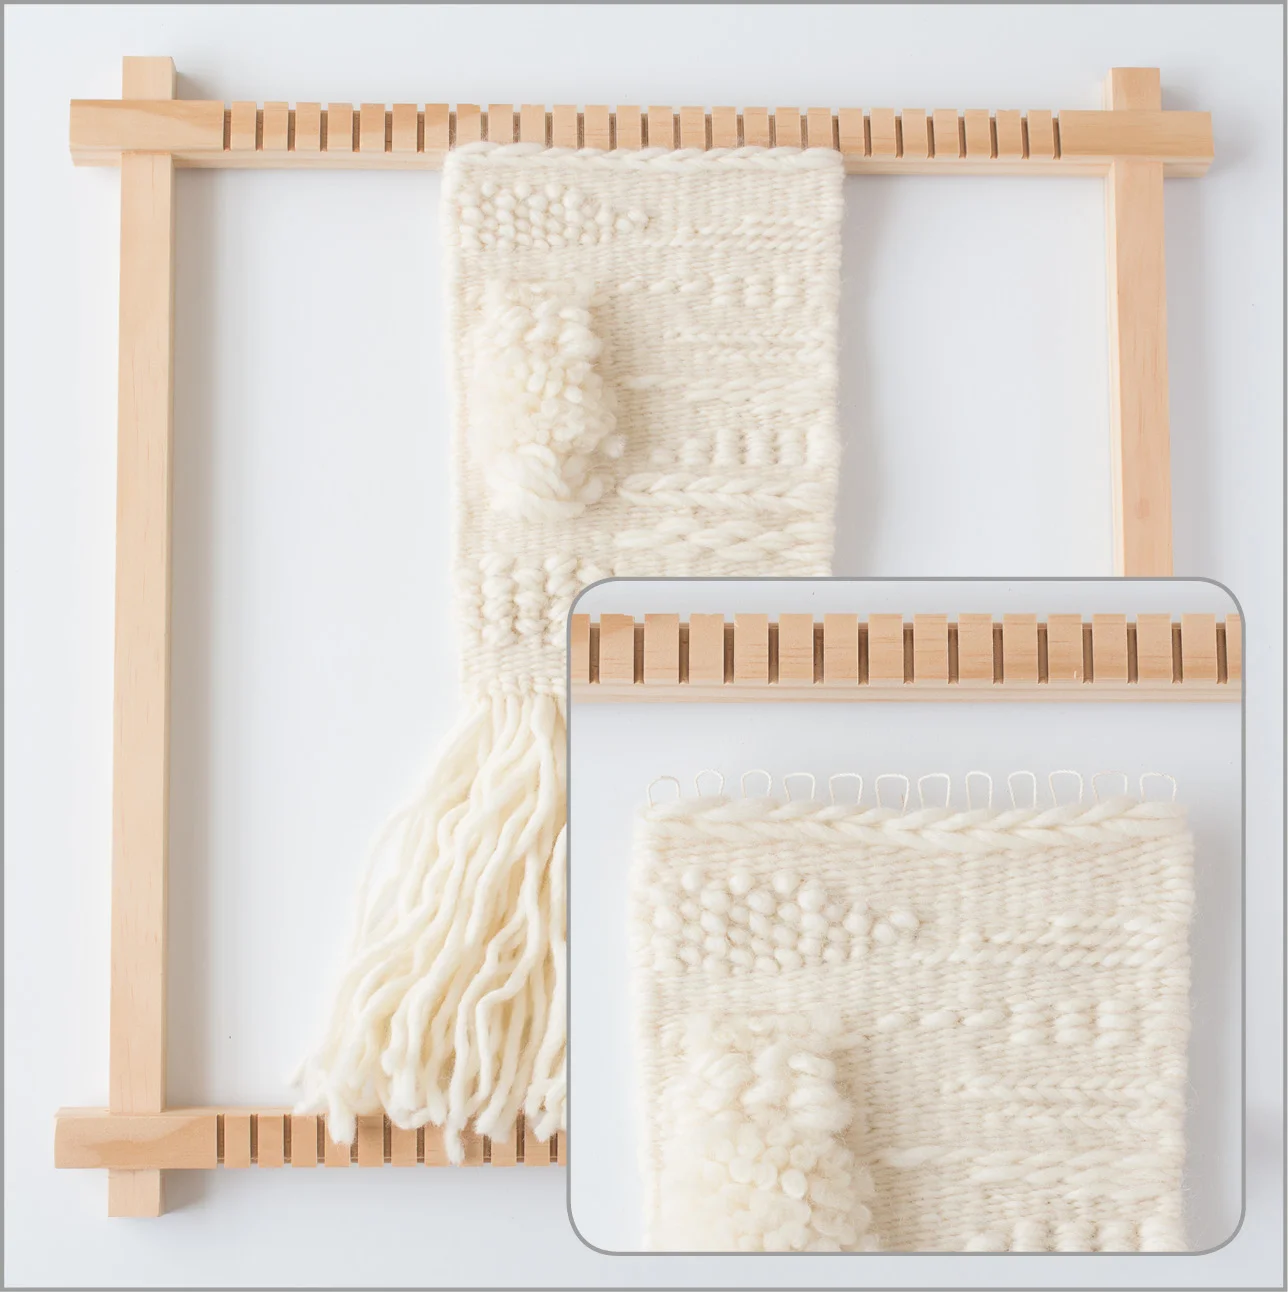
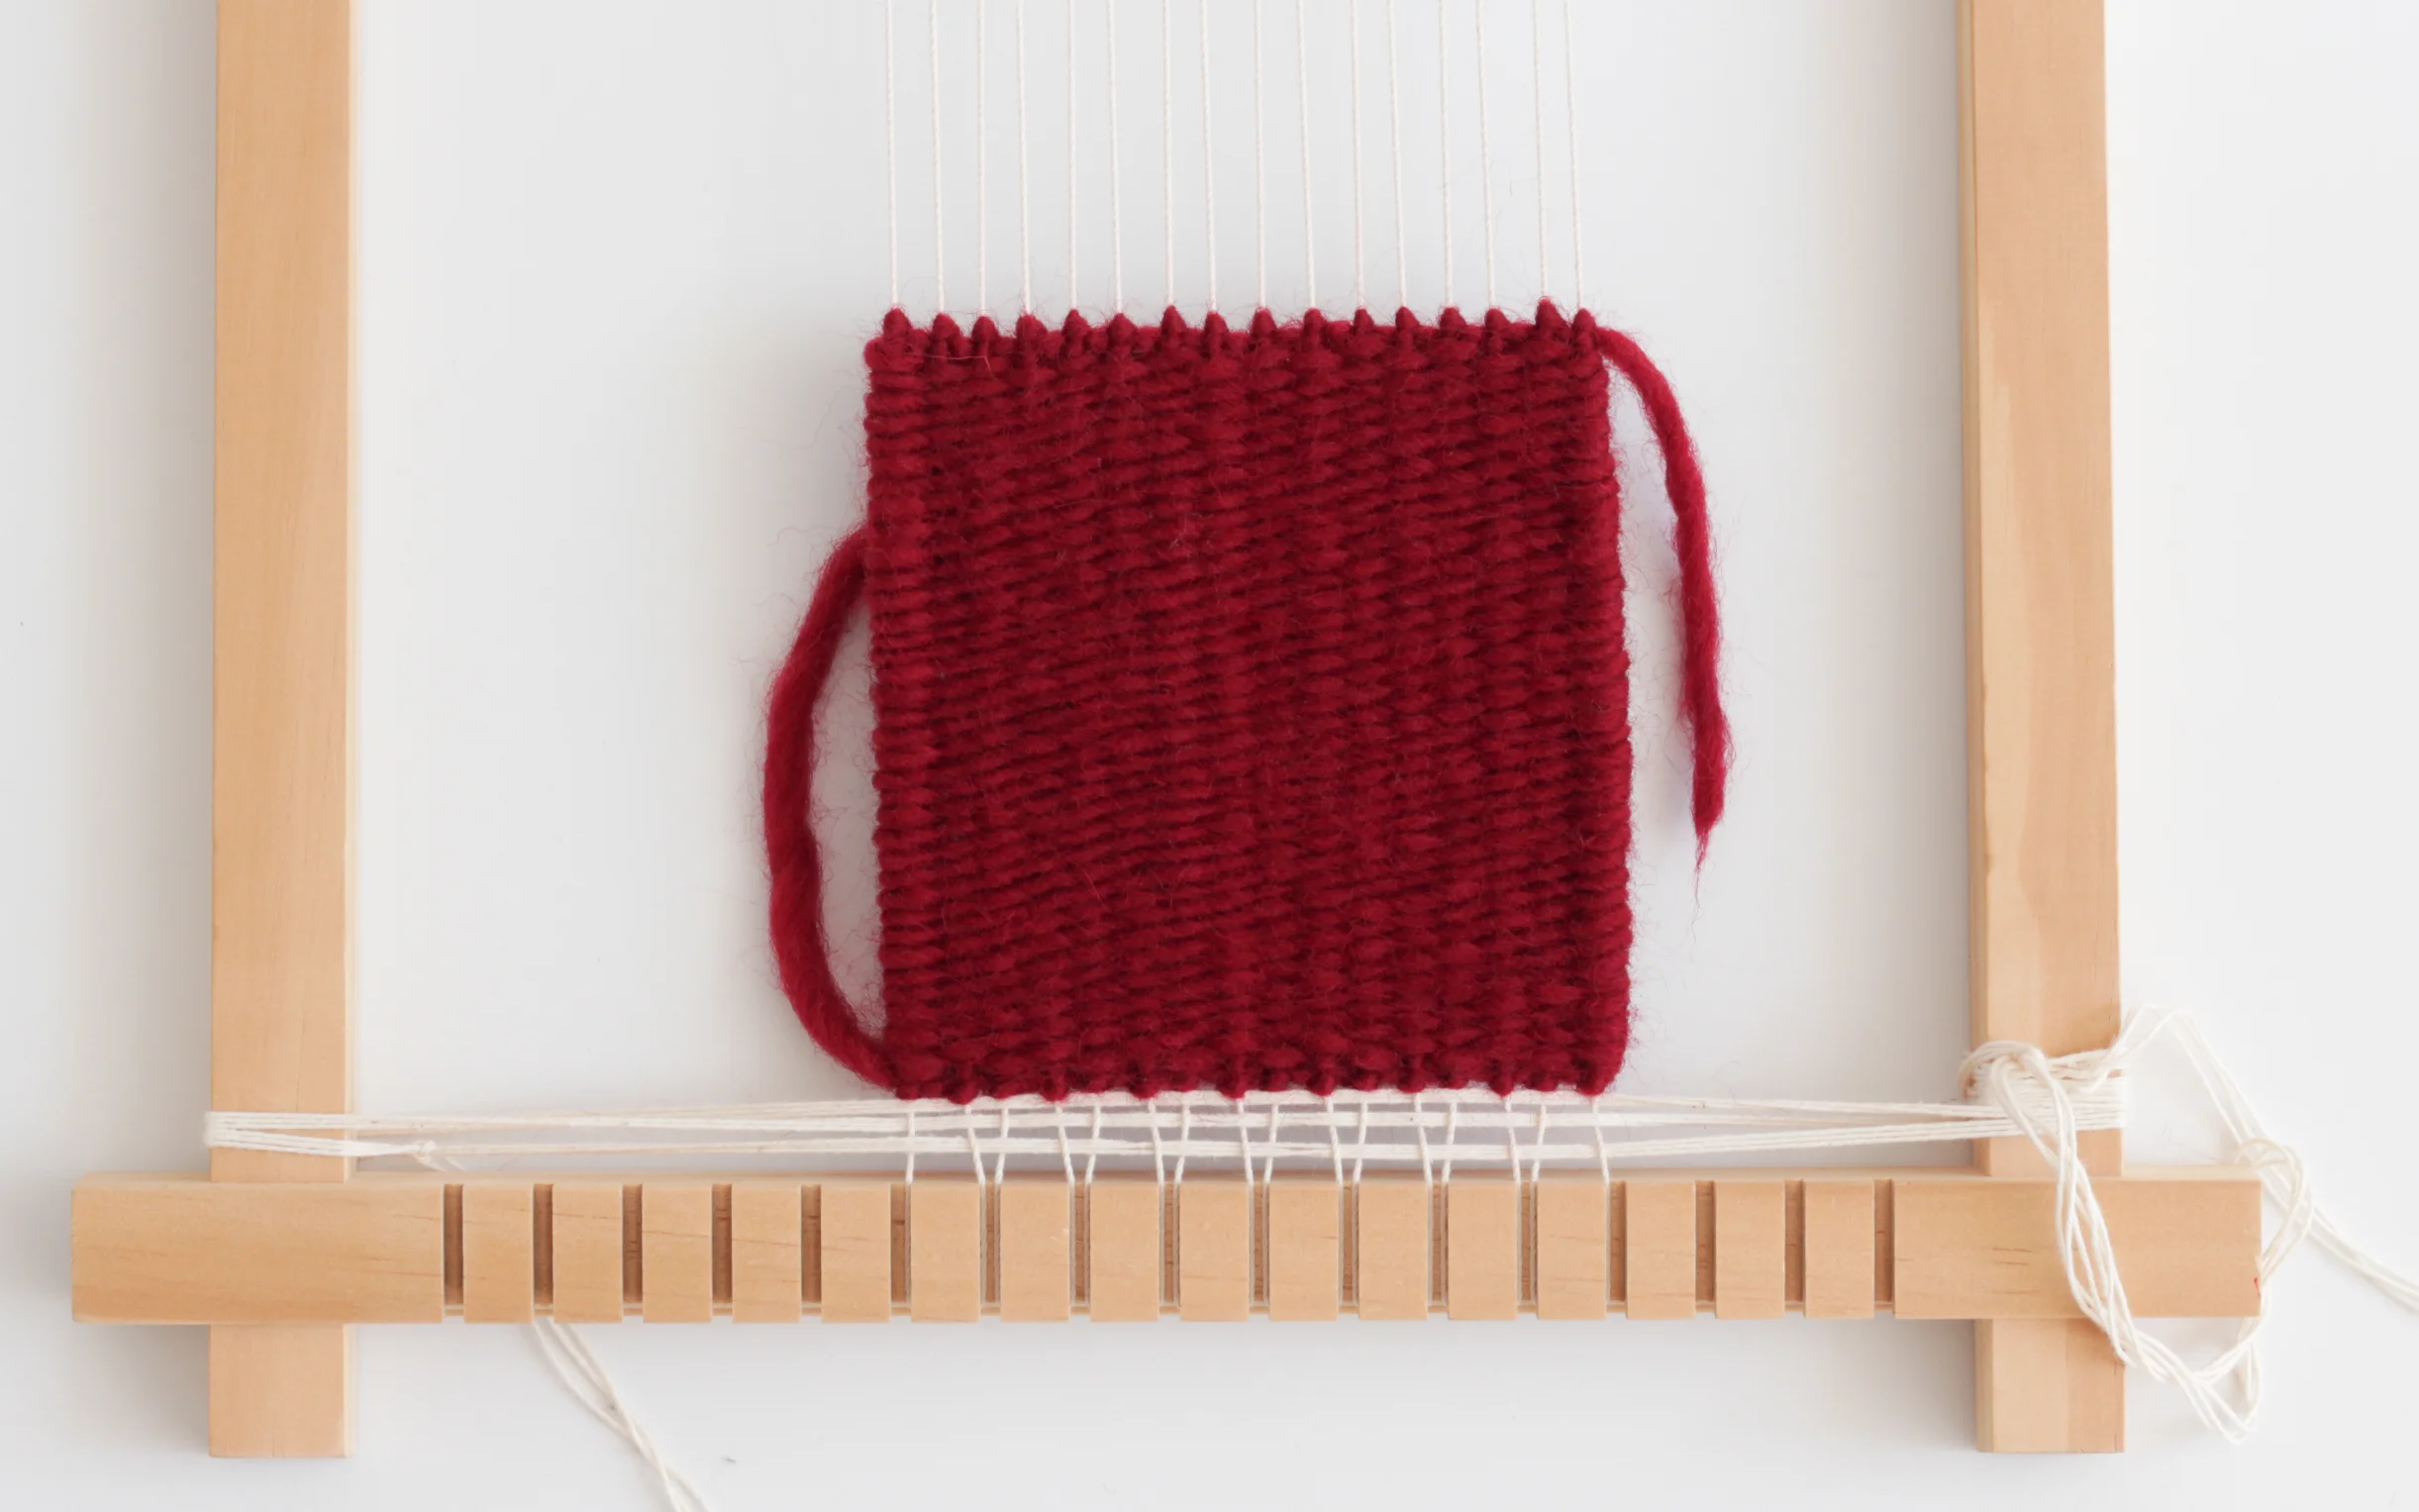
My samples will measure 10cm x 10cm (or 4" x 4"), I find this sample size quick to weave and the warp sett is easily determined.
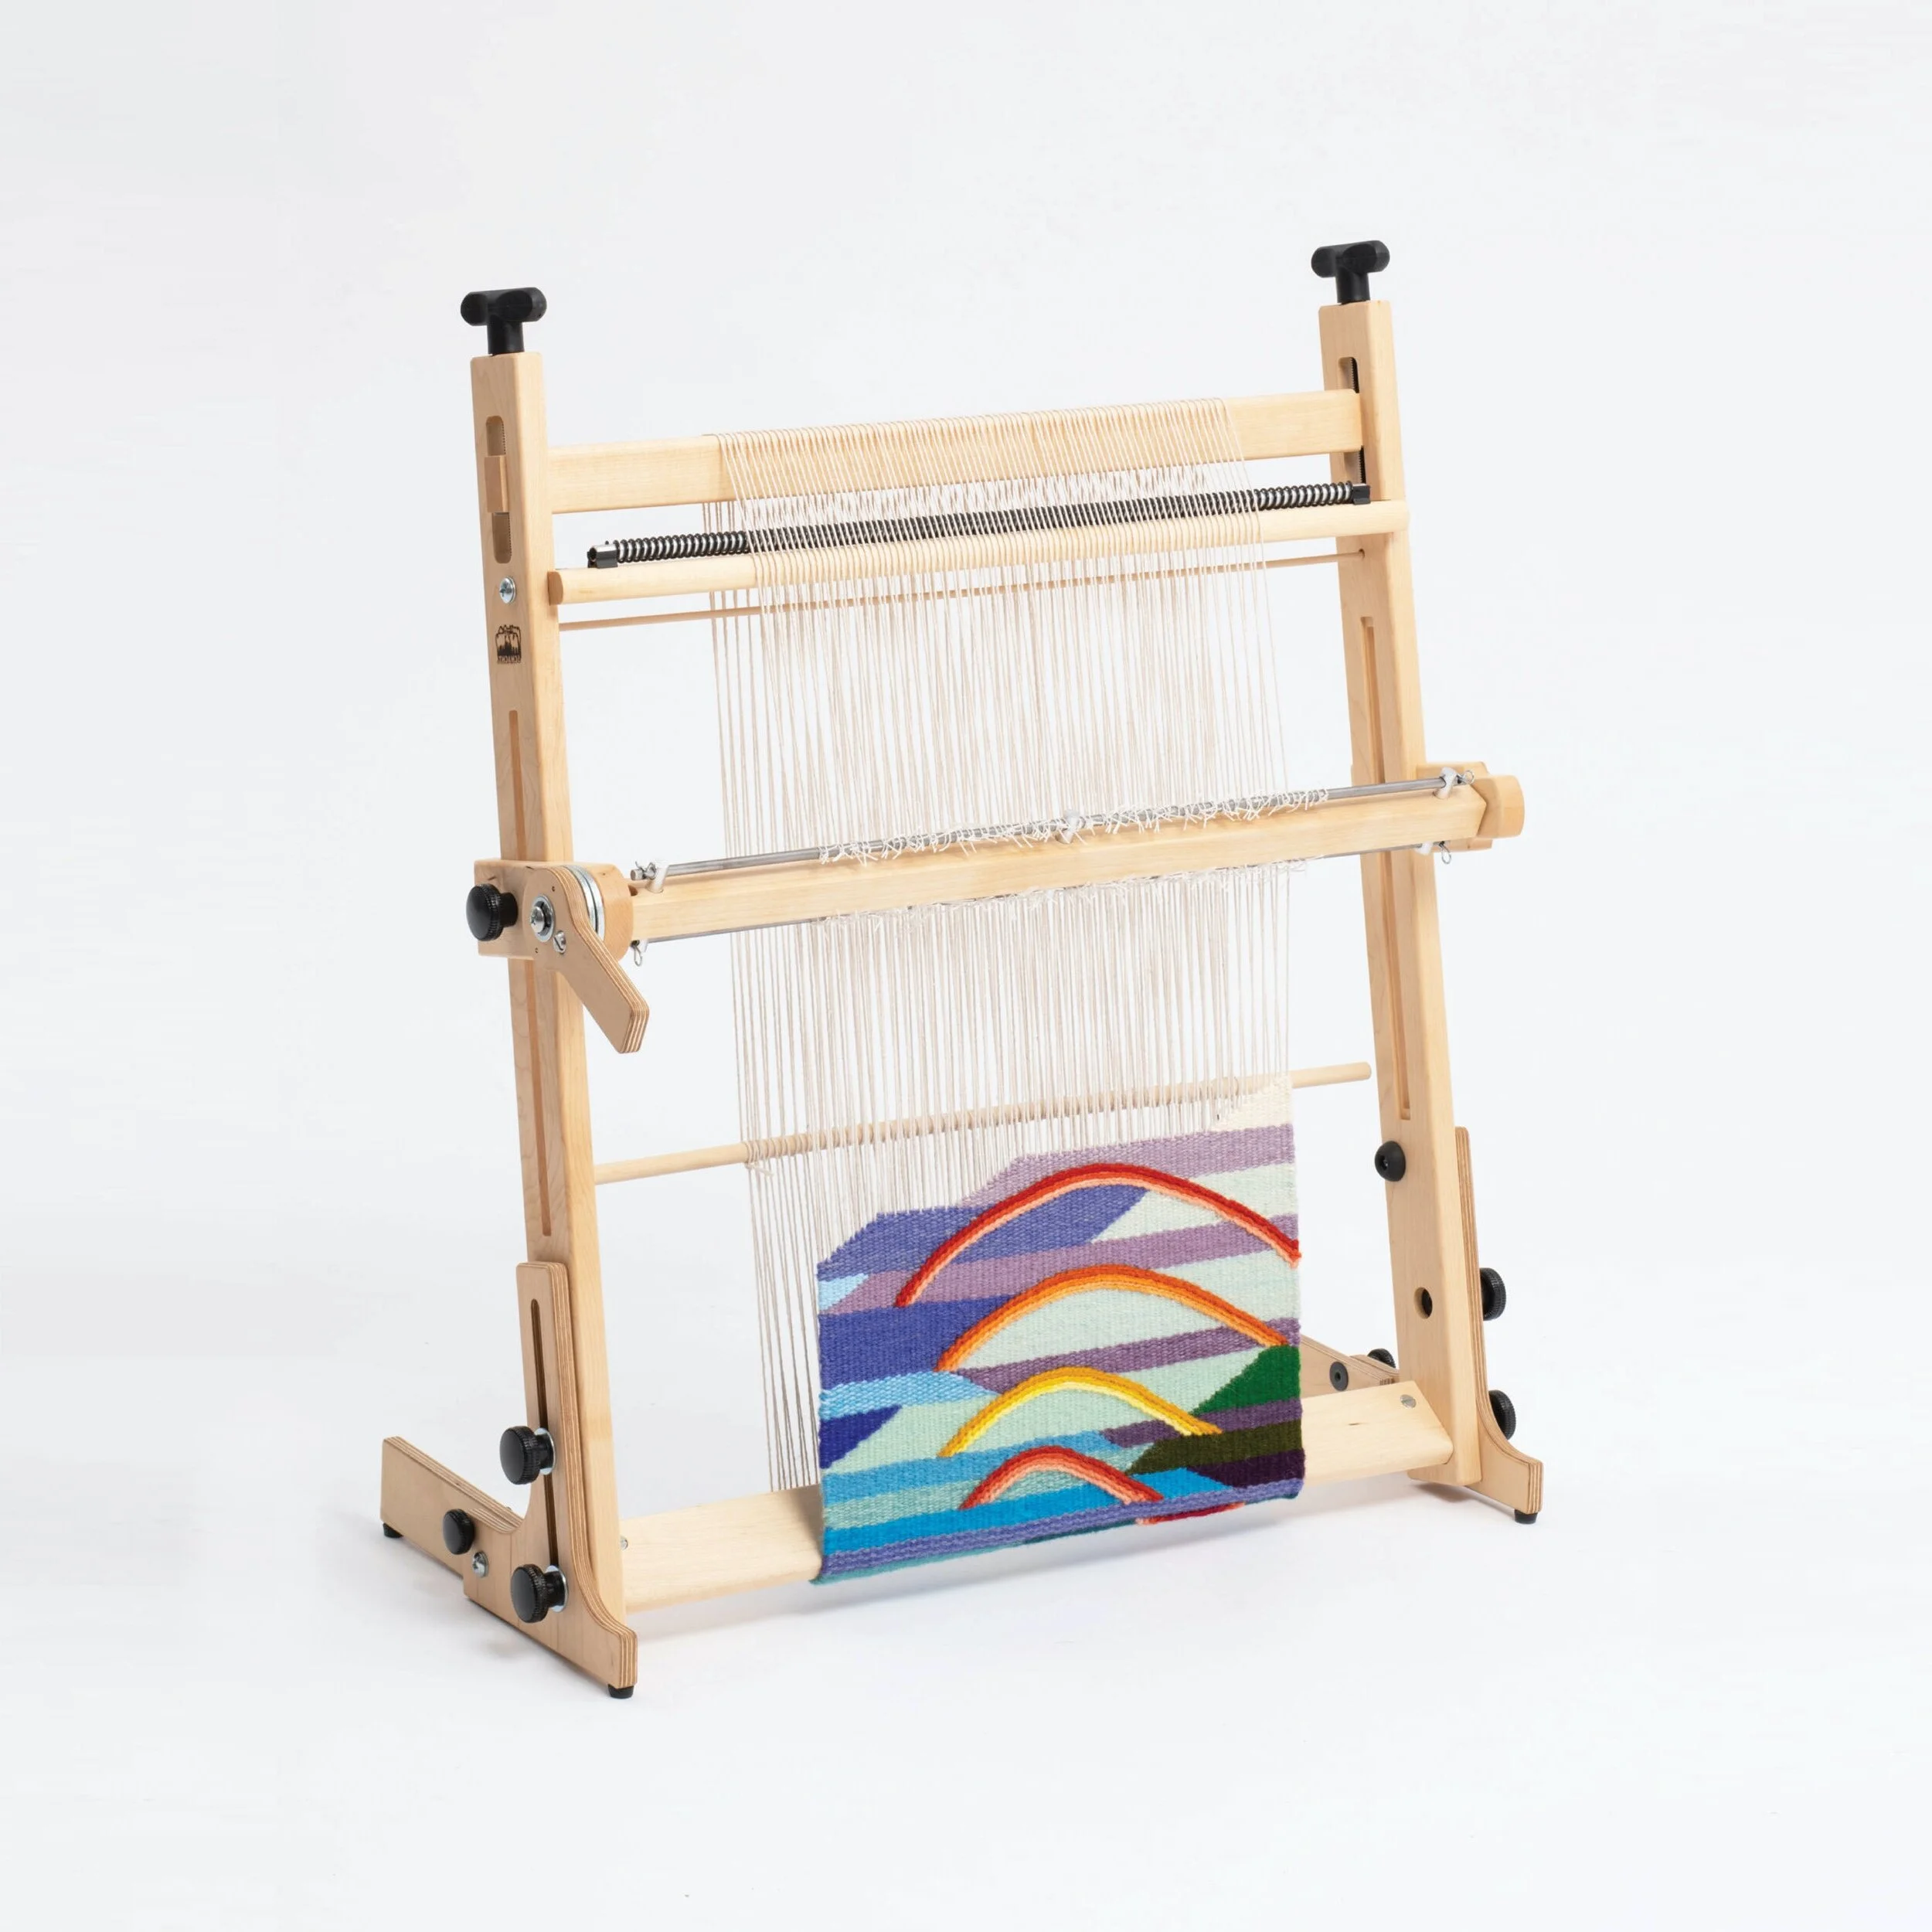
My set-up will comprise a frame-loom warped with cotton thread at 16 ends over 10cm (4 ends per inch).
I will use a ground weave of warp thread to evenly space the warp and provide a firm base to begin the sample.
The warp and weft will be secured with a row of double half –hitches at either end.
MATERIALS
Warp: Warp thread, 100% Cotton.
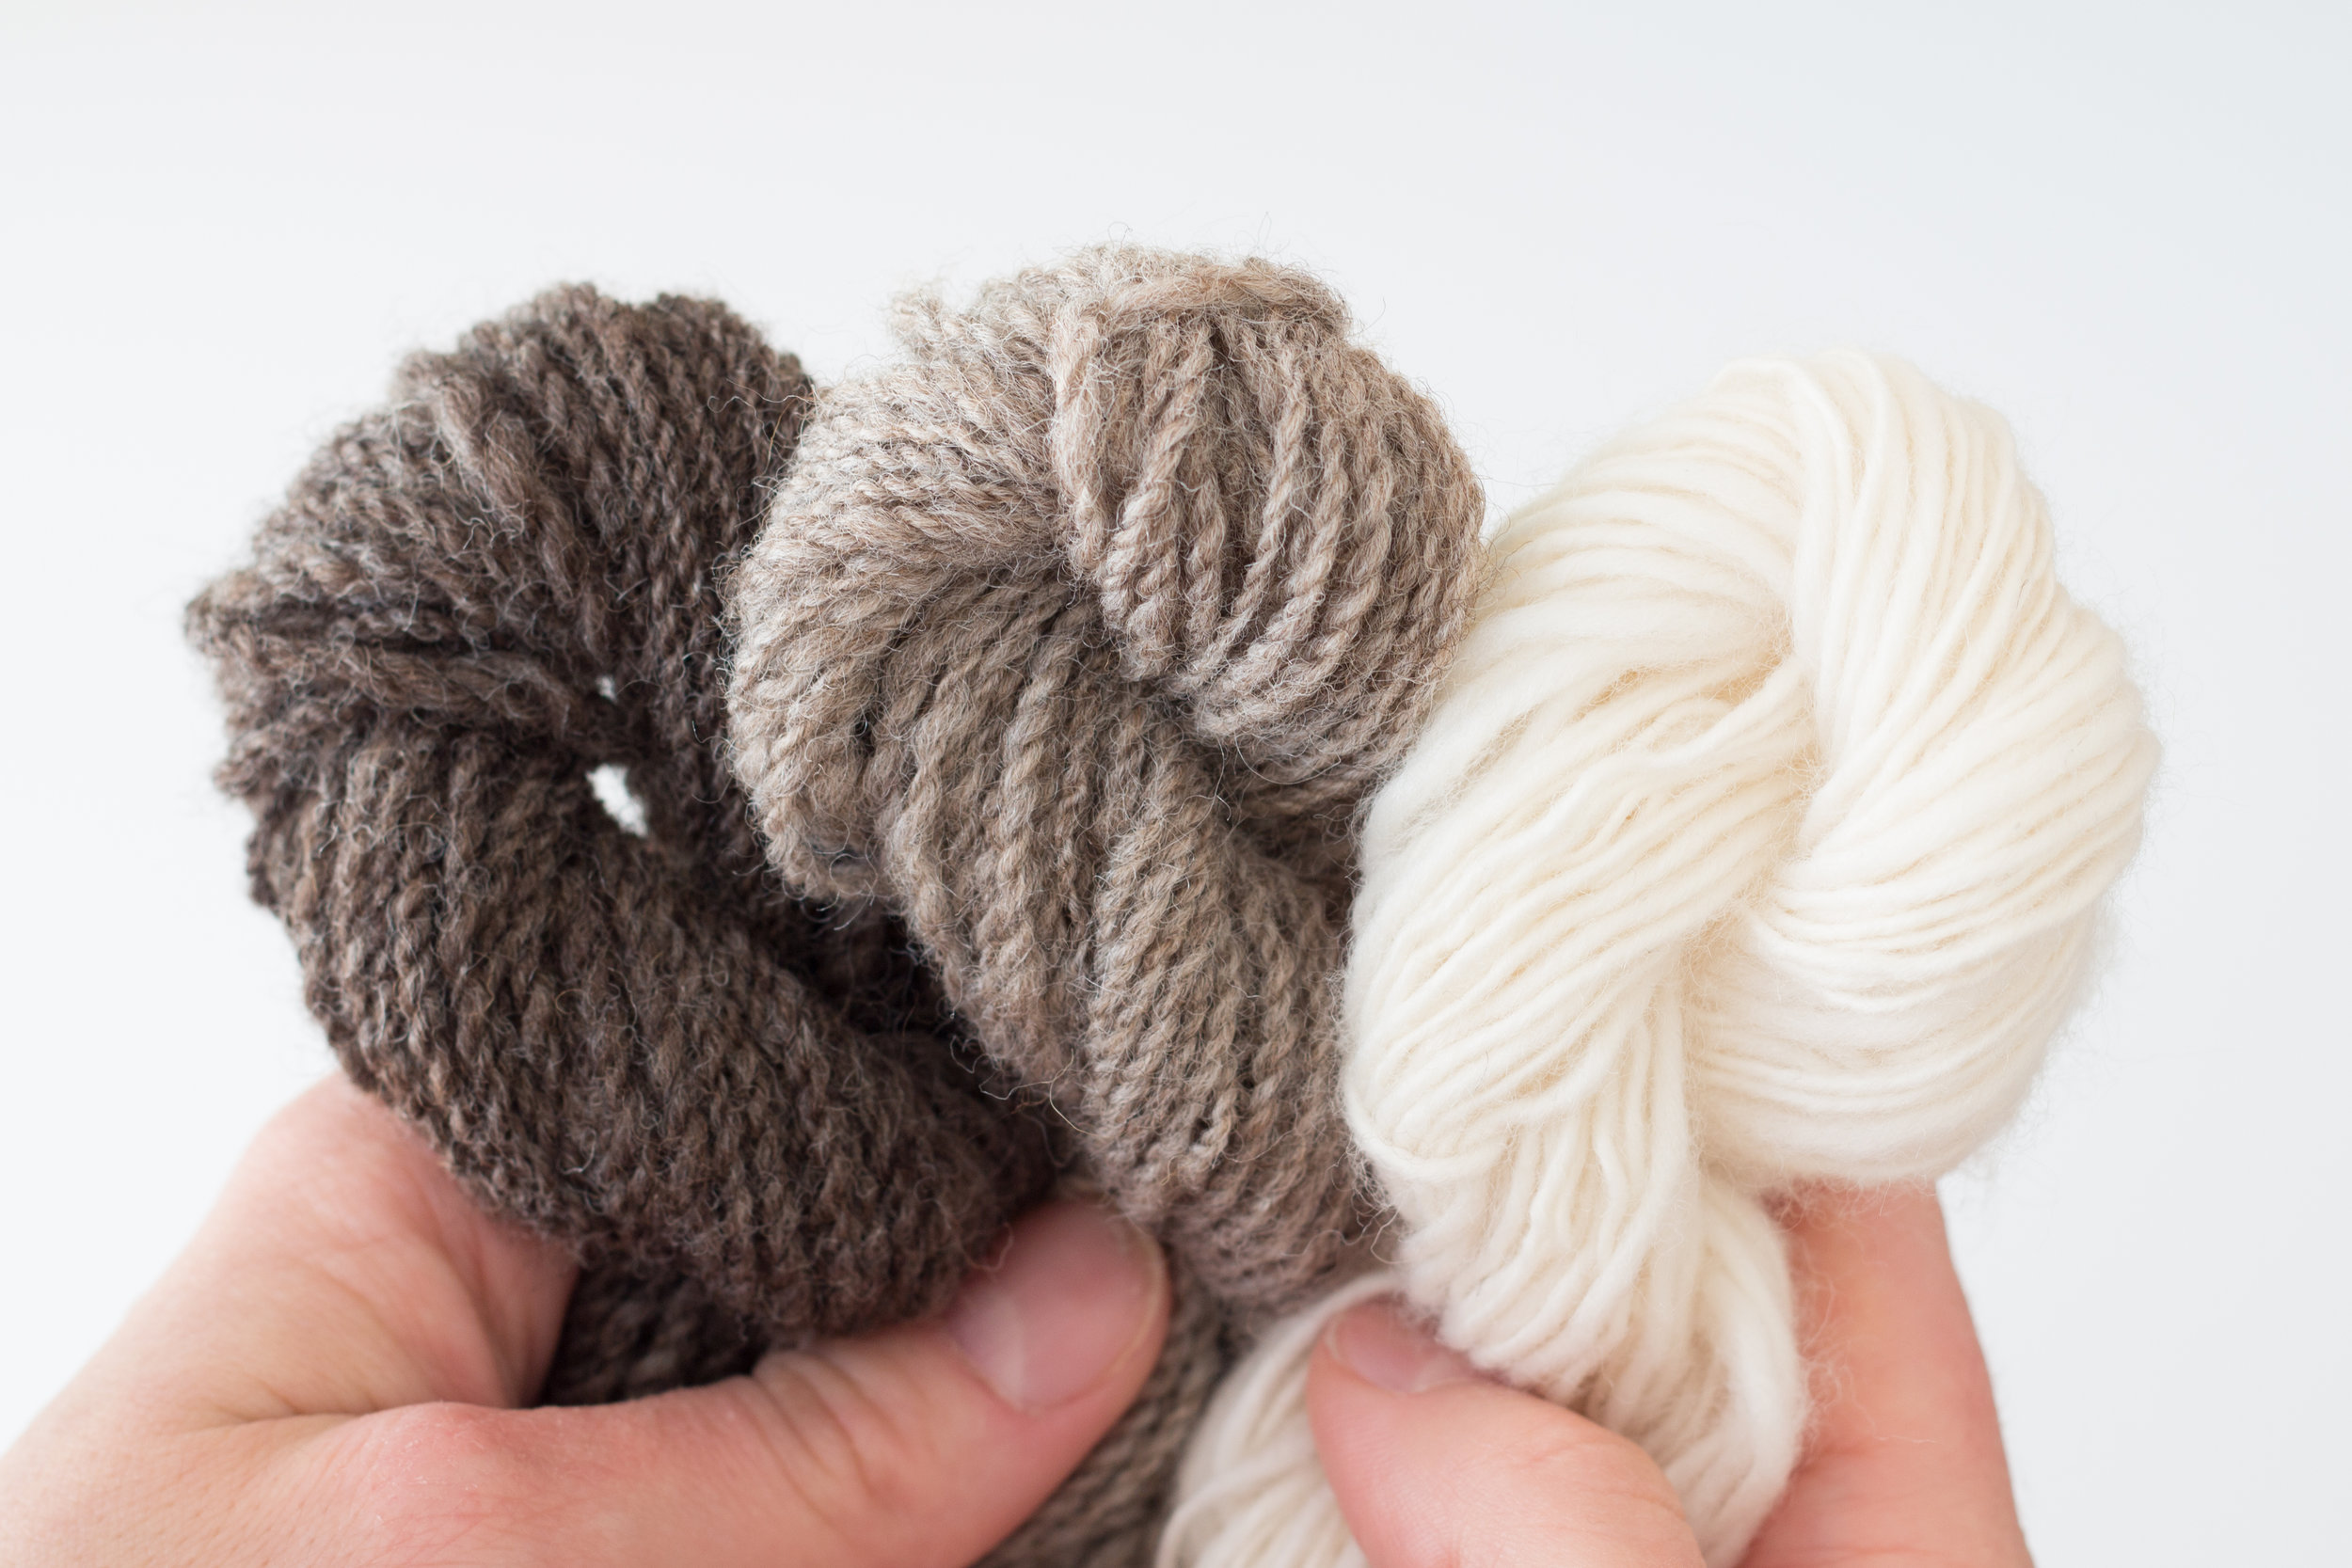
Weft: Woolsey: A Weaving Yarn

METHOD
STEP 1
Space the warp evenly over the 10cm (4") warp width.
While carefully maintaining the warp spacing, begin the weft yarn by establishing a row of double half-hitches.
Ensure each hitch is knotted firmly to secure the weft to warp.
STEP 2
Using plain weave, weave in the body of the fabric until the piece measures 10cm (4") in length. If needed, begin any new weft threads using the half-hitch method.
STEP 3
Finish with a row of double half-hitches to secure the fabric.
STEP 4
Cut from the loom and finish as desired.
APPLICATION
The method is fairly straight forward with no special notes to consider.
No modifications were made when weaving the samples.
To ensure straight edges and symmetry I did take extra care when working close to the selvages.
FINISHING
No finishing techniques were applied but I might use this sample in the future to test the effects of steam blocking on this yarn.
INSIGHTS AND OPPORTUNITIES
This method enables me to set up and weave a tapestry sample in about 30 minutes, allowing me to very quickly sample a new yarn or fibre.
It’s such a versatile method that it would also be useful for working a series of small tapestry projects.

THANK YOU FOR READING!
Our new weaving yarn has arrived, find Woolsey here.
FOR MORE INFO ON THE SKILLS USED IN THIS TUTORIAL, CHECK OUT OUR BOOK LINE SHAPE TEXTURE.
FREE SAMPLE AVAILABLE VIA OUR BOOK PAGE!