
Swatching with Cotton Fine
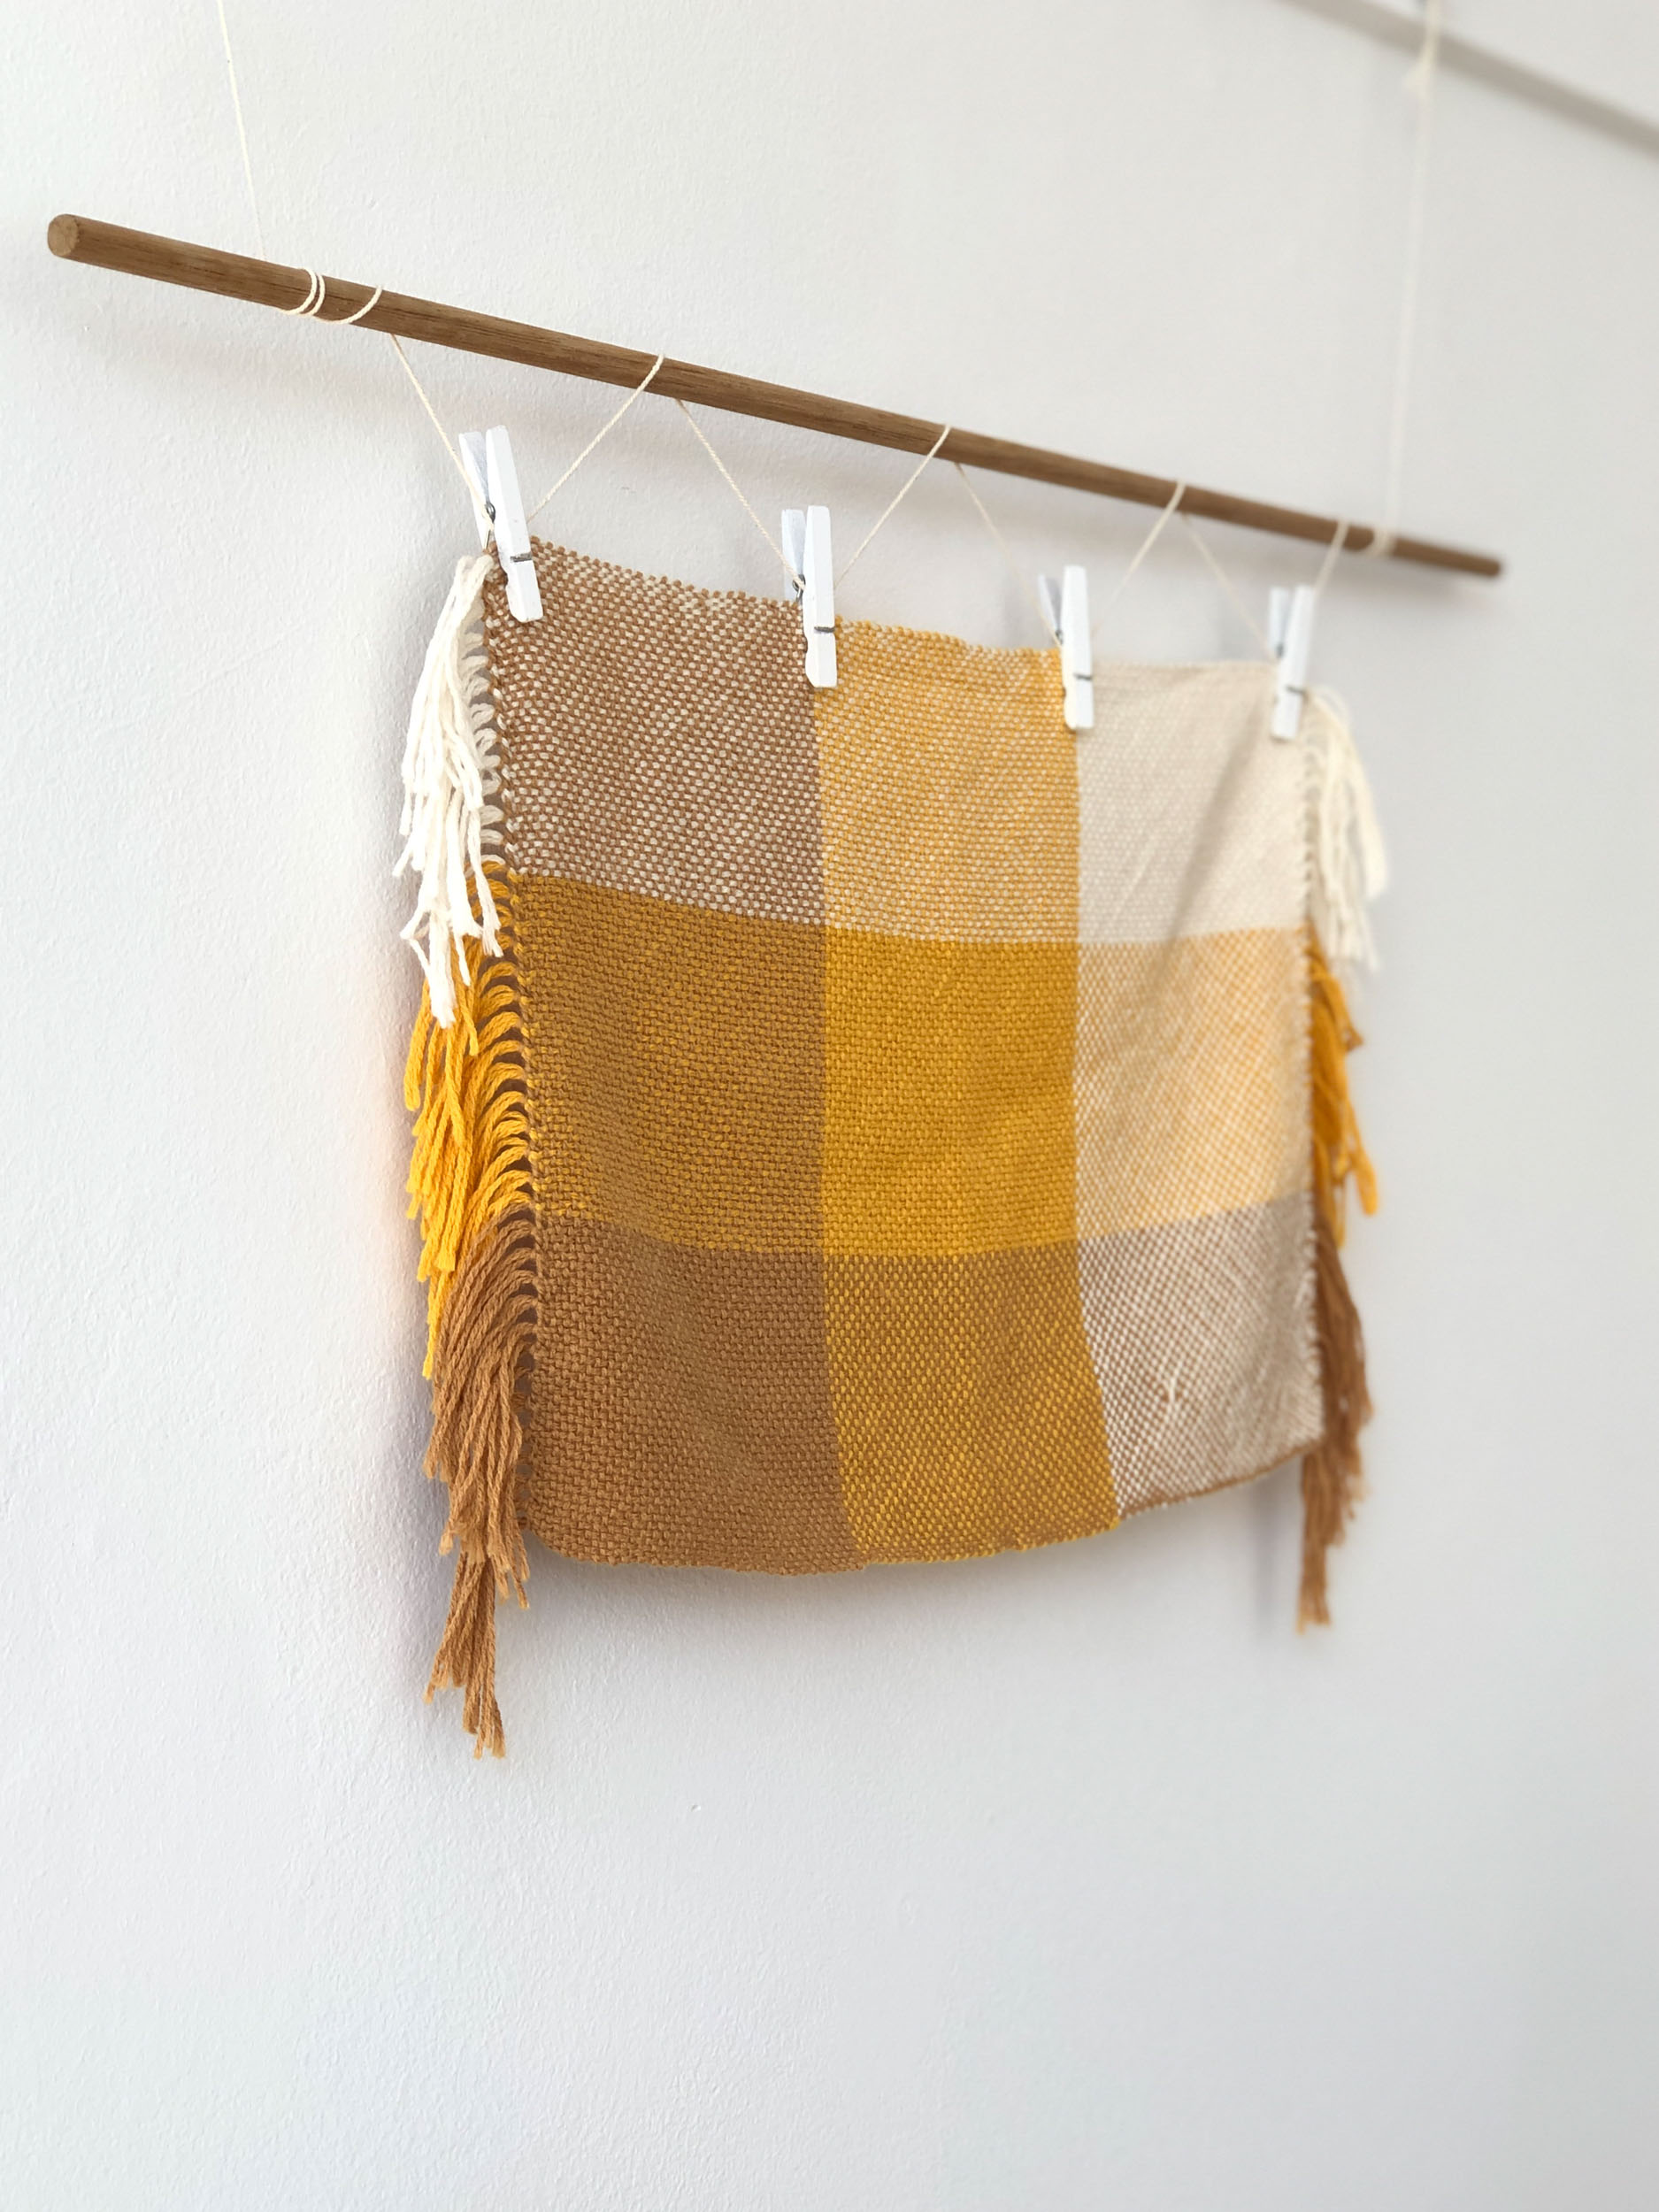
A woven Sampler in Plain-Weave
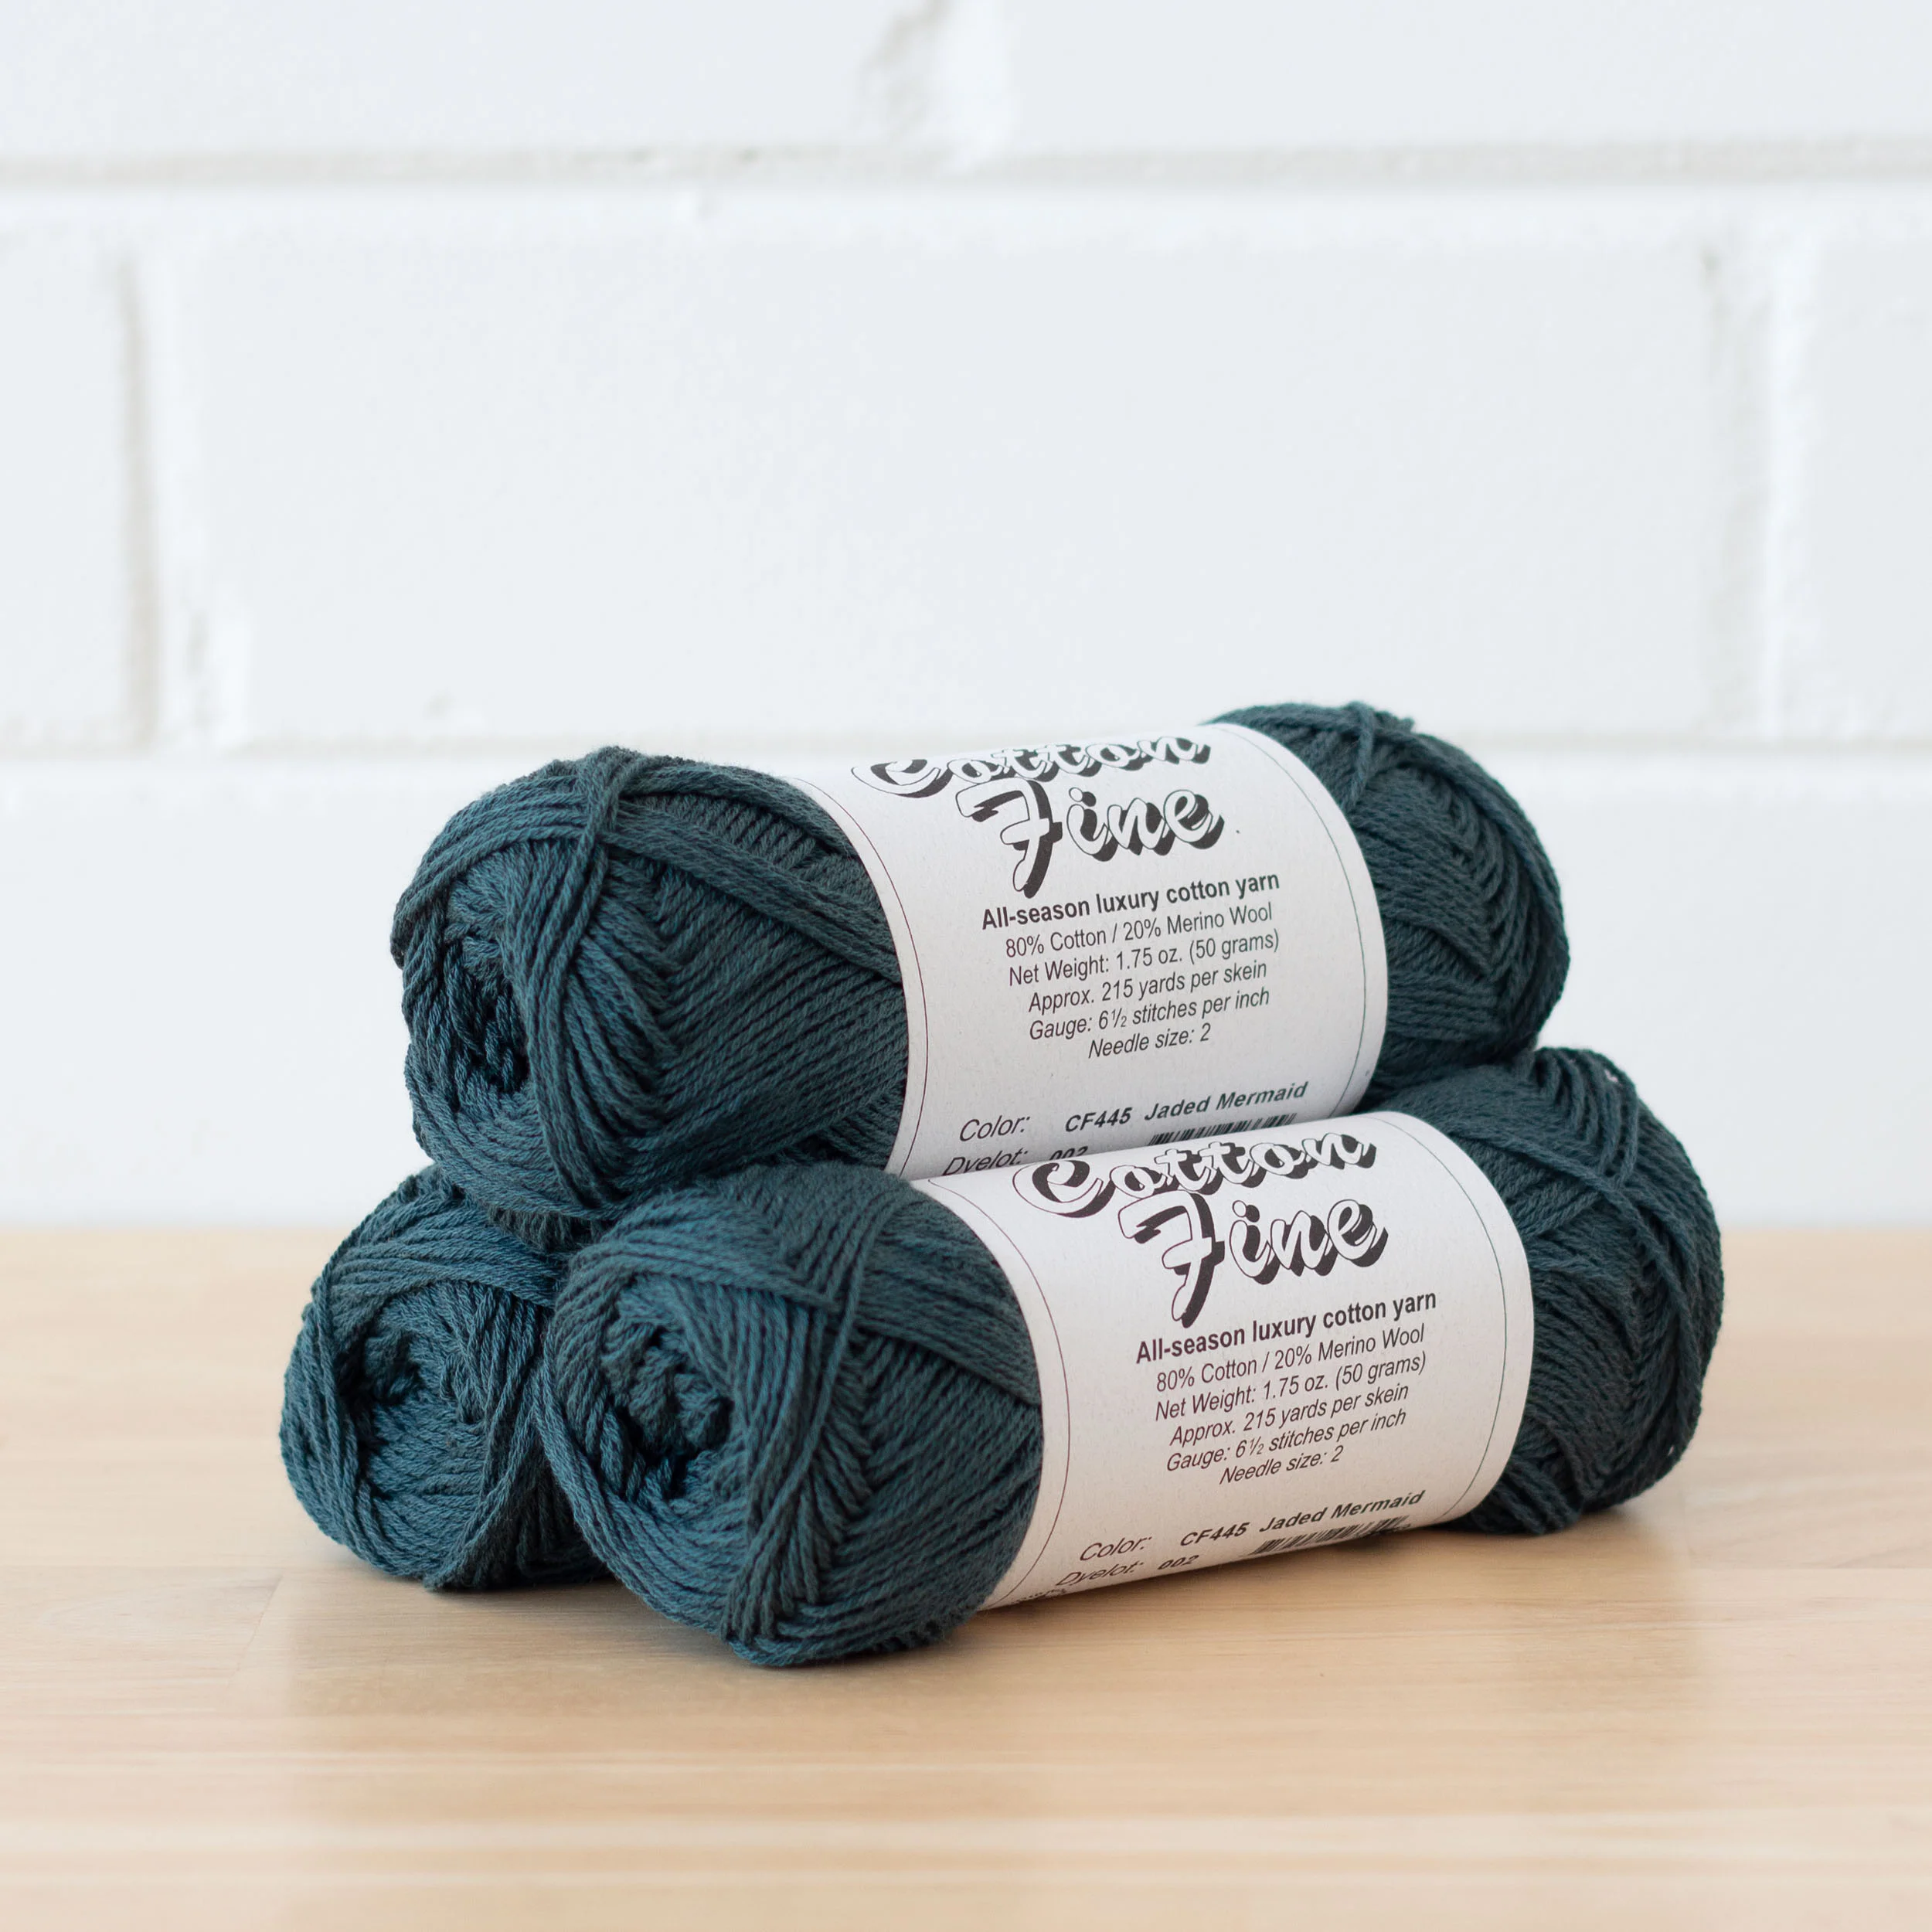
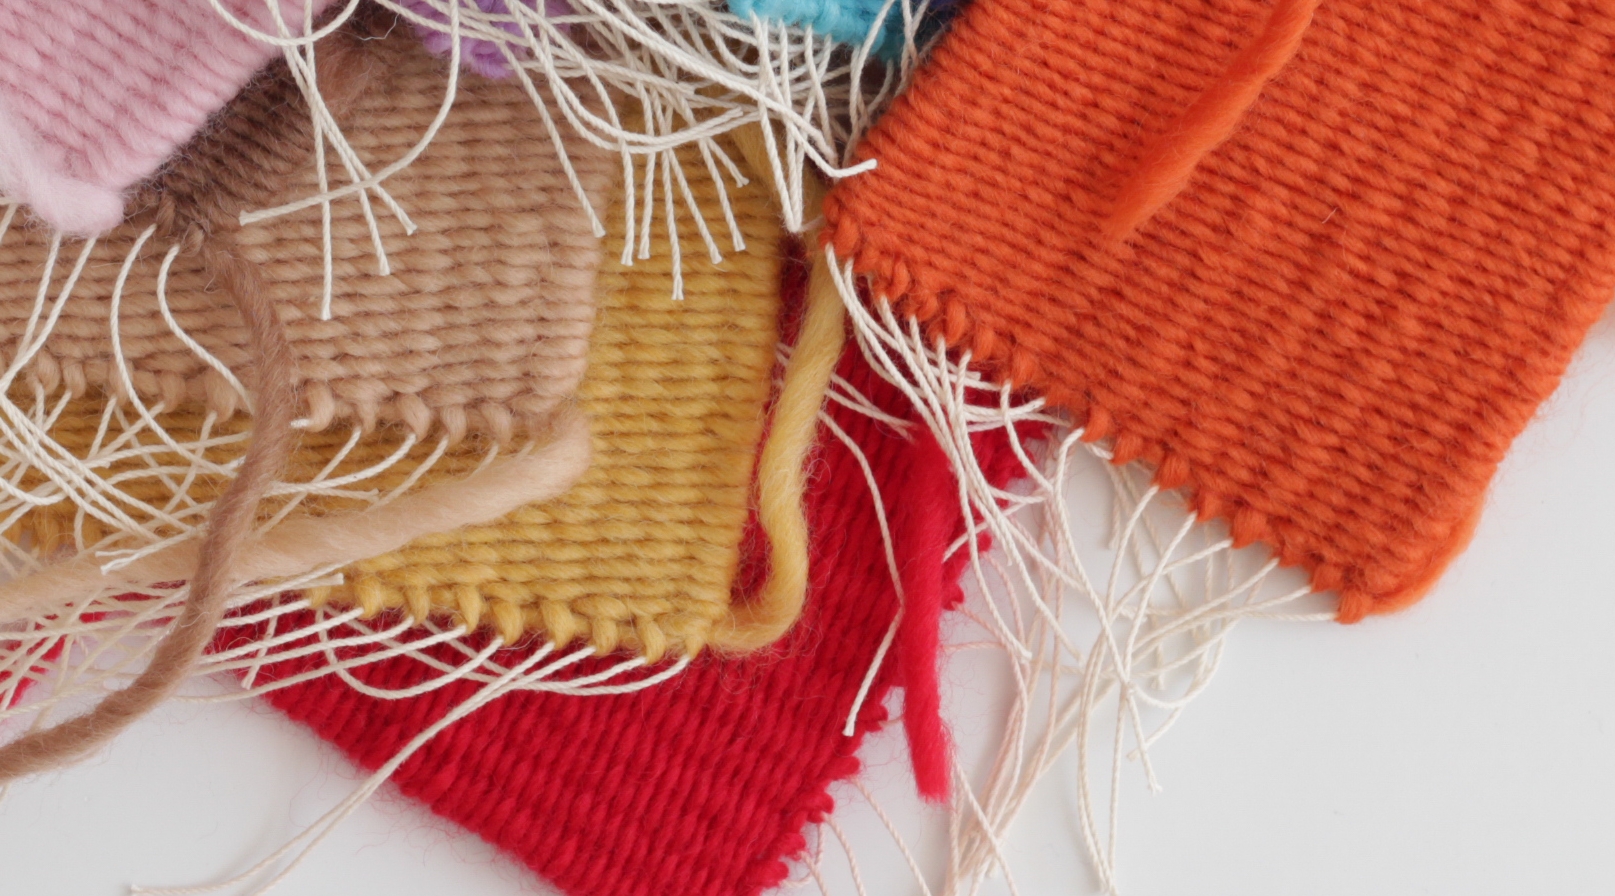
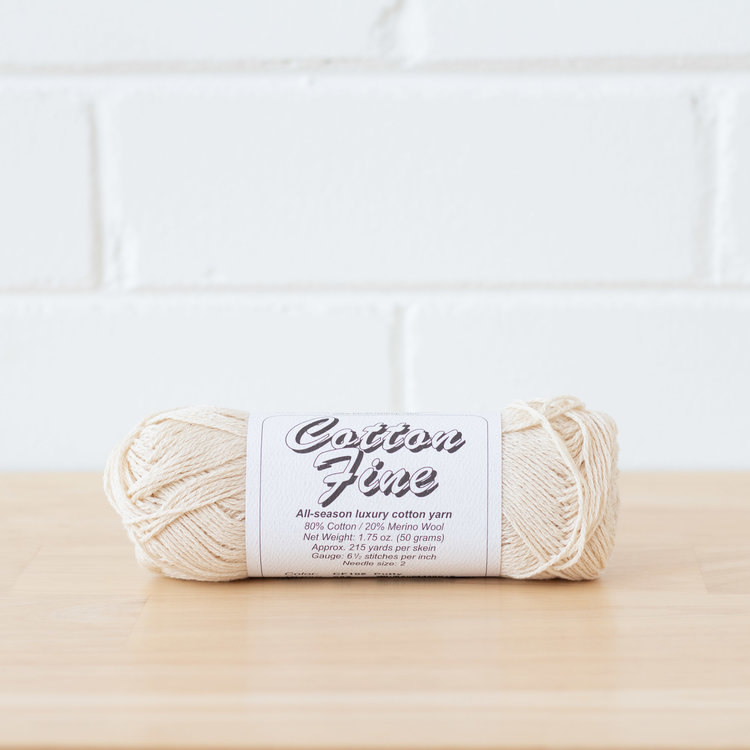
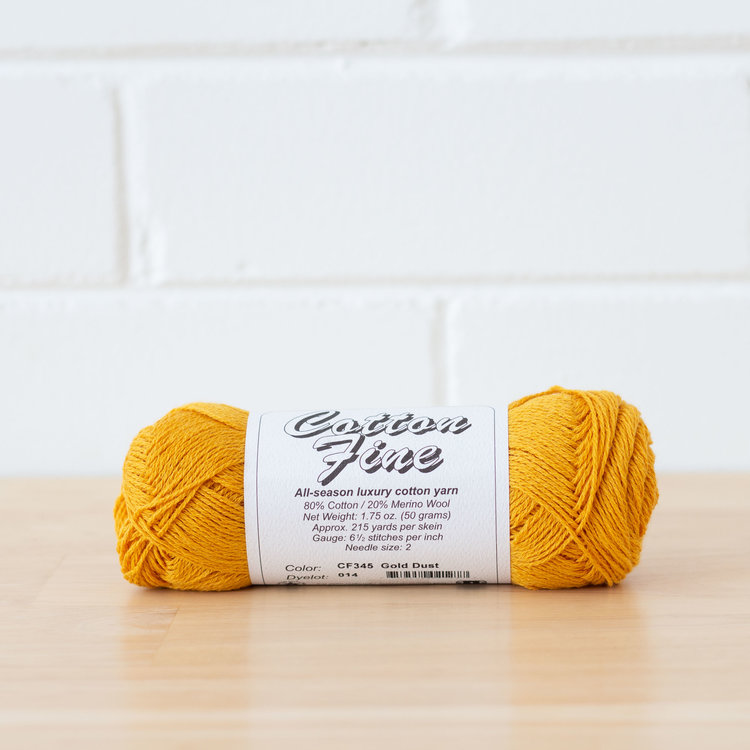
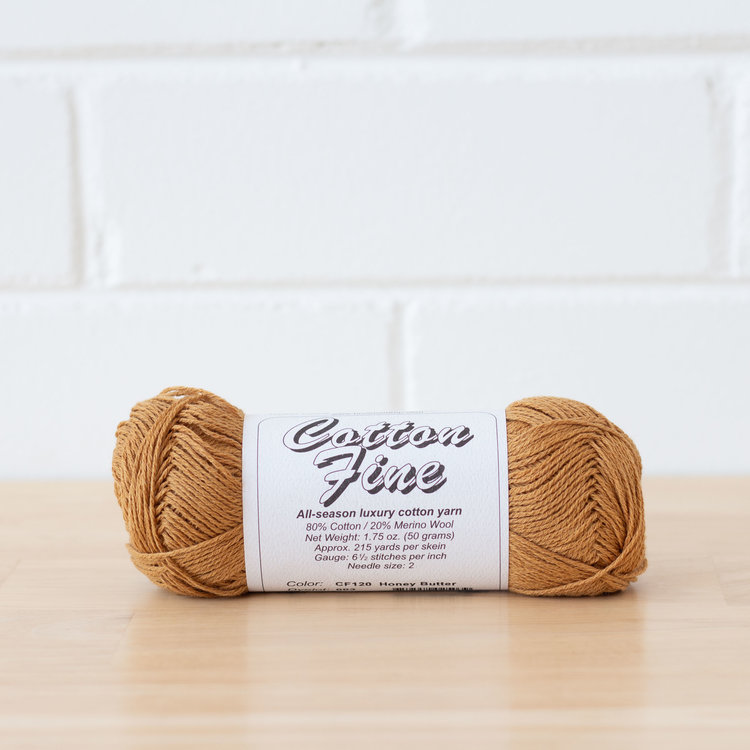
With the recent introduction of Cotton Fine to the Loom & Spindle yarn range, we’ve been excited to explore our new yarn.
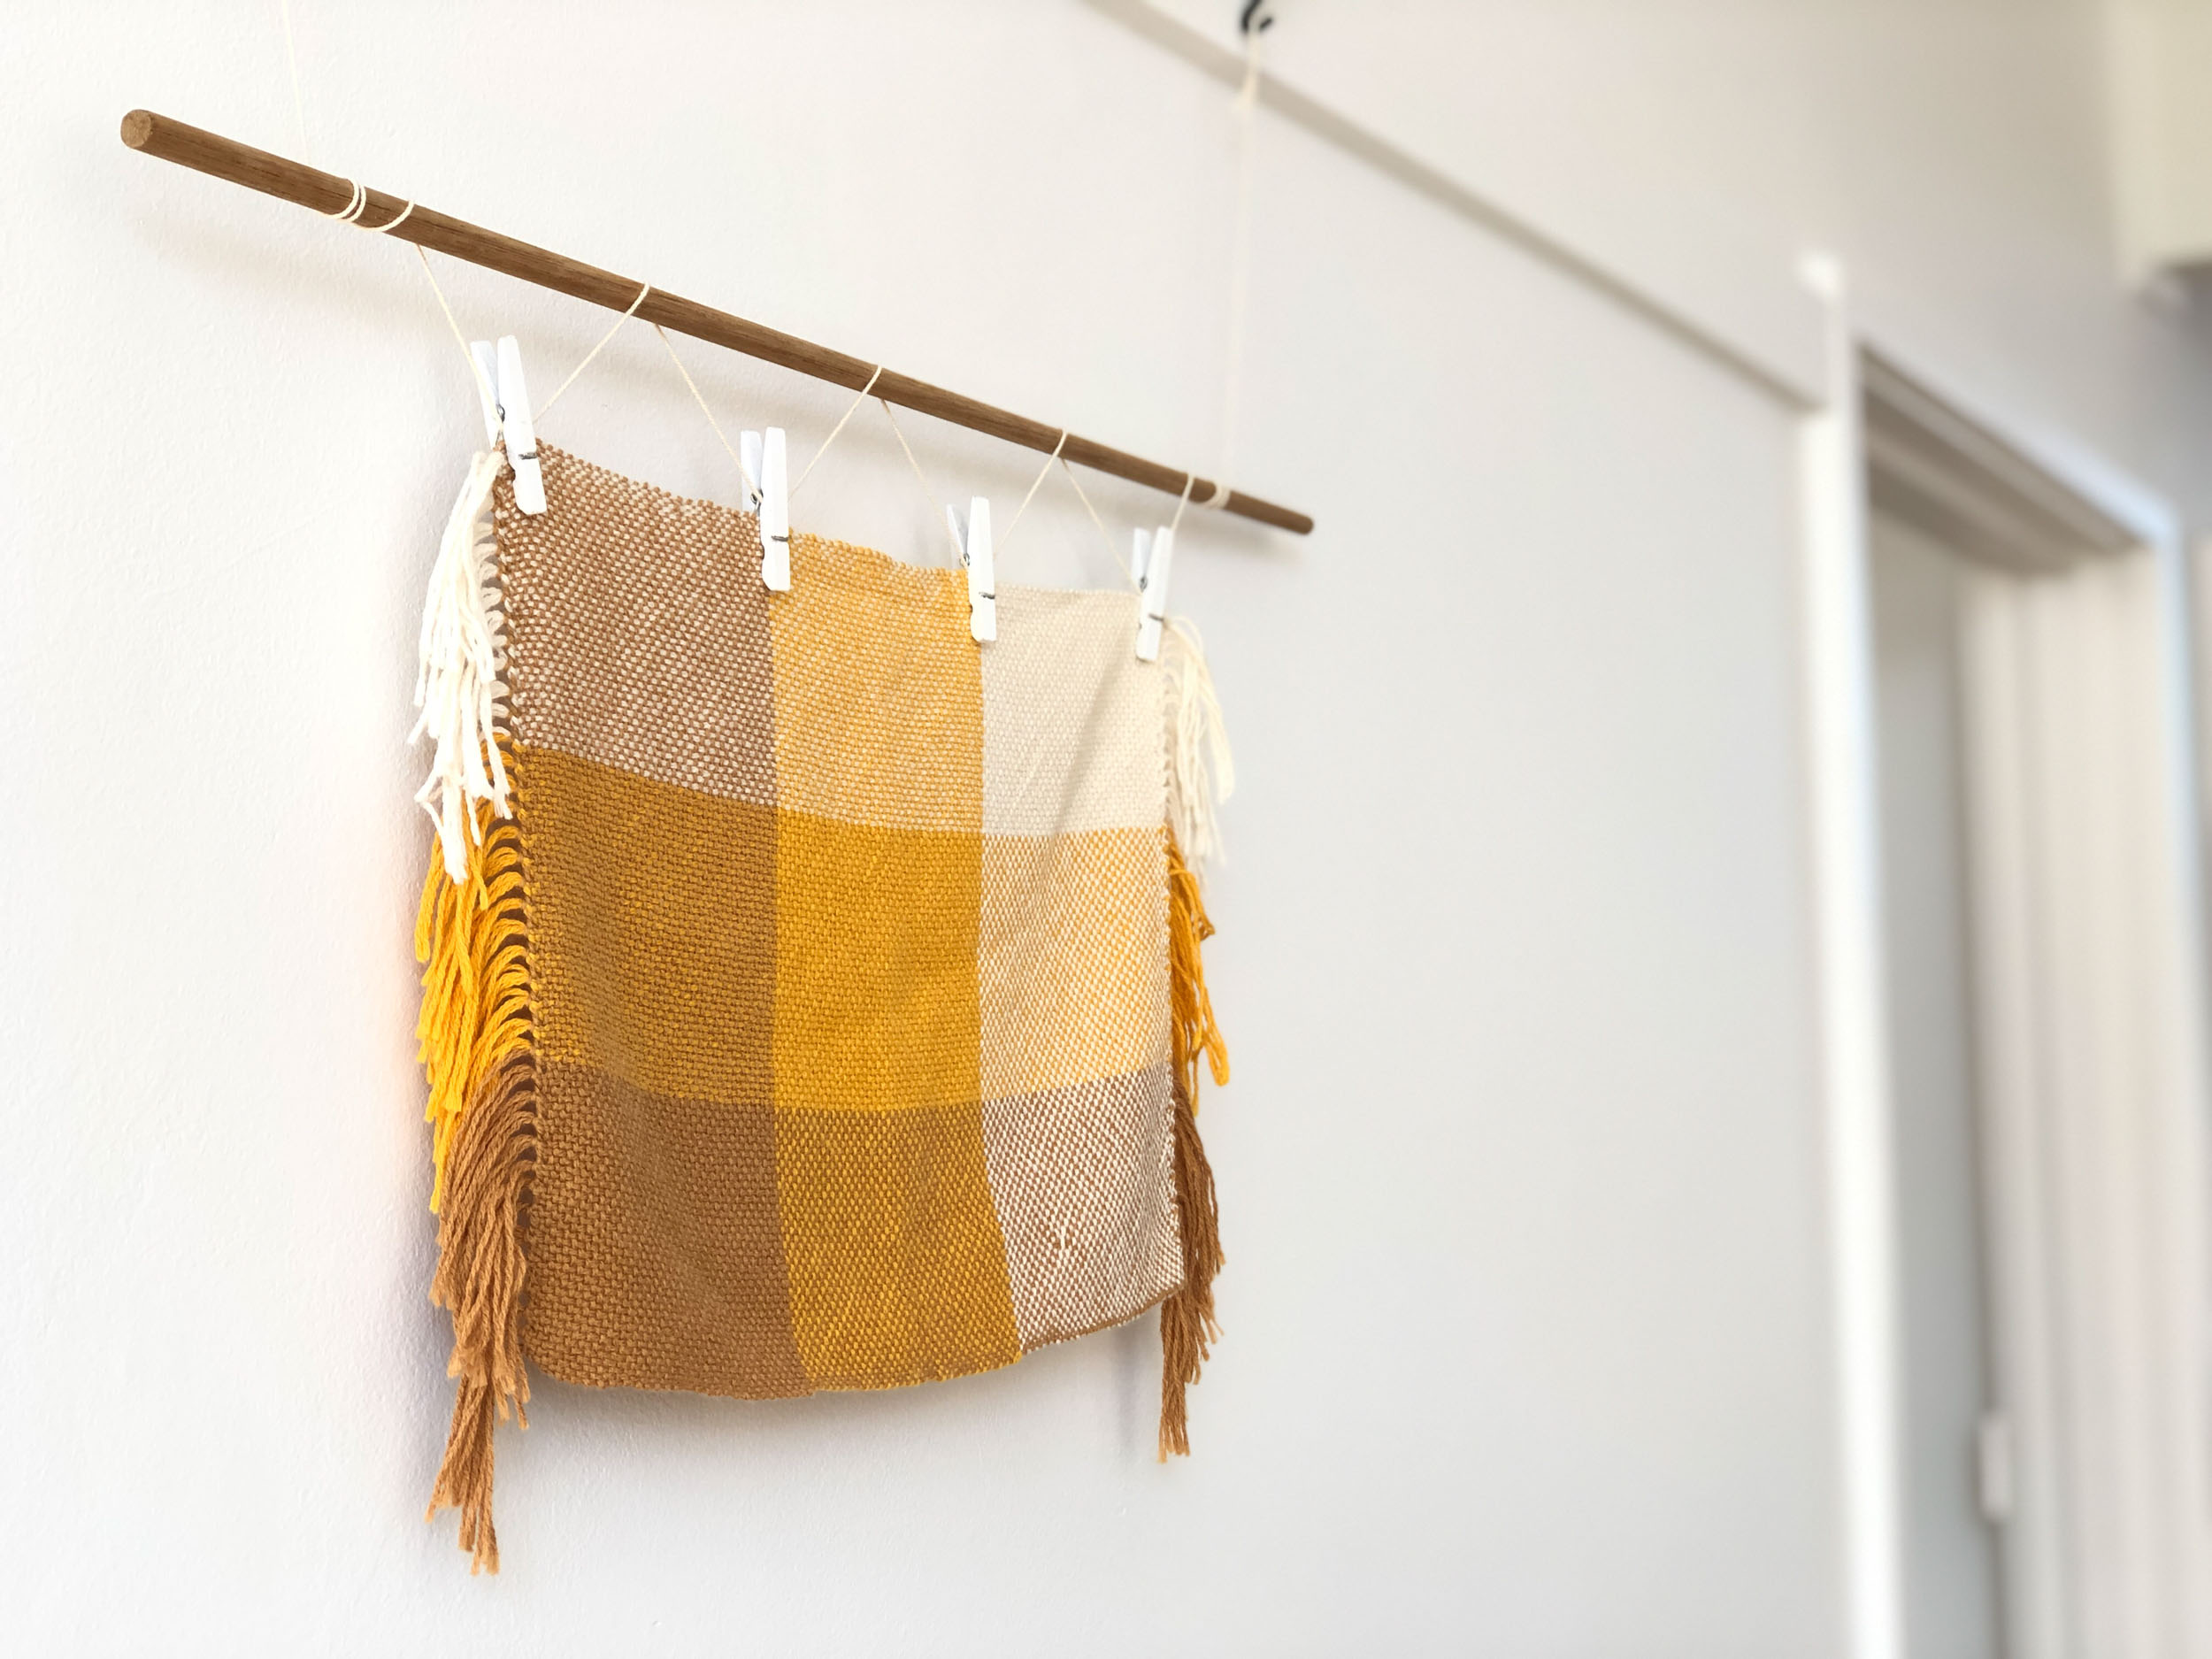
Our first swatch is a woven sampler in plain-weave, woven at a sett of 40ends/10cm (10epi) on a rigid heddle loom.
Our aim was to explore the fabric’s hand-feel, interaction of colour and the effect of using a finishing technique to full the fabric and set the fibres.
We’ve detailed the project below to offer insight into our planning and methodology, and our thoughts on the resulting fabric. This recipe is a great starting point if you want to have a go at swatching for your next weaving project!
PROJECT
A woven sampler in plain-weave, woven at 40ends/10cm (10epi), using Cotton Fine By Brown Sheep Co.
AIM
Weave a plain-weave fabric in Cotton Fine to explore:
The fabric’s hand-feel at a sett of 40ends/10cm (10epi)
The interaction of colour when using three shades; and
The effect of using a finishing technique to full the fabric / set the fibre.
SKILLS
Calculating yardage
Warping a rigid heddle loom
Preparing the warp for weaving
Hem stitching, to secure the warp and weft
Balanced plain-weave
TOOLS
Stick shuttle (or other, to carry the weft yarn)
MATERIALS
PLANNING
As the materials and tools were pre-established, planning was limited to determining an appropriate size for the sample, approximating the metreage required, and defining colour placement.
SIZE
It was determined that a sample size of 30cm x 45cm (12"x 18") would be sufficient to examine hand-feel, colour interaction and allow for any shrinkage that may occur during finishing.
METREAGE REQUIRED FOR WARP
Length of piece, 45cm + extra length for warping, 60cm (30cm each end)
Total warp length, 105cmWarp width, 30cm X No. warp ends at 40ends/10cm
Total no. warp ends, 120Metreage required for warp:
= No. warp ends x Total warp length
= 120 x 1.05m
= 12600cm or 126m
METREAGE REQUIRED FOR WEFT
At 40ends/10cm, No. weft passes over 45cm = 180
Metreage required for weft:
= No. weft passes x Warp width
= 180 x 30cm
= 5400cm or 54m
TOTAL METREAGE
Total metreage required
= Warp + Weft
= 126m + 54m
= 180m
COLOUR PLACEMENT
The placement of colour was kept simple, the three colours being divided in blocks evenly across both warp and weft.
Warp, 40 ends per colour
Weft, 60 ends per colour (or 15cm of length, per colour)
NOTES
These calculations tell us that at 196m per skein, one ball of Cotton Fine would be enough to make a sample of this size.
As the plan was to use three colours in equal quantities in this piece, we divided the total metreage by three to determine the amount for each colour, 180m divided by 3 = 60m per colour.
METHOD
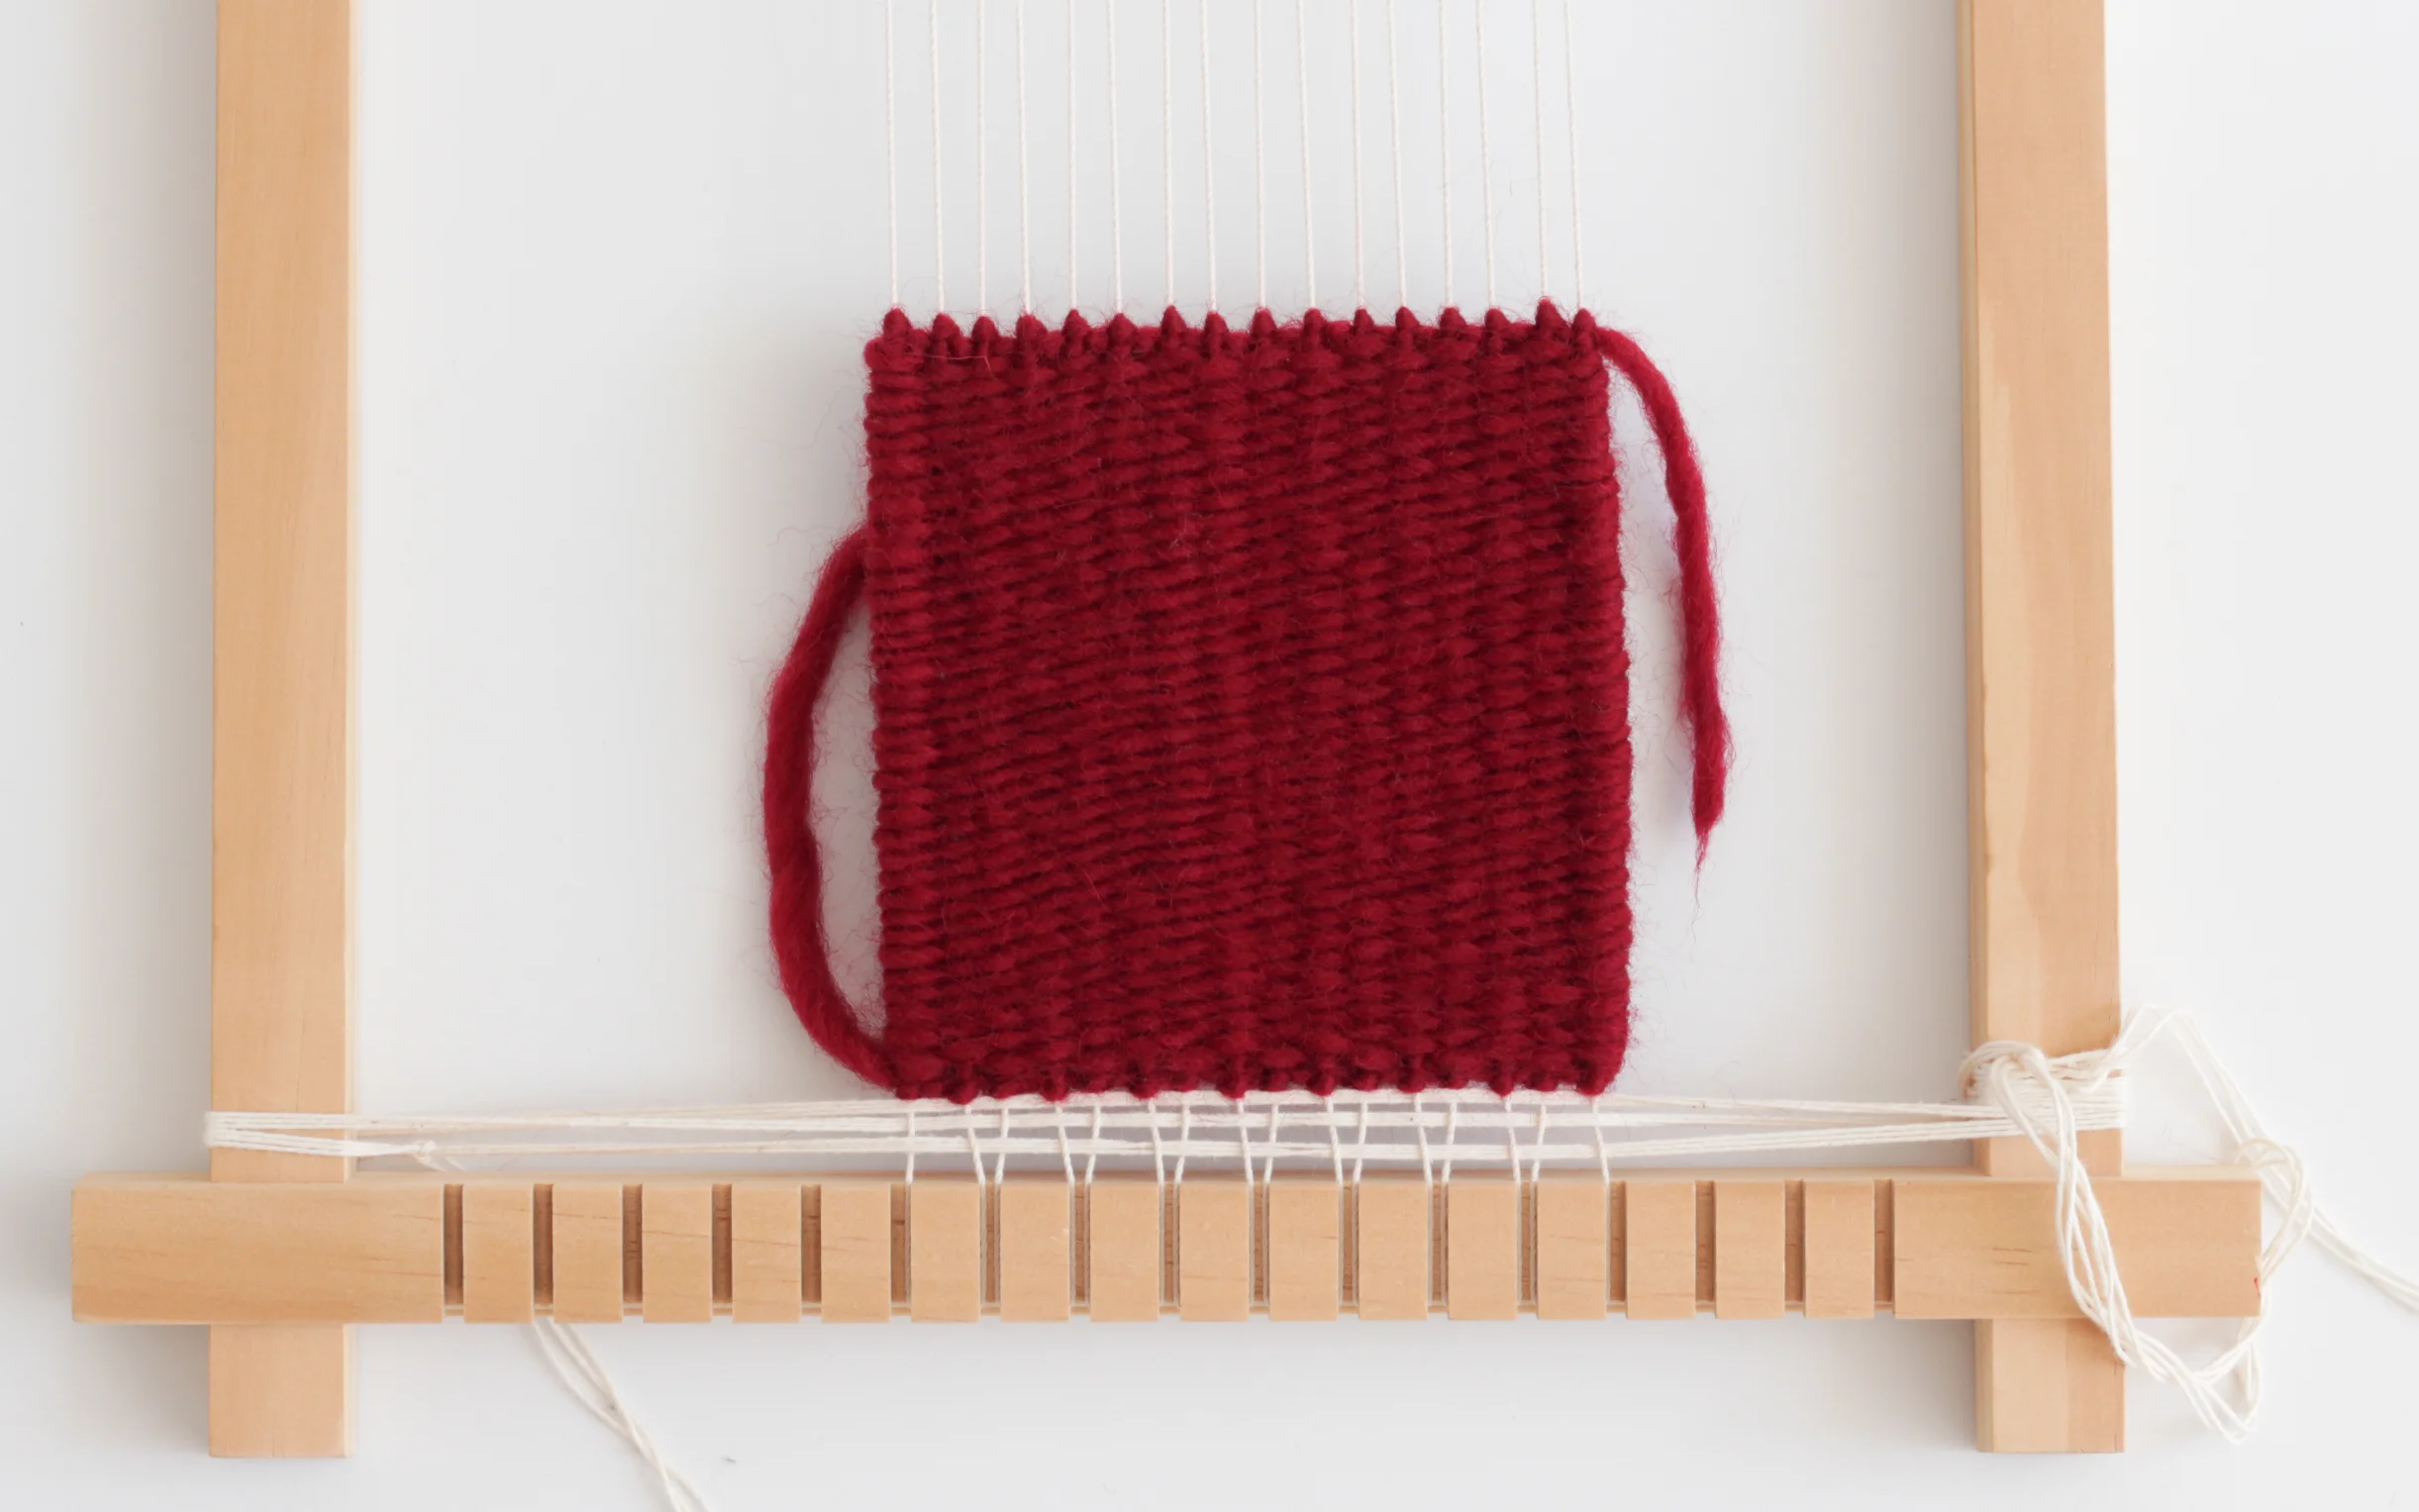
STEP 1
The rigid heddle loom was warped and colours placed as per the planning notes.
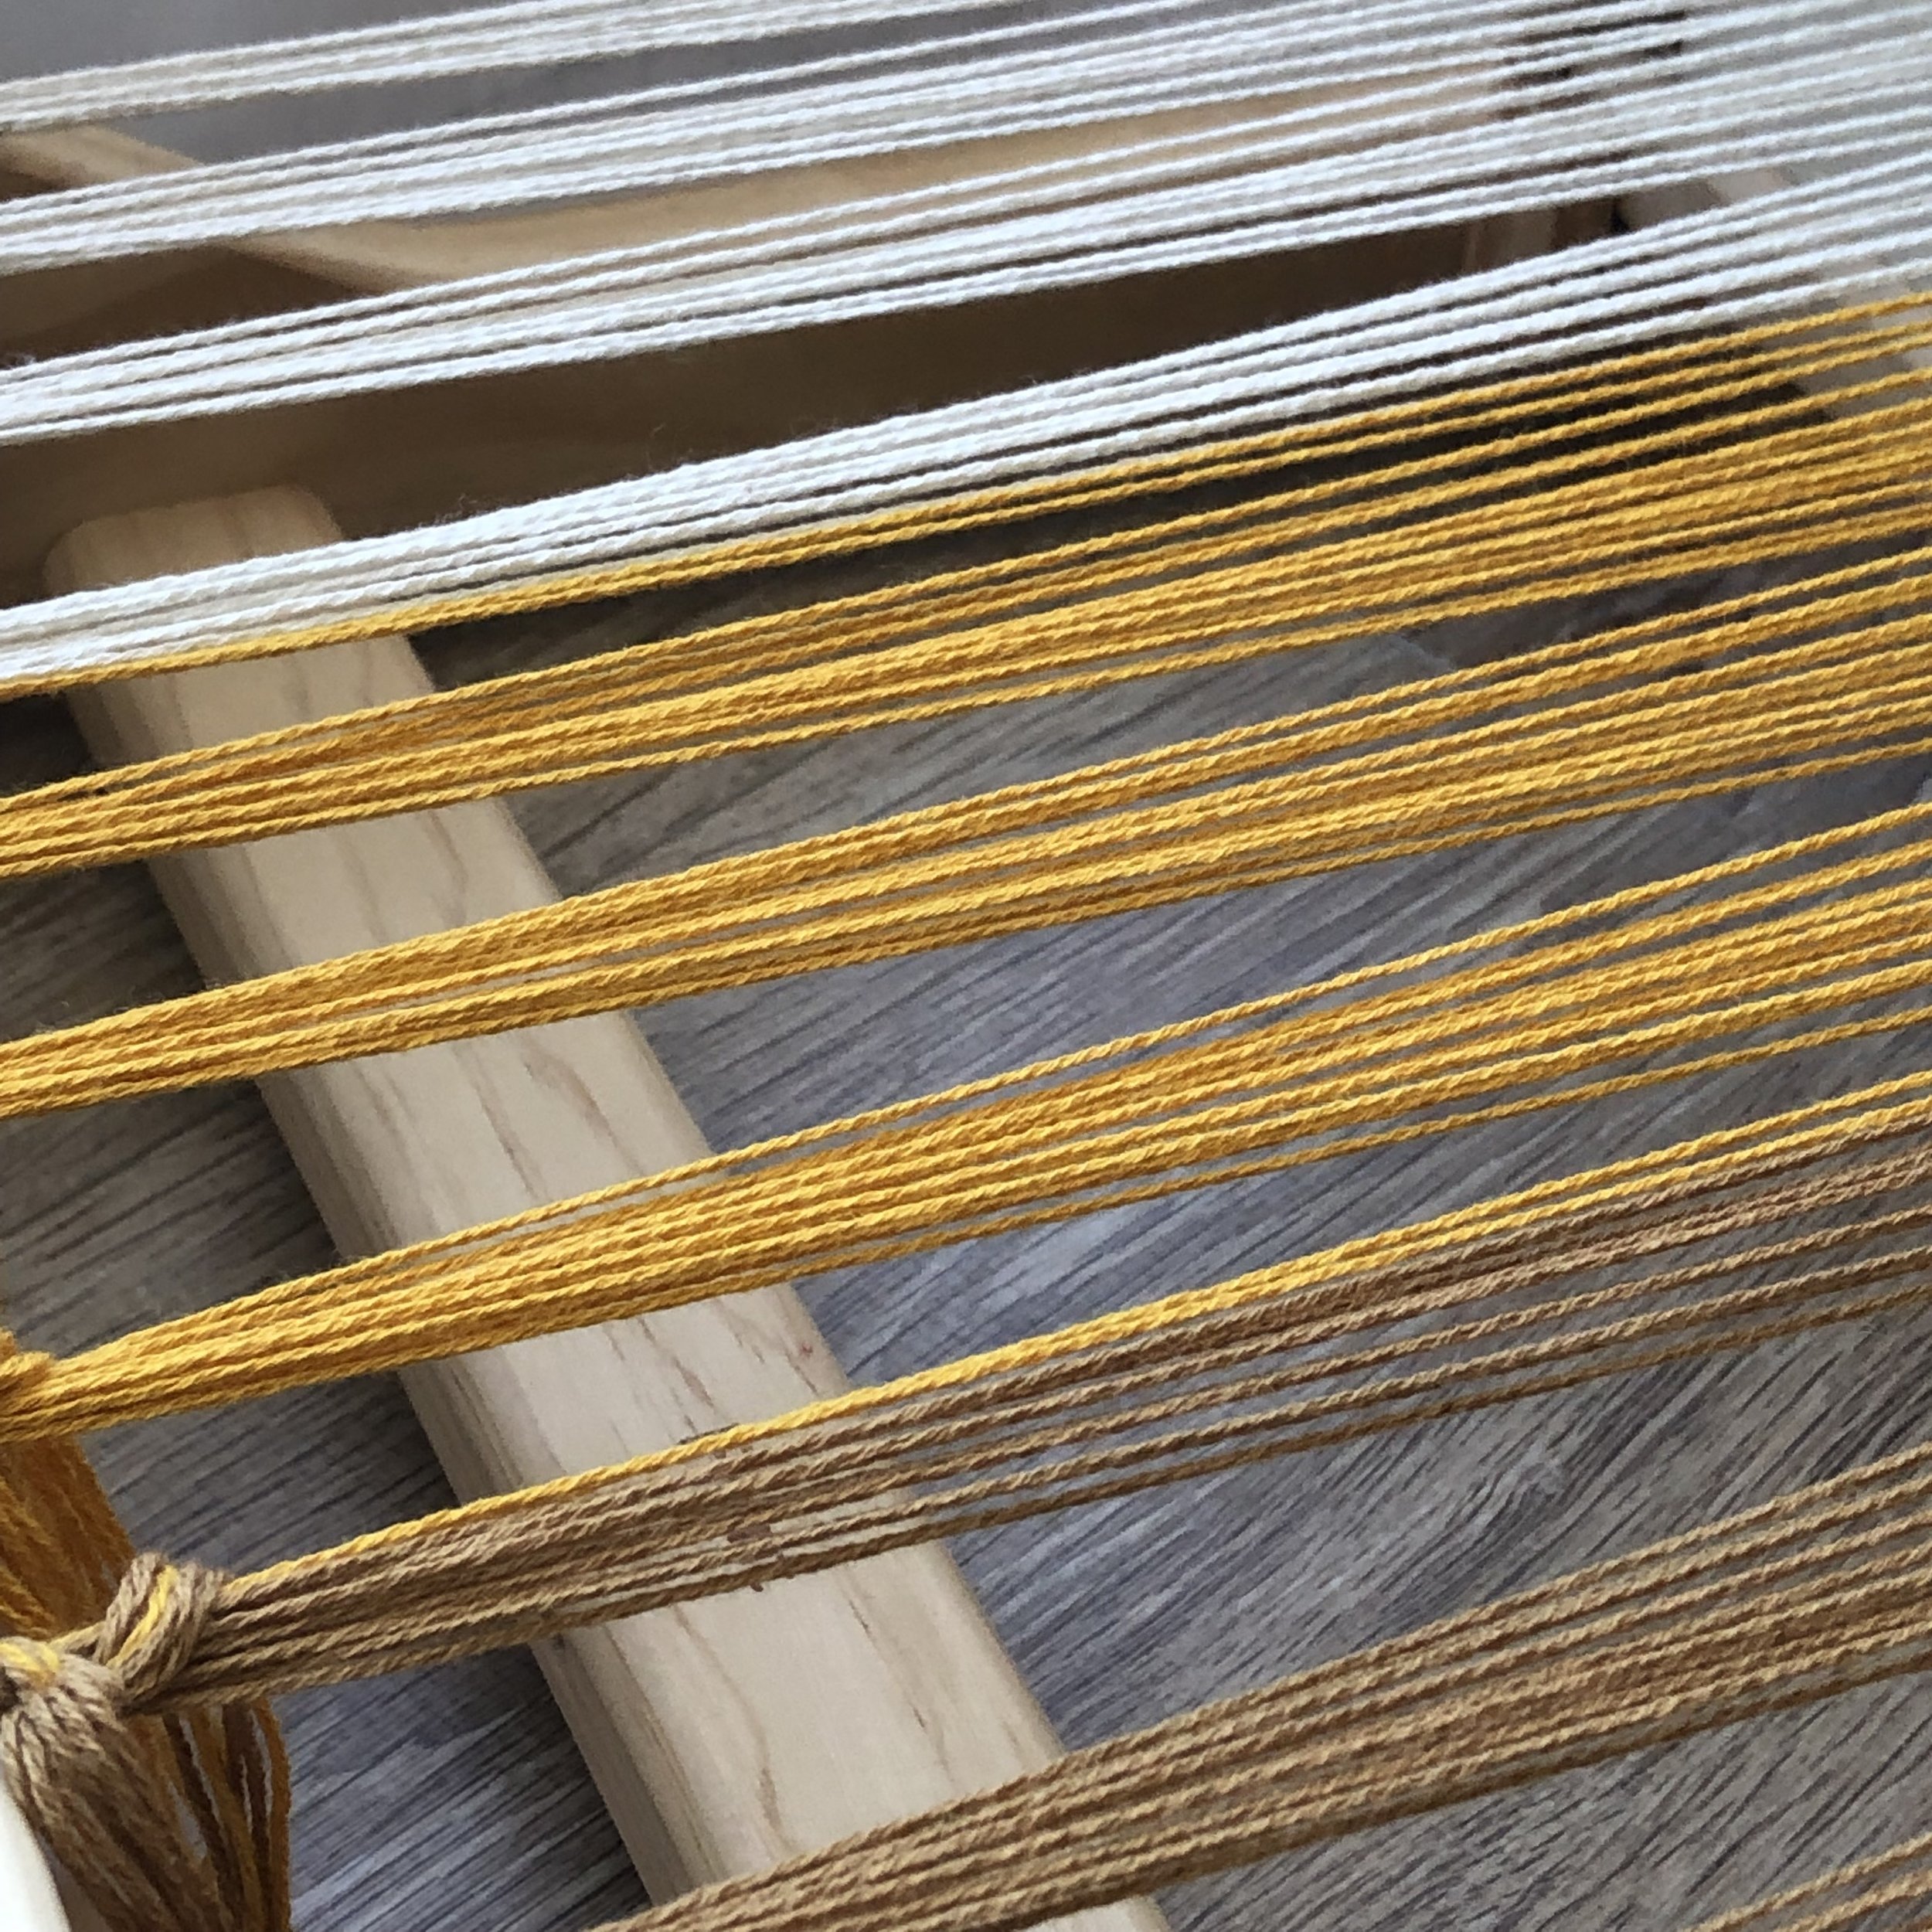

STEP 2
3cm of ground weave was woven with leftover Cotton Fine to help evenly space and tension the warp.
STEP 3
Weaving began using the first colour in the sequence,.
Once the fabric was established, a row of hem-stitch was used to secure warp and weft at the beginning of the piece.
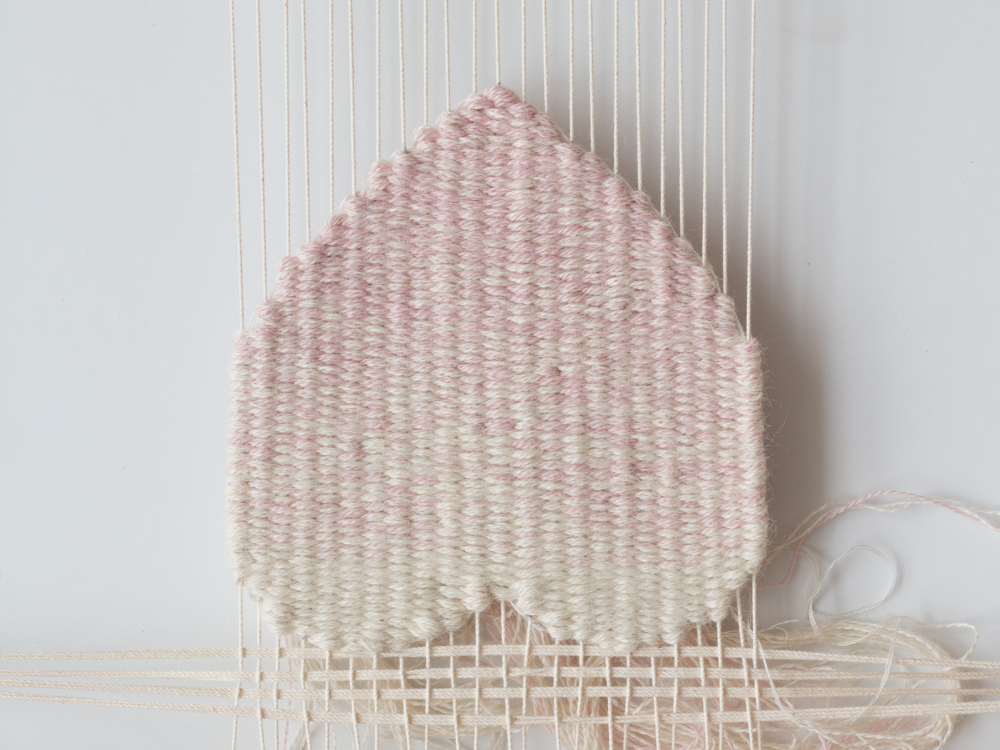
STEP 4
Weaving continued, changing colours as required until each colour section was completed.
Once complete, a row of hem-stitch was used to secure warp and weft before cutting the piece from the loom.

FINISHING
The sample was finished by undergoing a full wash cycle in a washing machine and dried in a tumble dryer using a regular heat setting.
This treatment contradicts the recommended care instructions for Cotton Fine, but we thought this experiment was warranted to help set the weave and allow the fibres to bloom.
INSIGHTS AND OPPORTUNITIES
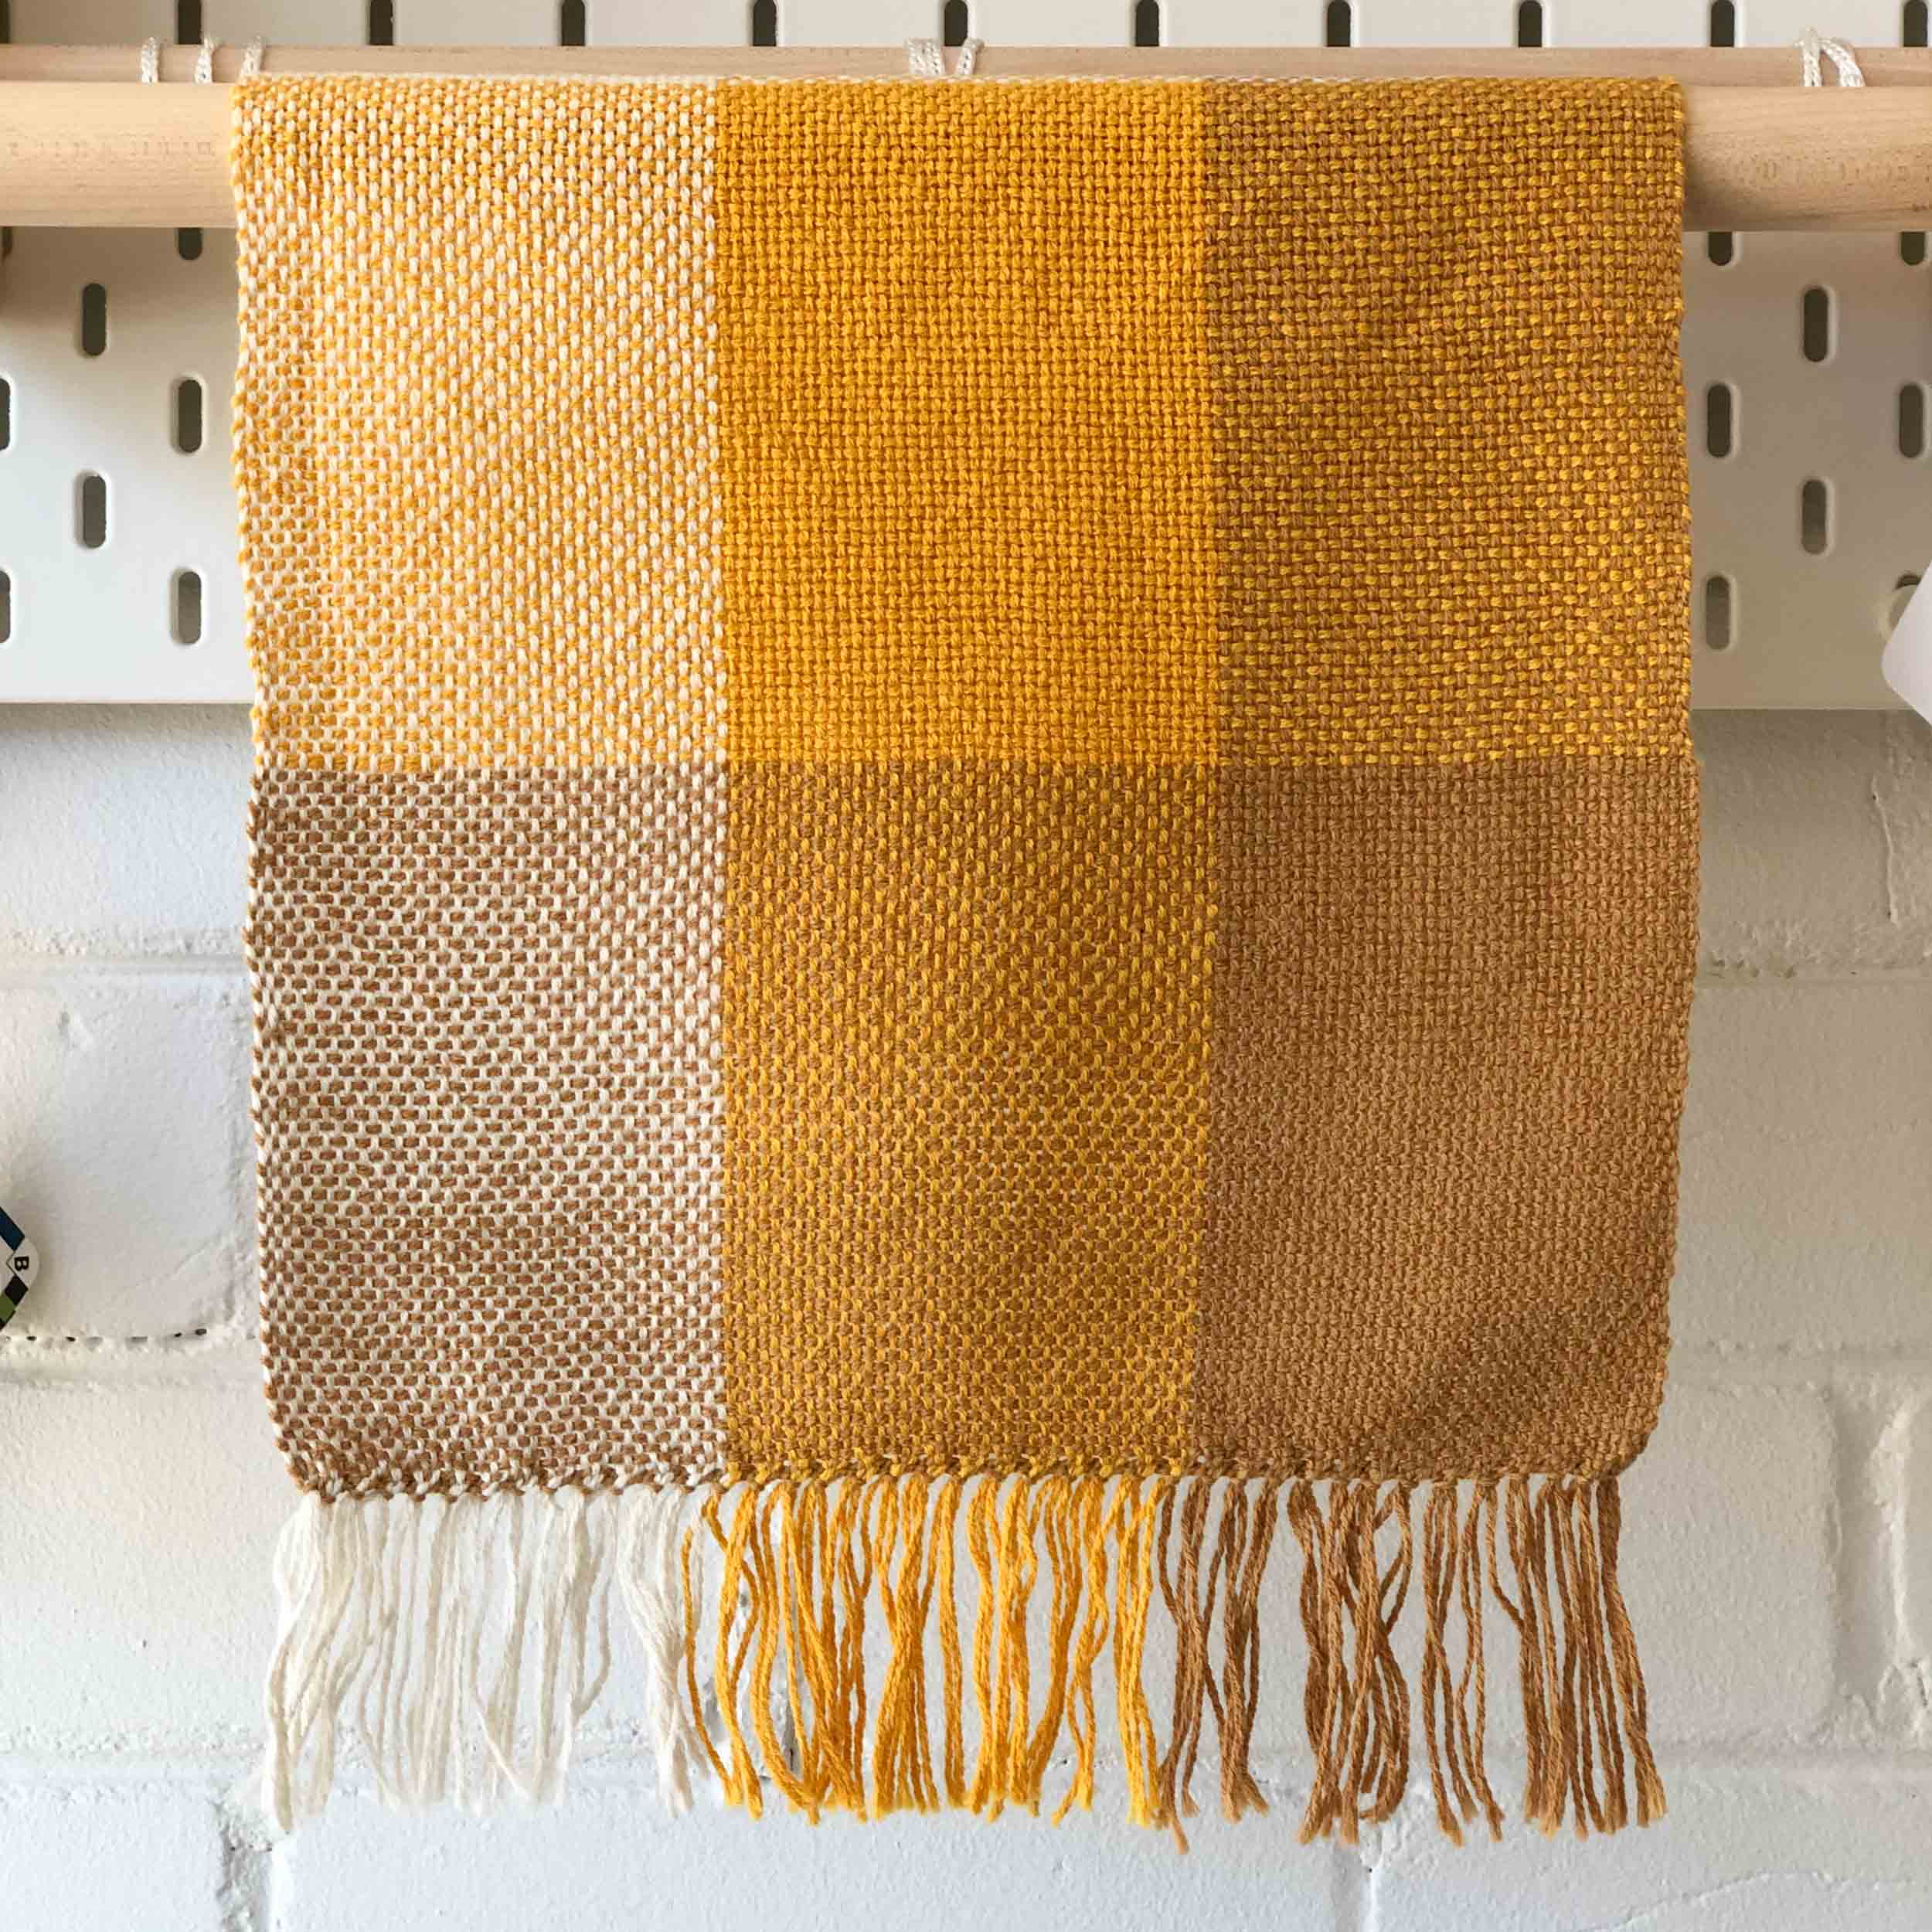
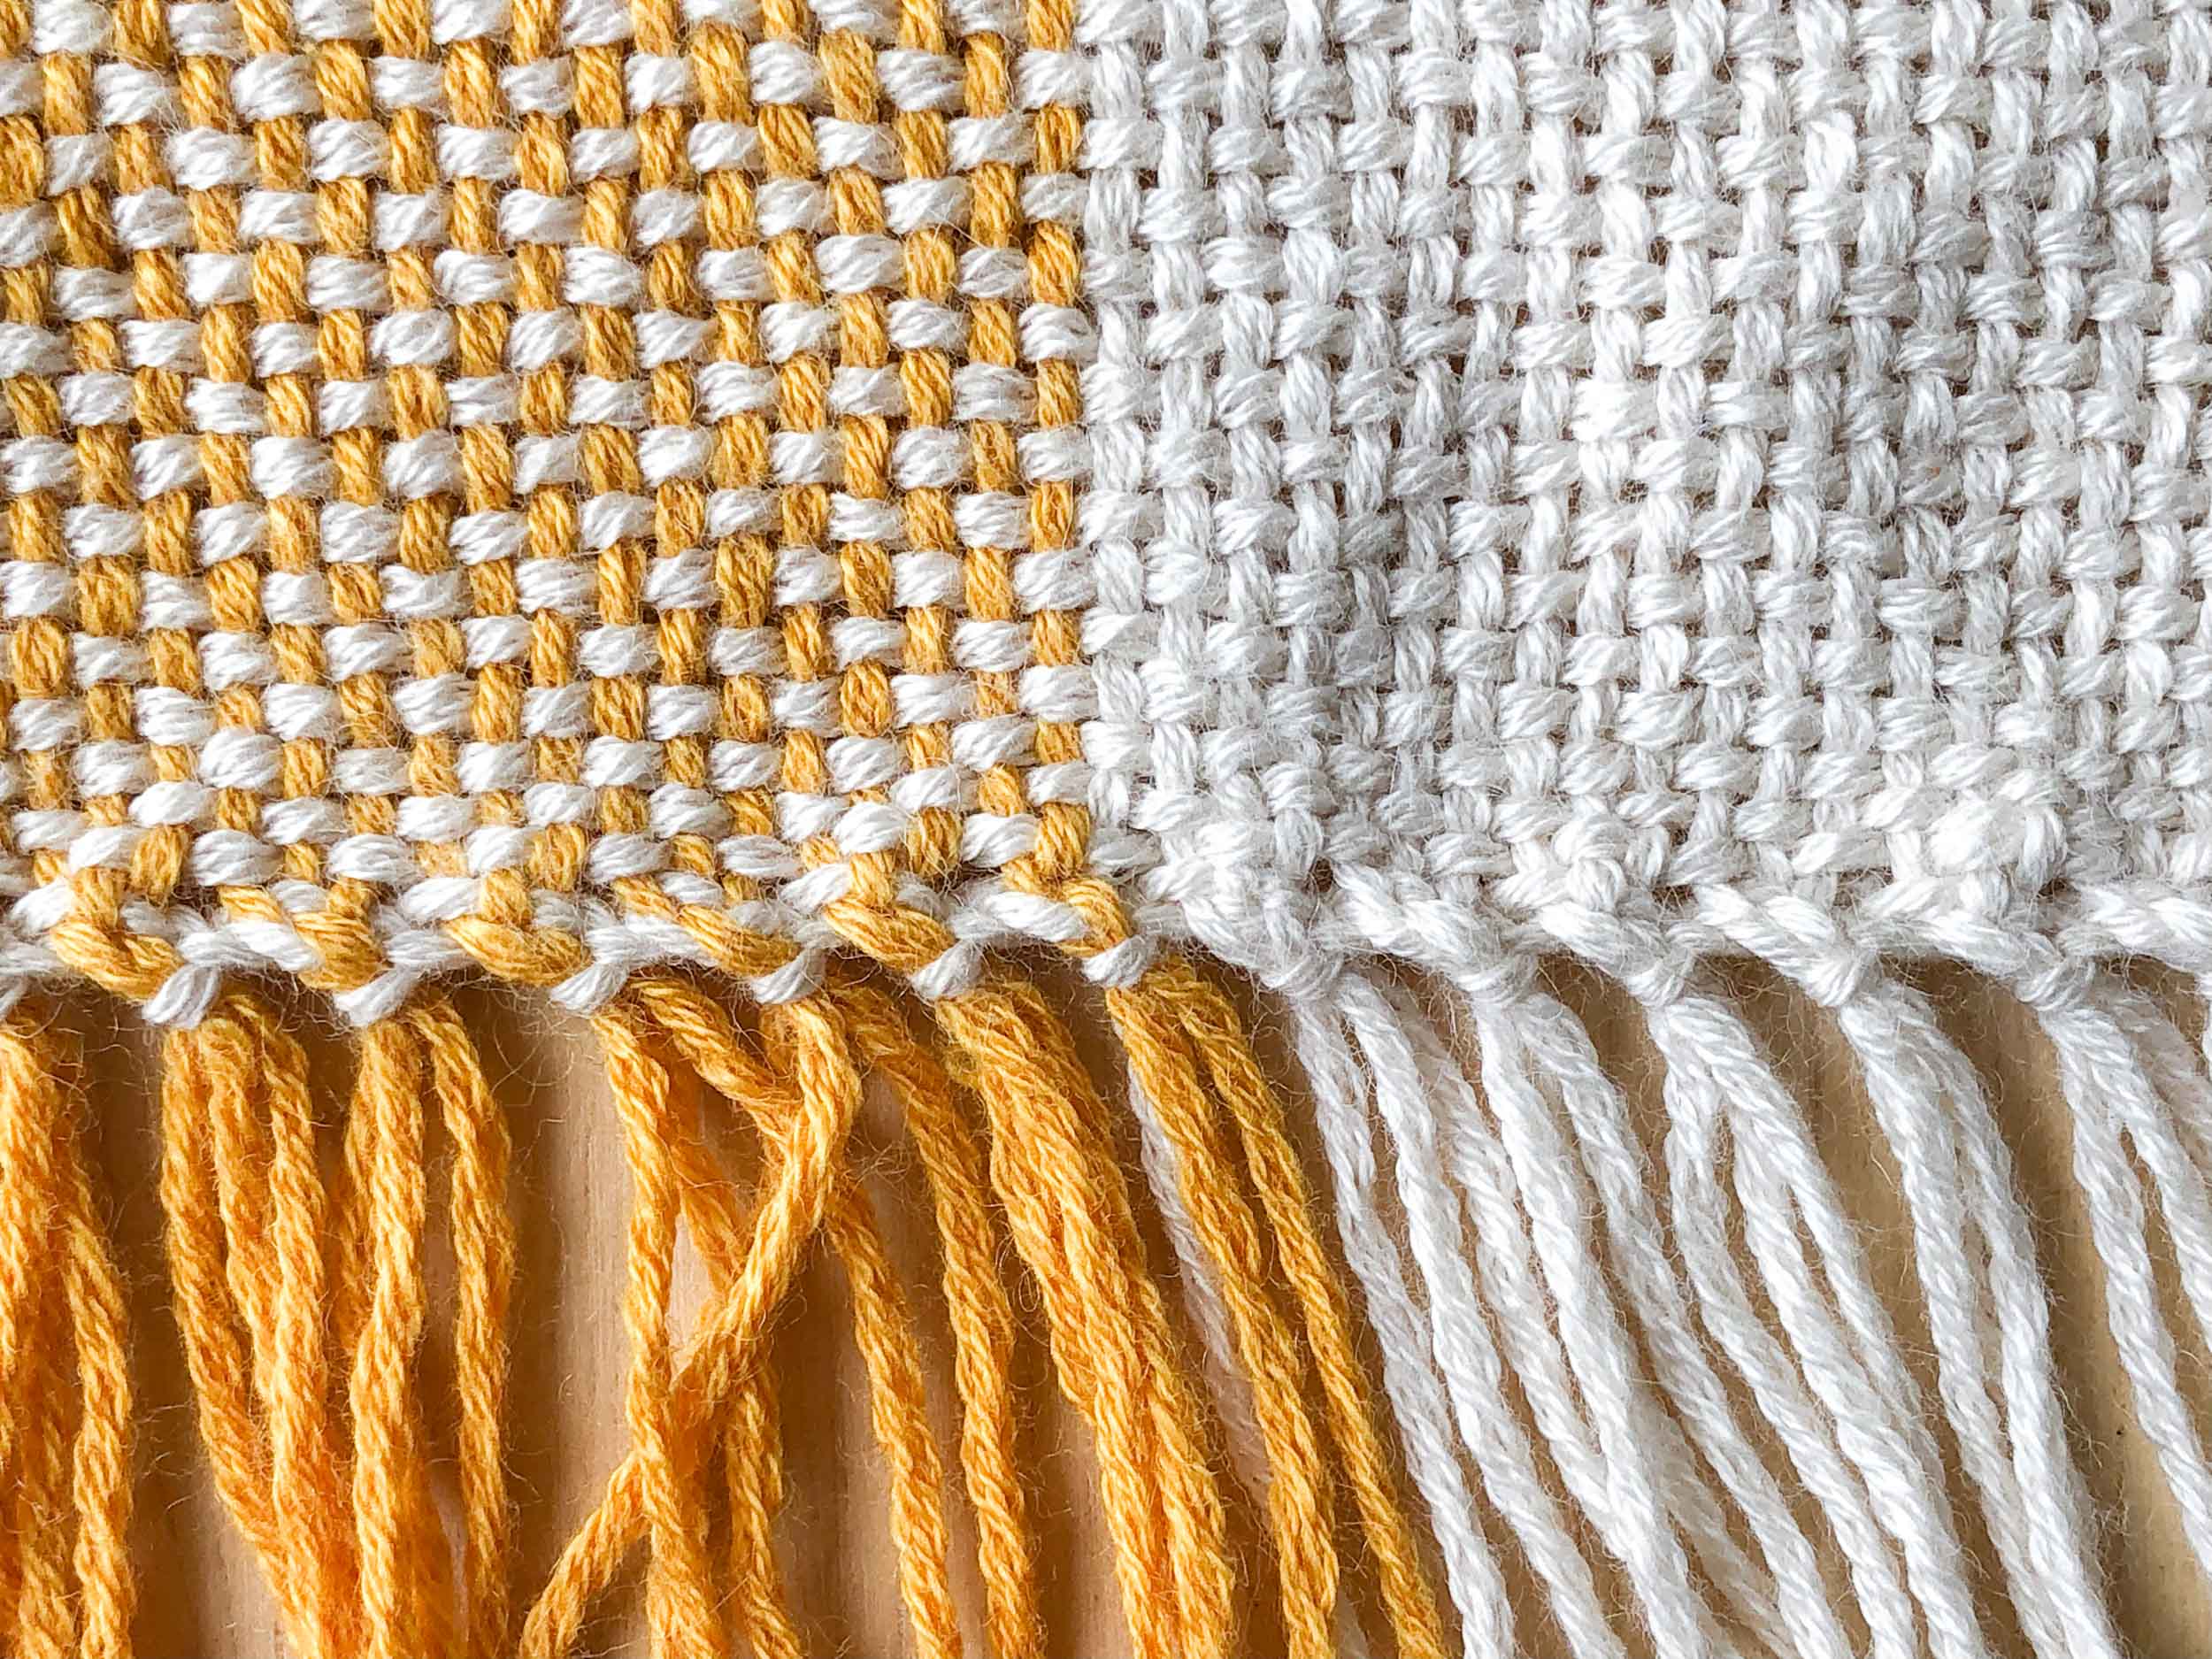
THE FABRIC
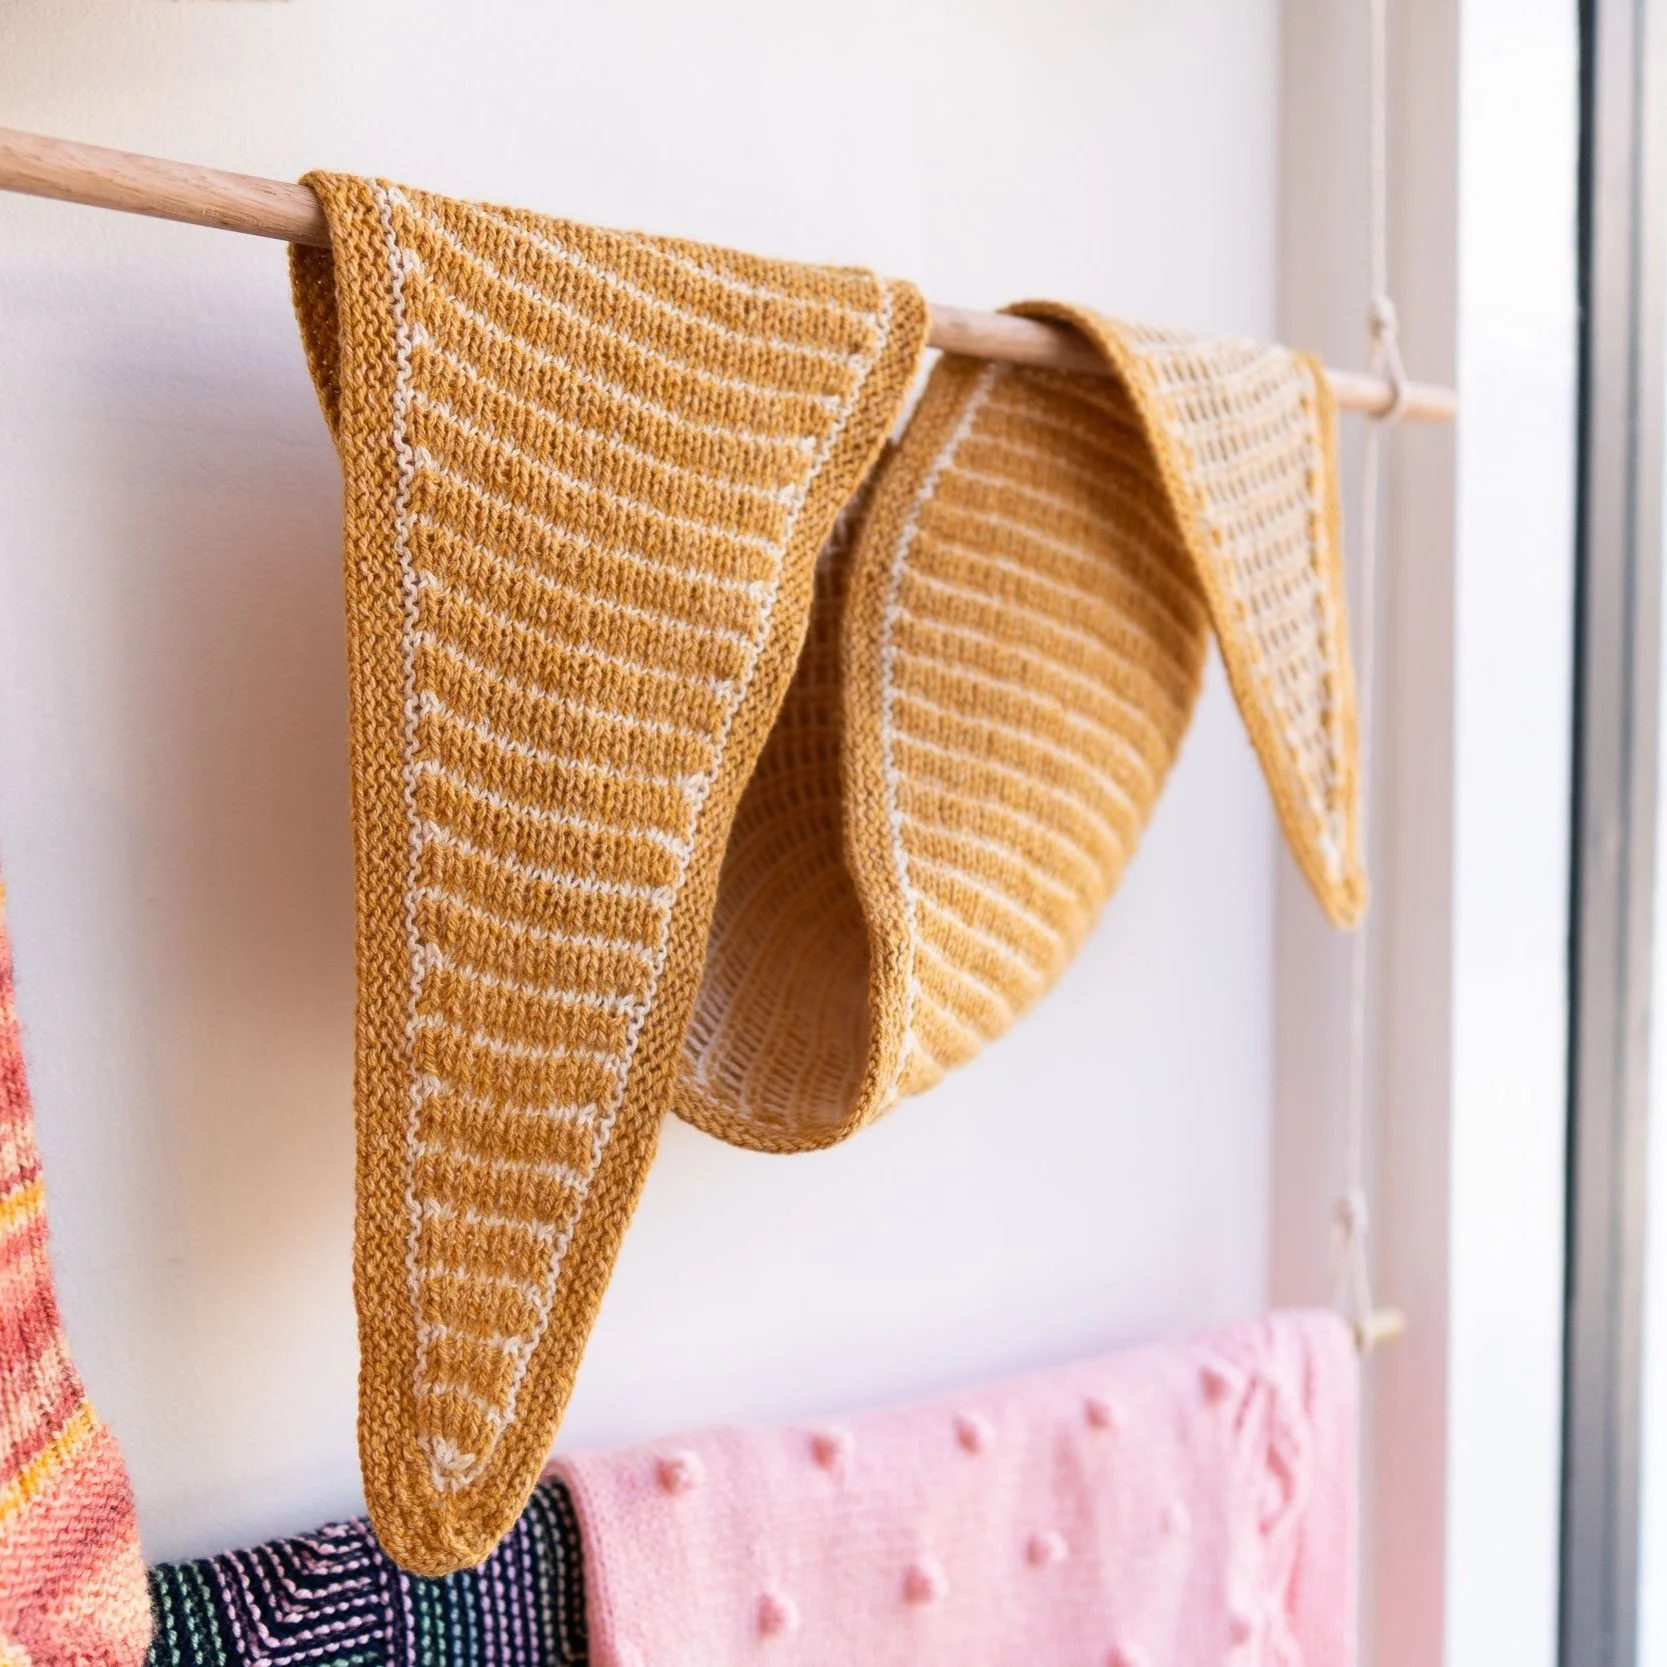
The resulting fabric has a great lightness and after finishing is quite soft to the touch.
At this sett, the fabric feels smooth and has excellent drape.
Though it’s not a firm weave, the fabric feels like it would be somewhat hard-wearing and have some longevity when used in pieces that will see some wear-and-tear.
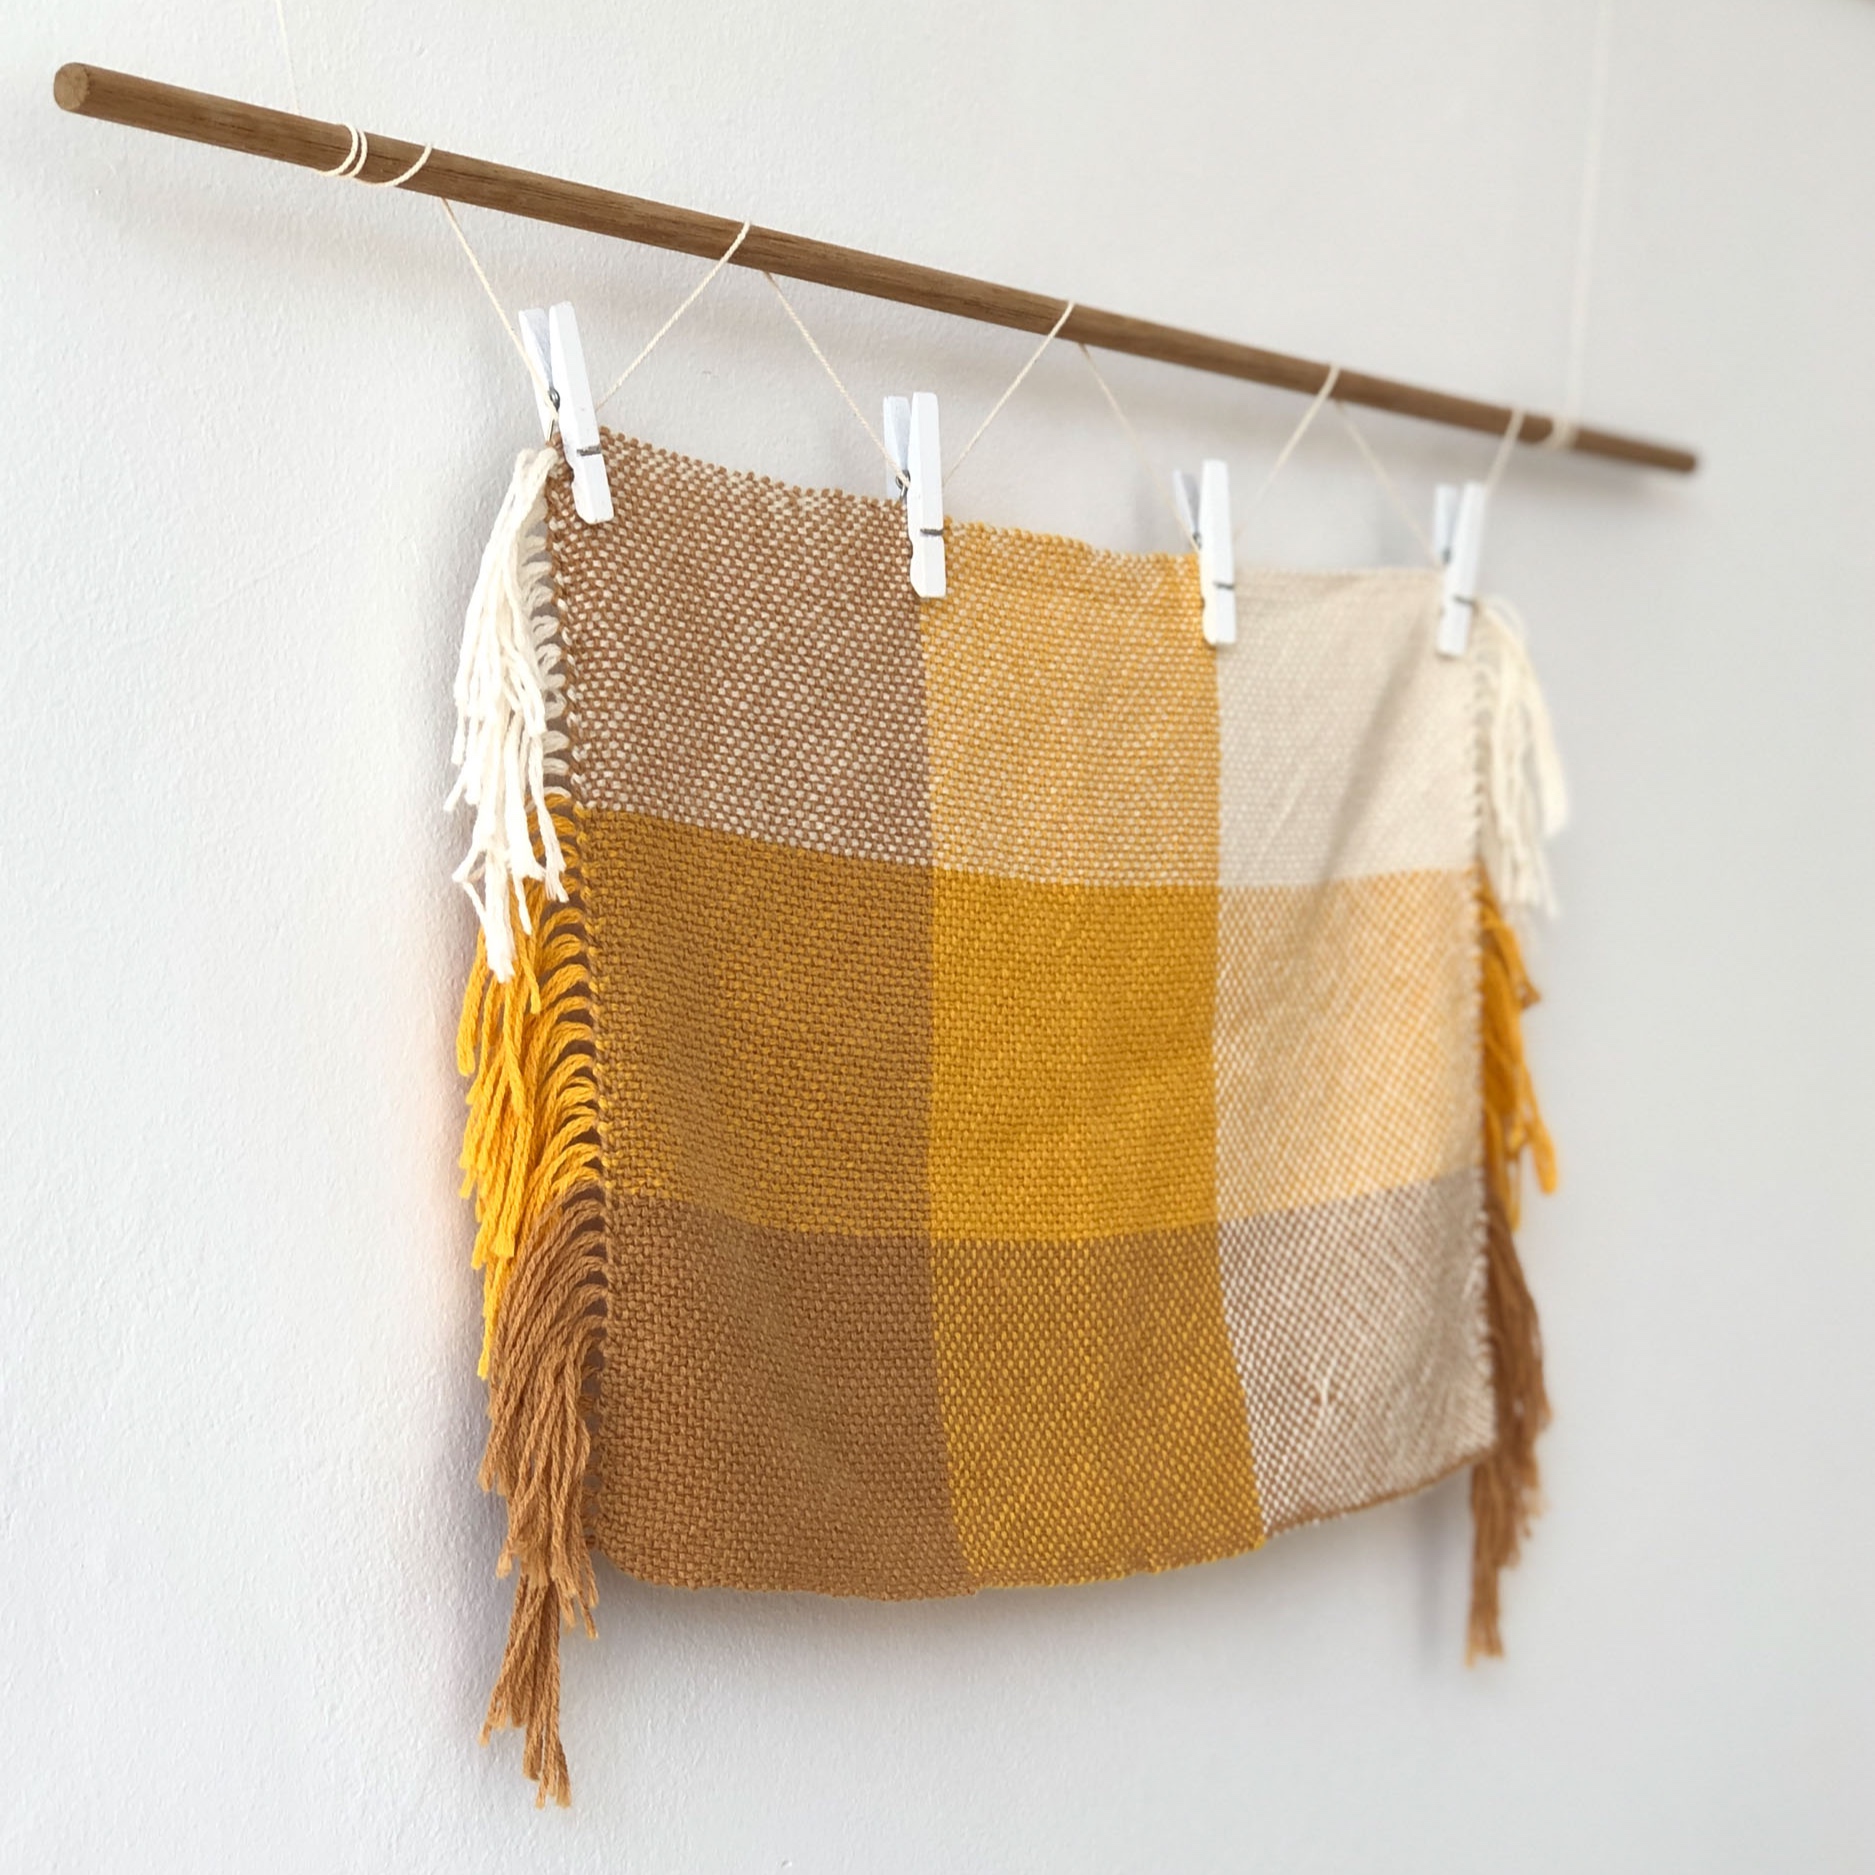
THE COLOUR
The effect of the bold colour blocking produces a homey fabric and in the chosen colour palette has a somewhat vintage feel.
Working with three colours allows for endless permutations that can be used to influence the look and feel of the fabric.
APPLICATIONS
From our results we think the fabric would be best suited to household napery and table linens.
The drape suggests that with a bit of fine tuning there is scope to work the fabric into garments, maybe simple summer tees and tunics.
We would like to experiment next by working the yarn up at a finer gauge with the aim of creating a denser fabric that could be used for towelling applications in the home – washcloths, tea towels, etc.