

Some time ago I was in the mood for a bit of a ‘de-stress’ spin.
To just spin and let a project evolve organically.
I didn’t want to think too hard about all the variables that often stop a new project in its tracks. Things like fibre prep, colour distribution and what the final project might be.
I just wanted to spin a yarn, then knit the yarn.
With this ethos I made my start. Along the way there were some key decisions that helped shape the direction of the project. I’ve detailed this journey below.
Andrea - Loom & Spindle
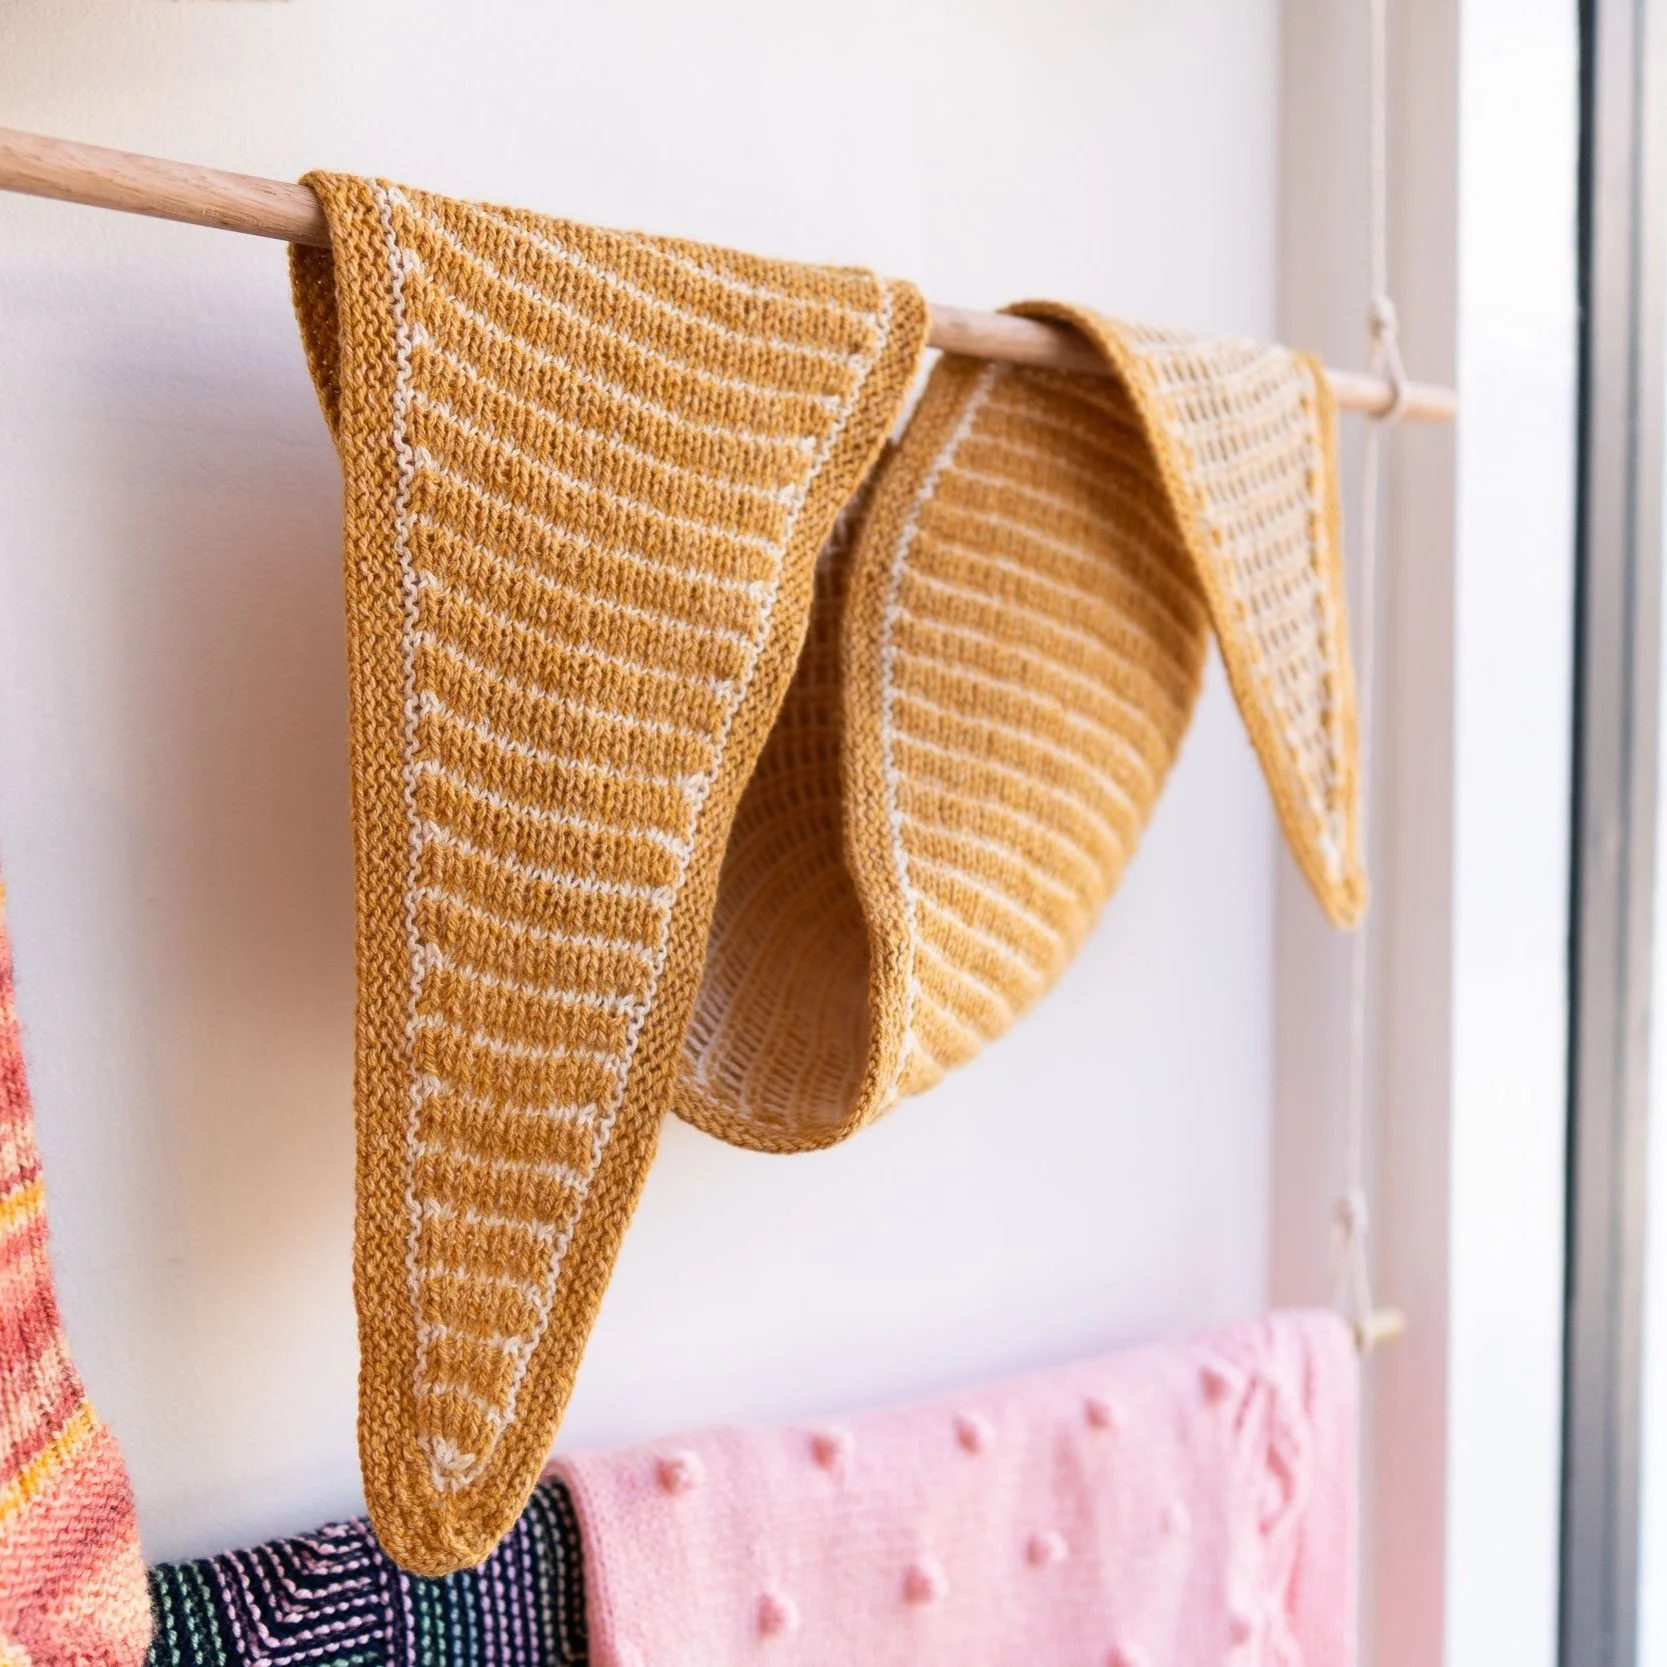
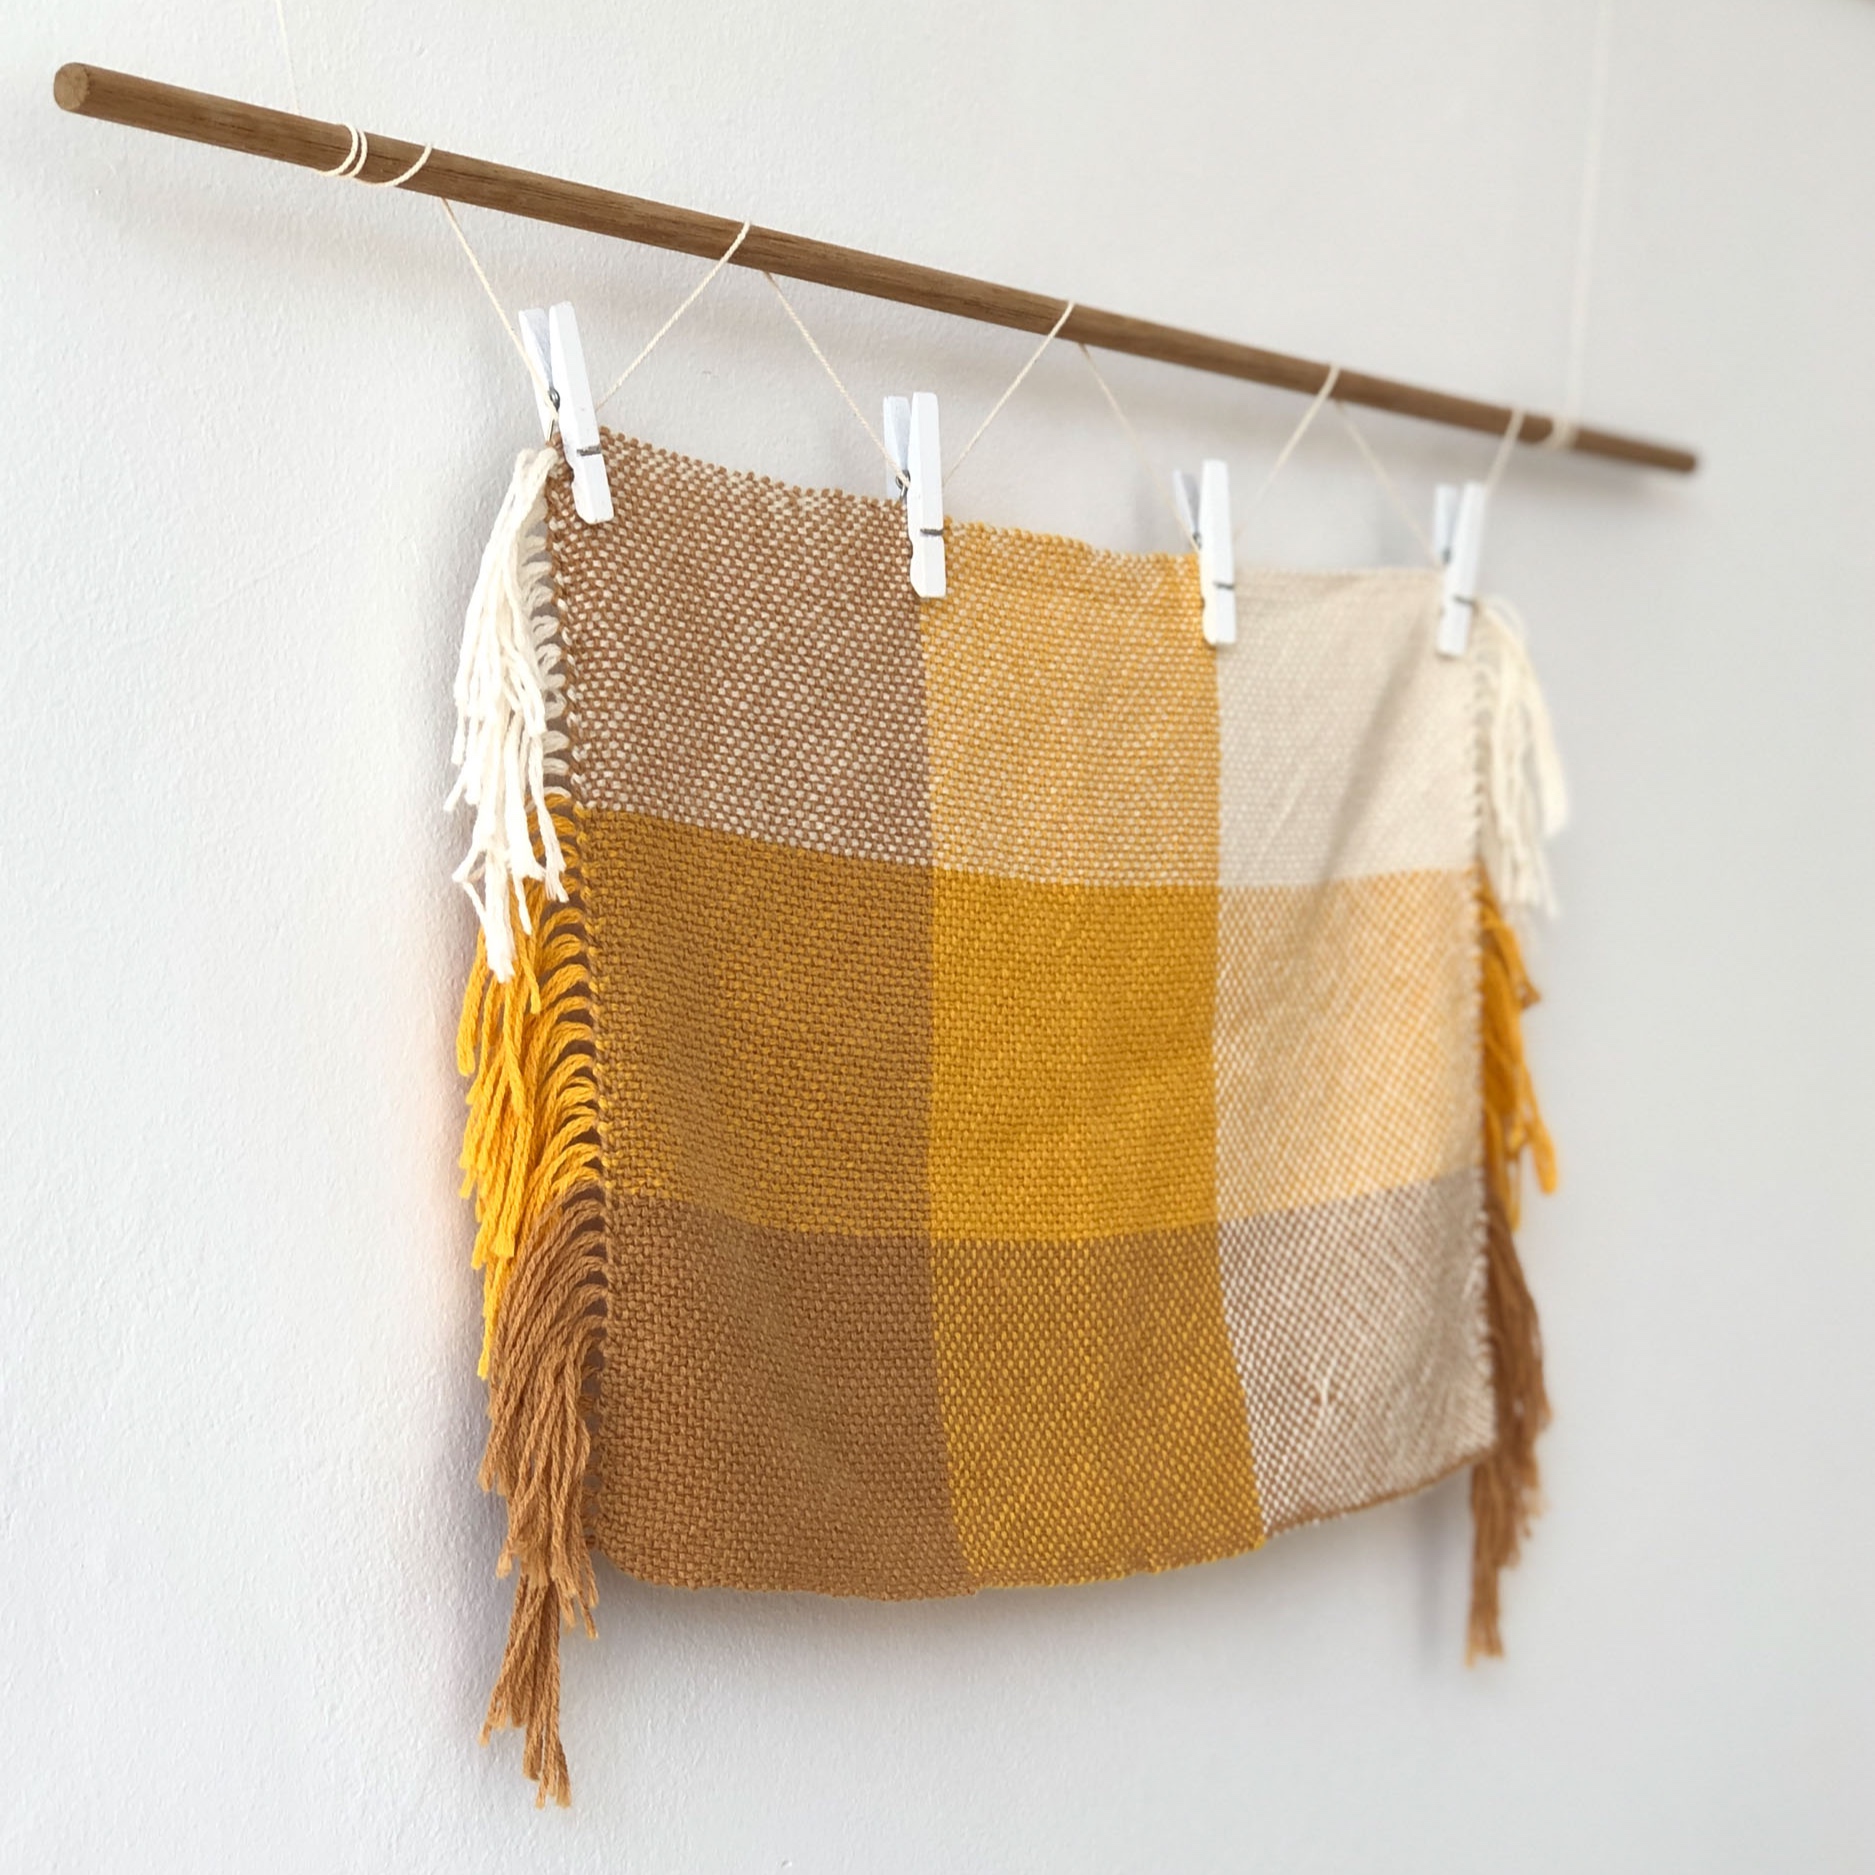
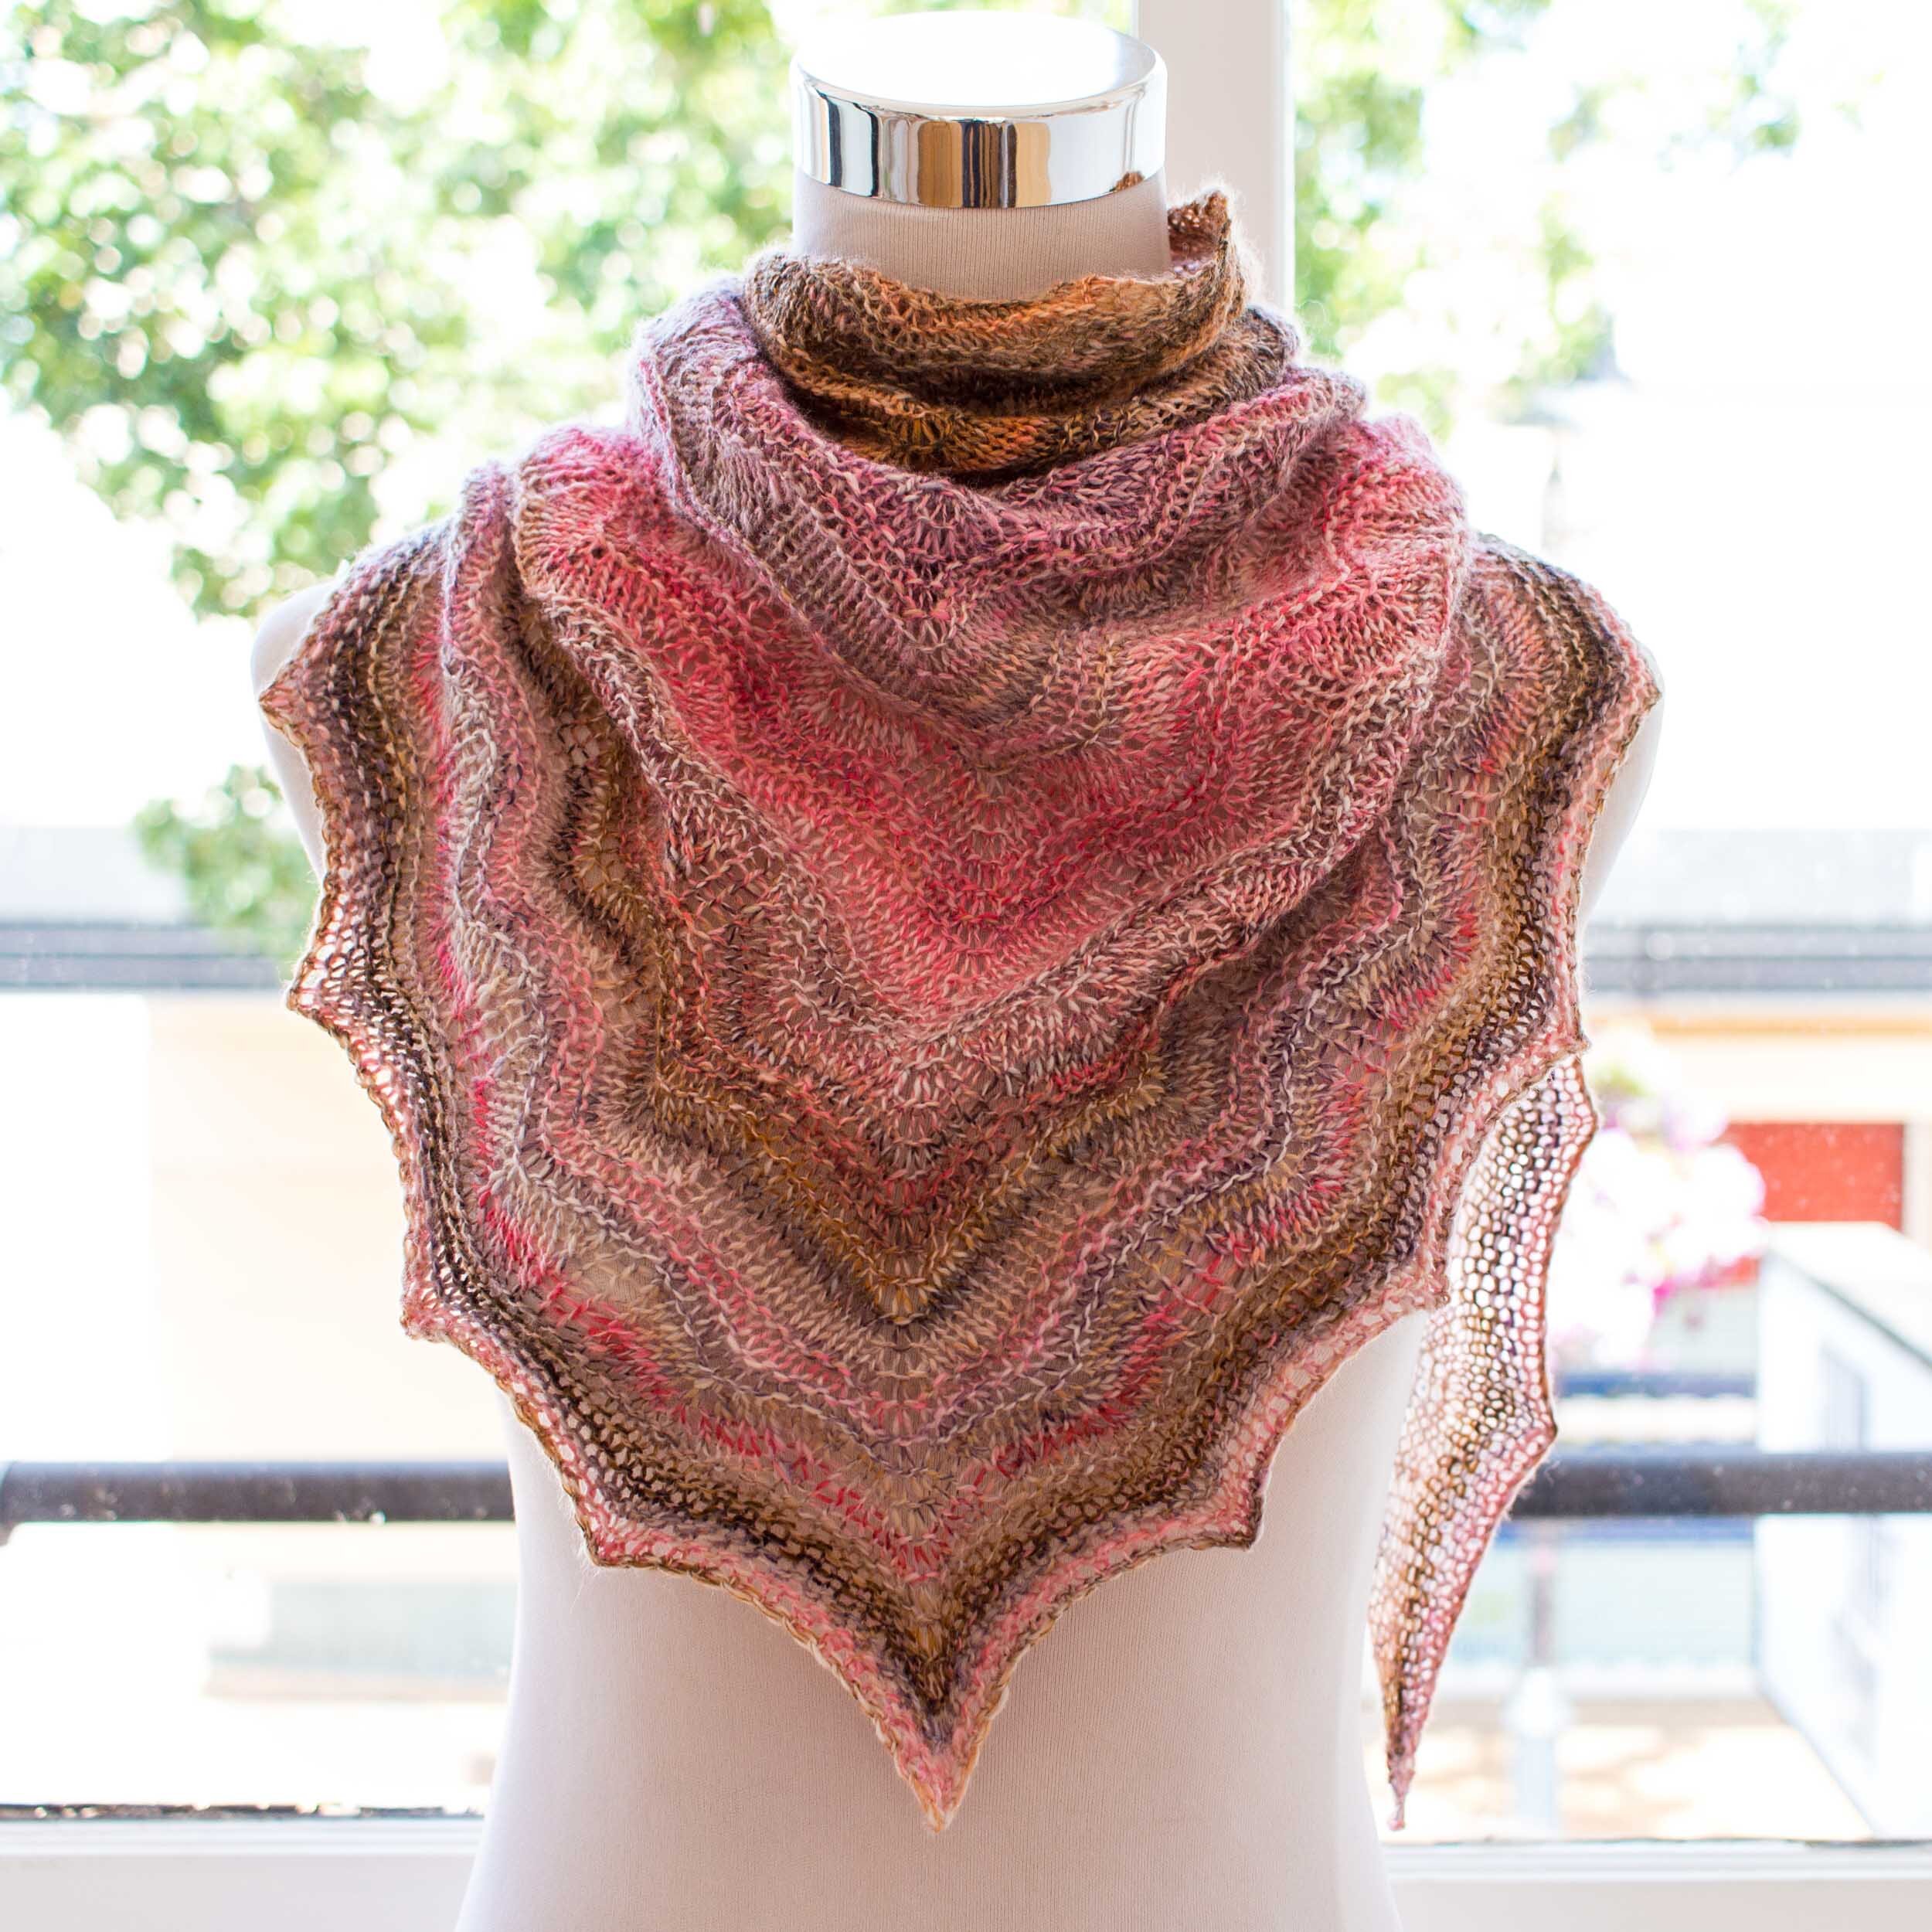
STUDIO PROJECT: Grateful Moments Shawl
INTENTION
Spin a yarn.
Knit the yarn.
SKILLS
HAND SPINNING
Fibre preparation
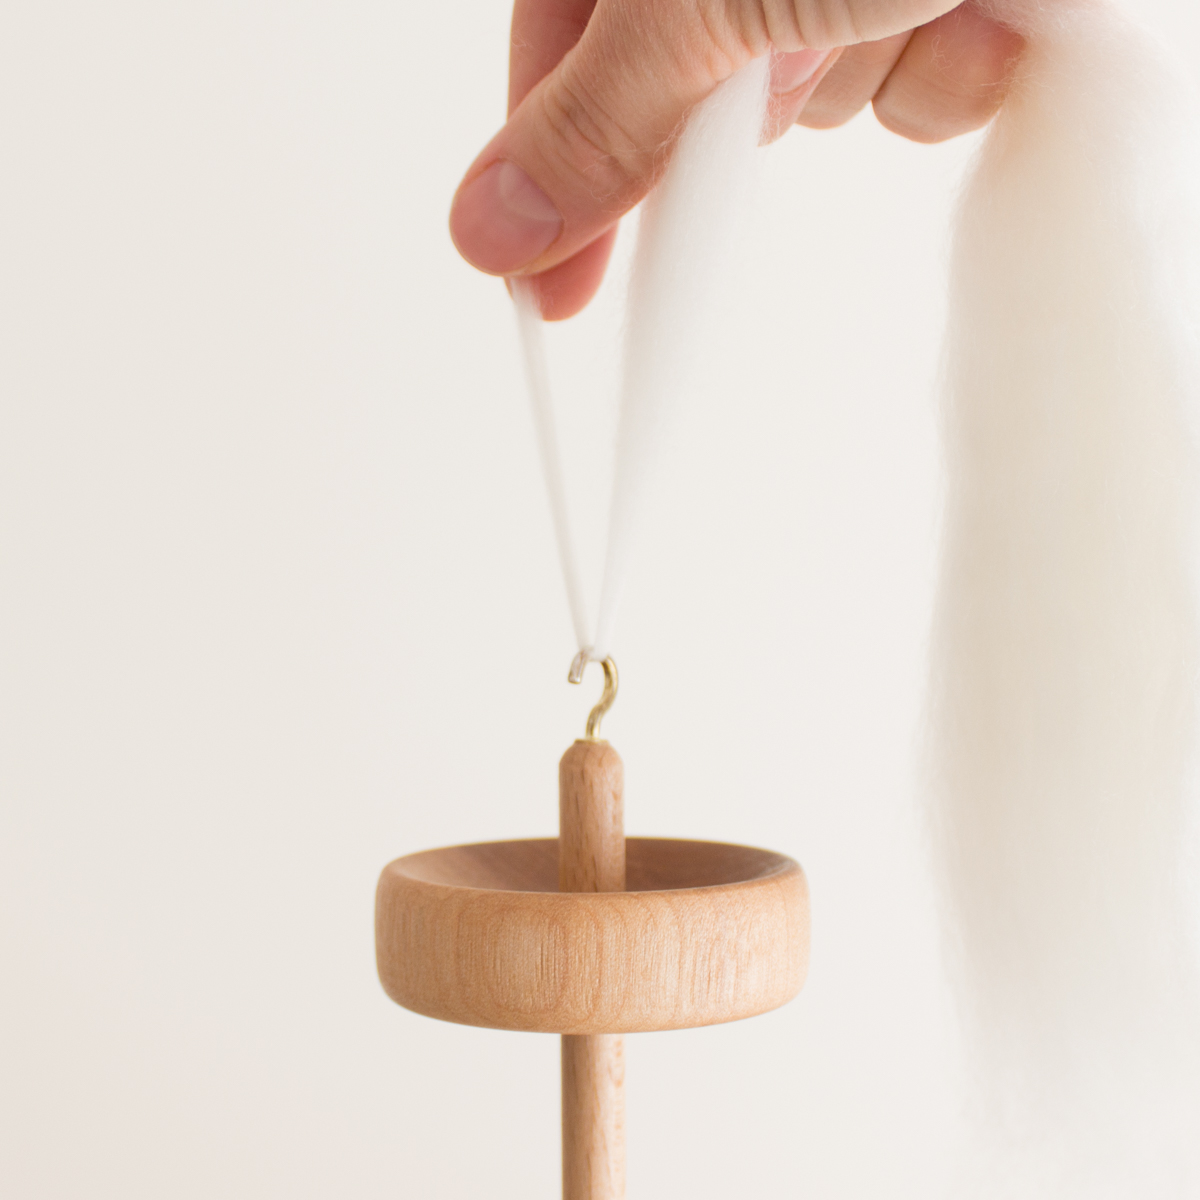
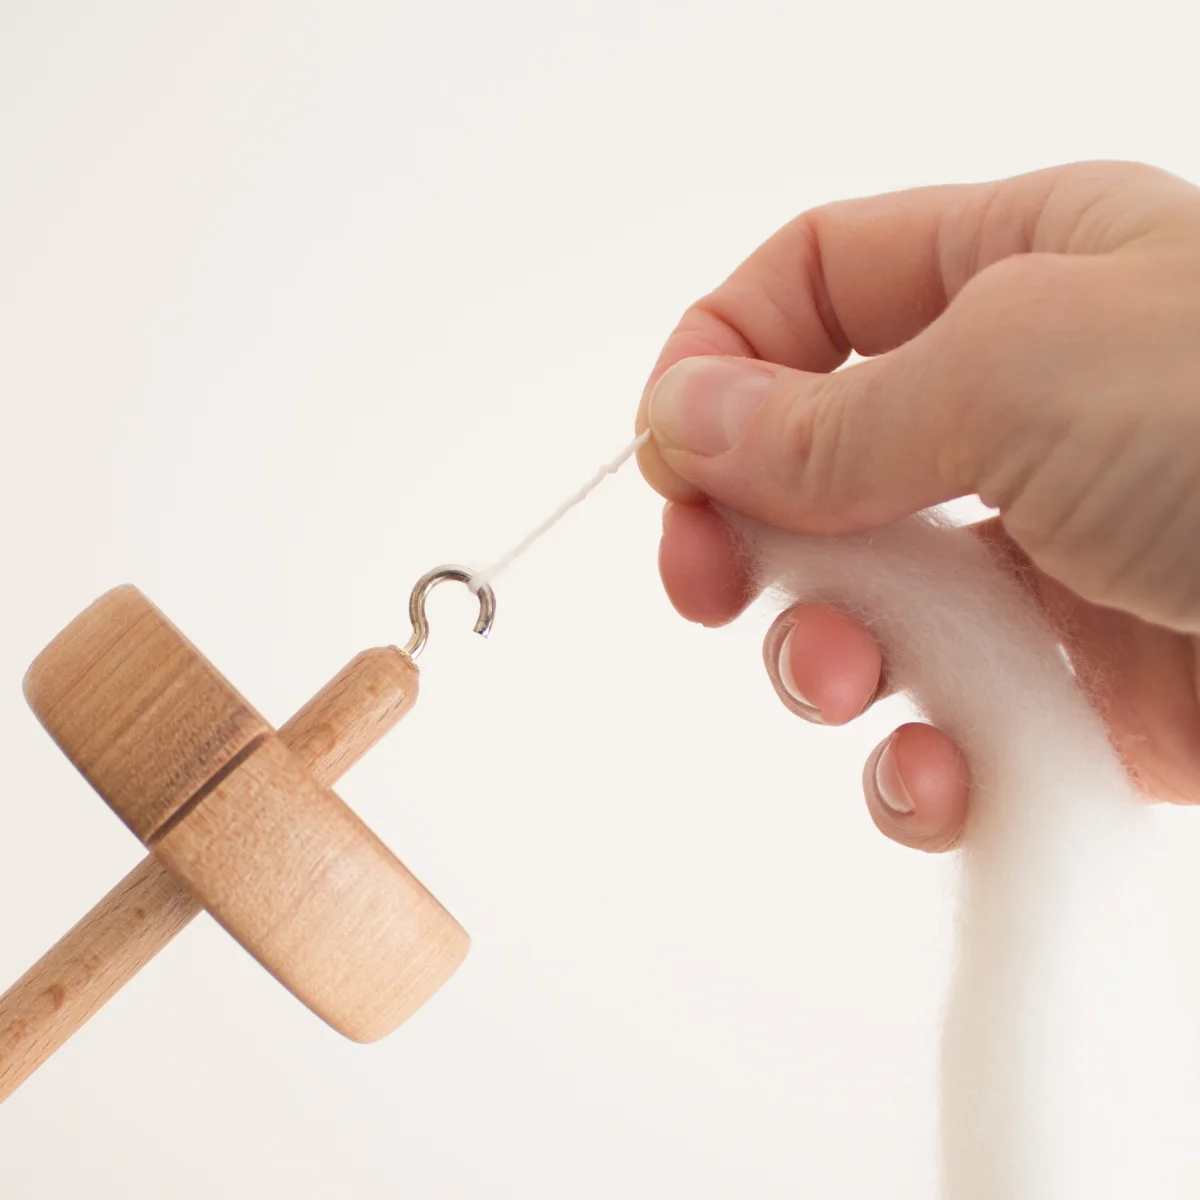
Spinning singles
Plying
Finishing hand spun yarns
KNITTING
Casting on/off
Knitting flat
Increasing and decreasing
Reading charts for lacework
TOOLS
HAND SPINNING
KNITTING
3.5 mm (US 4) 80cm circular needles (I used Chiaogoo Spin Bamboo Interchangables)
MATERIALS
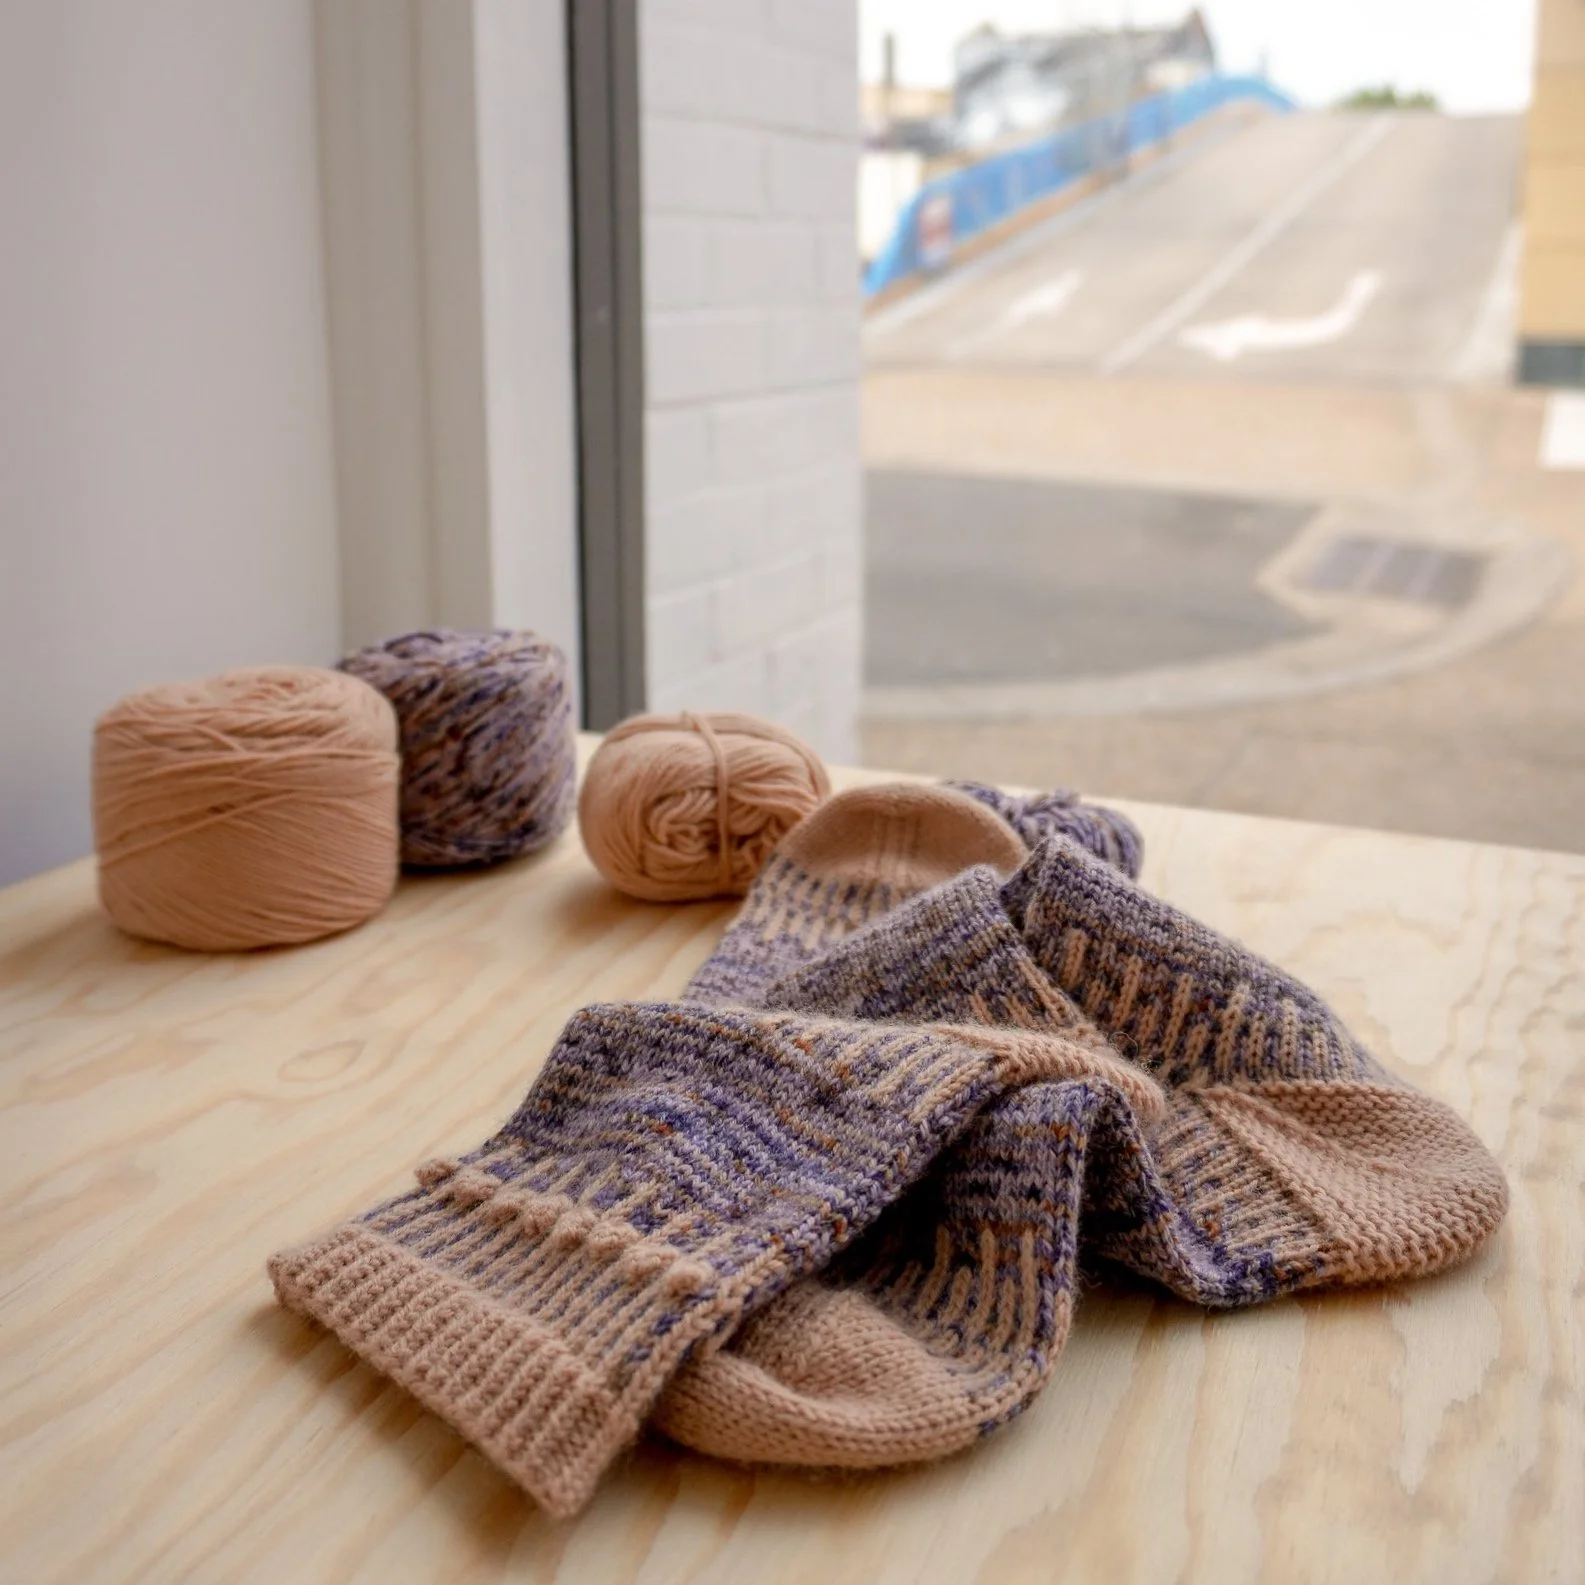
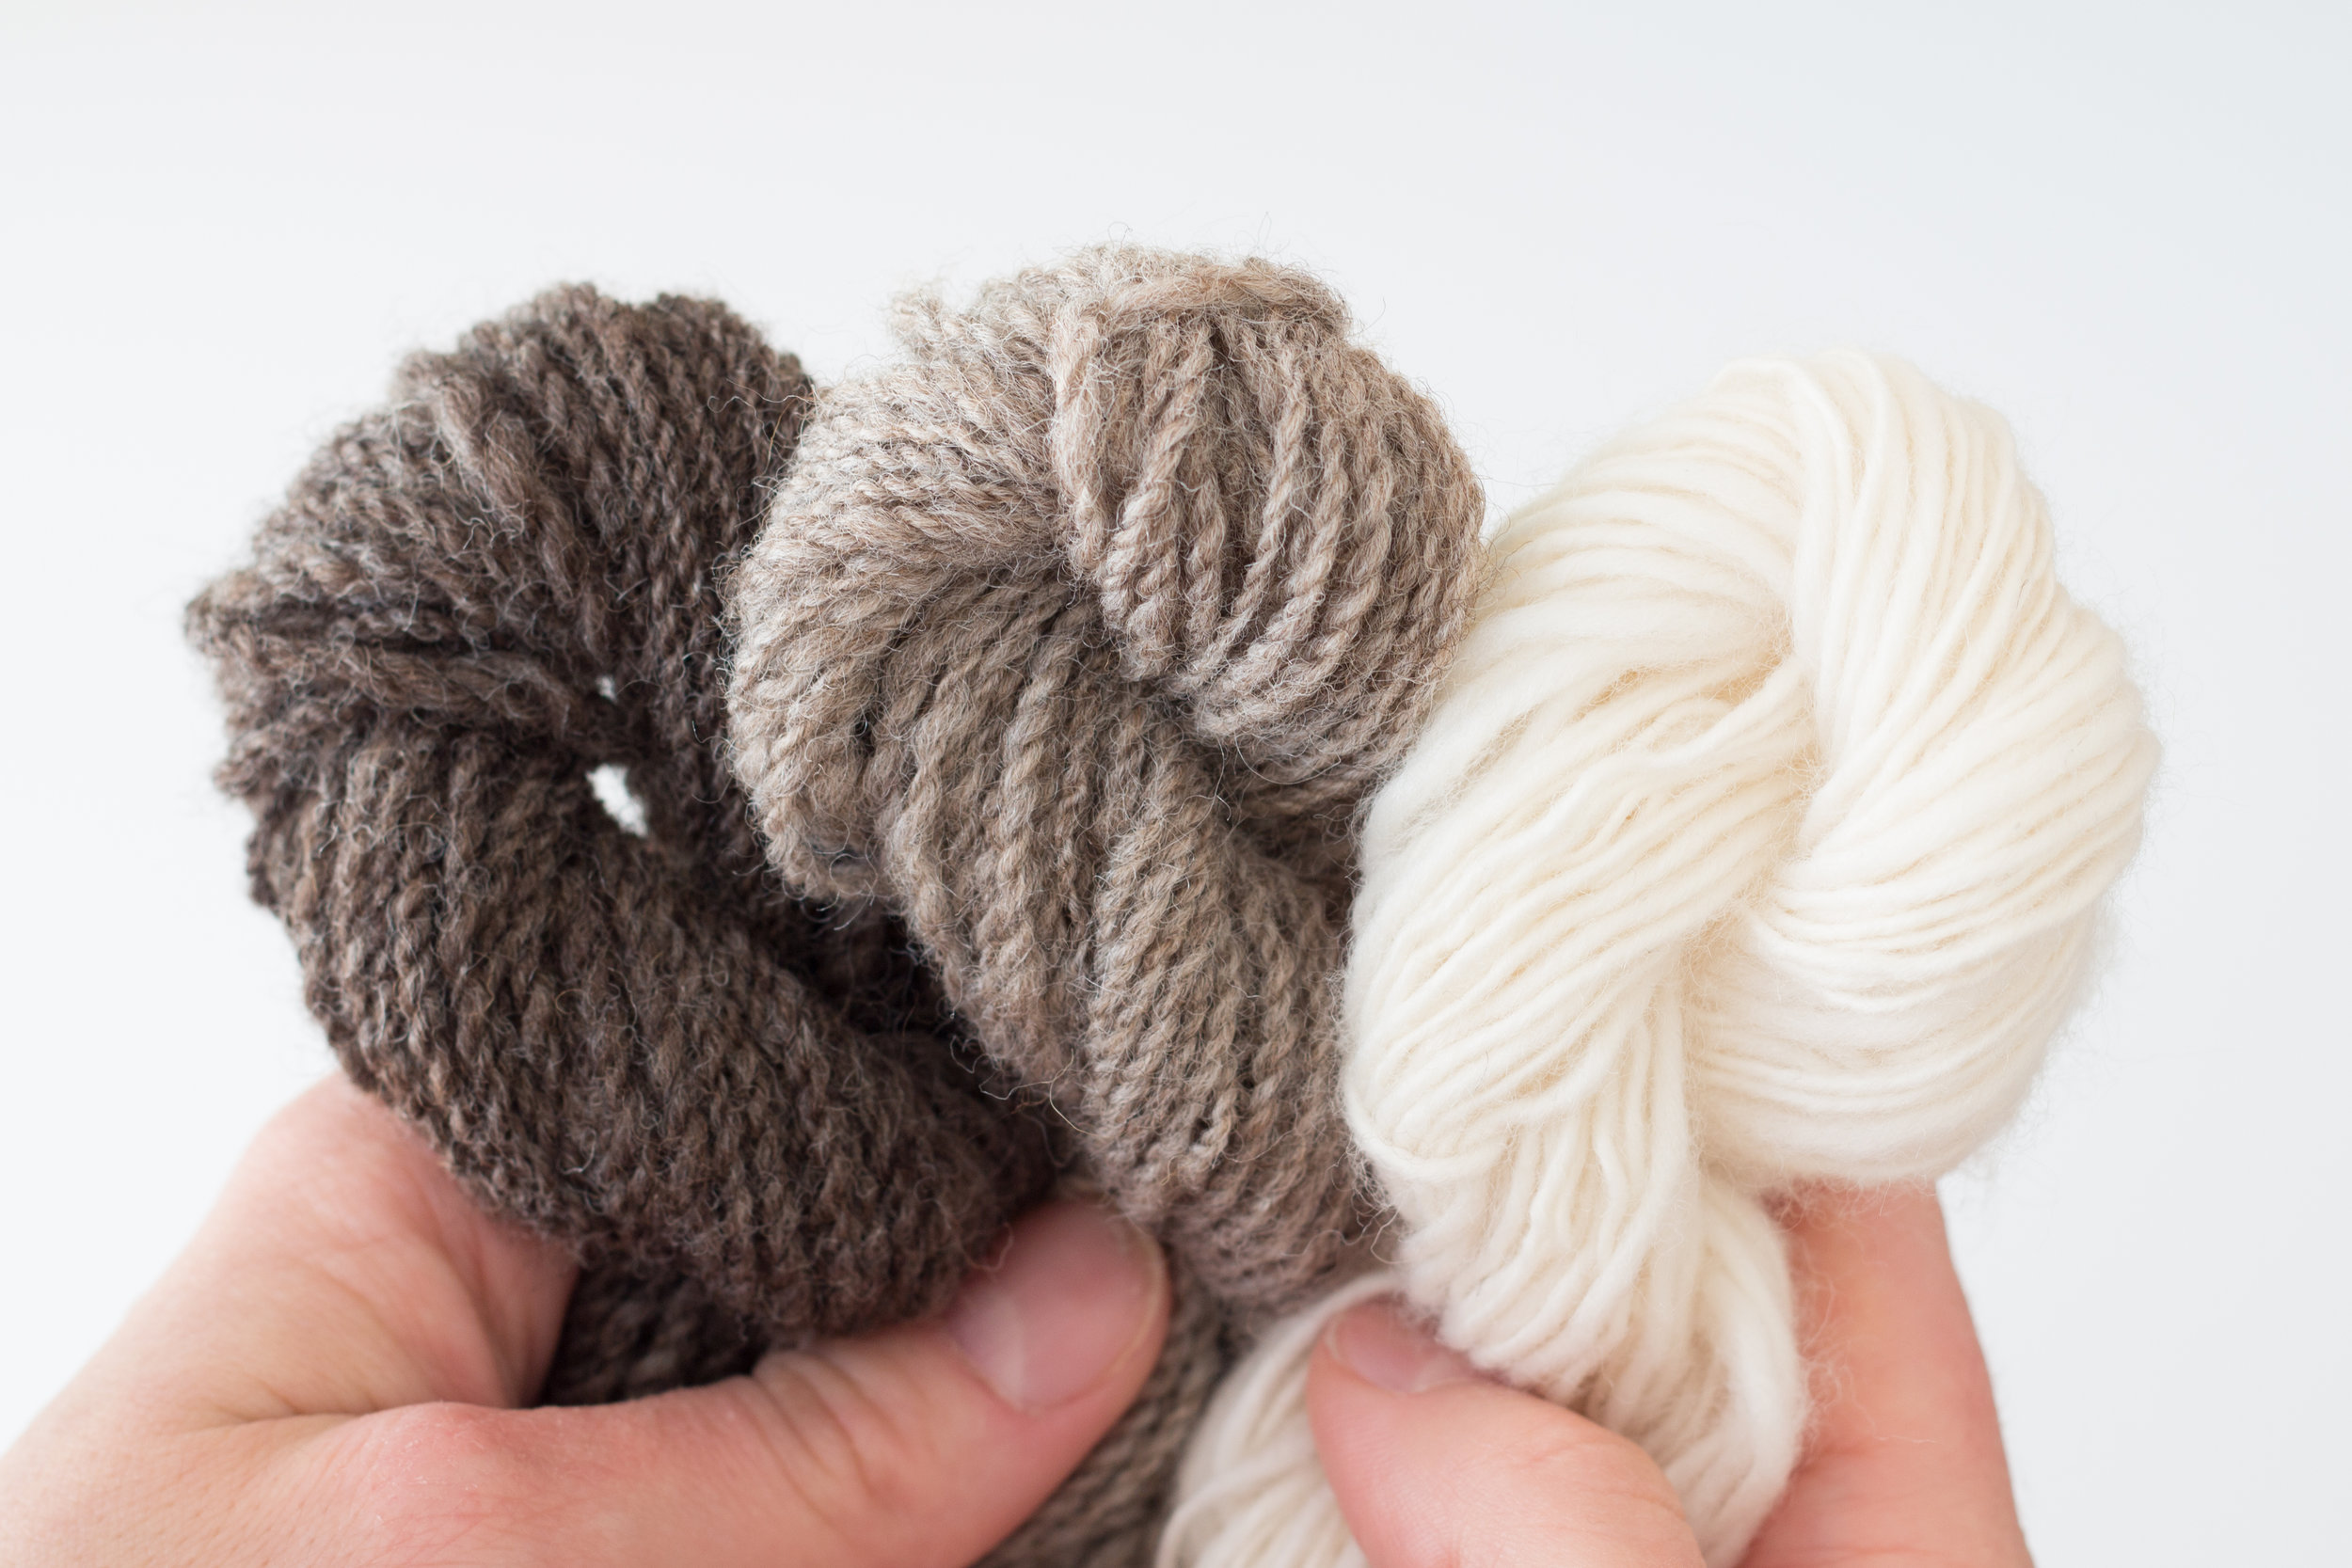
100g x Wren & Ollie Superwash Merino/Nylon Spinning Fibre | Colourway, Salt and Pepper

PATTERN
The Grateful Moments shawl pattern was designed by Sylvia McFadden, first published in September 2015. It is available to purchase as a digital download at Ravelry.com.
PROCESS
THE SPIN
On fibre selection - I really just let the fibre choose me. I had a braid of Wren & Ollie Superwash Merino/Nylon spinning fibre that I’d recently acquired. I was drawn to its saturated splashes of pink and attention-grabbing speckles.

Loosening the braid, I made a quick assessment of the dye placement and the hand-feel of the fibres. My notes here - the fibres were next to skin soft with a seemingly unfussy distribution of colour.
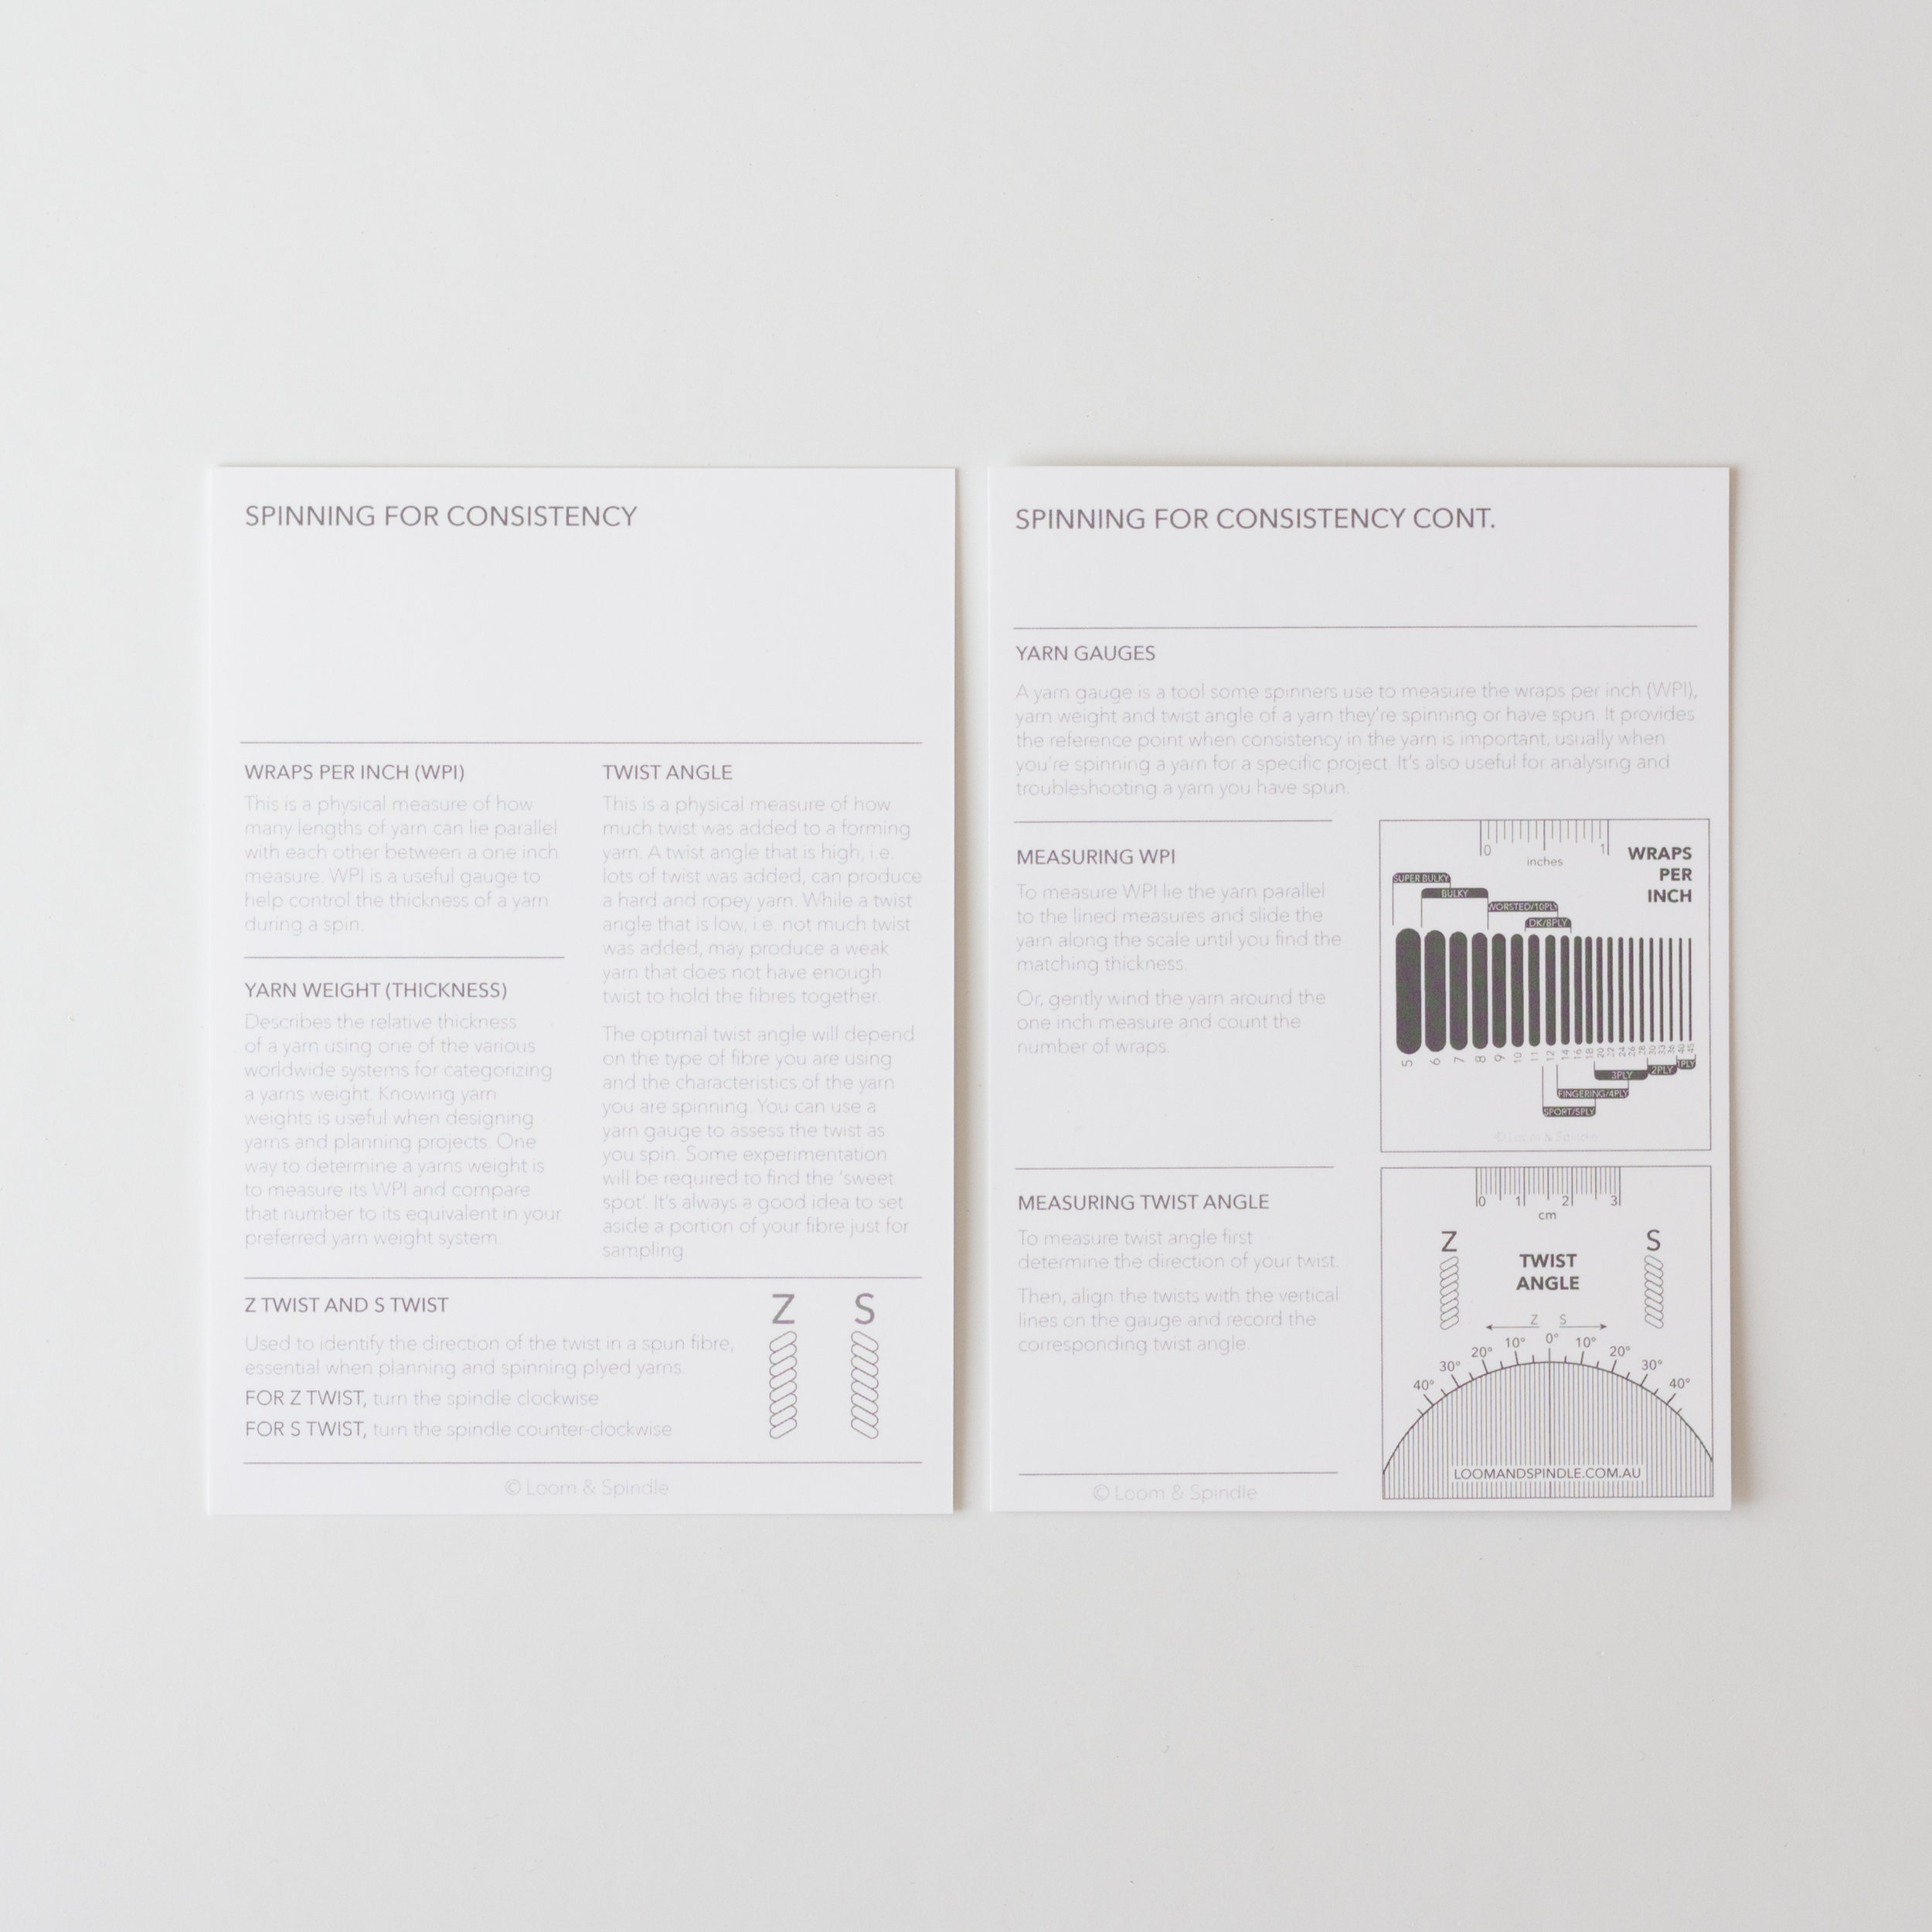
Determining the spin parameters, I stuck to my ethos of keeping it simple. I opted for a 2-ply construction with a plan to spin the singles at my comfort grist – usually around 30 wraps per inch resulting in a fingering/4ply weight yarn when two singles are plied.
Prepping the fibre, I split the tops in two, lengthwise. I set one length aside for the first single and then split the remaining half lengthwise again for the second single. This would hopefully maintain some of the original colour placement but also distribute the colours throughout to produce a variegated and self-striping yarn.
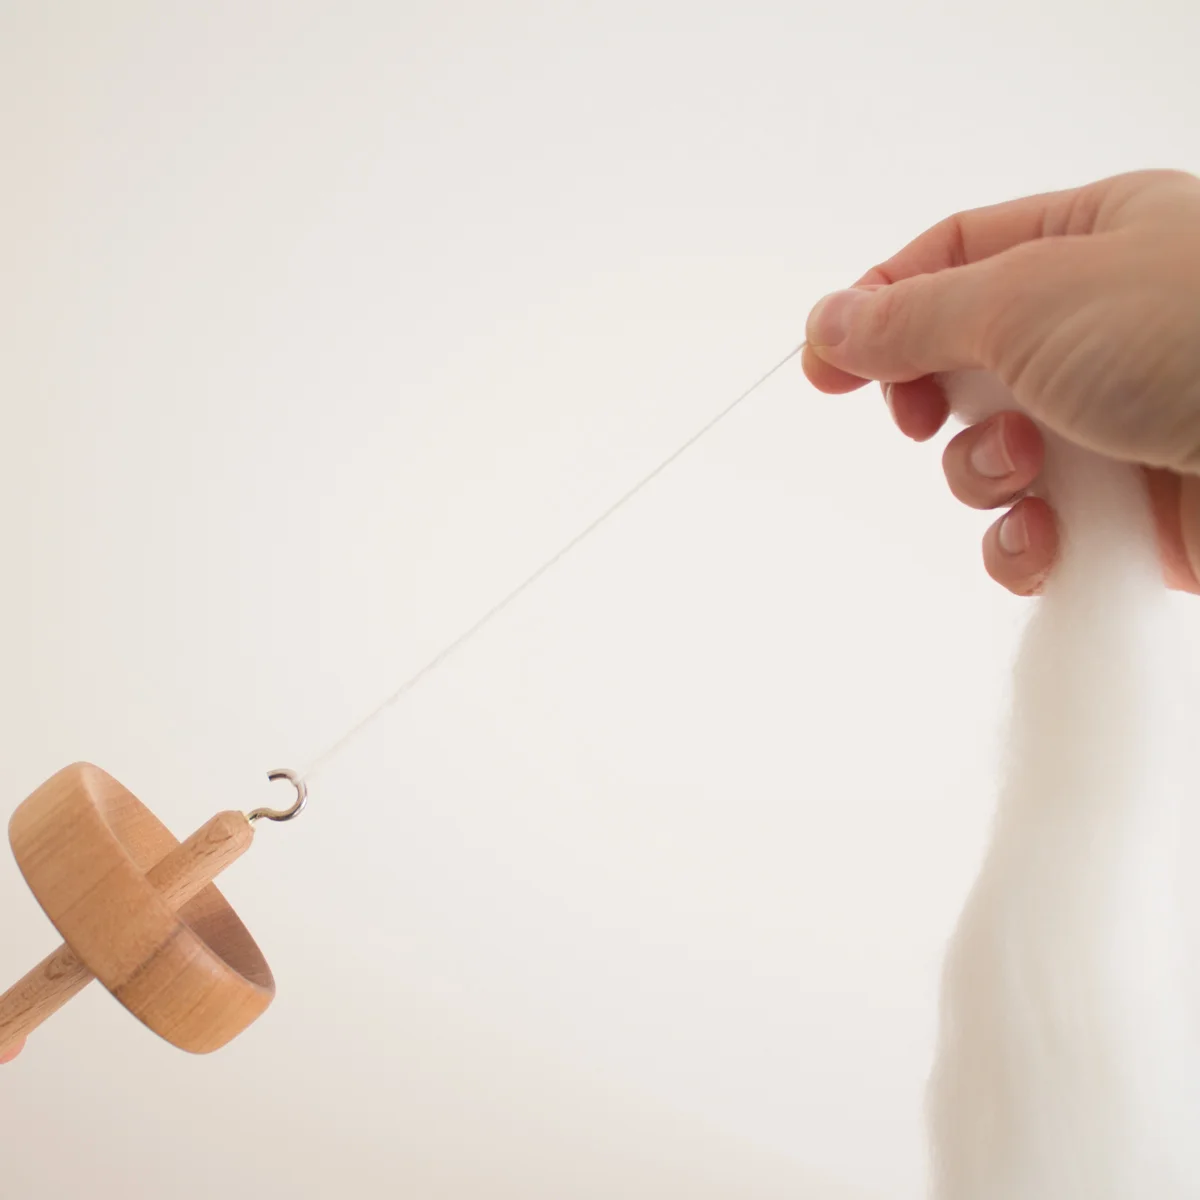
I spun both singles on a Louët S17 spinning wheel. I used a yarn gauge to track my WPI and maintain some uniformity between the singles.
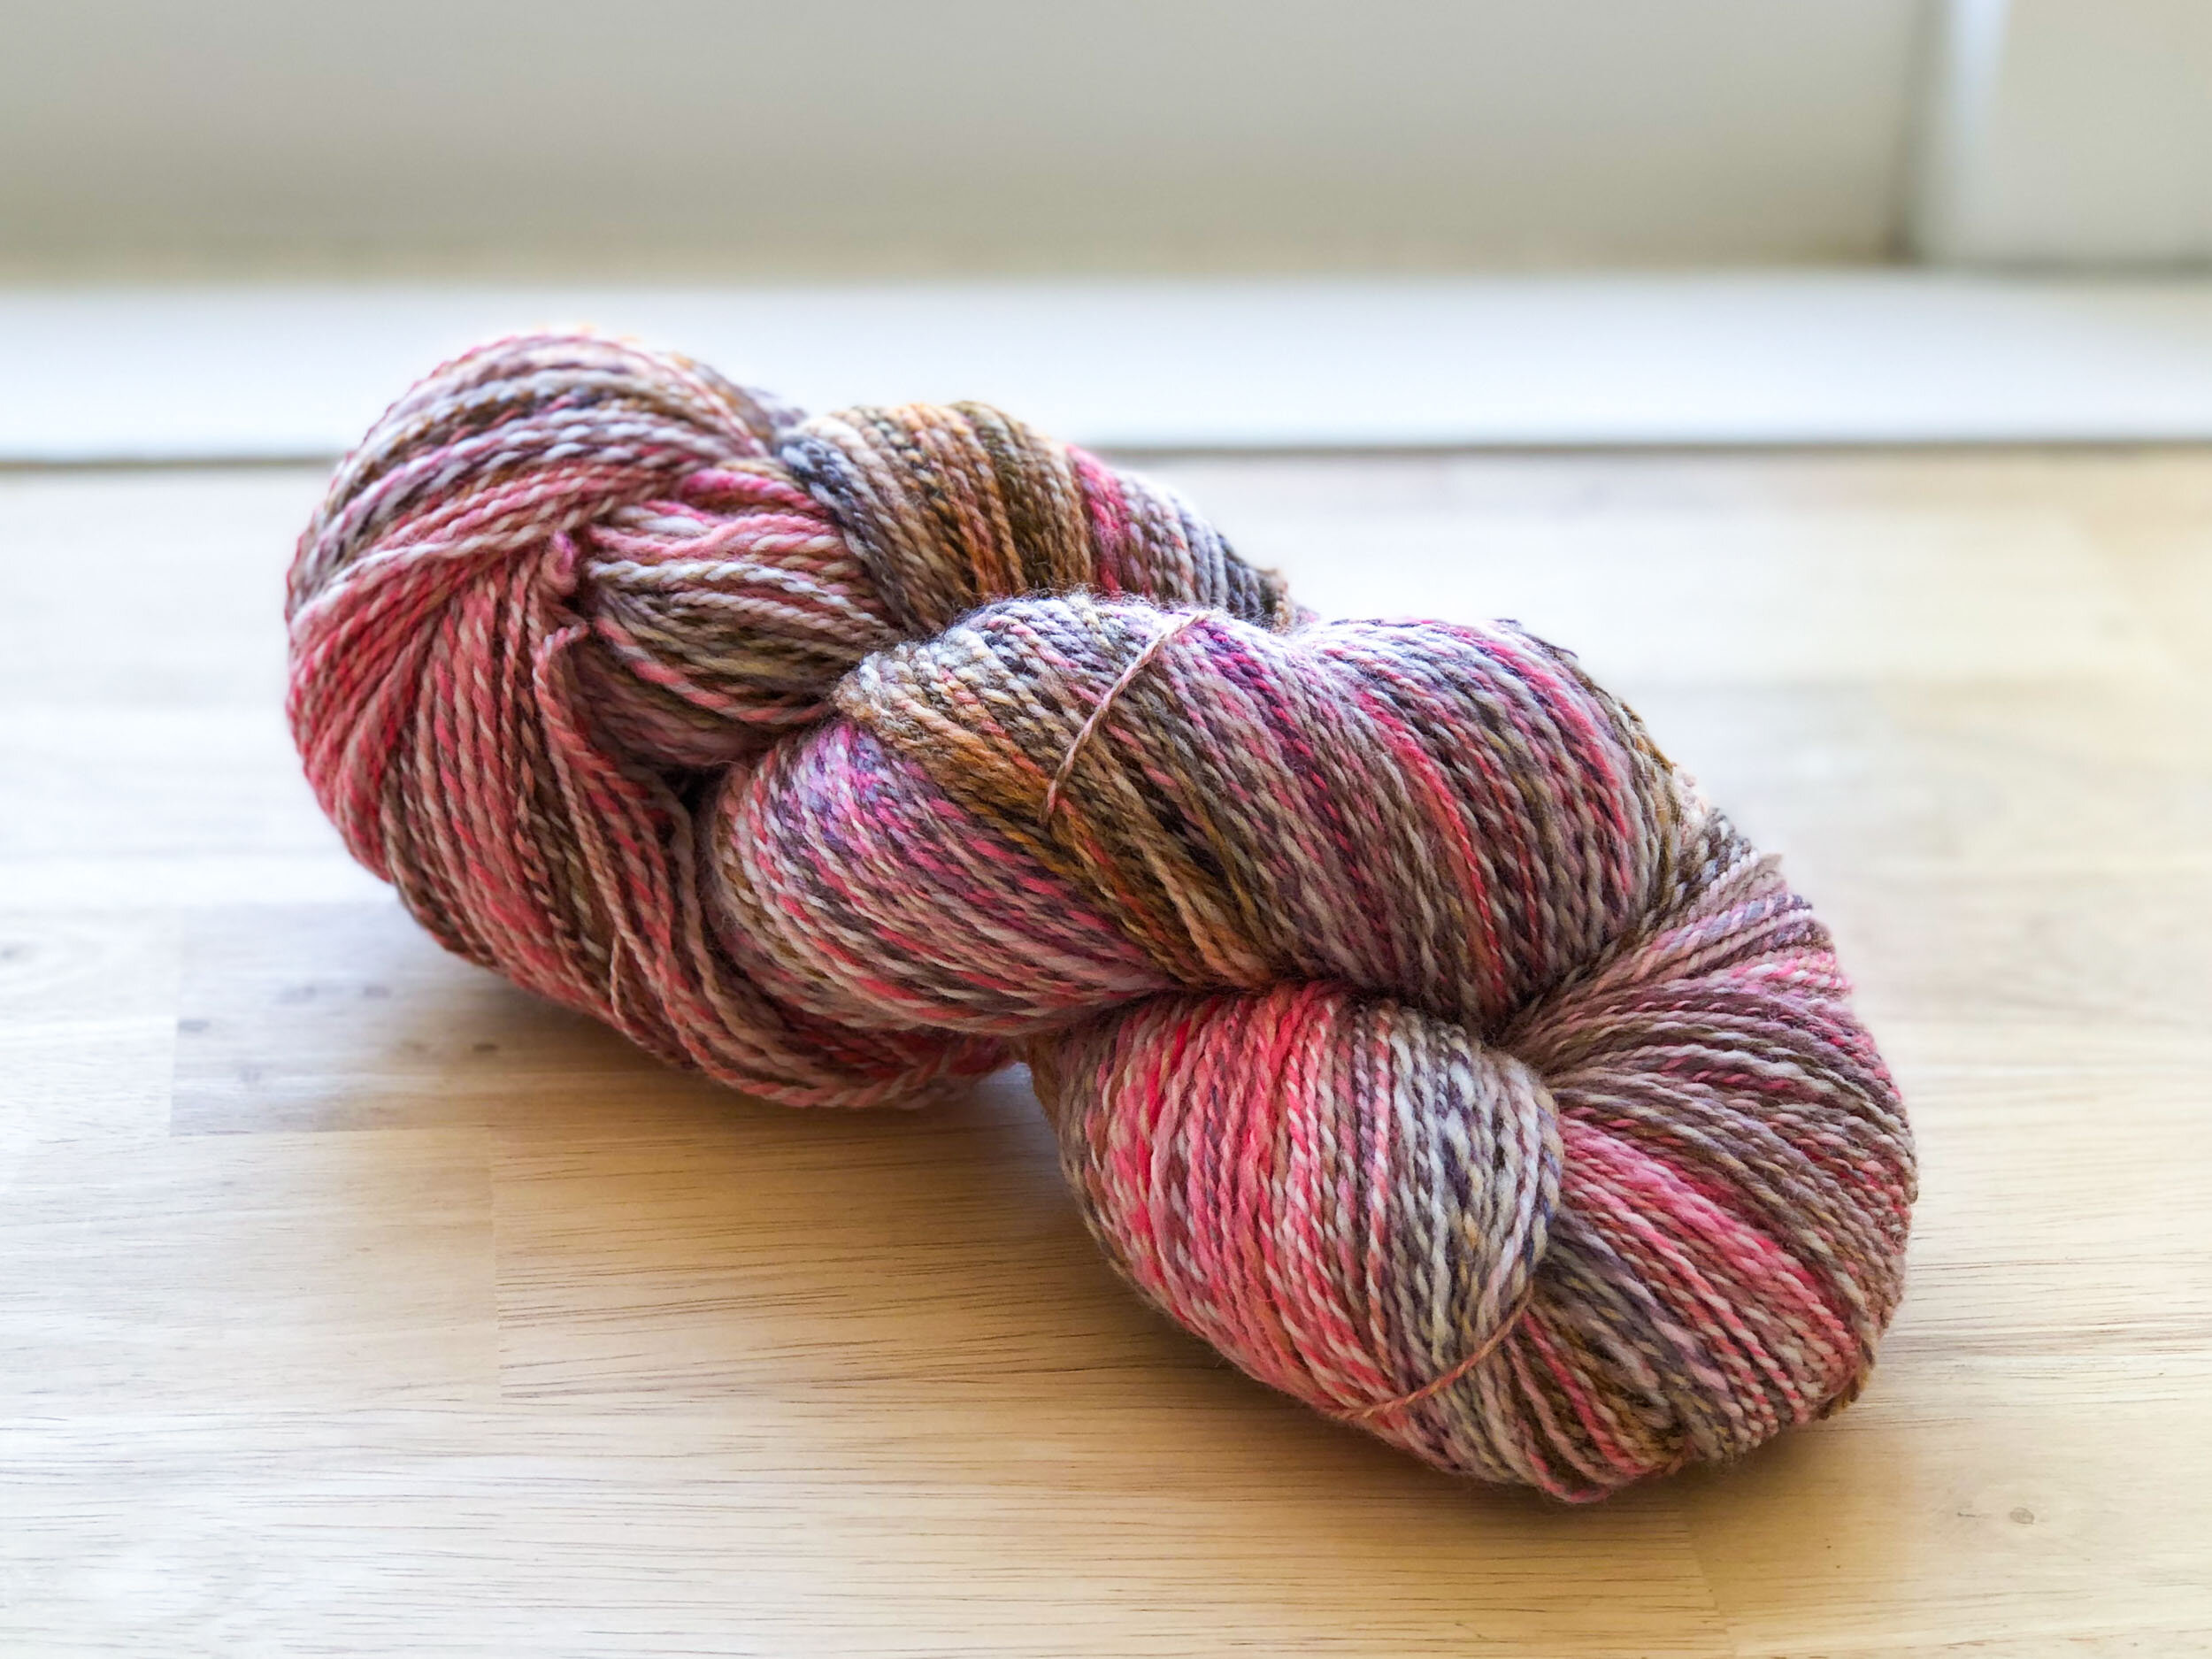
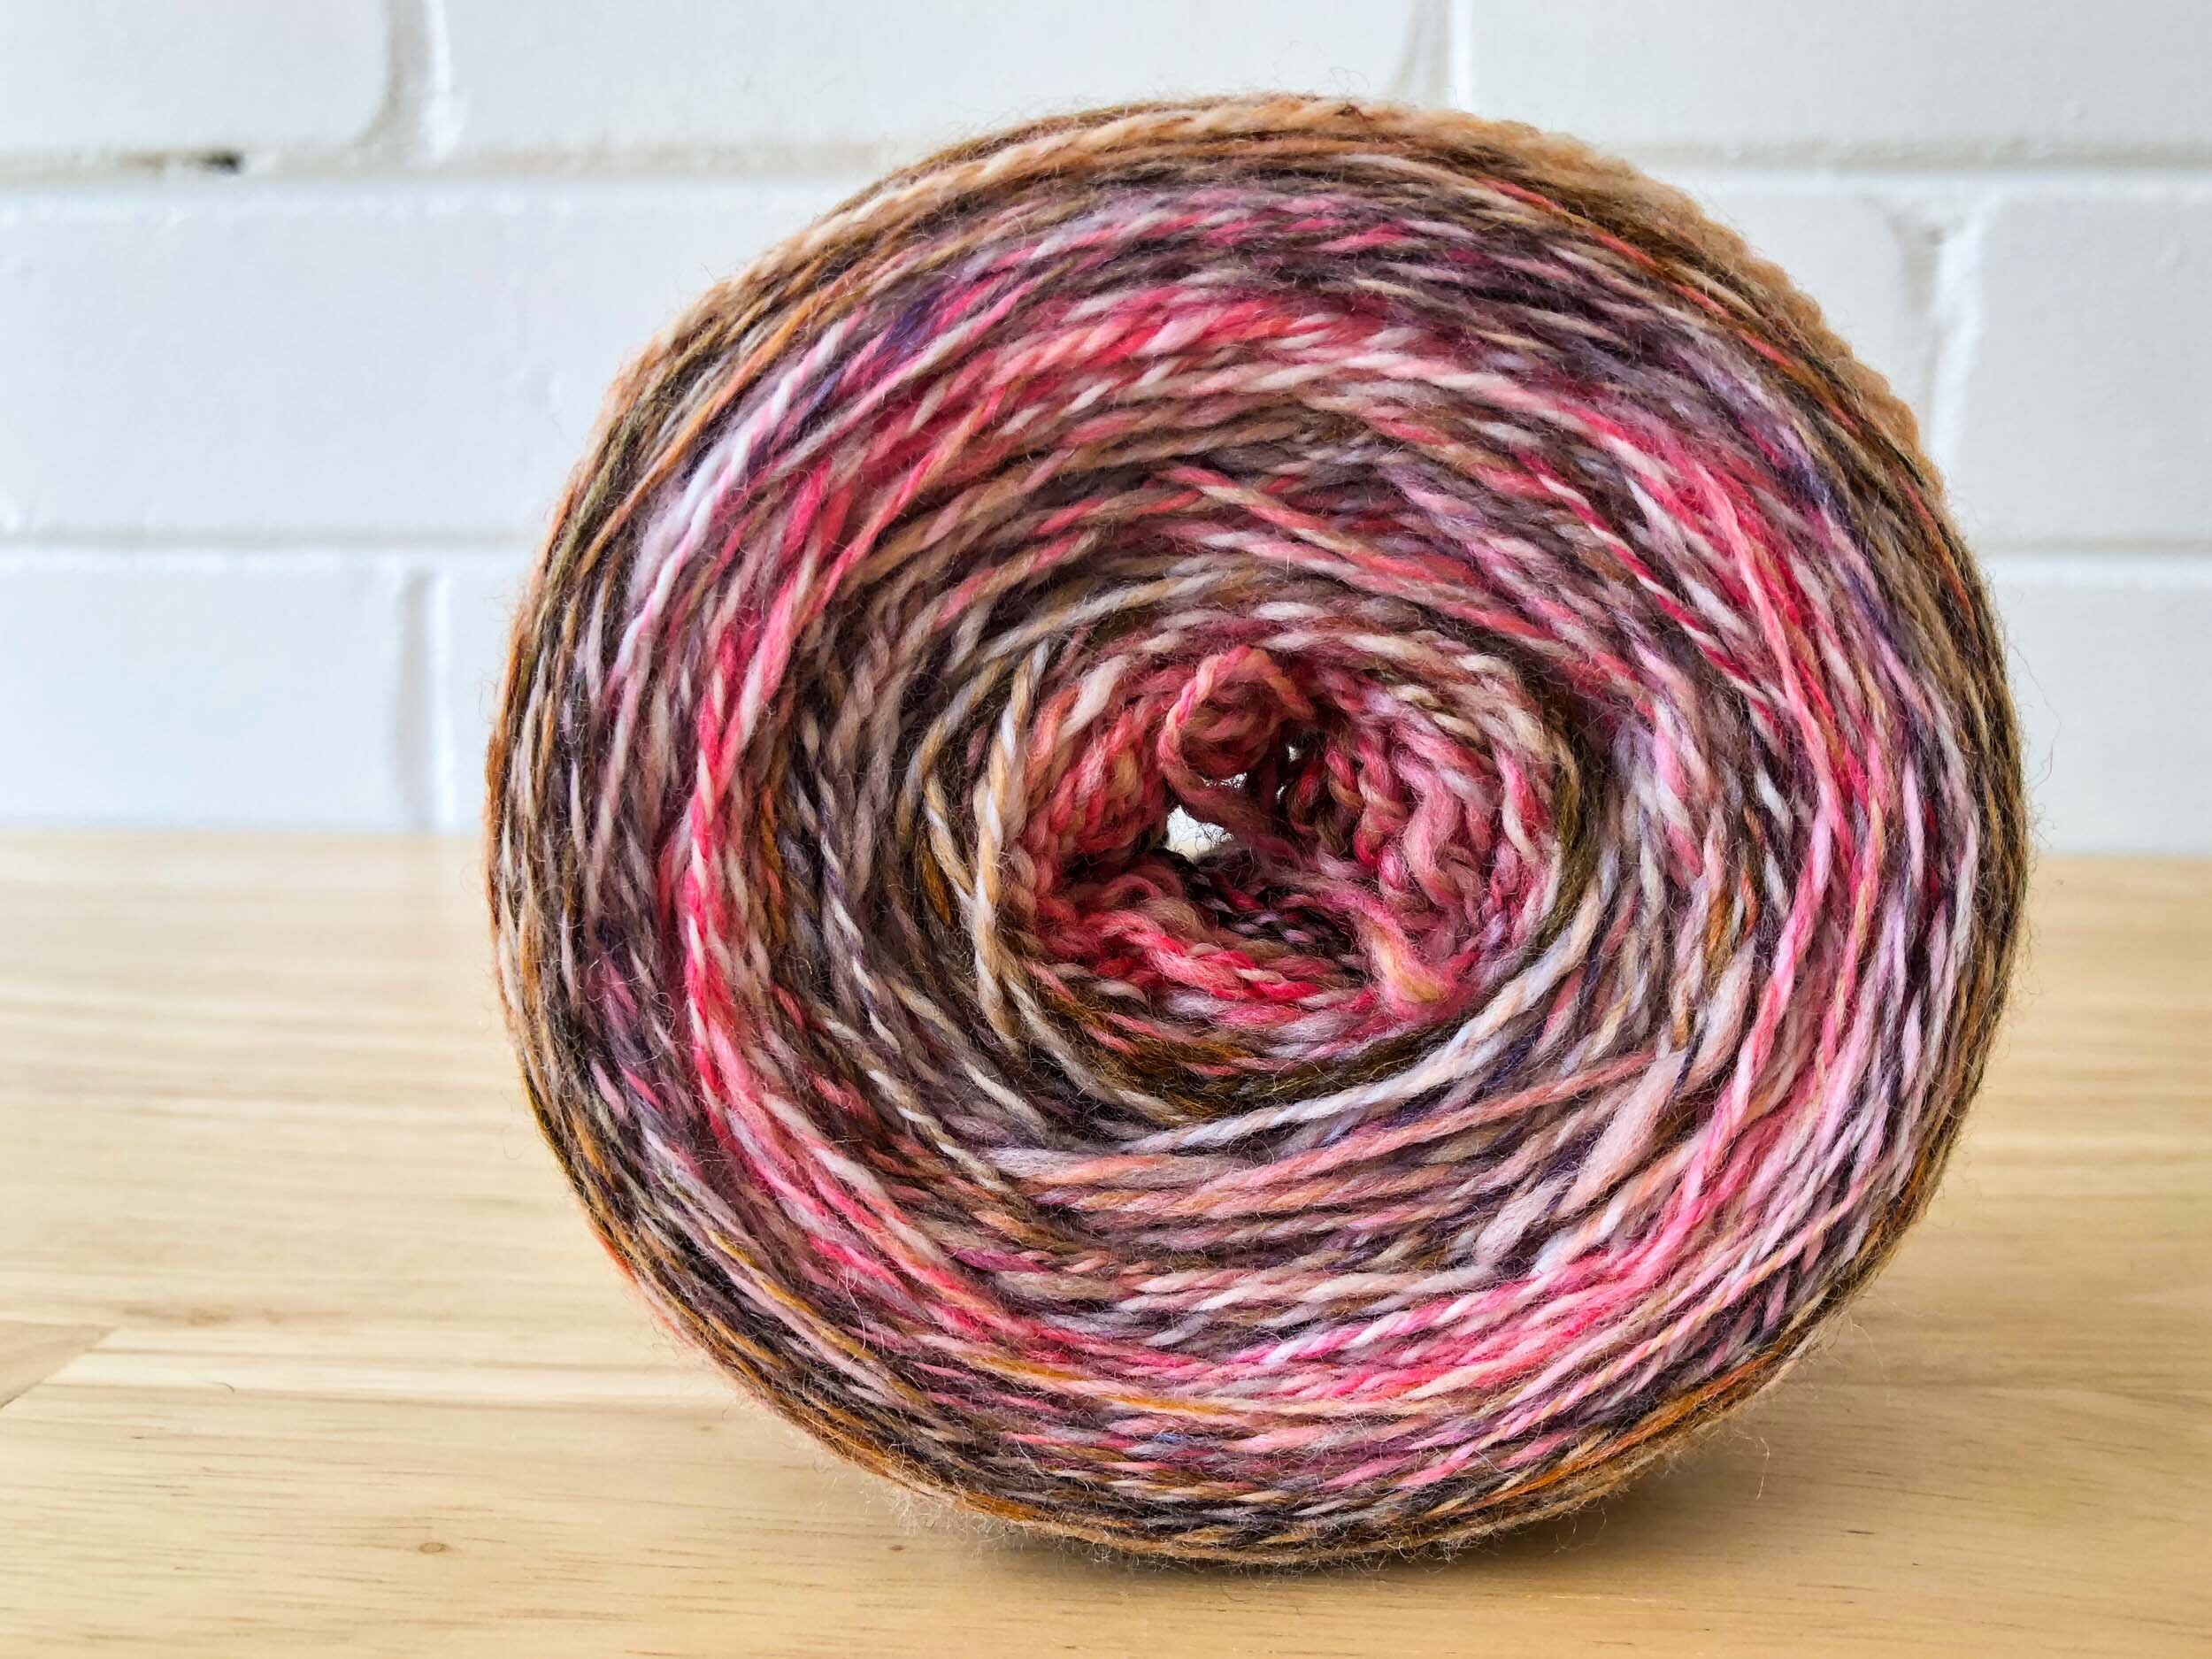
I kept the finishing minimal plying both singles together directly from their bobbins and finished the skein with a short soak to revive the fibres.
The resulting yarn was light and soft with moderate twist. I didn’t measure the yardage but thought it likely to be around 400m at fingering/4ply weight.
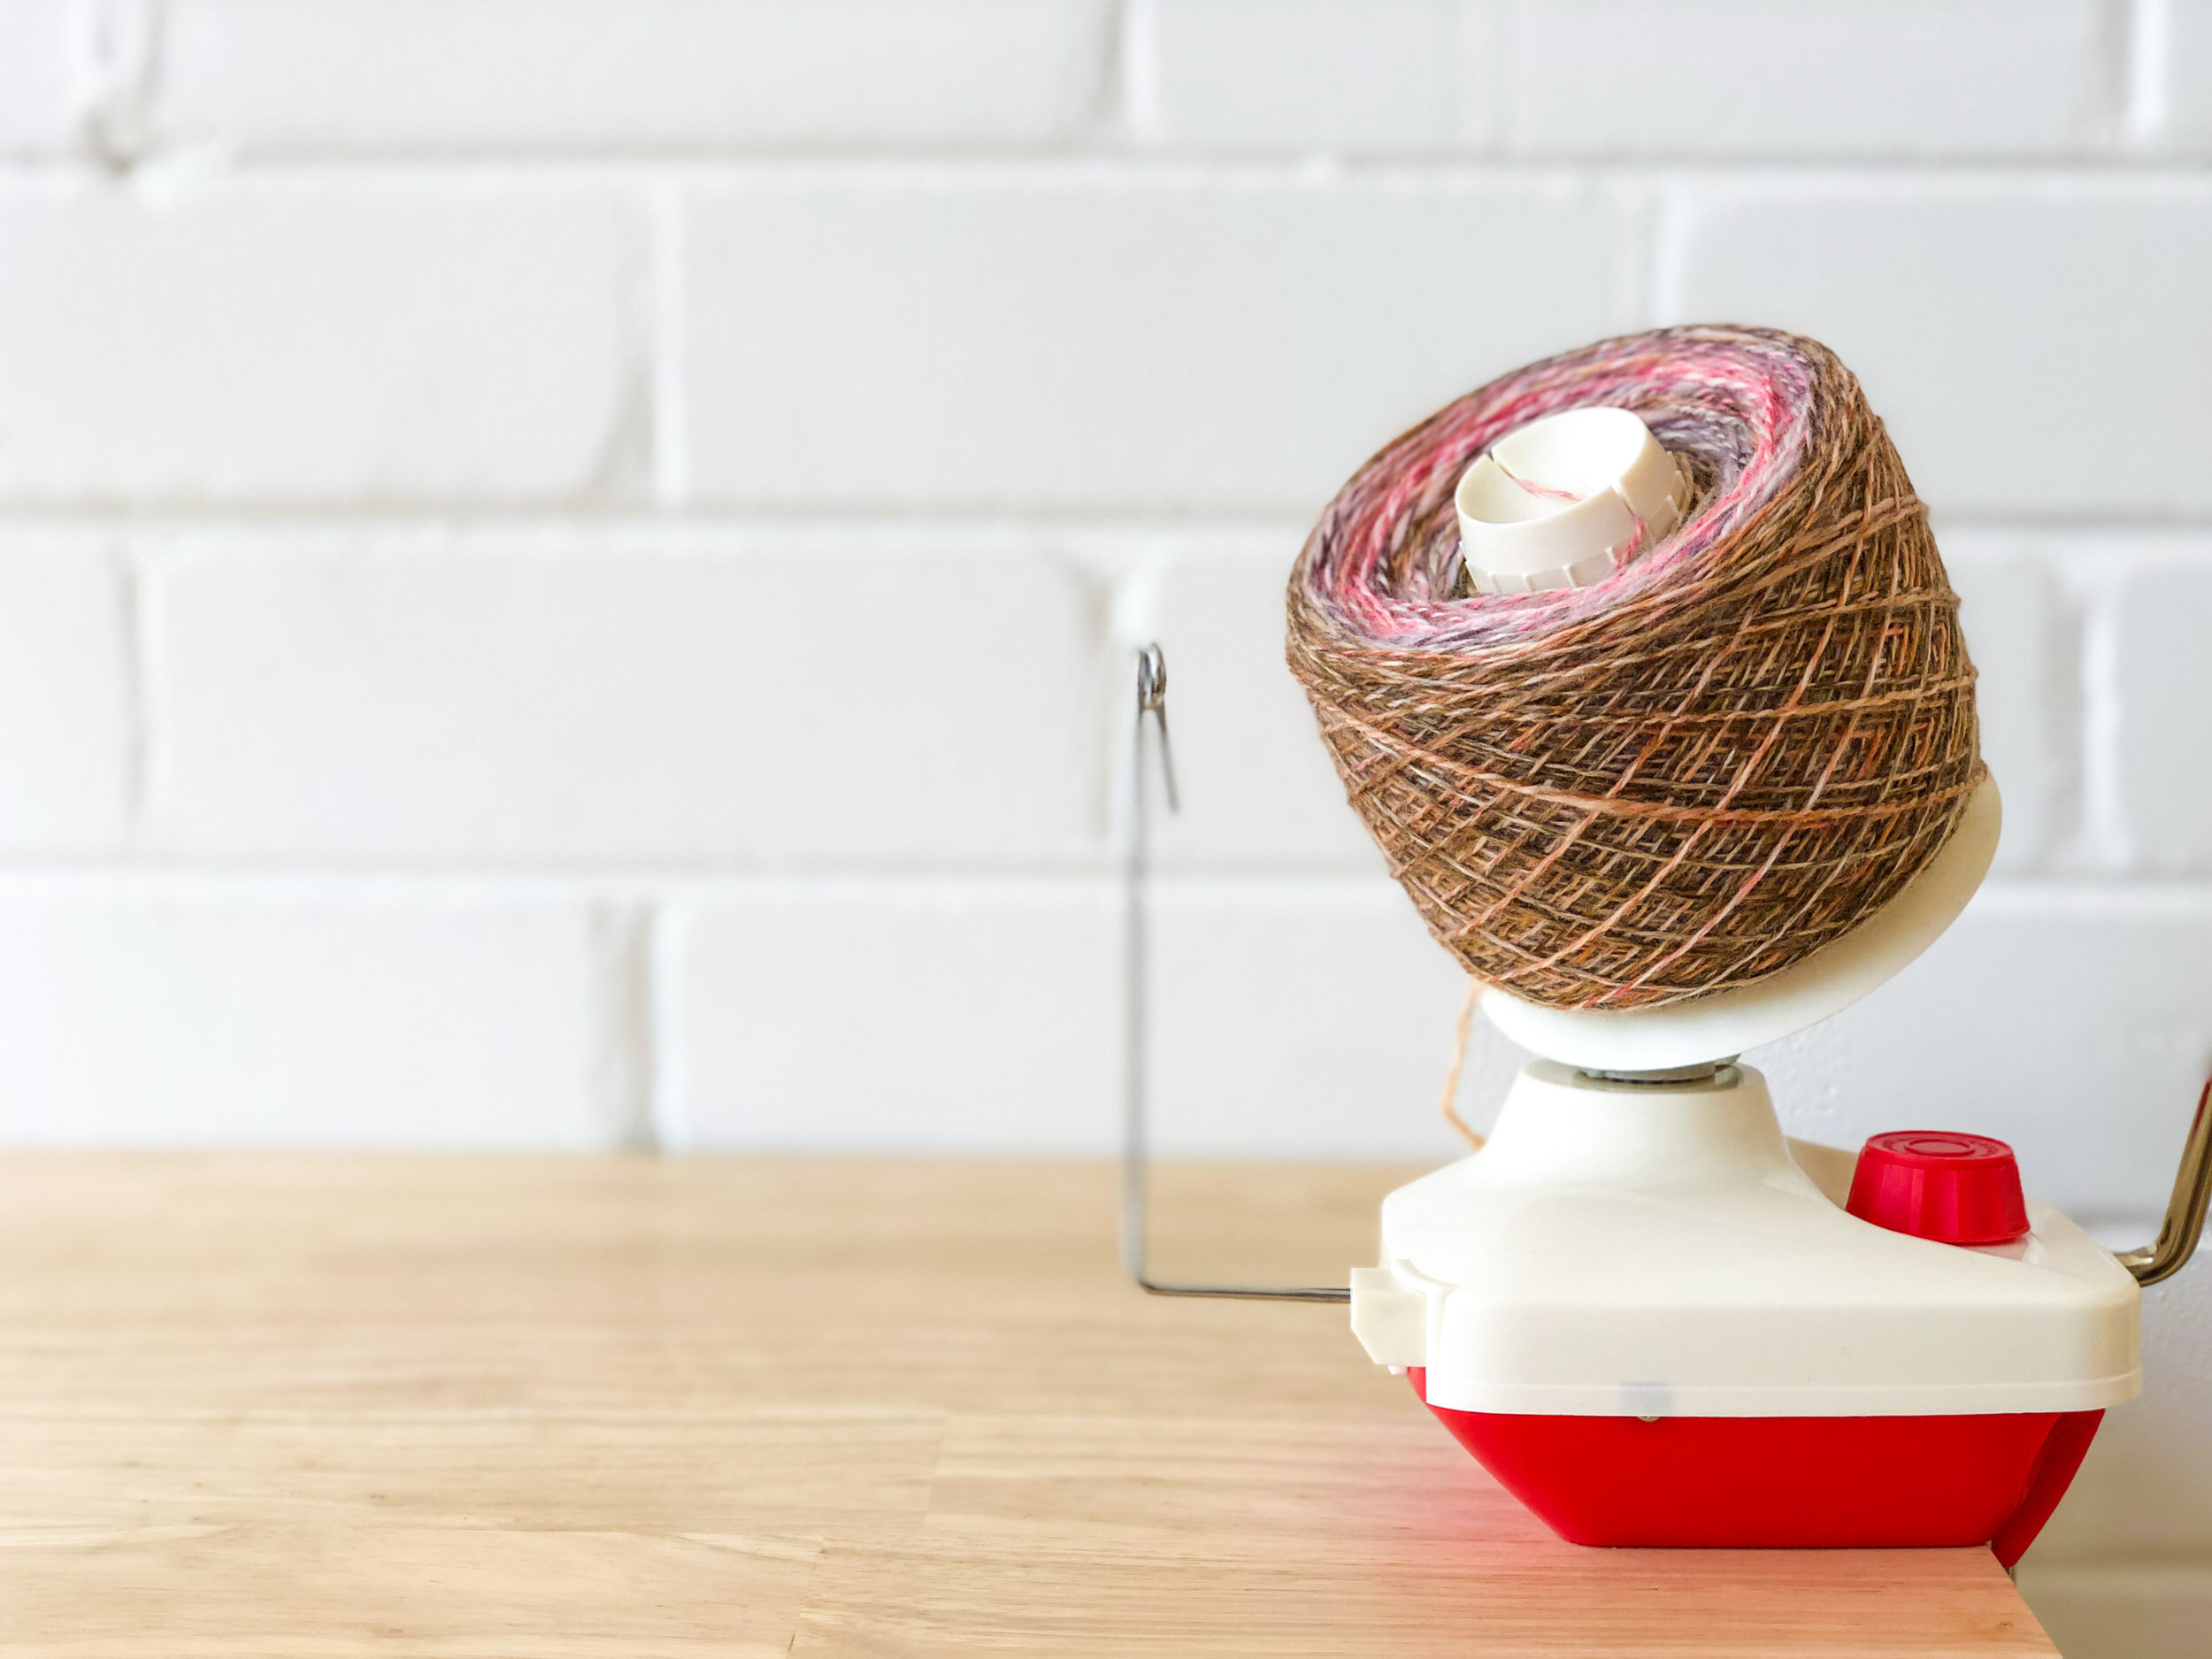
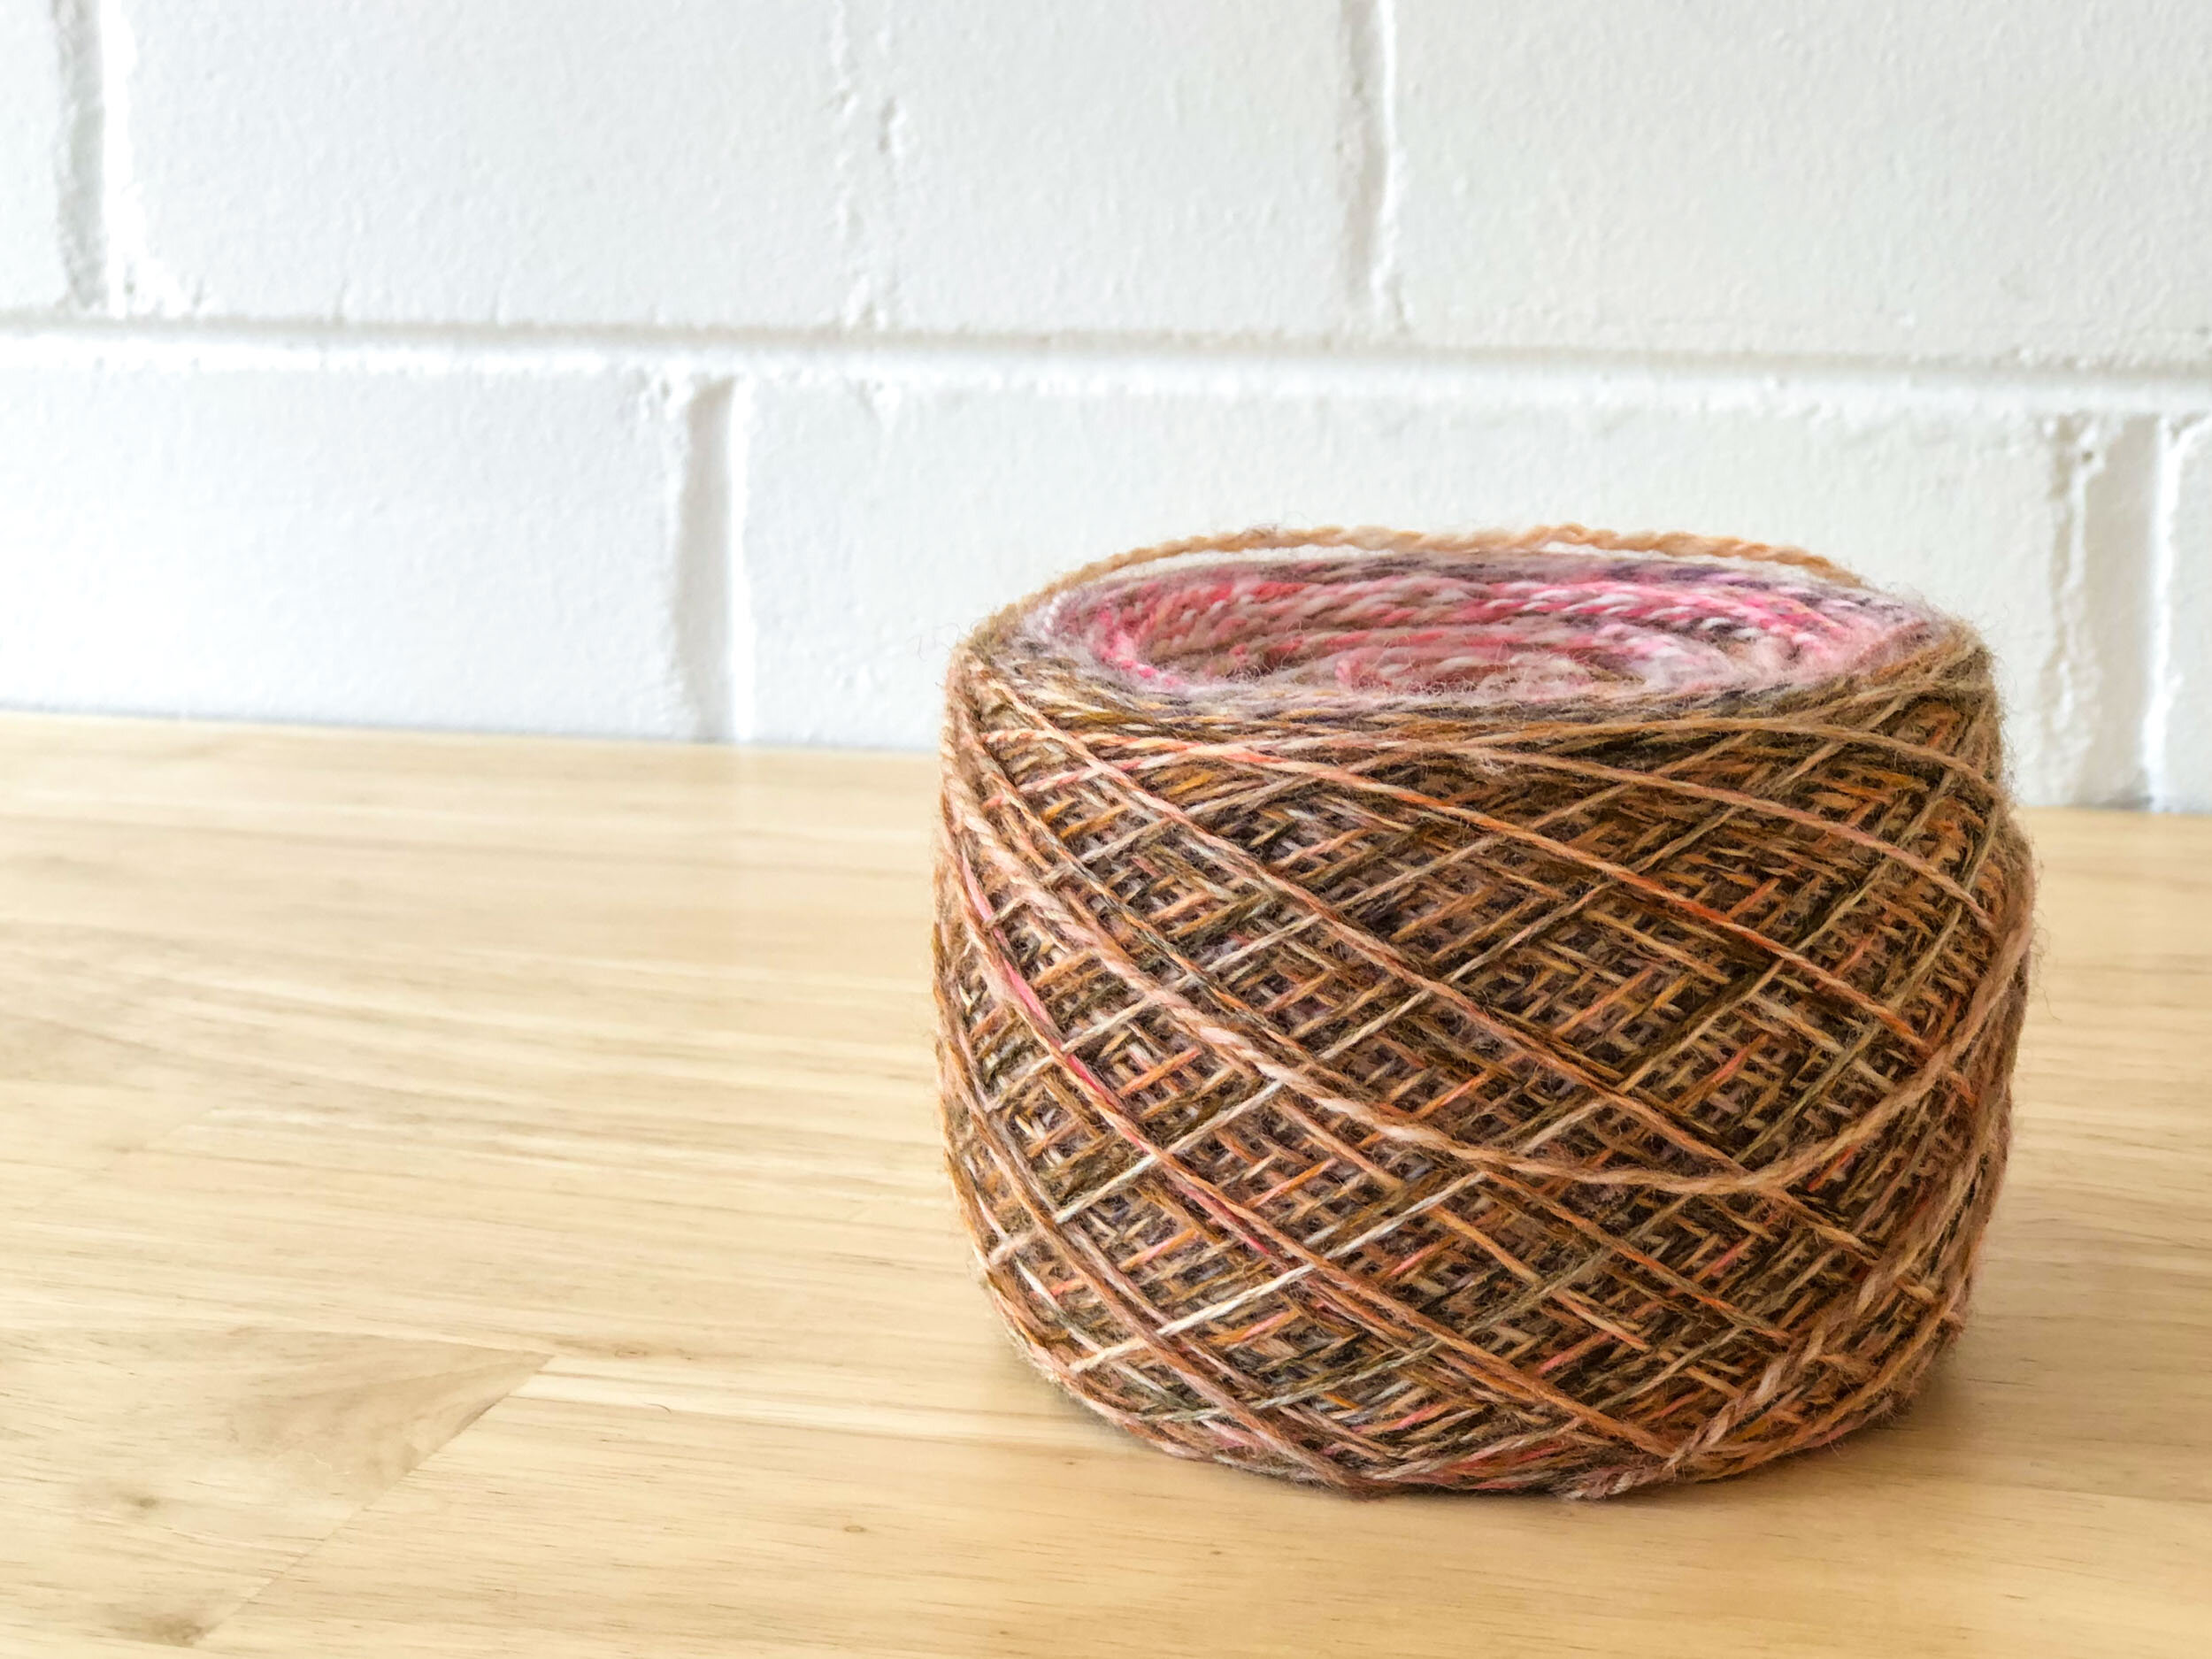
THE KNIT
Finding a suitable project started with plugging all the parameters into the Ravelry pattern search - weight, yardage and category. Given the yardage and character of the yarn I thought a cowl or small shawl would work well.
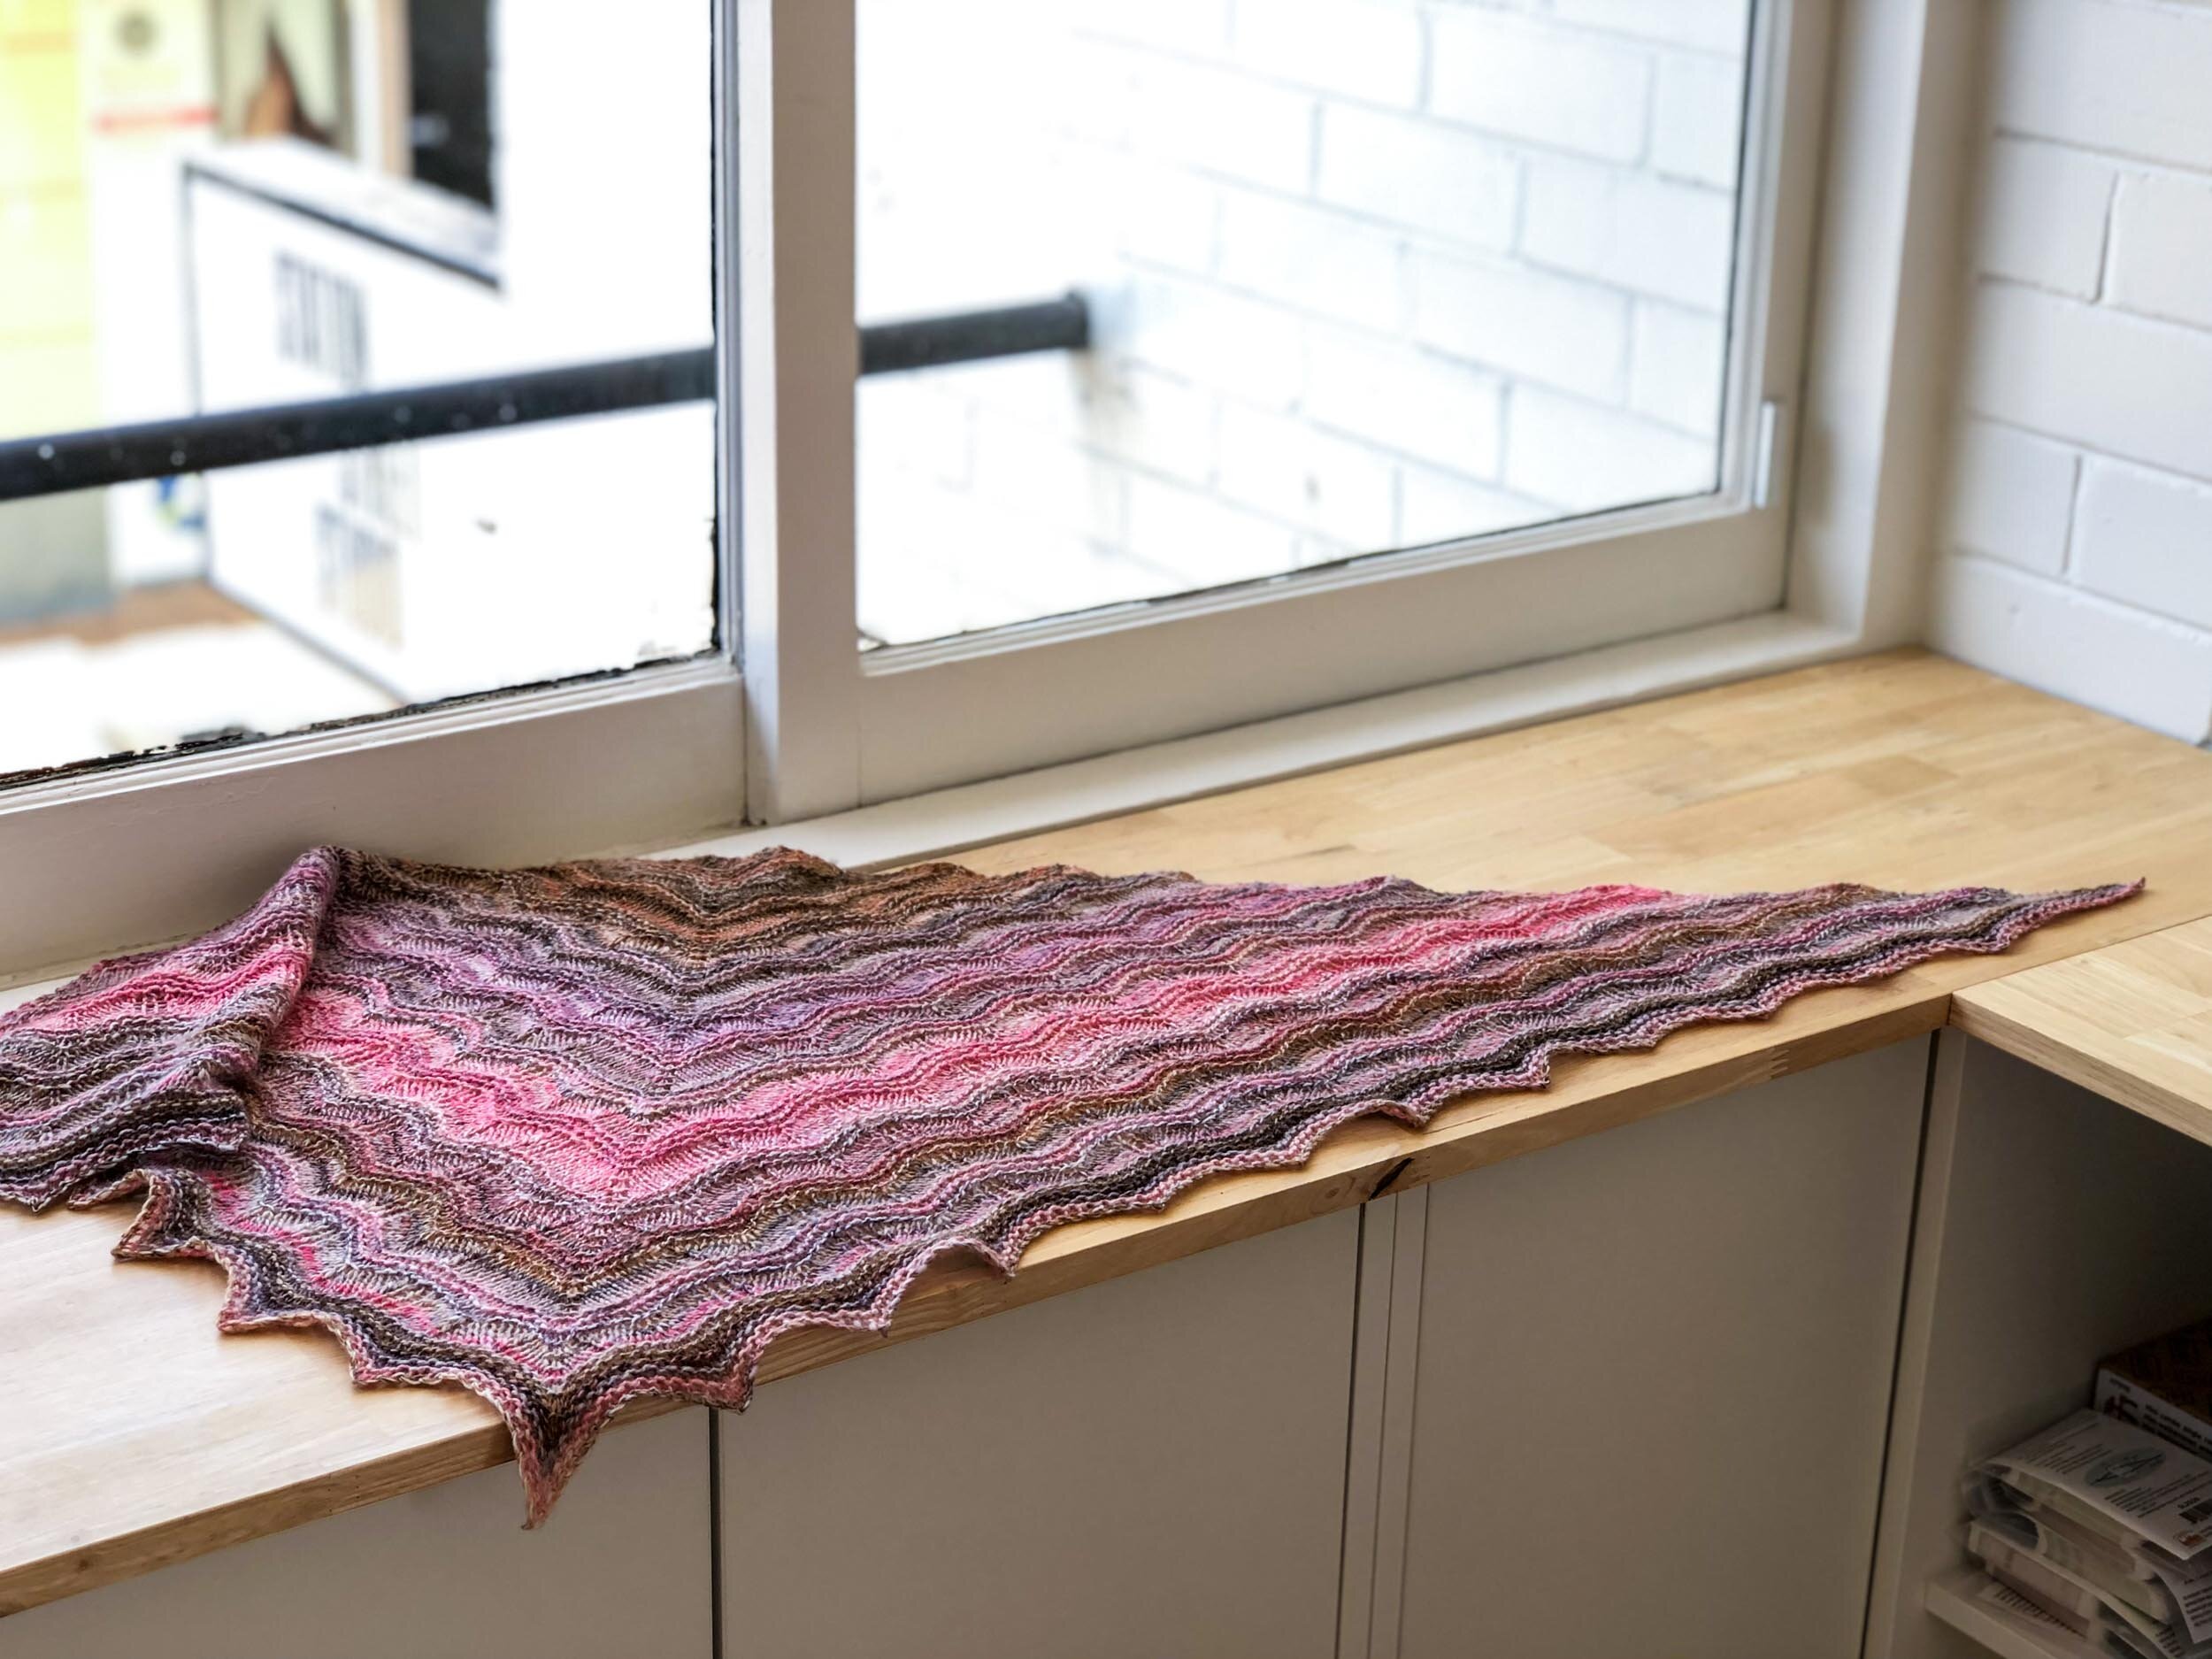
Wanting to learn more about shawl construction and lacework I went with the Grateful Moments shawl pattern, it already had several projects using hand spun yarns to great effect so seemed like the perfect fit.
I didn’t swatch, I just jumped in and knit until I ran out of yarn!
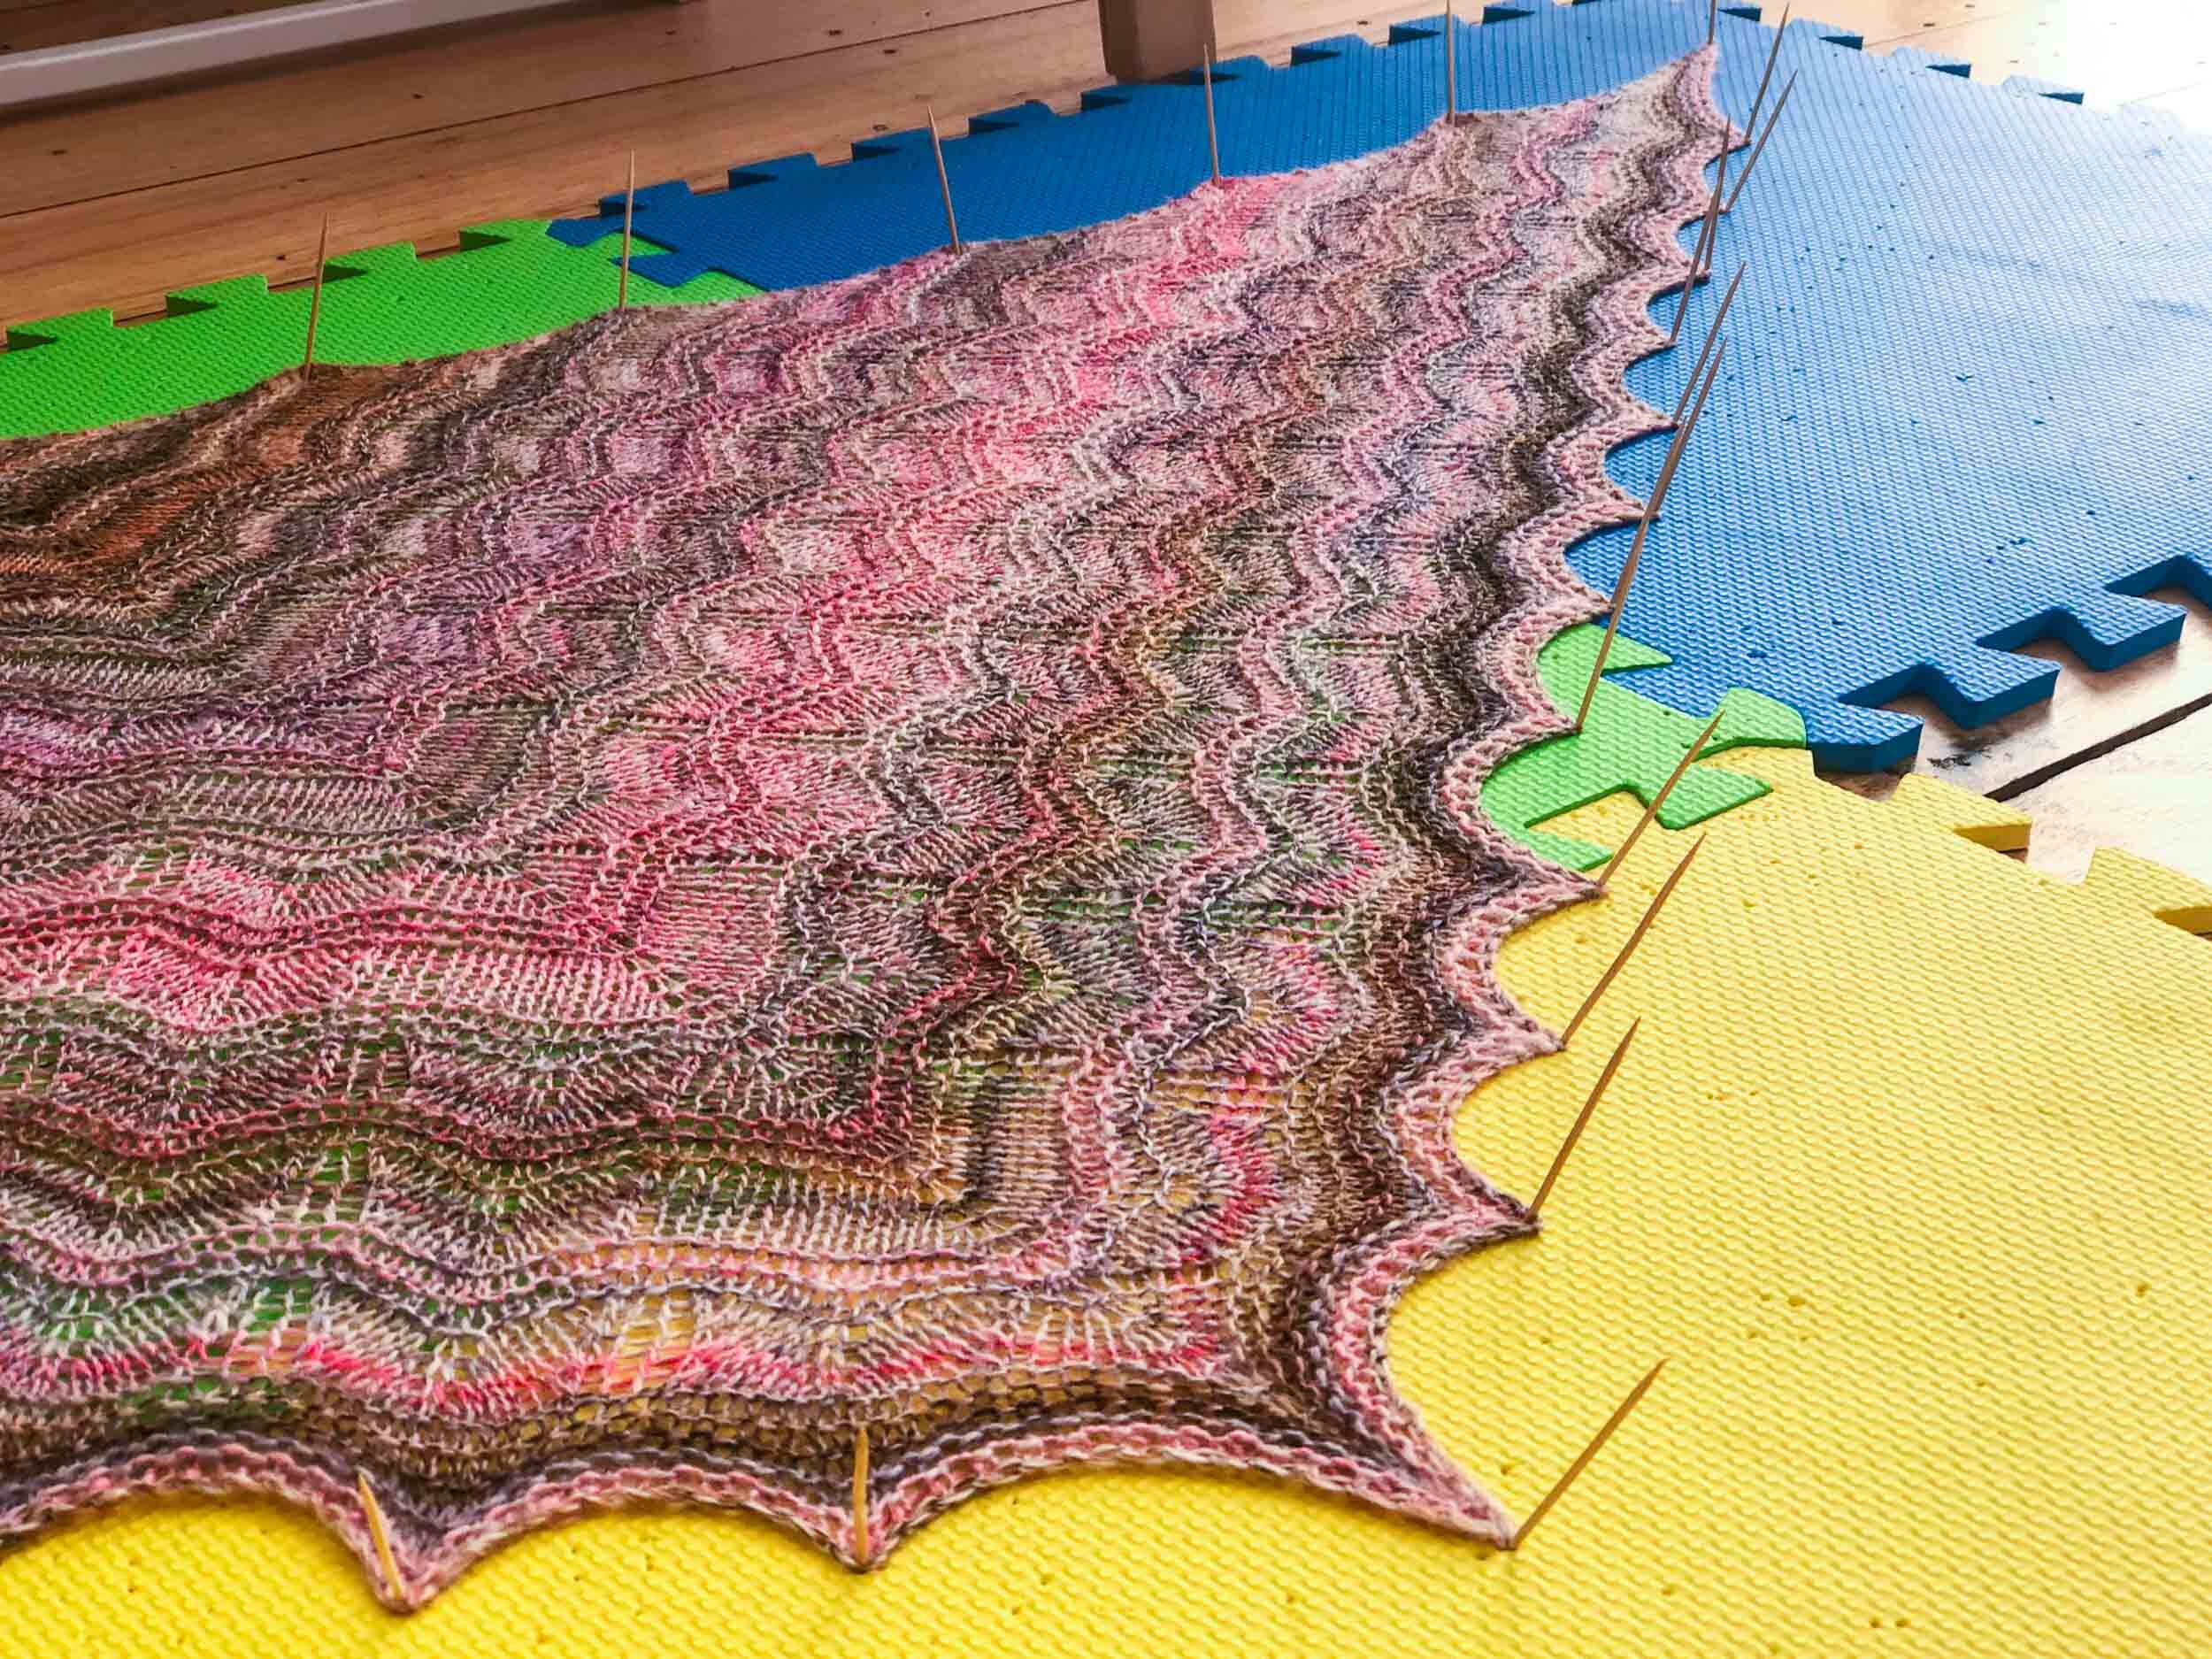
FINISHING
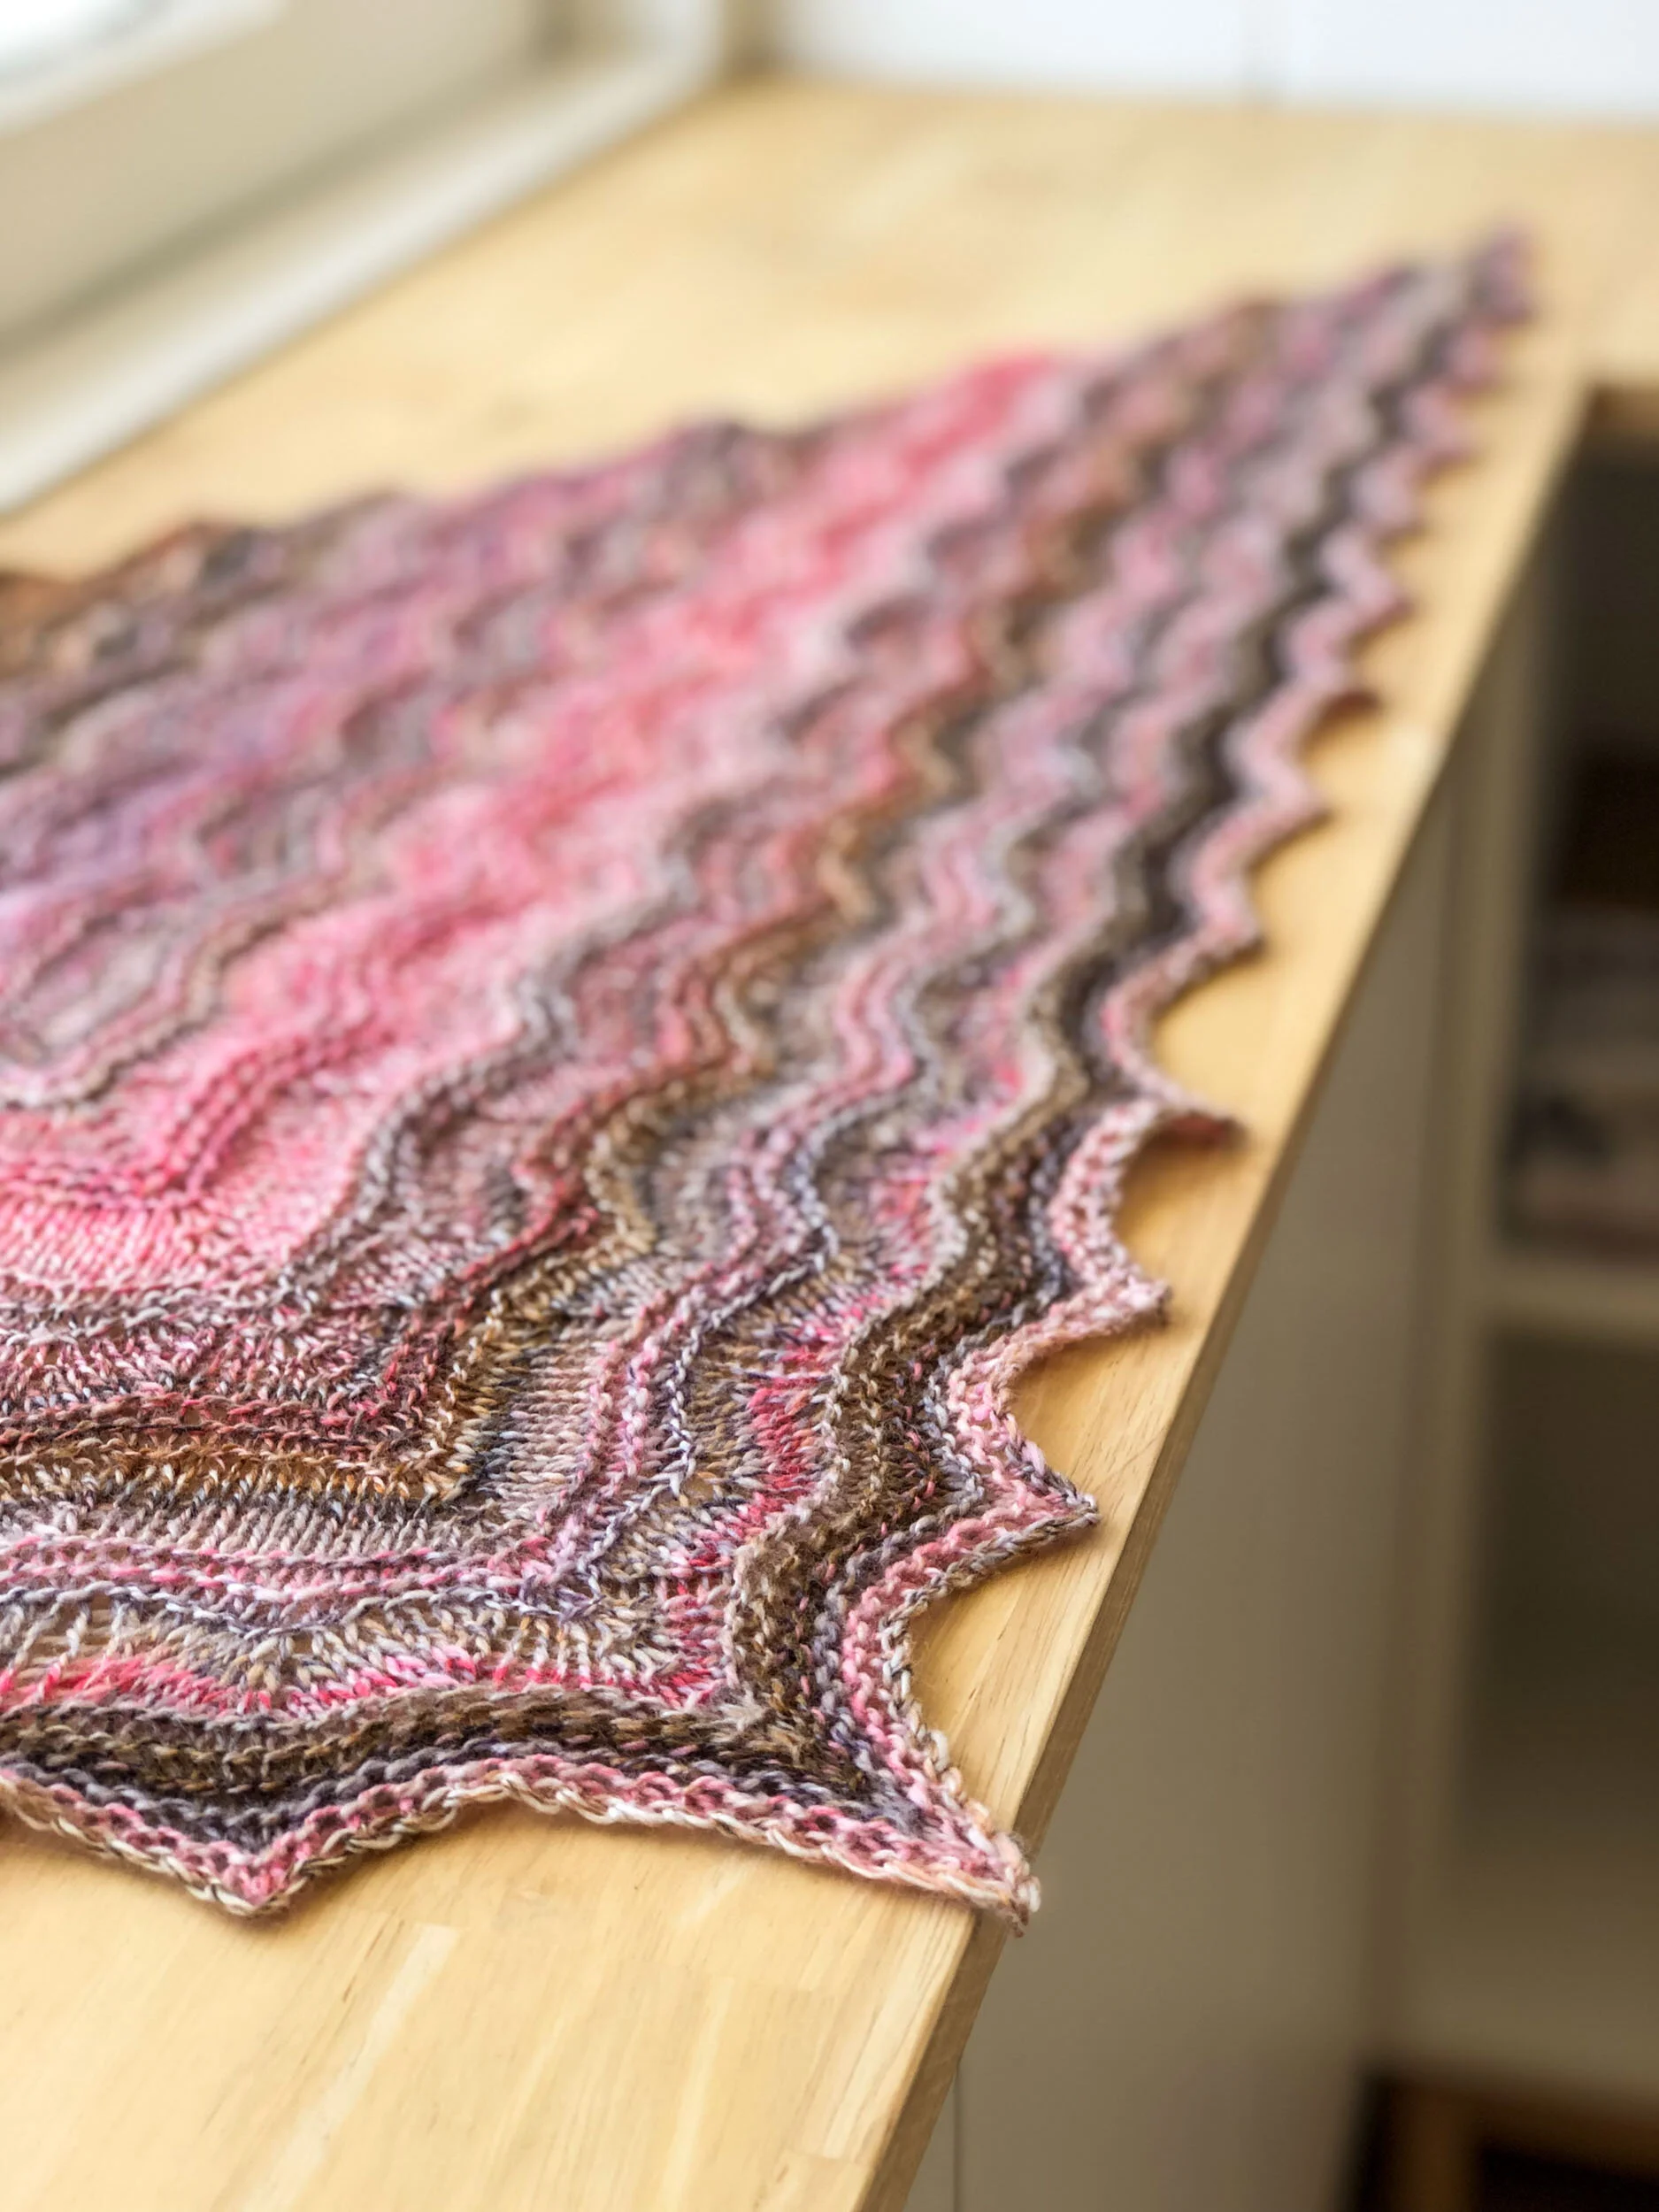
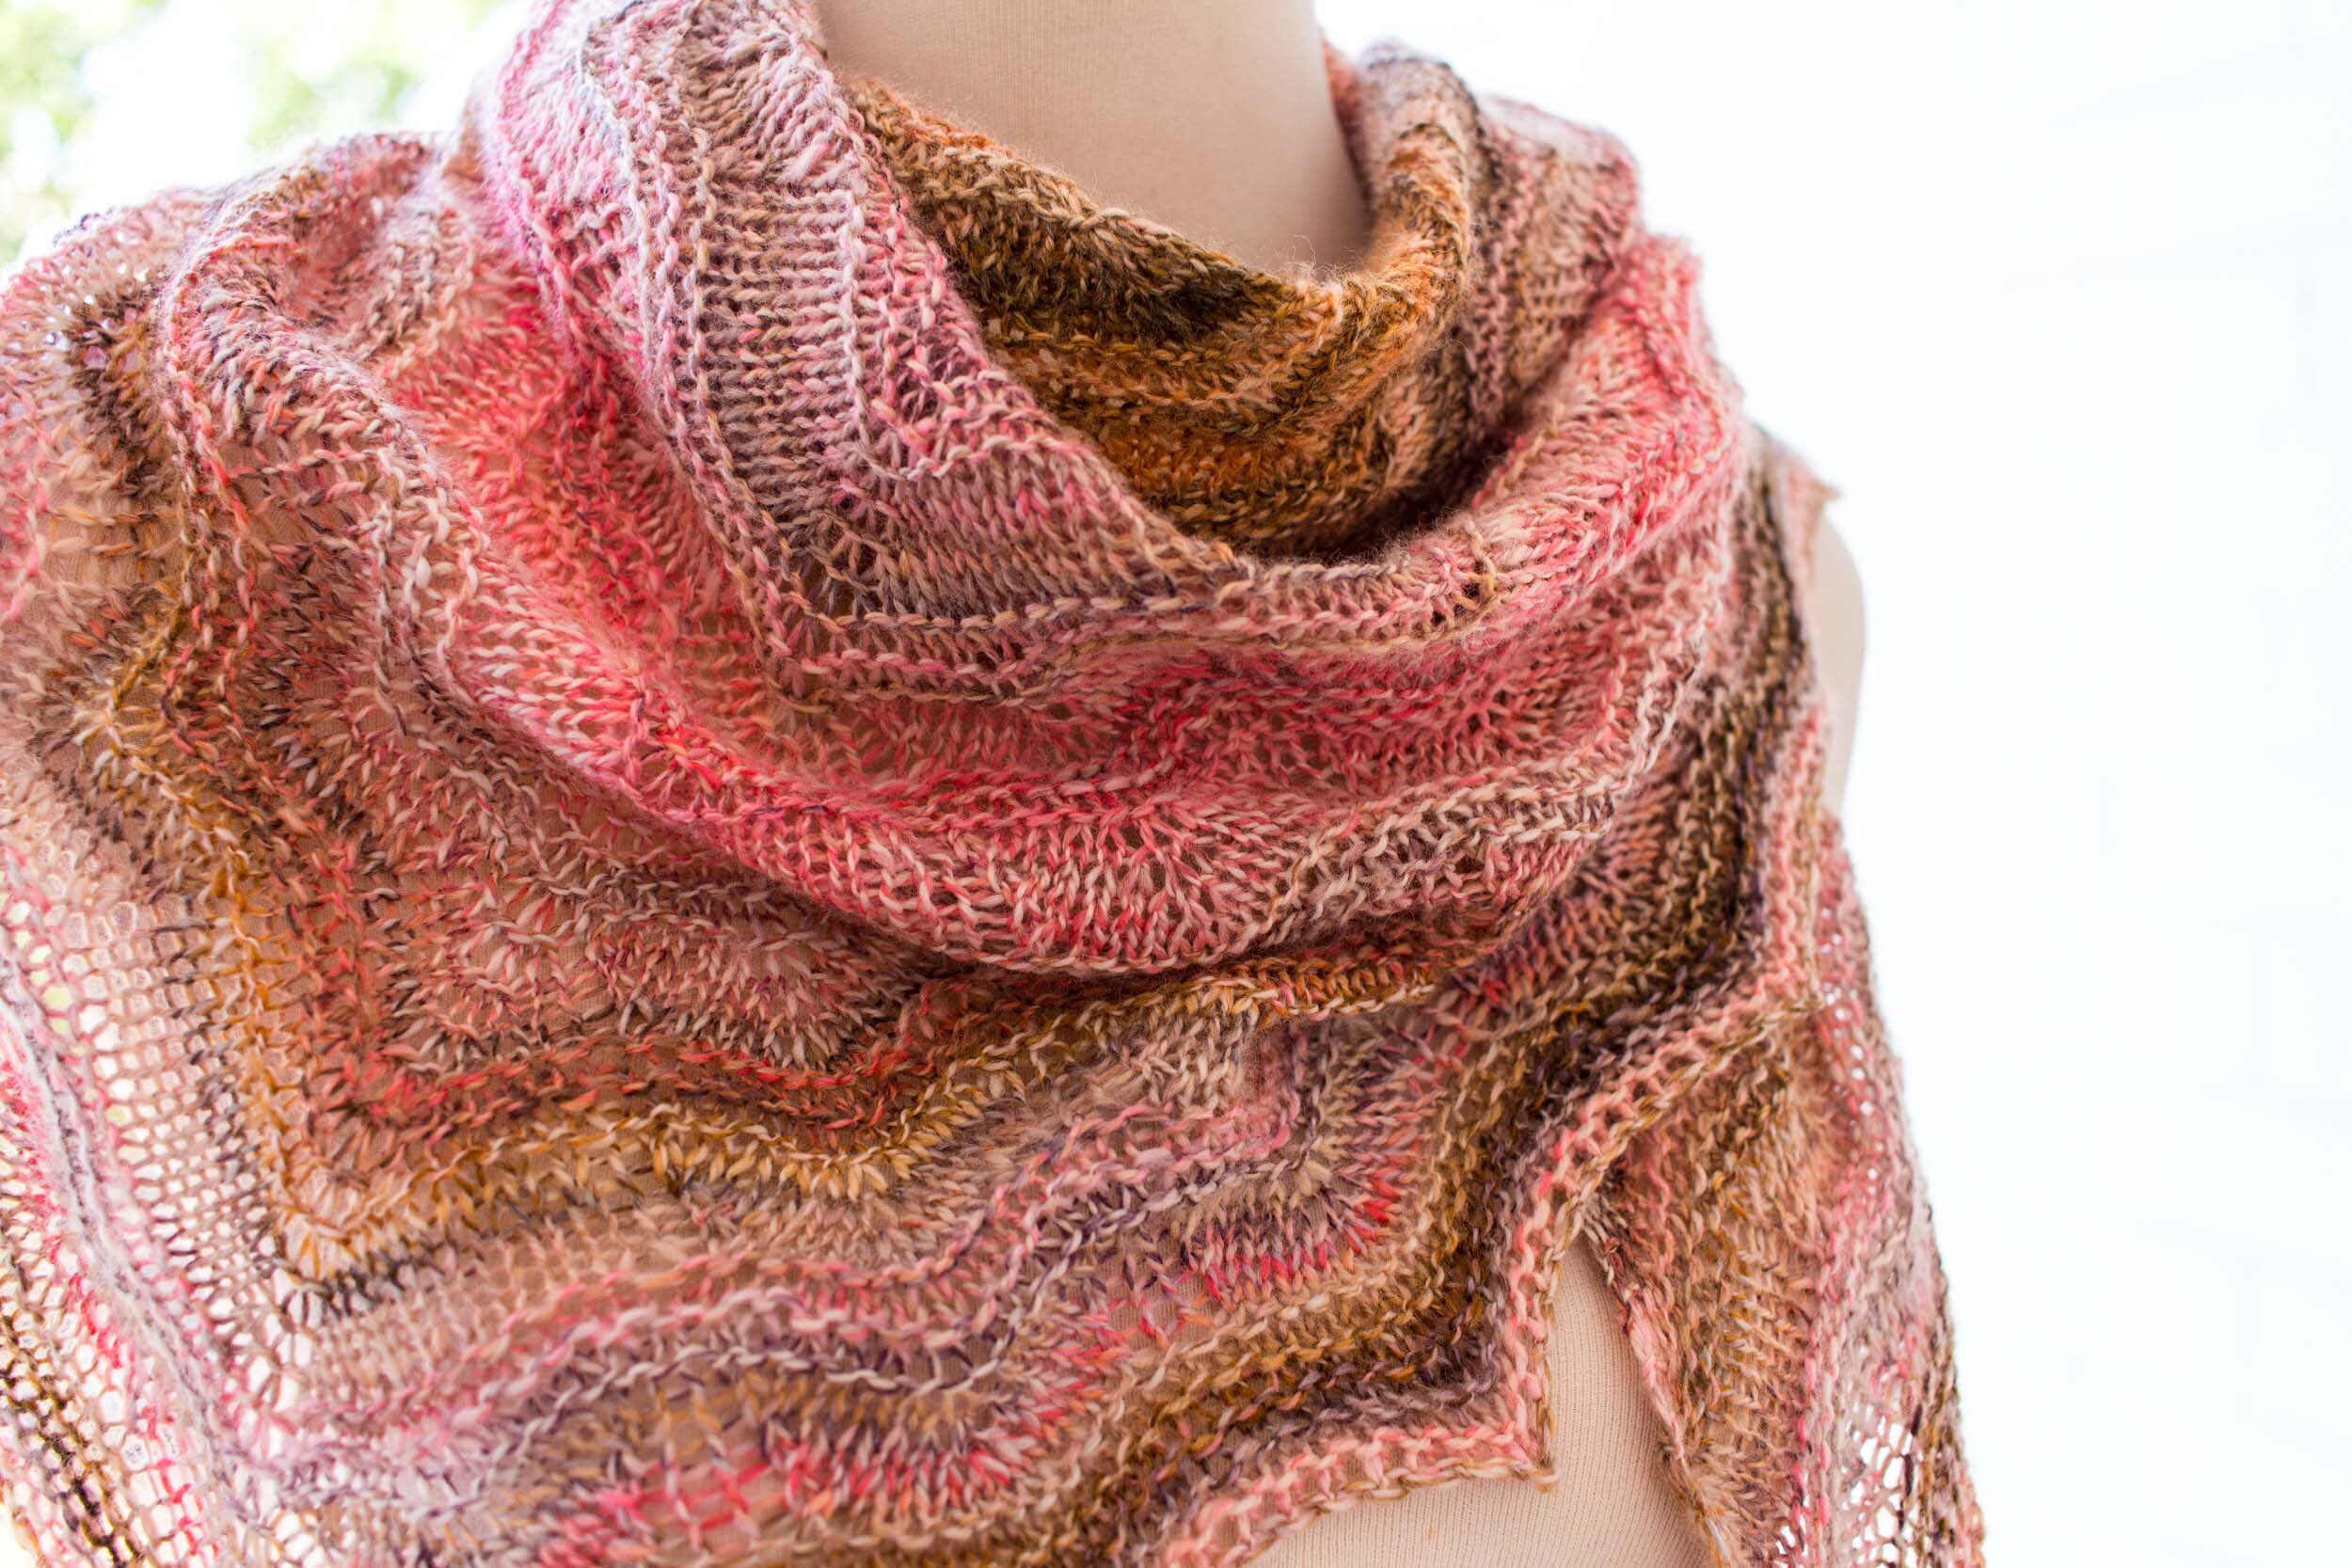
I gave the shawl a short soak in a bath of cool water. I pinned the shawl out on a blocking mat giving attention to opening out the full wingspan and pinning out the selvage to highlight the lace detail.
INSIGHTS AND OPPORTUNITIES
THE SPIN
The fine superwash Merino fibre made for an easy spin without having to do too much prep work.
Some of the splashy colour within the original braid did dilute with drafting but that was to be expected. I was happy to see much of the pink sections were preserved and come through in the resulting yarn.
The S17 is such a solid wheel, I’m finding it just handles anything I throw at it. I love the huge bobbin capacity, there was more than enough room on one bobbin to ply the full 100g!
THE KNIT
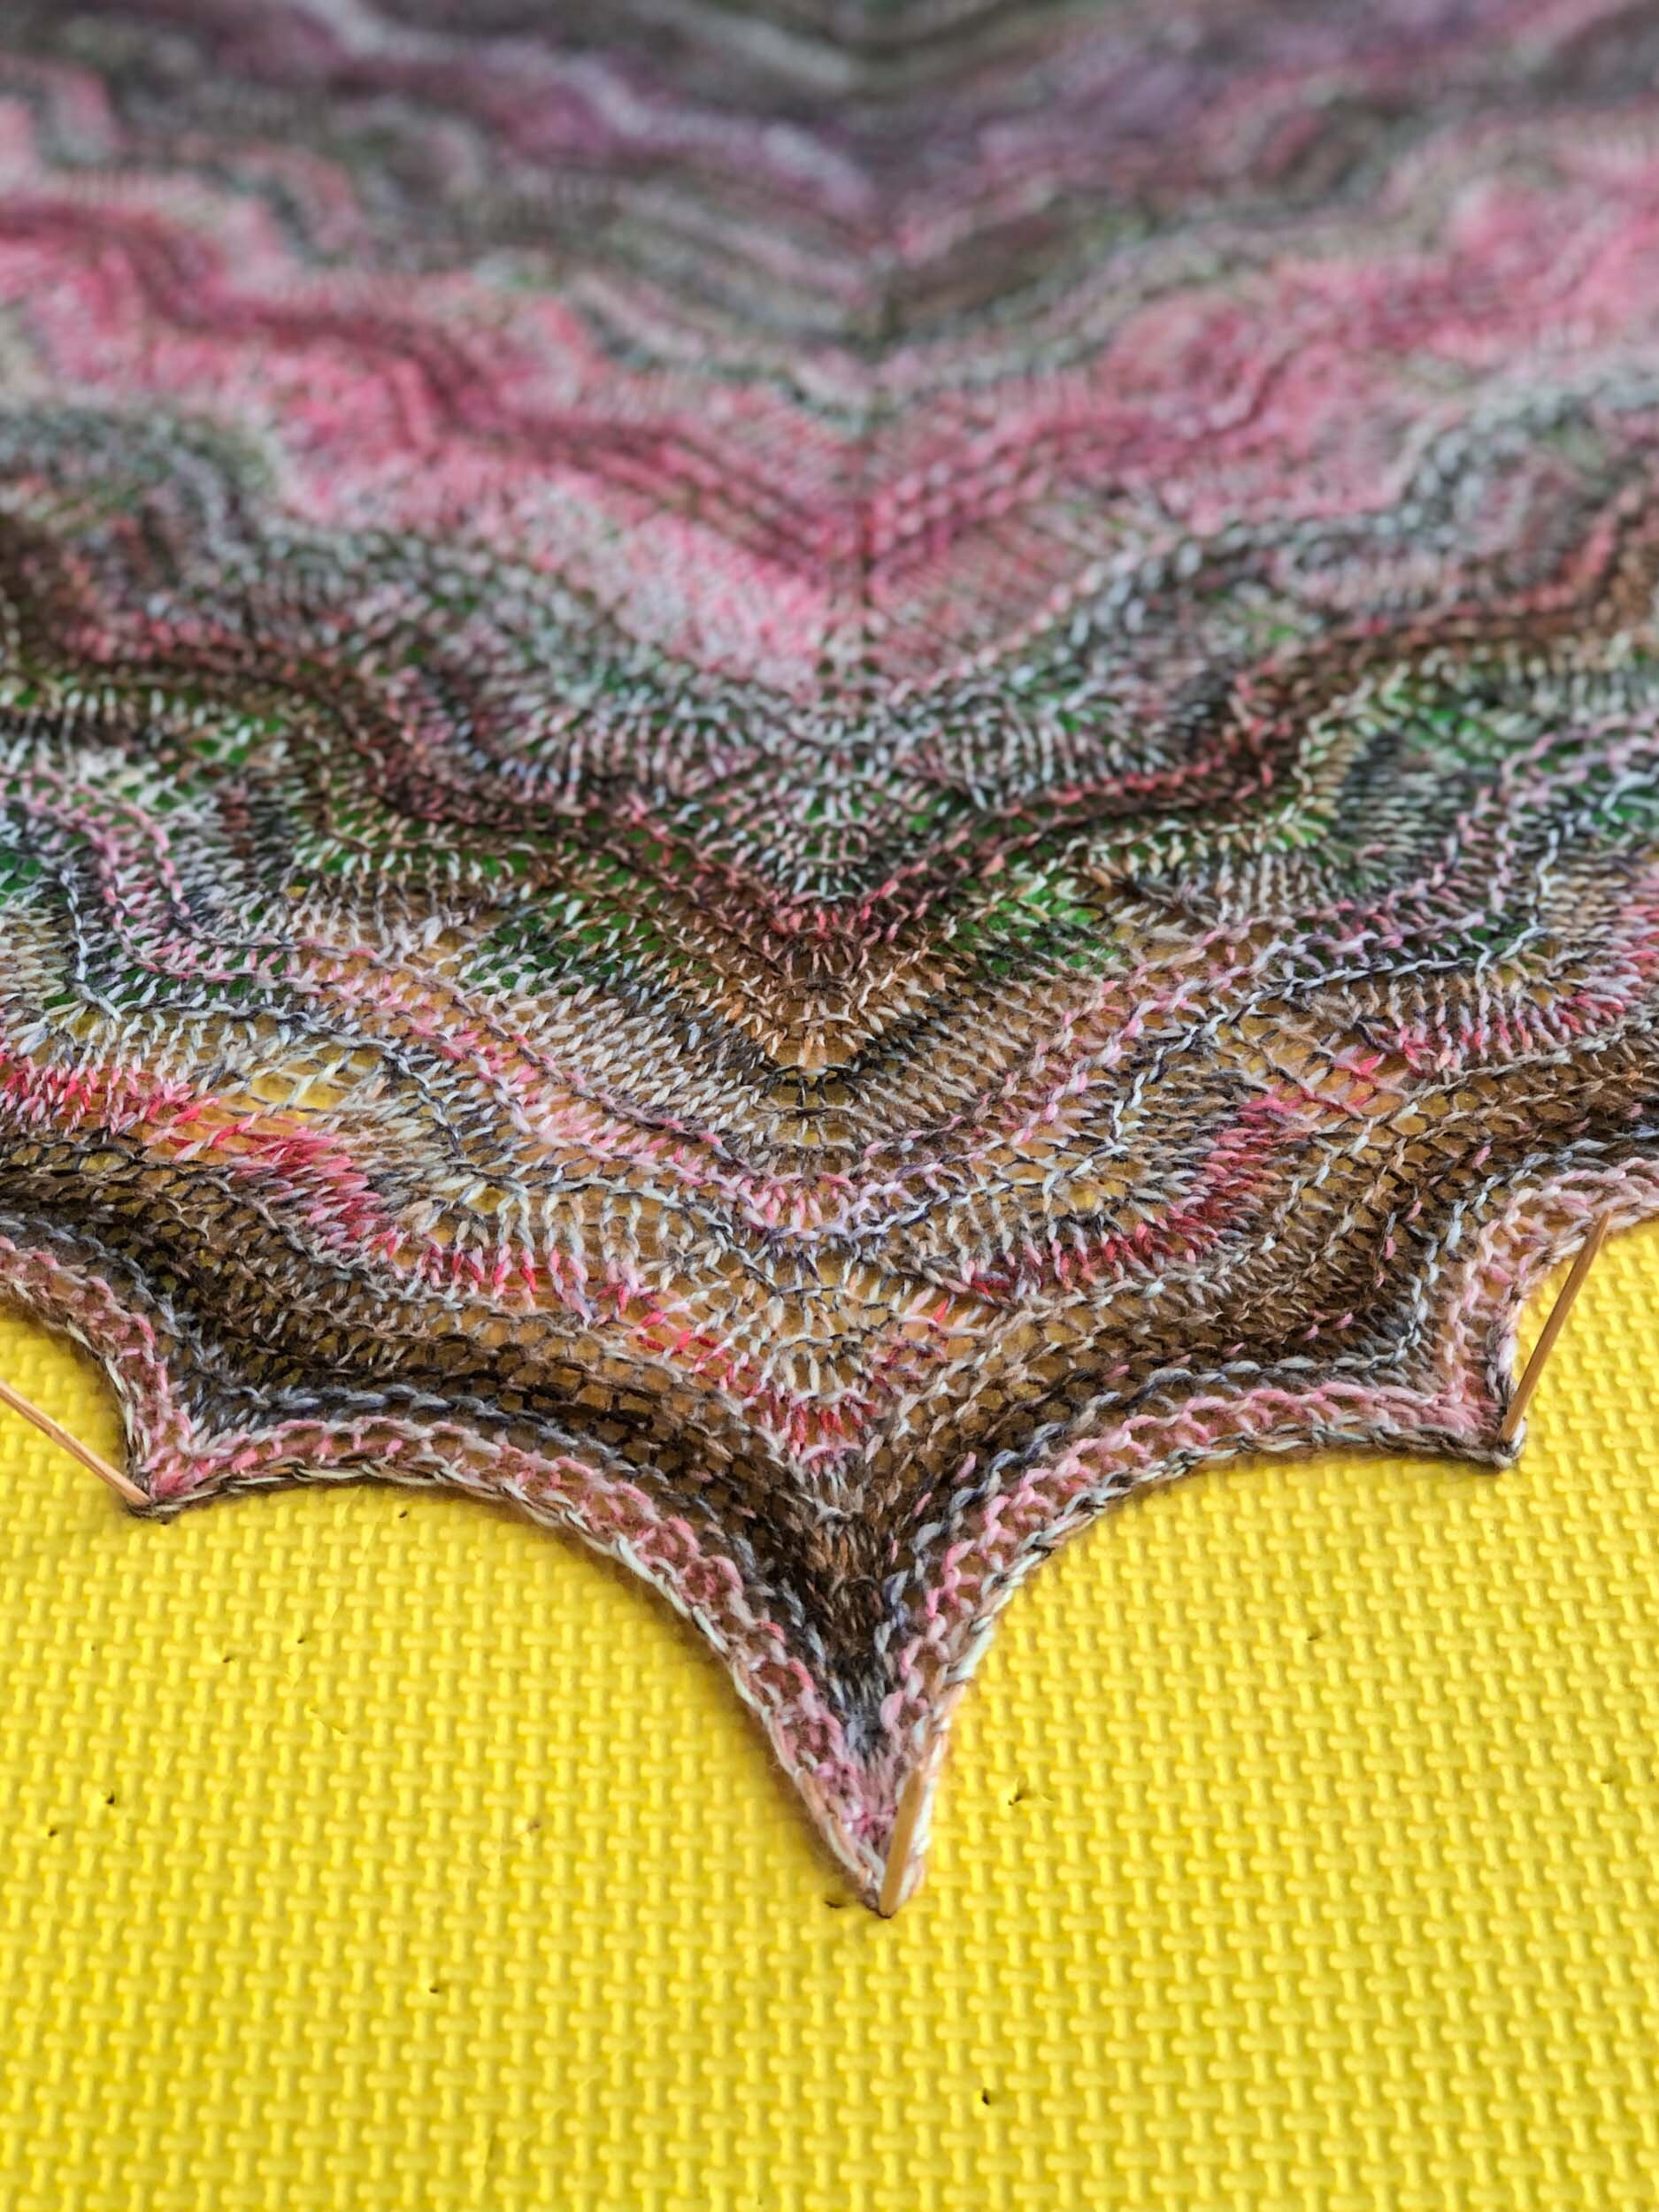
The pattern was well written and easy to follow. The lace chart wasn’t too complex for a first timer like me.
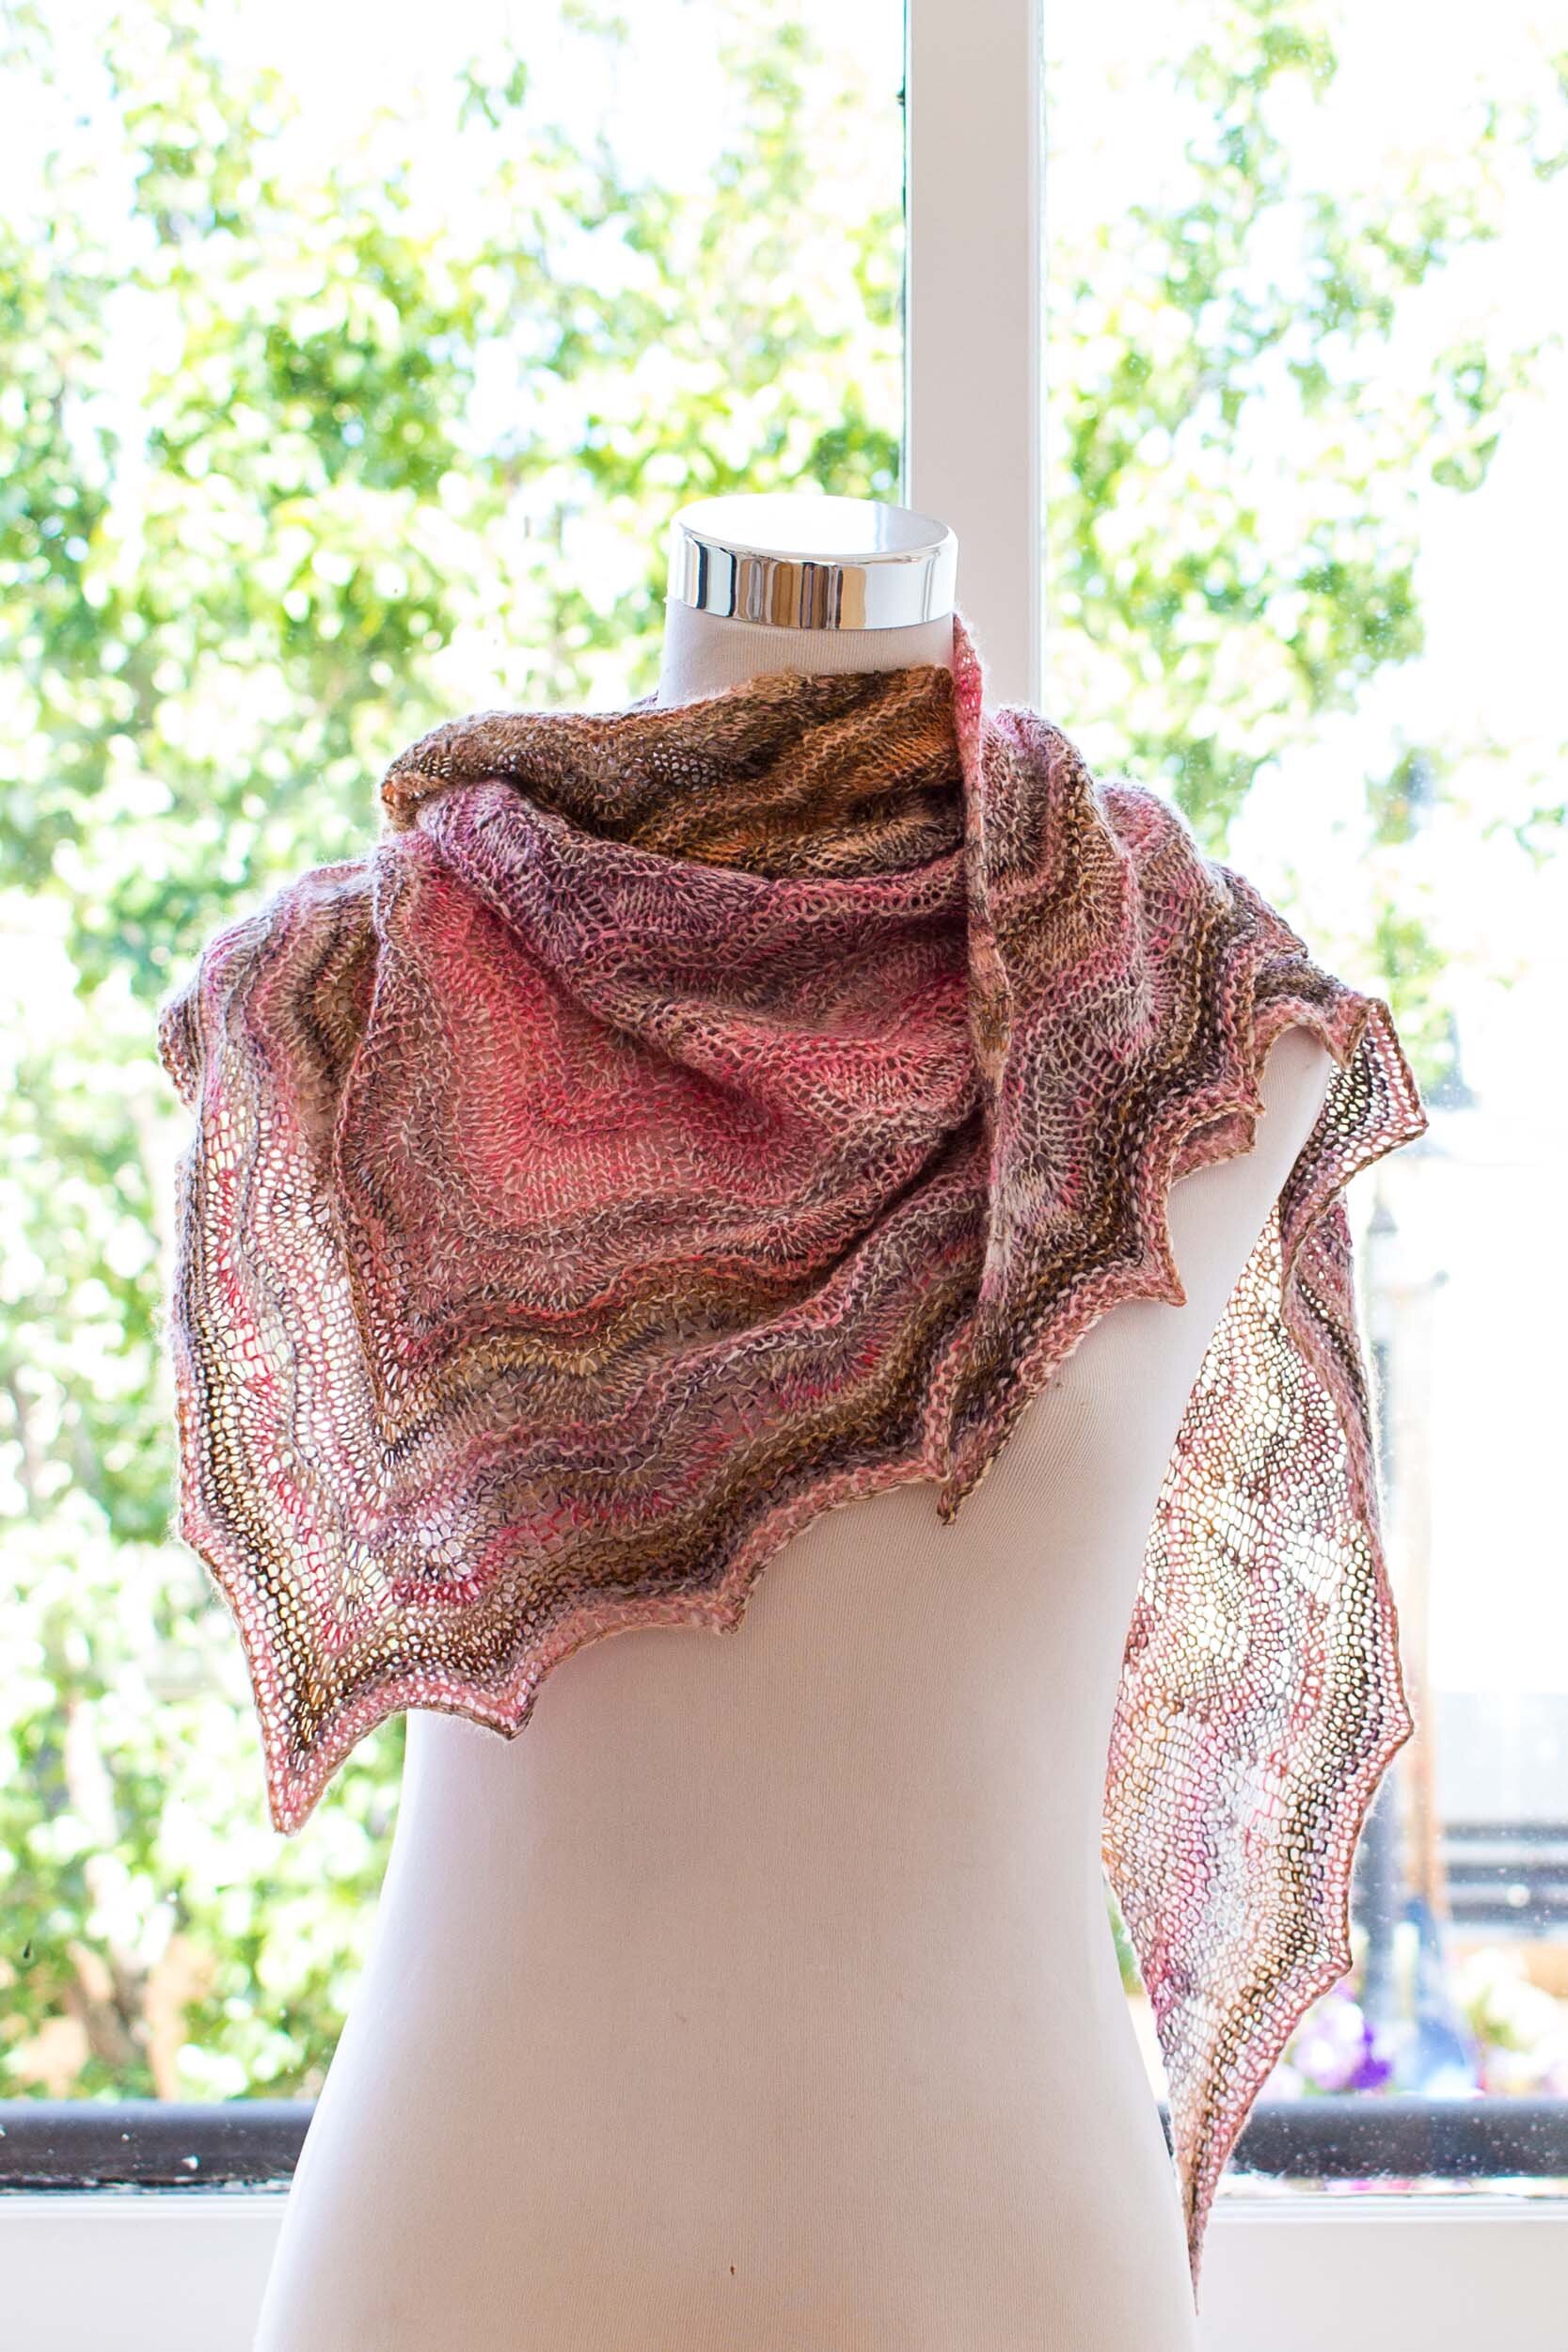
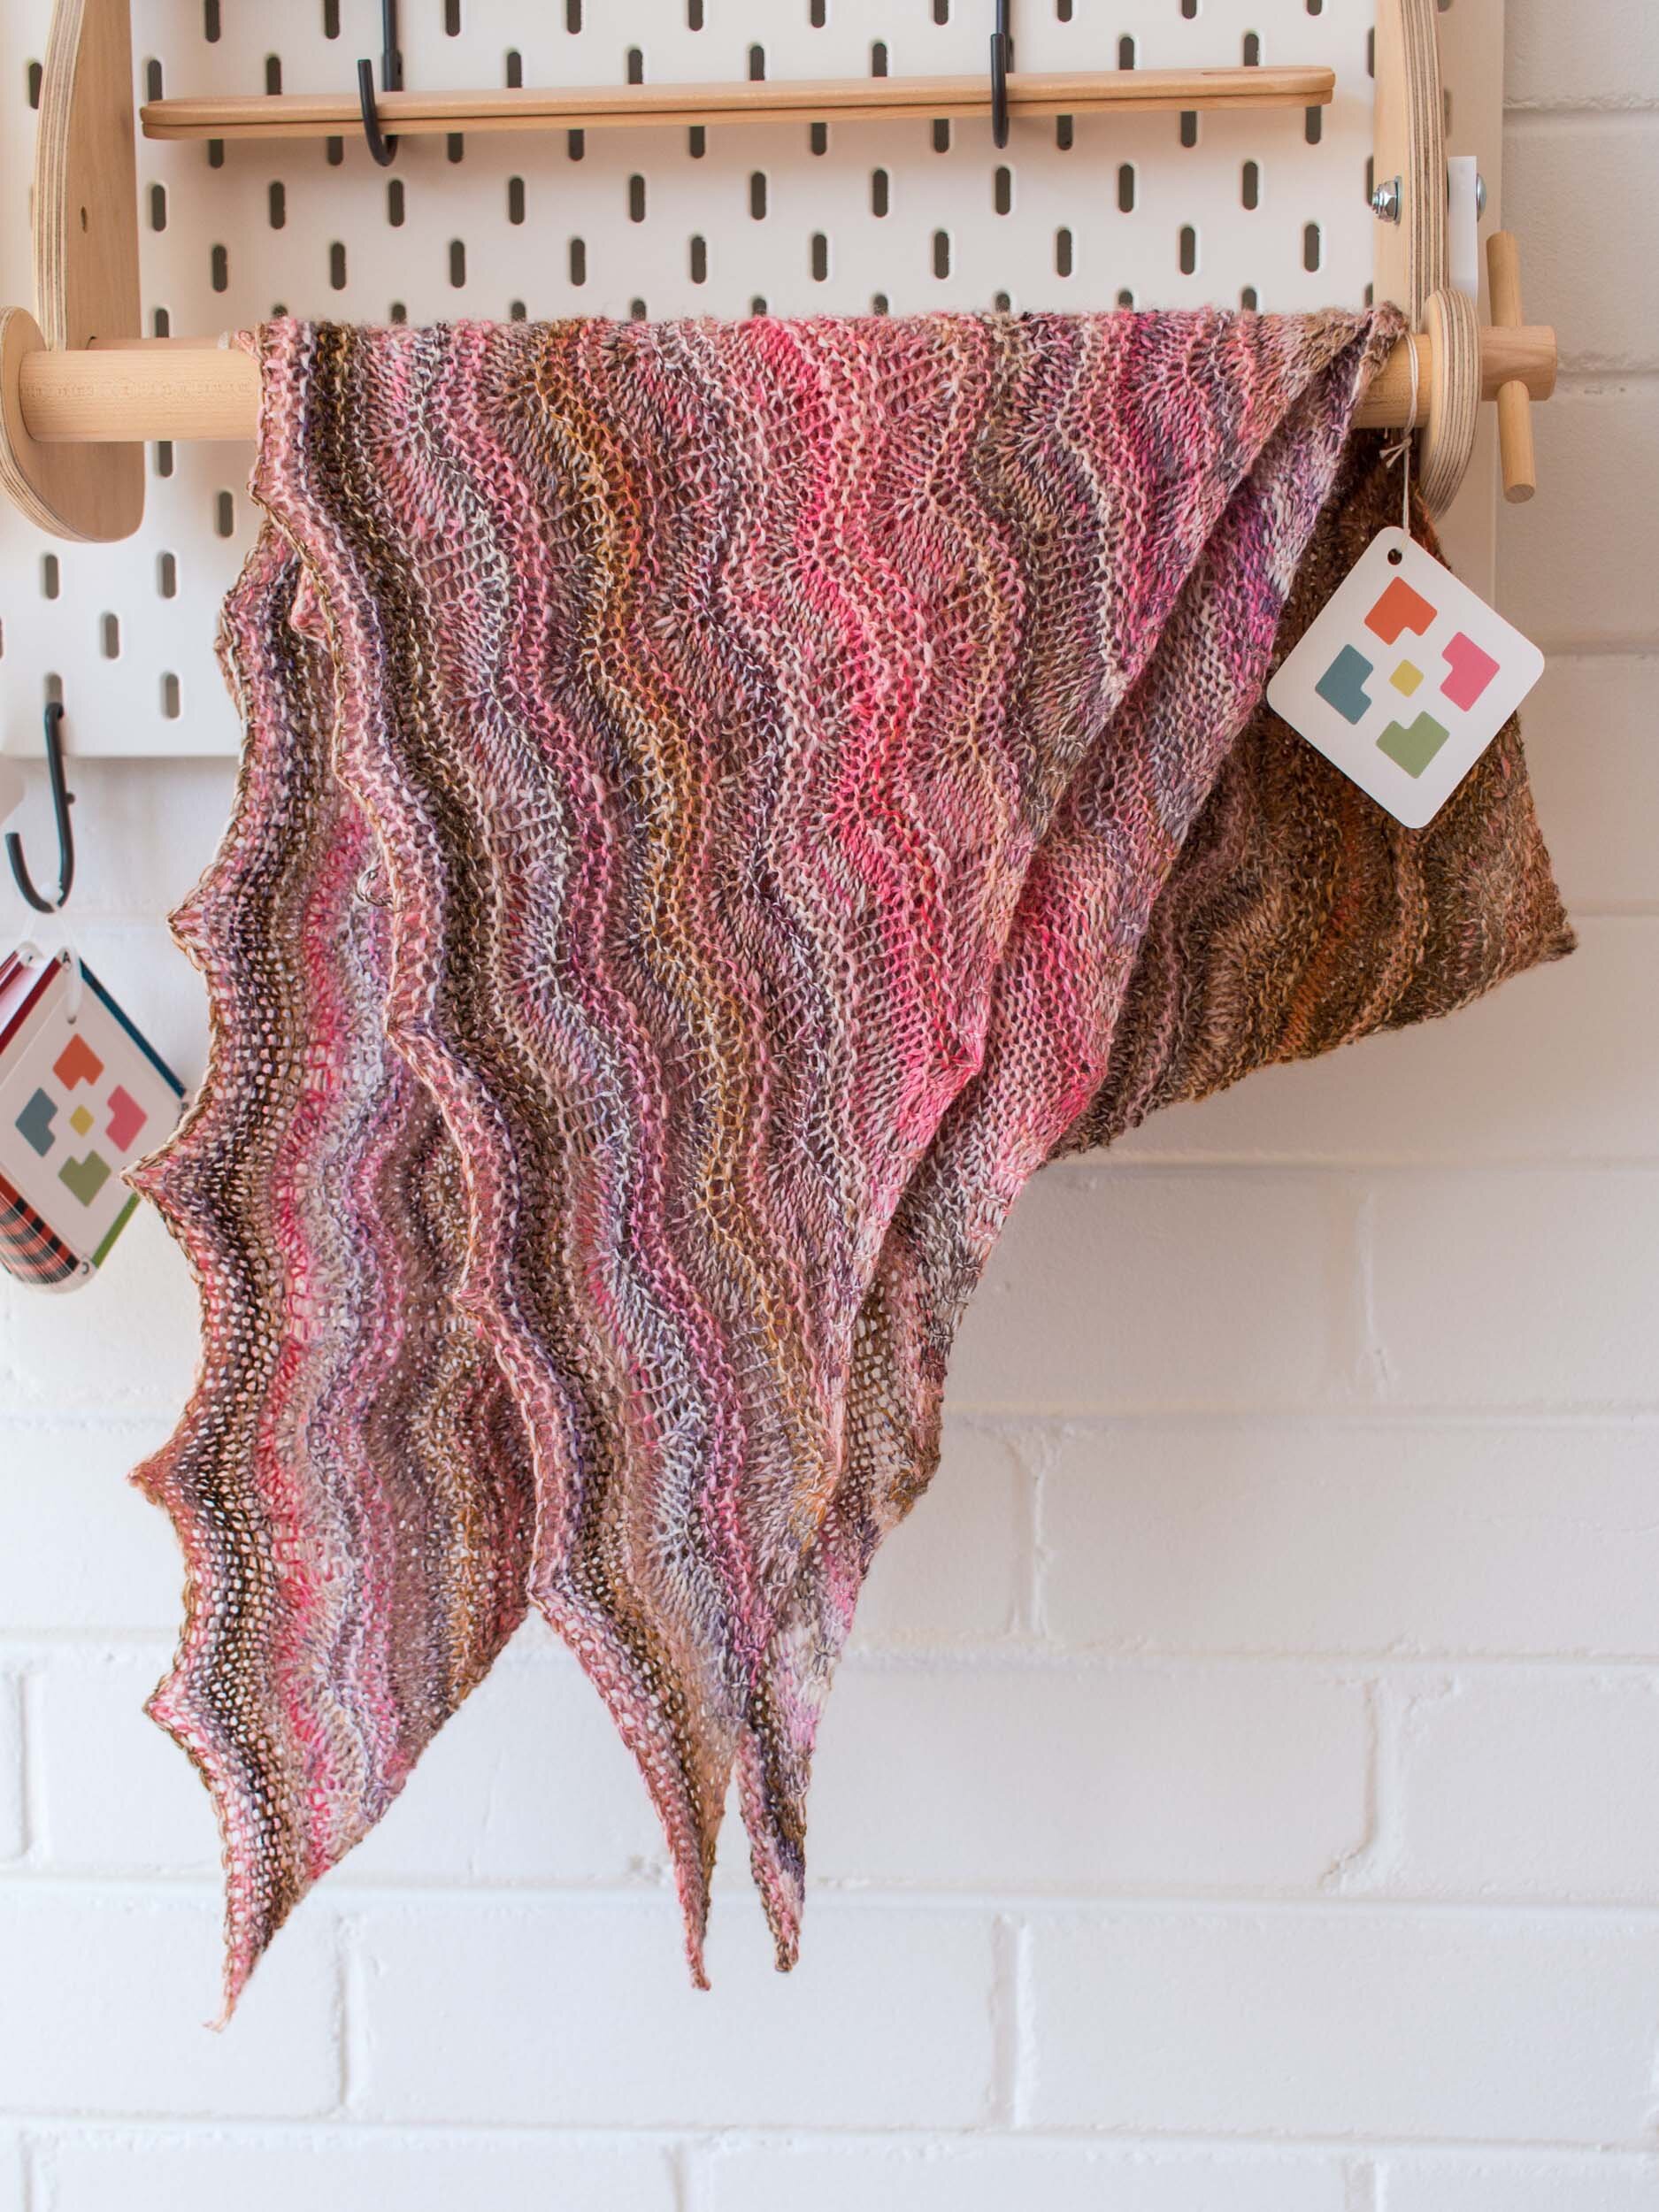
I did bind-off one or two repeats early as I was about to run out of yarn. The resulting size was just right to wear the shawl in cowl or neckerchief style.
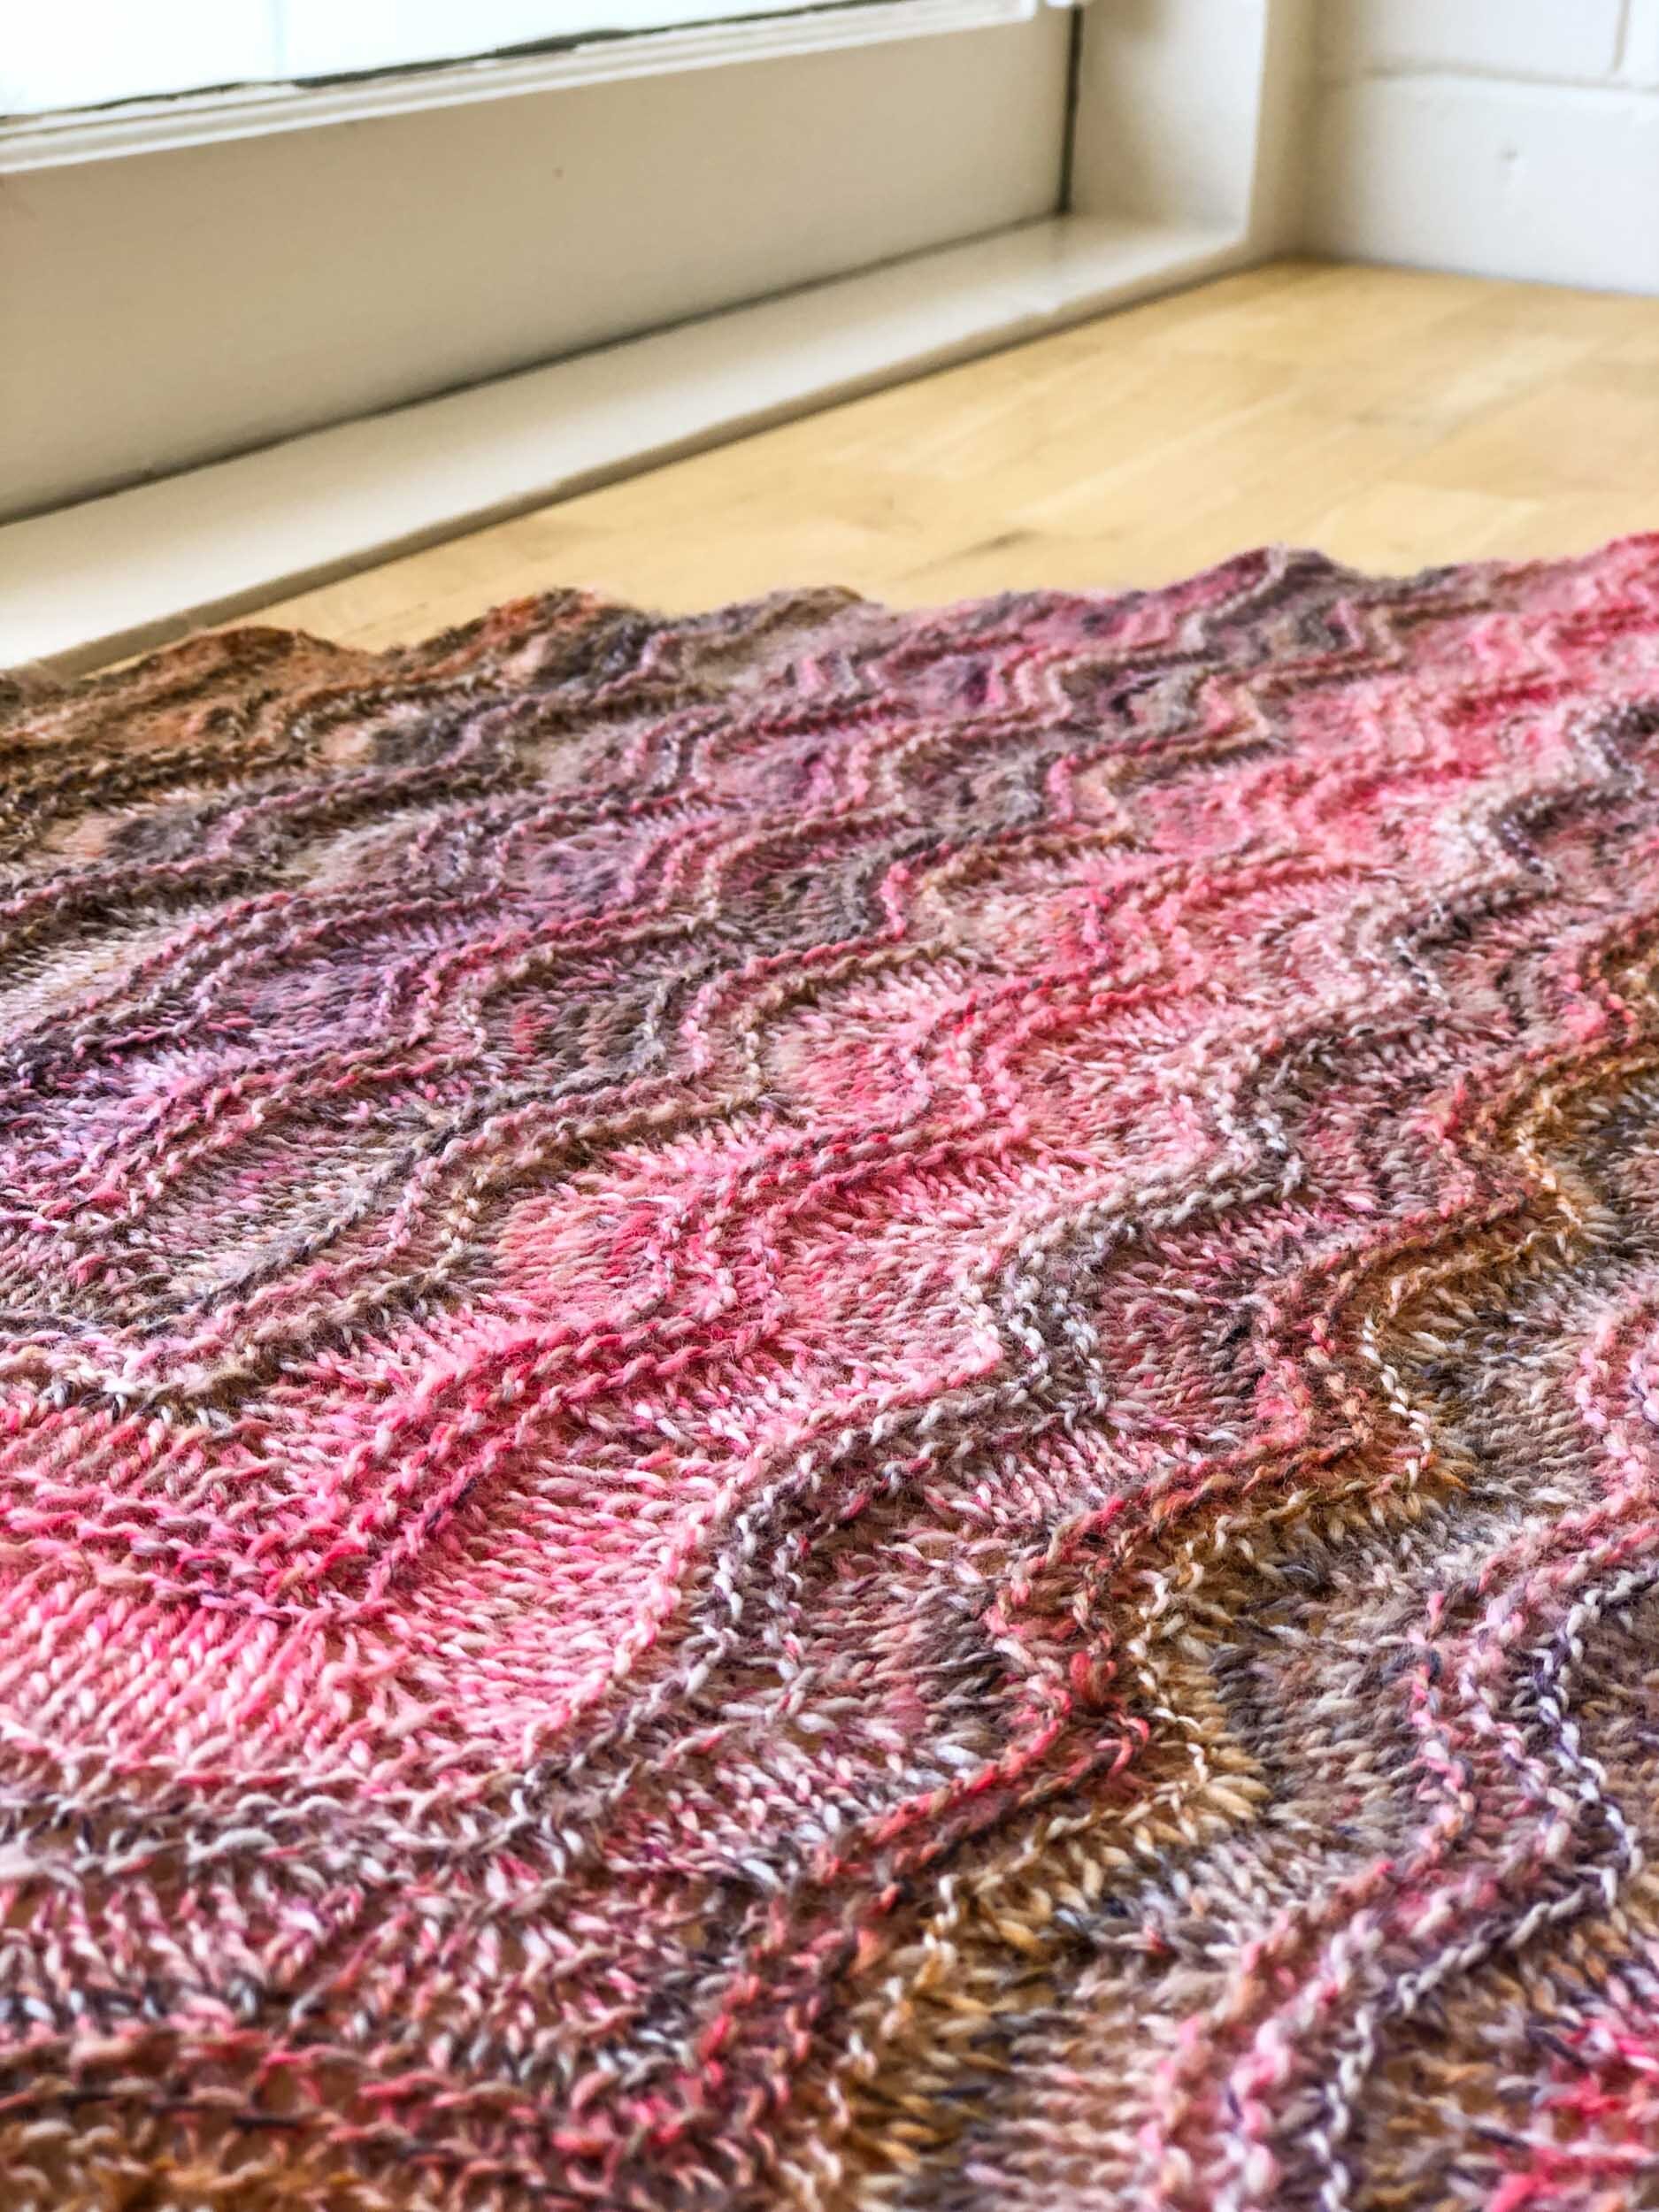
The hand feel of the resulting fabric was light and next-to-skin soft.
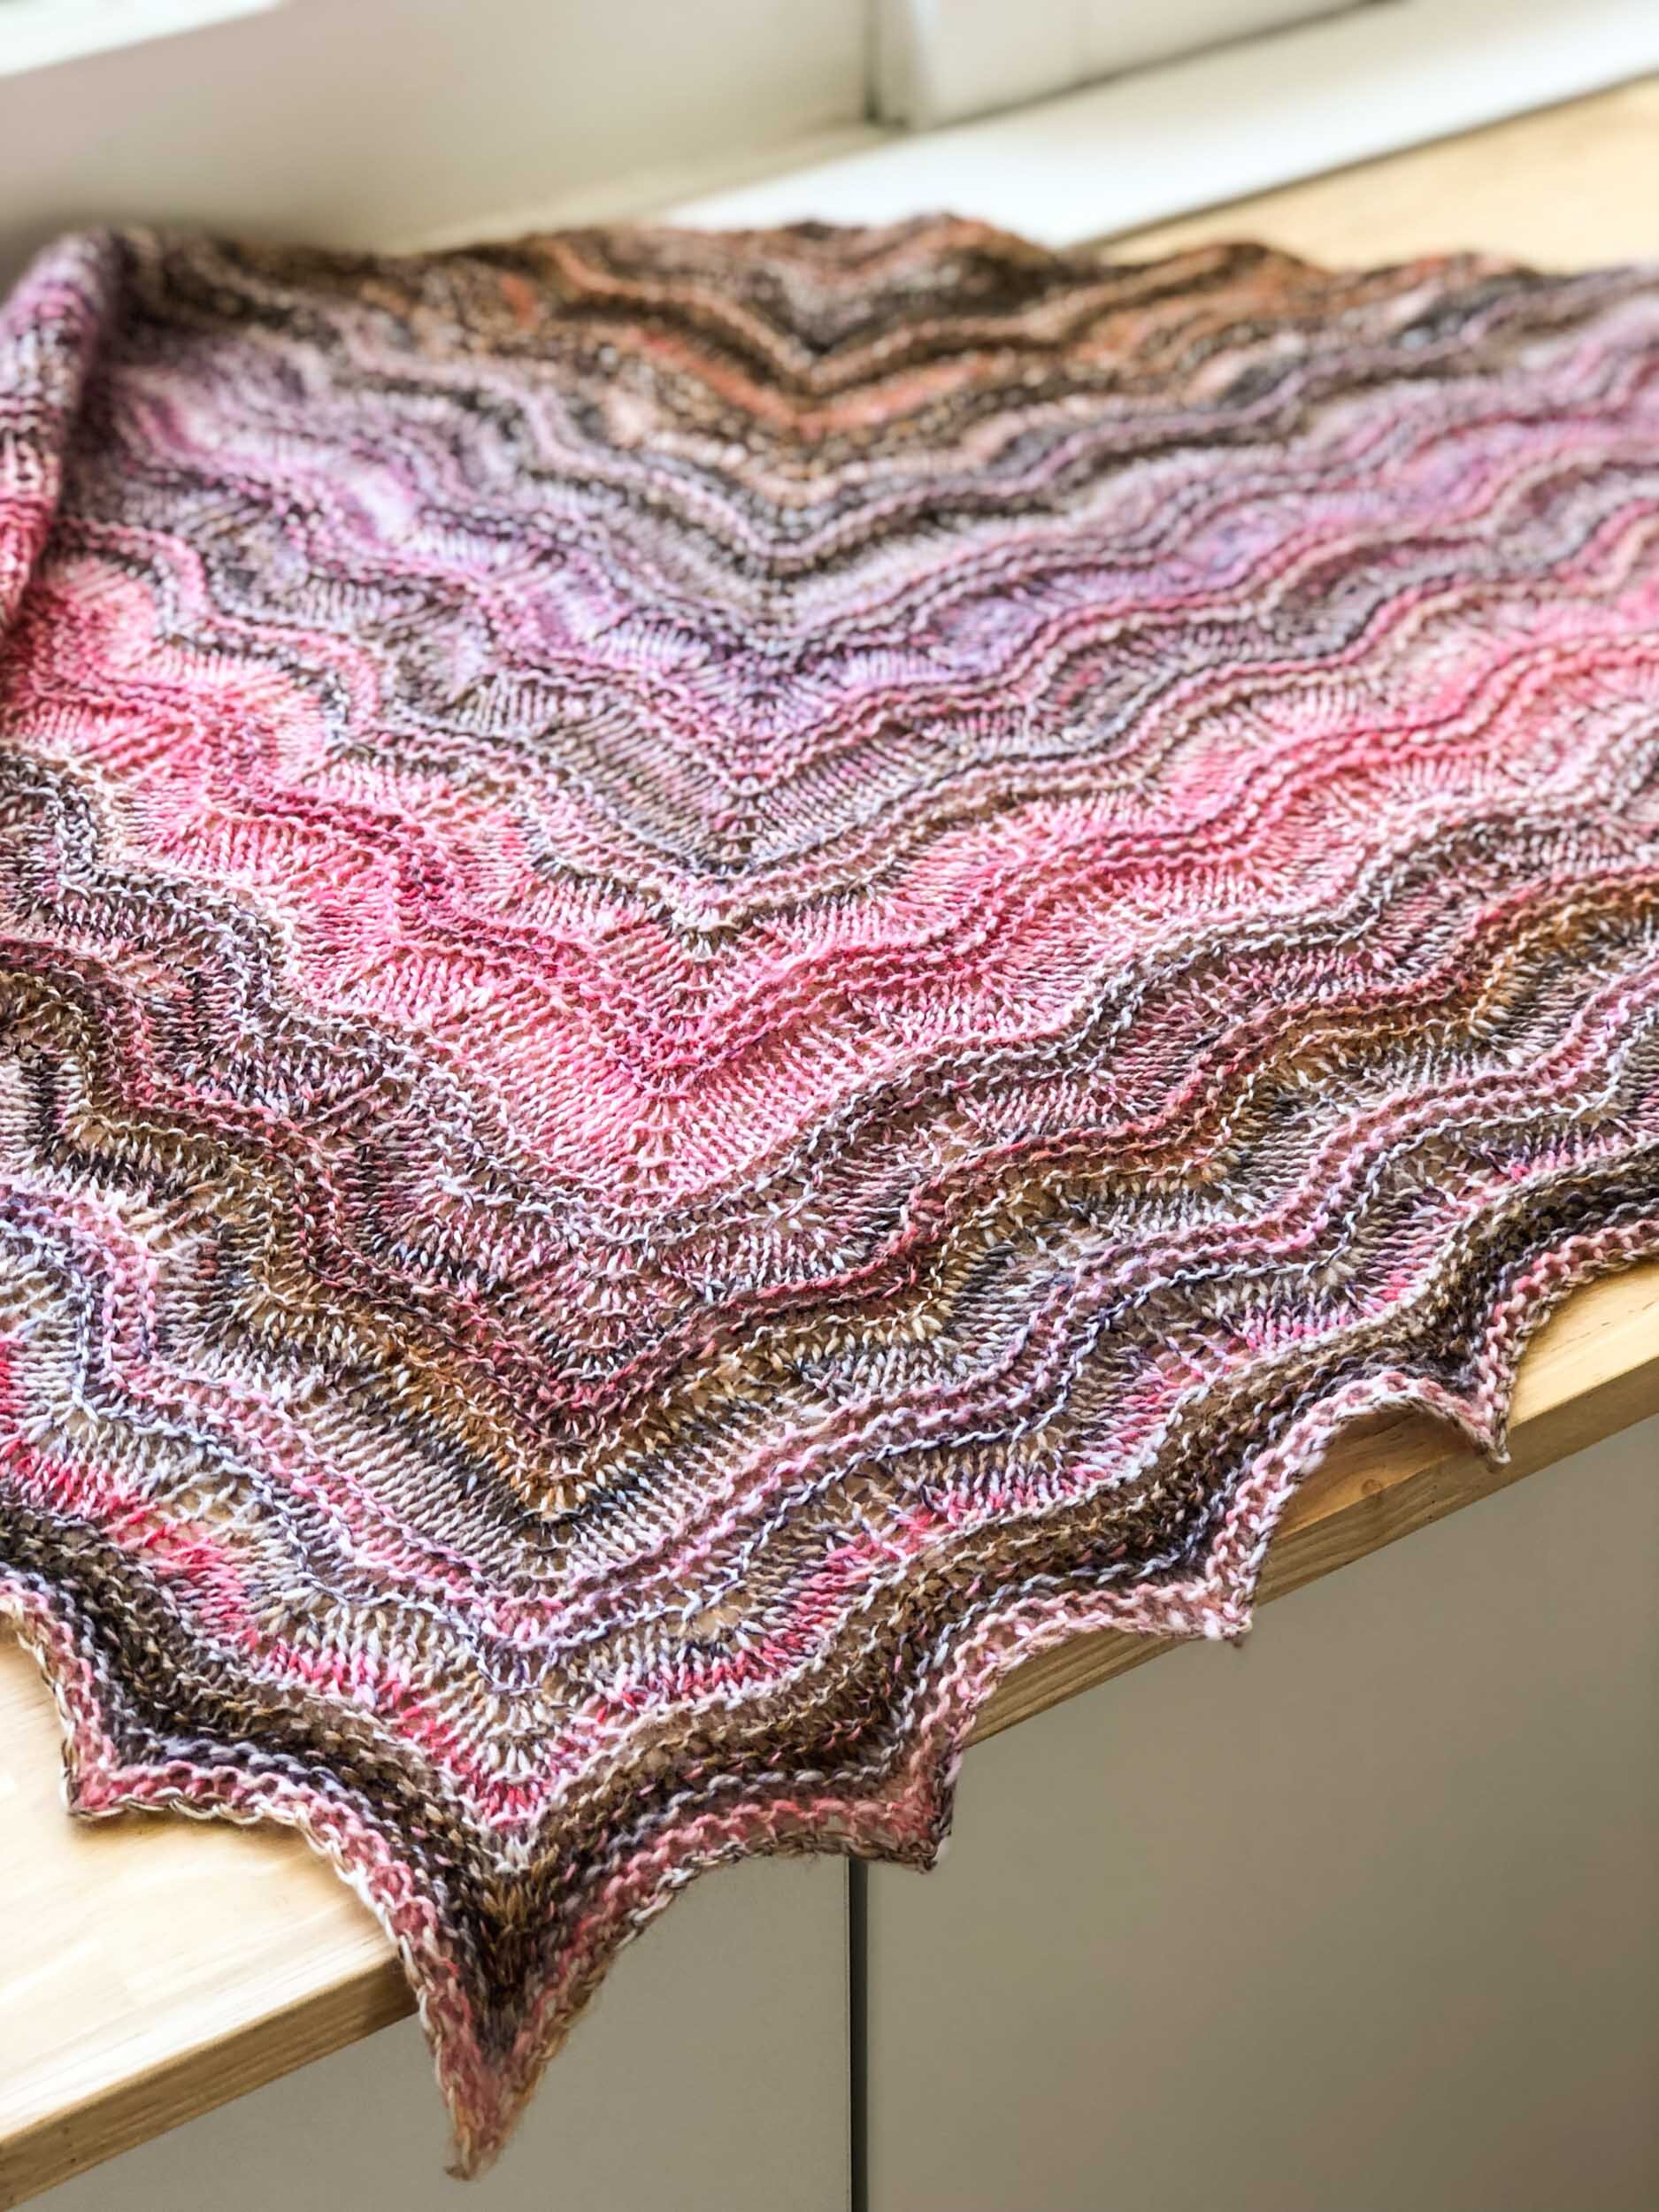
The interaction of colour in this piece is just amazing! I love studying the subtle gradients between the layers of pinks, purples and browns.
FINAL THOUGHTS
Overall, this was a very unstructured project. Though, when key decisions were made, I did make them with intention, understanding what impact they would have on the outcome of the project.
Hand spun projects don’t always have to begin with the end in mind. Being led by what you love most – the colours, textures, grist - is just a great way to get started. It also helps me stay interested and see the project out to the end!
Triangular shawls are such a great way to feature variegated yarns I definitely see more in my future.

THANK YOU FOR READING!
Would you like to save this project for later?
Add it to your Ravelry favourites HERE.
Stay in the loop
Receive updates from our studio, project inspiration and product news by joining the Loom & Spindle collective.